
Fixing a Flat Tire Without Removing the Wheel? Easy!
Quick Summary: Fixing a flat tire without removing the wheel is totally doable! You’ll need tire levers, a new tube or patch kit, and a pump. First, deflate the tire. Then, use the levers to pry one side of the tire off the rim. Pull out the old tube, fix it or replace it, and carefully tuck everything back in. Inflate the tire, and you’re ready to roll! This method saves time and is super handy on the road.
A flat tire can ruin any bike ride. But don’t worry! You don’t always need to remove the wheel to fix it. This guide shows you how to quickly patch or replace your tube without taking the wheel off your bike. It’s a fast and easy way to get back on the road or trail. We’ll cover everything step-by-step, so you can fix a flat like a pro. Let’s get started and keep you rolling!
Tools You’ll Need
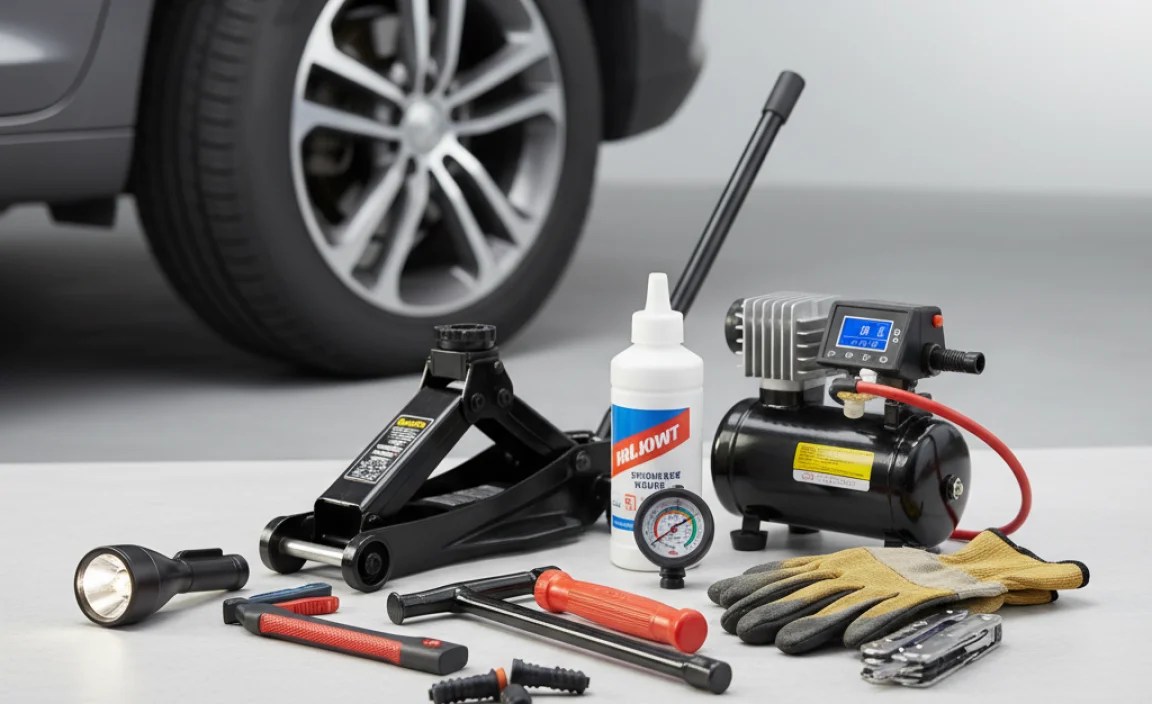
Before you start, gather these essential tools. Having everything ready will make the process smooth and quick.
- Tire Levers: These help you pry the tire off the rim. Get a set of durable plastic or metal levers.
- Spare Tube or Patch Kit: A new tube is often the quickest fix. Patch kits are great for small punctures.
- Bike Pump or CO2 Inflator: To inflate the tire after the repair. Make sure it’s compatible with your valve type (Presta or Schrader).
- Multi-tool (optional): Some multi-tools include tire levers or other helpful tools.
- Rag or Paper Towel: For cleaning your hands and the tire.
Step-by-Step Guide to Fixing a Flat Tire Without Wheel Removal

Step 1: Prepare the Bike and Tire
First, flip your bike upside down so it rests on the handlebars and seat. This makes it easier to work on the tire. If you have quick-release wheels, double-check they are secure, even though you aren’t removing them. Make sure the brakes aren’t engaged, giving you room to work.
Step 2: Deflate the Tire Completely
If there’s any air left in the tire, release it. Press the valve core (the little pin inside the valve) with a tire lever or small tool. This ensures the tire is completely flat, making it easier to remove from the rim. You can use the cap from the valve to depress the valve core on a Presta valve.
Step 3: Loosen the Tire from the Rim
Squeeze the tire all around its circumference to loosen it from the rim. This “breaks the bead,” making it easier to insert the tire levers. Do this on both sides of the tire.
Step 4: Use Tire Levers to Remove One Side of the Tire
Insert one tire lever under the edge of the tire. Hook it onto a spoke. Insert a second lever a few inches away, and pry that section of the tire off the rim. You might be able to run the second lever around the rim to remove the rest of the tire’s bead from the rim. If not, use a third lever. Be careful not to pinch the tube between the lever and the tire!
Here’s a simple breakdown:
- Insert the first lever and hook it to a spoke.
- Insert the second lever a few inches away.
- Pry the tire off the rim.
- Use the lever to slide around the rim and remove the rest of the bead.
Step 5: Remove the Tube
Once one side of the tire is off the rim, carefully pull out the tube. Start at the valve stem and work your way around. Inspect the tube for the puncture. If you’re using a patch kit, mark the location of the hole.
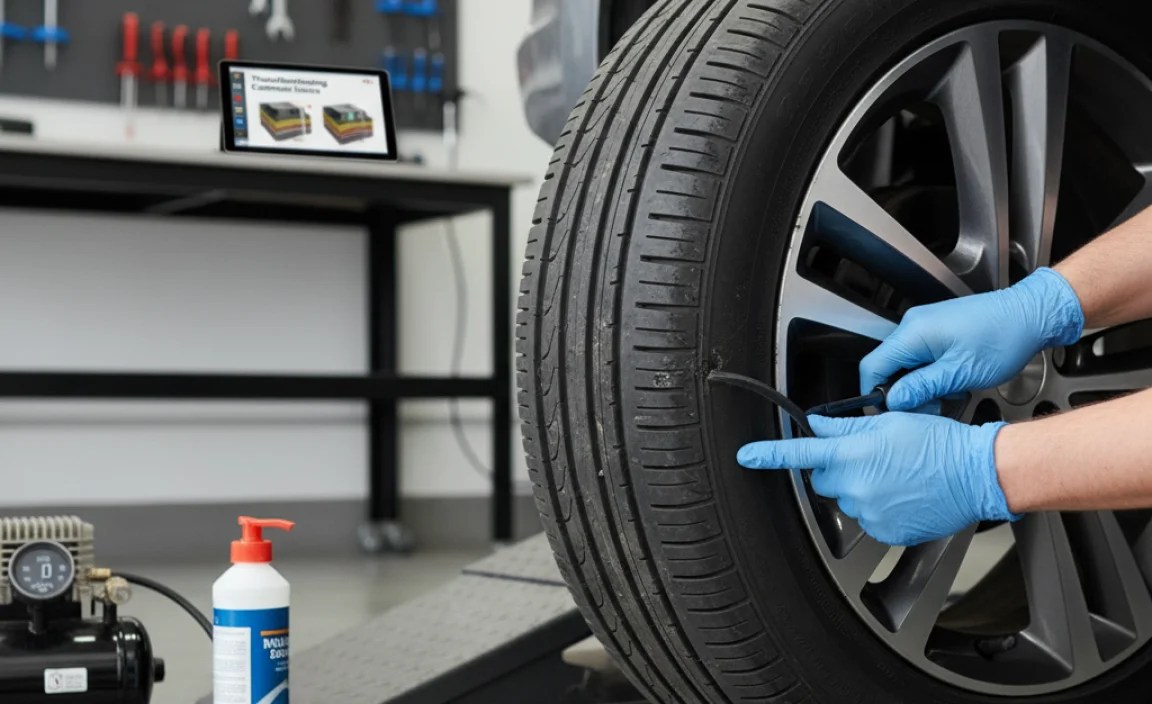
Step 6: Inspect the Tire
Carefully run your fingers along the inside of the tire to check for any sharp objects. A small piece of glass, a thorn, or a metal shard could still be lodged in the tire. Remove anything you find to prevent another flat.
Step 7: Repair or Replace the Tube
Now you have two options: patch the tube or replace it with a new one. Here’s how to do both:
Patching the Tube
- Rough the Surface: Use the sandpaper from the patch kit to rough the area around the hole. This helps the adhesive stick.
- Apply Glue: Apply a thin layer of glue to the roughened area. Let it dry for a minute or two until it becomes tacky.
- Apply the Patch: Remove the backing from the patch and press it firmly over the glued area. Hold it in place for a minute to ensure it adheres well.
Replacing the Tube
- Slightly Inflate the New Tube: Add just a bit of air to the new tube. This gives it some shape and prevents pinching during installation.
- Insert the Valve Stem: Insert the valve stem into the hole in the rim.
- Tuck the Tube into the Tire: Carefully tuck the rest of the tube into the tire cavity. Make sure it’s not twisted or pinched.
Step 8: Seat the Tire Back onto the Rim
Starting at the valve, use your thumbs to push the tire back onto the rim. Work your way around, making sure the tube isn’t pinched between the tire and the rim. The last section can be tricky. Use your thumbs and apply pressure to seat the tire fully. If it’s too tight, double-check that the opposite side of the tire is seated properly in the rim’s center channel. If needed, use tire levers to carefully ease the last bit of tire over the rim, being extra careful not to pinch the tube.
Step 9: Inflate the Tire
Inflate the tire to the recommended pressure. This is usually printed on the sidewall of the tire. Use a bike pump or CO2 inflator. Check the tire as you inflate it to make sure it’s seating evenly on the rim. Look for a consistent gap between the tire and the rim all the way around.
Step 10: Final Check
Give the tire one last check. Make sure the tire is properly seated and there are no bulges or pinches. Spin the wheel to ensure it rotates smoothly. If everything looks good, you’re ready to ride!
Tips and Tricks for Easier Tire Repair

- Use Talcum Powder: A little talcum powder inside the tire can help prevent the tube from sticking and reduce friction.
- Carry Two Spare Tubes: If you’re going on a long ride, carrying two spare tubes can save you time and hassle.
- Practice at Home: Practice fixing a flat tire at home before you need to do it on the road. This will make you more confident and efficient.
- Inspect Your Tires Regularly: Check your tires for cuts, embedded objects, and wear. Replace them before they fail.
- Consider Tubeless Tires: For frequent riders, tubeless tires offer better puncture resistance and a smoother ride.
Troubleshooting Common Issues
| Issue | Possible Cause | Solution |
|---|---|---|
| Tire is too tight to get on the rim. | Tire bead is not in the center channel of the rim. | Make sure the opposite side of the tire is seated in the rim’s center channel. |
| Pinching the tube while seating the tire. | Not enough space or using too much force. | Use your thumbs carefully, and ensure the tube is fully inside the tire. |
| Valve stem is crooked. | Tube is twisted inside the tire. | Deflate the tire slightly and realign the valve stem. |
| Recurring flats. | Sharp object still in the tire or damaged rim tape. | Thoroughly inspect the tire and replace the rim tape if necessary. |
Choosing the Right Tools and Supplies

Investing in quality tools and supplies makes tire repair easier and more reliable. Here’s a quick guide:
Tire Levers
Look for durable tire levers made of strong plastic or metal. Plastic levers are less likely to damage your rims, but metal levers are more durable. Park Tool and Pedro’s make excellent tire levers.
Spare Tubes
Make sure you buy the correct size tube for your tire. The size is usually printed on the tire sidewall. Also, choose the correct valve type (Presta or Schrader).
Patch Kits
A good patch kit should include sandpaper, glue, and several patches of different sizes. Look for self-adhesive patches for a quick and easy fix.
Bike Pumps
Choose a reliable bike pump that can inflate your tires to the correct pressure. Floor pumps are great for home use, while mini-pumps or CO2 inflators are perfect for on-the-road repairs. Topeak and Lezyne make excellent pumps.
| Tool/Supply | Brand Recommendation | Why |
|---|---|---|
| Tire Levers | Park Tool TL-1.2 | Durable plastic, won’t damage rims. |
| Spare Tube | Continental Race 28 | Reliable, high-quality butyl rubber. |
| Patch Kit | Park Tool VP-1 | Comprehensive, includes everything you need. |
| Bike Pump | Topeak JoeBlow Sport III | Easy to use, accurate pressure gauge. |
Additional Resources
For more in-depth information, check out these resources:
- REI Co-op Expert Advice: How to Fix a Flat Bike Tire
- Park Tool: Tire Changing Basics
- BikeRadar: How to fix a flat tyre
FAQ: Fixing Flat Tires
Can I use any tire lever?
Not all tire levers are created equal. Get durable ones made from strong plastic or metal to avoid breakage. Metal levers can damage rims if you’re not careful, so plastic is often preferred.
How do I know what size tube to buy?
Check the sidewall of your tire. It will list the tire size (e.g., 700x25c). Buy a tube that matches this size. Also, ensure the valve type (Presta or Schrader) matches your rim.
What’s the difference between Presta and Schrader valves?
Presta valves are narrow and have a valve core that needs to be opened before inflation. Schrader valves are wider, like those on car tires. Most road bikes use Presta valves, while mountain bikes often use Schrader valves.
How much air should I put in my tire?
The recommended tire pressure is printed on the tire sidewall. Use a pump with a gauge to inflate your tire to this pressure. Proper inflation prevents flats and improves rolling resistance.
What if I can’t get the tire back on the rim?
Make sure the opposite side of the tire is seated in the center channel of the rim. This gives you more slack. Use your thumbs to push the tire onto the rim. If needed, use tire levers carefully, but avoid pinching the tube.
Can I reuse a patched tube?
Yes, a properly patched tube can be reused. However, inspect it carefully before each ride. If the patch starts to peel or the tube shows signs of wear, replace it.
How often should I replace my tires?
Replace your tires when they show signs of wear, such as cuts, bulges, or a flattened profile. Regular inspection will help you catch these issues before they cause a flat.
Conclusion
Fixing a flat tire without removing the wheel is a valuable skill for any cyclist. It saves time and gets you back on the road quickly. By following these simple steps and tips, you can confidently handle a flat tire wherever you are. Remember to practice at home, carry the right tools, and inspect your tires regularly. With a little practice, you’ll be a flat-fixing pro in no time, ready to tackle any ride with confidence. Now get out there and enjoy the ride, knowing you’re prepared for anything!


