
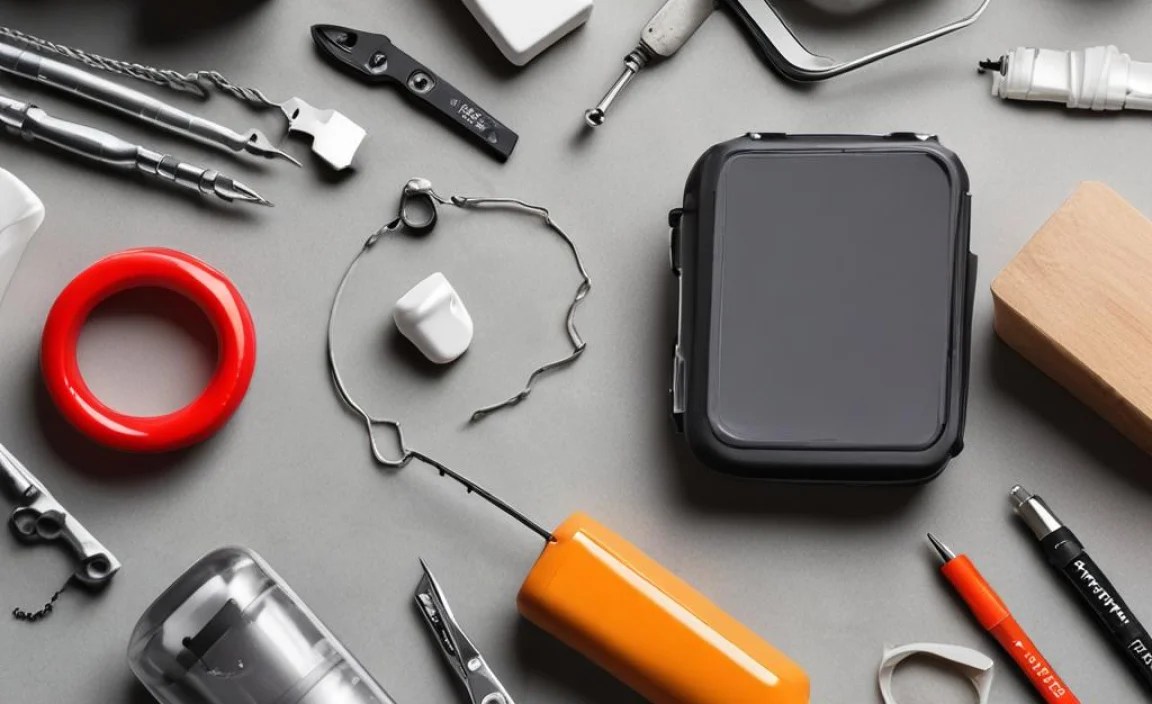
Essential Items for On-the-Go Repairs: Smart Fixes!
Being prepared for on-the-go bike repairs means carrying a few essential items. A multi-tool, spare tube, tire levers, mini-pump or CO2 inflator, and a patch kit are crucial. Knowing how to use them can save your ride! For longer trips, consider adding a chain tool and spare chain links.
Flat tires, loose bolts, and minor chain issues can happen anytime you’re out on a ride. Nothing is more frustrating than being miles from home with a simple problem you can’t fix! But with the right tools and a little know-how, you can handle most common roadside repairs and get back in the saddle quickly. This guide will walk you through the essential items you need for on-the-go bike repairs, ensuring you’re prepared for almost anything.
We’ll cover everything from the must-have multi-tool to dealing with flat tires and basic chain fixes. By the end, you’ll have a solid understanding of what to carry and how to use it, giving you the confidence to tackle common bike problems wherever your ride takes you. Let’s get started!
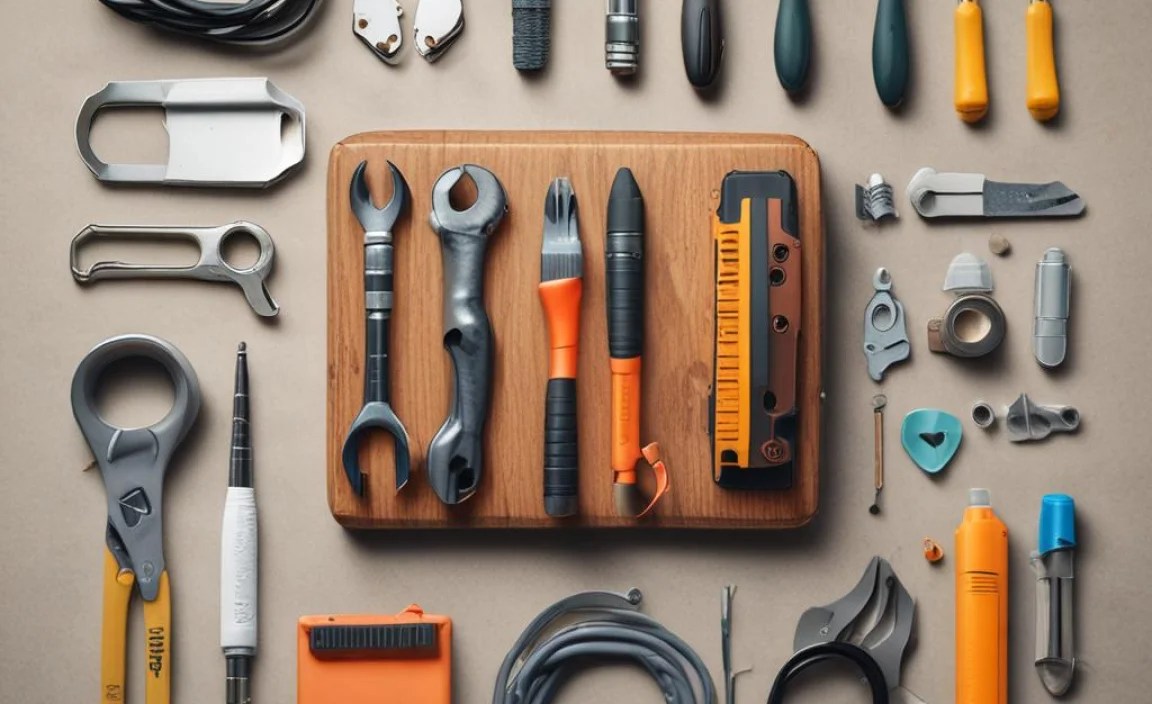
Essential Items for On-the-Go Bike Repairs
Here’s a breakdown of the essential items you should always have with you for on-the-go bike repairs:
- Multi-Tool
- Spare Tube
- Tire Levers
- Mini-Pump or CO2 Inflator
- Patch Kit
1. Multi-Tool
A multi-tool is your best friend on the road. It combines several essential tools into one compact package, saving space and weight. Look for one that includes:
- Allen wrenches (2.5mm, 3mm, 4mm, 5mm, 6mm, and 8mm)
- Screwdrivers (Phillips and flathead)
- Torx wrench (T25 for disc brake rotors)
Some multi-tools also include a chain tool, which is incredibly useful for repairing broken chains. A good multi-tool like the Crankbrothers Multi 17 (https://www.crankbrothers.com/collections/multi-tools) can handle a wide range of adjustments and repairs.
How to Use a Multi-Tool
Using a multi-tool is straightforward. Simply unfold the tool you need and use it as you would a standard wrench or screwdriver. Be careful not to overtighten bolts, especially on carbon fiber components. Refer to your bike manufacturer’s torque specifications for proper tightening.
2. Spare Tube
Flat tires are the most common mechanical issue cyclists face. Carrying a spare tube ensures you can quickly replace a punctured tube and get back on the road. Make sure the tube matches your tire size and valve type (Presta or Schrader). Check the tube regularly for any signs of wear or damage.
Choosing the Right Tube
When selecting a spare tube, consider the following:
- Size: Match the tube size to your tire size (e.g., 700x25c for road bikes, 29×2.2 for mountain bikes).
- Valve Type: Choose the valve type that matches your wheels (Presta or Schrader).
- Valve Length: Ensure the valve is long enough for your rims, especially if you have deep-section aero wheels.
3. Tire Levers
Tire levers are essential for removing a tire from the rim. They provide the leverage needed to pry the tire bead over the rim edge without damaging the tire or rim. Carry at least two tire levers; three is even better. Park Tool tire levers (https://www.parktool.com/en-us/category/tyre-levers) are a popular and reliable choice.
Using Tire Levers Correctly
Here’s how to use tire levers to remove a tire:
- Deflate the tire completely.
- Insert one tire lever under the tire bead and hook it onto a spoke.
- Insert a second tire lever a few inches away from the first and pry the tire bead over the rim.
- Once a section of the tire is off the rim, you can usually slide one lever around the rim to remove the rest of the tire.
4. Mini-Pump or CO2 Inflator
After replacing or patching a tube, you’ll need to inflate it. A mini-pump or CO2 inflator is essential for this task. Mini-pumps are reliable and don’t require cartridges, but they can take longer to inflate a tire. CO2 inflators are faster but require CO2 cartridges, which need to be replaced after each use.
Mini-Pump vs. CO2 Inflator
| Feature | Mini-Pump | CO2 Inflator |
|---|---|---|
| Speed | Slower | Faster |
| Reliability | Very Reliable | Reliant on Cartridges |
| Cost | One-time purchase | Ongoing cost of cartridges |
| Environmental Impact | Low | Higher (cartridge disposal) |
5. Patch Kit
A patch kit is a lightweight and compact solution for repairing small punctures. While a spare tube is ideal for quick fixes, a patch kit allows you to repair multiple punctures on a single ride. Modern patch kits are often glueless, making them easier and faster to use. The Park Tool GP-2 glueless patch kit (https://www.parktool.com/en-us/product/gp-2-self-adhesive-patches-gp-2) is a great option.
How to Use a Patch Kit
- Locate the puncture in the tube.
- Rough up the area around the puncture with the sandpaper included in the kit.
- Apply the patch firmly over the puncture.
- Wait a few minutes for the adhesive to bond before inflating the tube.
Additional Items for Longer Rides

For longer rides, especially those far from civilization, consider adding these items to your repair kit:
- Chain Tool
- Spare Chain Links
- Zip Ties
- Duct Tape
- Derailleur Hanger
1. Chain Tool
A chain tool allows you to break and rejoin your chain, which is essential for repairing a broken chain link. Practice using the chain tool at home before taking it on the road. A reliable chain tool will make chain repairs much easier.
Using a Chain Tool
- Position the chain tool over the chain pin you want to remove.
- Tighten the tool’s handle to push the pin out of the chain link.
- To rejoin the chain, align the links and use the tool to push the pin back in.
- Make sure the chain moves freely after rejoining it.
2. Spare Chain Links
Spare chain links, also known as quick links or master links, provide a quick and easy way to repair a broken chain. They are much simpler to use than a chain tool and are a must-have for any serious cyclist. Always carry the correct size chain links for your drivetrain (e.g., 11-speed, 12-speed).
Installing a Quick Link
- Remove the damaged chain link using a chain tool.
- Insert the two halves of the quick link into the open ends of the chain.
- Pull the chain tight to lock the quick link in place. Some quick links may require pliers to fully lock.
3. Zip Ties
Zip ties are incredibly versatile and can be used for a wide range of temporary repairs. They can secure cables, fix broken racks, or even hold a derailleur in place in a pinch. Carry a few different sizes for maximum versatility.
4. Duct Tape
Like zip ties, duct tape is incredibly versatile. It can be used to repair torn tires, secure loose parts, or even protect your skin from chafing. Wrap a small amount of duct tape around your mini-pump or seat post to save space.
5. Derailleur Hanger
A bent or broken derailleur hanger can render your bike unrideable. Carrying a spare derailleur hanger ensures you can quickly replace a damaged one and get back on the road. Make sure you know the correct derailleur hanger for your bike model, as they are not universal.
Organizing Your Repair Kit
Keeping your repair kit organized makes it easier to find what you need quickly. Here are a few tips for organizing your on-the-go repair kit:
- Use a saddlebag or tool roll to keep everything in one place.
- Organize items by frequency of use, with the most commonly used items easily accessible.
- Use small bags or containers to keep small items like patches and chain links from getting lost.
- Check your kit regularly to ensure everything is in good condition and replace any used or damaged items.
Practice Makes Perfect
Having the right tools is only half the battle. It’s essential to know how to use them. Practice common repairs like changing a tire and repairing a chain at home before you need to do it on the road. Watch videos, read tutorials, and ask experienced cyclists for advice. The more comfortable you are with these repairs, the more confident you’ll be on the road.
Additional Tips for On-the-Go Repairs
Here are a few additional tips to keep in mind for on-the-go repairs:
- Safety First: Always prioritize your safety. Pull over to a safe location before attempting any repairs.
- Stay Clean: Carry hand sanitizer or wipes to clean your hands after making repairs.
- Stay Hydrated: Bring enough water and snacks, especially on longer rides.
- Tell Someone: Let someone know your route and expected return time.
- Check the Weather: Be prepared for changing weather conditions.
Essential On-the-Go Repair Items Checklist
Use this checklist to make sure you have all the essential items before heading out for a ride:
- [ ] Multi-Tool
- [ ] Spare Tube
- [ ] Tire Levers
- [ ] Mini-Pump or CO2 Inflator
- [ ] Patch Kit
- [ ] Chain Tool (for longer rides)
- [ ] Spare Chain Links (for longer rides)
- [ ] Zip Ties (for longer rides)
- [ ] Duct Tape (for longer rides)
- [ ] Derailleur Hanger (for longer rides)
Understanding Bike Repair Difficulty Levels
Not all bike repairs are created equal. It’s essential to understand the difficulty level of a repair before attempting it on the road. Here’s a general guide:
| Difficulty Level | Repair | Tools Required | Experience Level |
|---|---|---|---|
| Easy | Changing a flat tire | Tire levers, mini-pump or CO2 inflator | Beginner |
| Medium | Patching a tube | Patch kit | Beginner |
| Medium | Adjusting brakes | Multi-tool | Intermediate |
| Medium | Adjusting derailleurs | Multi-tool | Intermediate |
| Hard | Repairing a broken chain | Chain tool, spare chain links | Advanced |
| Hard | Replacing a derailleur hanger | Multi-tool, spare derailleur hanger | Advanced |
FAQ: Essential Items for On-the-Go Repairs
What is the most common bike repair I’ll likely face on a ride?
Flat tires are by far the most common issue. Always carry a spare tube, tire levers, and a pump or CO2 inflator.
Can I use a CO2 inflator to fill my tires regularly?
CO2 inflators are best for quick, on-the-go fixes. The CO2 will leak out of the tube faster than air from a pump. Use a floor pump at home for regular inflation.
What size multi-tool should I get?
Choose a multi-tool that includes the most common Allen wrench sizes (2.5mm, 3mm, 4mm, 5mm, 6mm) and screwdrivers. A chain tool is a bonus.
How often should I check my spare tube?
Check your spare tube every few months to ensure it’s still in good condition. Look for any signs of wear or damage.
What if I don’t know how to use a chain tool?
Practice using a chain tool at home before you need it on the road. Watch videos and read tutorials to learn the proper technique.
Is it worth carrying a patch kit if I have a spare tube?
Yes, a patch kit is a great backup. It allows you to repair multiple punctures on a single ride, saving you from running out of spare tubes.
Where should I store my repair kit on my bike?
A saddlebag is a popular choice for storing repair kits. You can also use a tool roll or mount a small bag to your frame.
Being prepared for on-the-go bike repairs doesn’t have to be daunting. By carrying the essential items and knowing how to use them, you can confidently tackle most common roadside issues and keep your rides enjoyable. Remember to practice your repair skills at home, stay safe on the road, and always prioritize your safety. With a little preparation, you’ll be ready to handle whatever comes your way and keep rolling!


