
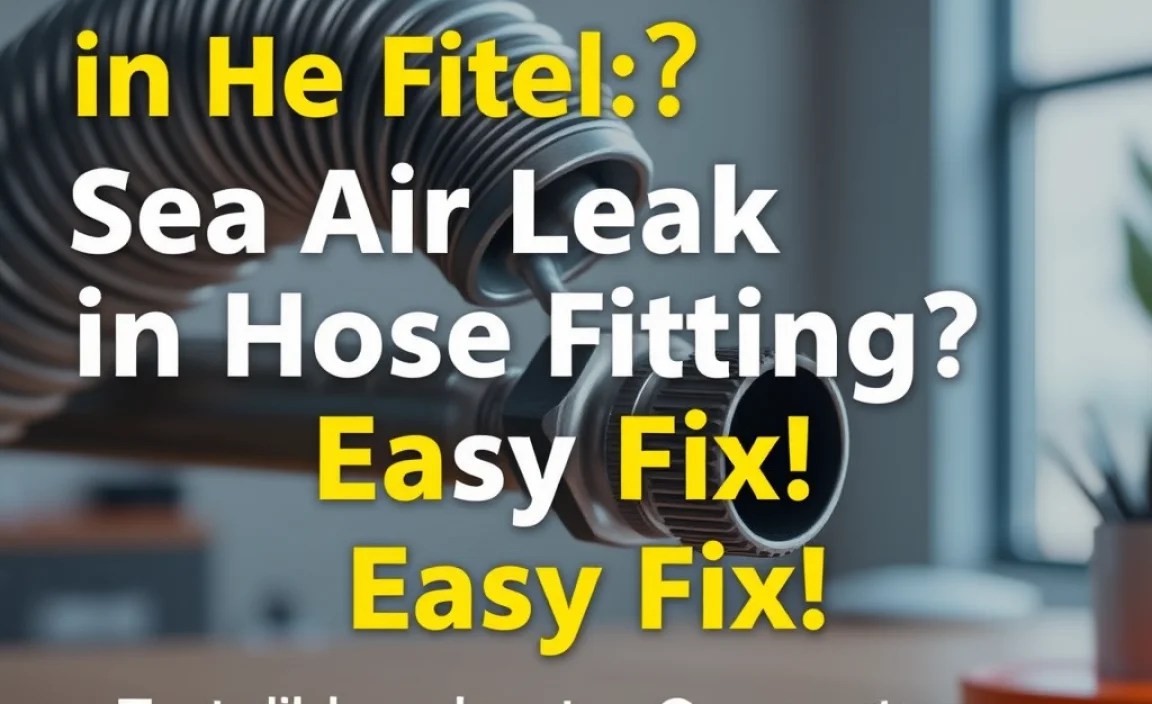
How to Seal Air Leak in Hose Fitting? Easy Fix!
Quick Summary: To seal an air leak in a hose fitting, start by identifying the leak. Then, try tightening the fitting. If that doesn’t work, disassemble the connection, clean the threads, and apply Teflon tape or thread sealant. Reassemble and test for leaks. For stubborn leaks, consider replacing the fitting or hose.
Air leaks in hose fittings can be super frustrating, especially when you’re trying to inflate your bike tires or use air tools. It’s like trying to fill a bucket with a hole in the bottom – you’re just wasting energy and time. But don’t worry! Sealing these leaks is usually a simple fix you can do at home with a few basic tools. This guide will walk you through each step, so you can get back to riding and working without the hiss of escaping air.
We’ll cover everything from identifying the leak to applying sealant and testing your repair. Whether it’s a bike pump, an air compressor, or any other hose connection, these steps will help you get a tight, leak-free seal. Let’s get started!
Identifying the Air Leak

The first step in fixing an air leak is finding exactly where it’s coming from. This might seem obvious, but a careful inspection can save you time and effort.
Visual Inspection
Start by looking closely at the hose fitting while the system is pressurized. Look for bubbles, listen for hissing, and feel around the connection. If you see or hear anything suspicious, that’s likely your leak.
The Soapy Water Test
If you can’t spot the leak visually, mix some dish soap with water in a spray bottle. Spray the solution around the hose fitting. If there’s a leak, you’ll see bubbles forming where the air is escaping. This is a reliable way to pinpoint even small leaks.
Tools and Materials You’ll Need

Before you start the repair, gather all the necessary tools and materials. Having everything on hand will make the process smoother and faster.
- Wrench (adjustable or the correct size for your fitting)
- Teflon tape (also known as PTFE tape or plumber’s tape)
- Thread sealant (optional, but good for stubborn leaks)
- Clean rags
- Wire brush or small cleaning brush
- Spray bottle with soapy water (for testing)
Step-by-Step Guide to Sealing the Leak
Now that you’ve identified the leak and gathered your supplies, let’s get to the repair.
Step 1: Depressurize the System
Before you start working on the hose fitting, make sure to depressurize the system. For a bike pump, simply release any remaining air. For an air compressor or other pressurized system, turn it off and release the pressure according to the manufacturer’s instructions. This is a crucial safety step.
Step 2: Tighten the Fitting
Sometimes, the leak is simply due to a loose connection. Use a wrench to gently tighten the fitting. Be careful not to overtighten, as this can damage the threads. After tightening, repressurize the system and check for leaks using the soapy water test. If the leak is gone, you’re all set!
Step 3: Disassemble the Fitting
If tightening doesn’t solve the problem, you’ll need to disassemble the fitting. Use a wrench to loosen and remove the fitting from the hose or equipment. Take note of how the fitting is assembled so you can put it back together correctly.
Step 4: Clean the Threads
Once the fitting is disassembled, clean the threads on both the fitting and the hose or equipment. Use a wire brush or small cleaning brush to remove any dirt, debris, or old sealant. A clean surface is essential for a good seal.
Step 5: Apply Teflon Tape or Thread Sealant
Now it’s time to apply Teflon tape or thread sealant. Teflon tape is a thin, white tape that creates a tight seal when wrapped around the threads. Thread sealant is a liquid or paste that fills in gaps and creates a leak-proof barrier.
Using Teflon Tape:
- Wrap the Teflon tape around the male threads of the fitting.
- Wrap it in the direction that the fitting will be tightened. This ensures that the tape tightens as you screw the fitting in, rather than unraveling.
- Apply 2-3 layers of tape, overlapping each layer slightly.
- Tear off the excess tape.
Using Thread Sealant:
- Apply a thin, even layer of thread sealant to the male threads of the fitting.
- Be careful not to get sealant inside the hose or equipment.
- Follow the manufacturer’s instructions for drying time, if any.
Tip: Some people prefer to use both Teflon tape and thread sealant for extra protection against leaks. If you choose to do this, apply the Teflon tape first, then the thread sealant.
Step 6: Reassemble the Fitting
Carefully reassemble the fitting, making sure to align the threads properly. Tighten the fitting with a wrench, but don’t overtighten. You want it to be snug, but not so tight that you risk damaging the threads.
Step 7: Test for Leaks
Repressurize the system and test for leaks using the soapy water test. Spray the solution around the fitting and look for bubbles. If you still see bubbles, repeat the process, applying more Teflon tape or thread sealant as needed. If the leak persists, it may be time to replace the fitting or hose.
Troubleshooting Common Issues

Even with careful attention, you might encounter some challenges. Here are a few common issues and how to address them.
Overtightening
Overtightening can damage the threads and actually cause leaks. If you suspect you’ve overtightened a fitting, loosen it and inspect the threads for damage. If the threads are stripped or cracked, you’ll need to replace the fitting or hose.
Incorrect Tape Application
If you apply Teflon tape in the wrong direction, it can unravel as you tighten the fitting. Make sure to wrap the tape in the direction that the fitting will be tightened.
Damaged Threads
If the threads are damaged or corroded, it can be difficult to get a good seal. In this case, you may need to replace the fitting or hose. Use a thread file to repair damaged threads.
Choosing the Right Sealant
Selecting the appropriate sealant is crucial for ensuring a long-lasting, leak-free connection. Here’s a comparison of two popular options:
| Sealant Type | Pros | Cons | Best Use Cases |
|---|---|---|---|
| Teflon Tape (PTFE) |
|
|
|
| Thread Sealant (Liquid/Paste) |
|
|
|
Preventing Future Leaks
Prevention is always better than cure. Here are some tips to help prevent air leaks in hose fittings:
- Regularly inspect your hose fittings for signs of wear or damage.
- Tighten fittings periodically to ensure they are snug.
- Use high-quality fittings and hoses.
- Avoid overtightening fittings.
- Store hoses properly to prevent damage.
When to Replace a Fitting or Hose
Sometimes, no amount of sealant or tightening will fix a leak. If you’ve tried everything and the leak persists, it’s time to replace the fitting or hose. Look for signs of damage, such as cracks, corrosion, or stripped threads. Replacing a worn-out fitting or hose can save you time and frustration in the long run.
Additional Tips for Success
Here are a few extra tips to help you seal air leaks in hose fittings like a pro:
- Use the right size wrench for the fitting to avoid damaging the threads.
- When applying Teflon tape, wrap it tightly and evenly.
- Follow the manufacturer’s instructions for thread sealant.
- Test for leaks after each step to ensure the problem is resolved.
- If you’re not comfortable working on pressurized systems, consult a professional.
FAQ: Sealing Air Leaks in Hose Fittings
1. Why is my hose fitting leaking air?
Hose fittings leak air due to loose connections, damaged threads, or worn-out sealant. Over time, vibrations and pressure changes can loosen fittings, while corrosion and physical damage can compromise the threads and sealant.
2. Can I use Teflon tape on any type of fitting?
Yes, Teflon tape is generally safe to use on most types of fittings, including metal and plastic. However, it’s essential to ensure the tape is compatible with the materials and the intended application.
3. How often should I replace Teflon tape on fittings?
Replace Teflon tape whenever you disassemble a fitting. Teflon tape loses its effectiveness once it’s been compressed, so fresh tape is necessary for a reliable seal after reassembly.
4. Is thread sealant better than Teflon tape?
Neither is strictly “better” – they’re suited for different applications. Thread sealant is often preferred for high-pressure systems or when a more robust seal is needed, while Teflon tape is great for general-purpose sealing.
5. What should I do if I overtighten a fitting?
If you overtighten a fitting, carefully loosen it and inspect the threads for damage. If the threads are stripped or cracked, replace the fitting. If the threads appear undamaged, reapply Teflon tape or thread sealant and tighten it properly.
6. Can I mix different types of thread sealants?
No, avoid mixing different types of thread sealants. Incompatible sealants can react with each other, compromising the seal and potentially damaging the fitting. Always use a single, compatible sealant.
7. How do I know if I need to replace the entire hose?
Replace the entire hose if you notice cracks, brittleness, or significant wear. If the hose is bulging or showing signs of internal damage, it’s crucial to replace it to prevent a complete failure and potential safety hazards.
Conclusion
Sealing air leaks in hose fittings doesn’t have to be a daunting task. By following these simple steps, you can quickly identify and fix most leaks, saving you time and money. Remember to always prioritize safety by depressurizing the system before working on it. With a little patience and the right tools, you can keep your bike pump, air compressor, and other equipment running smoothly and efficiently. Happy cycling!


