
How Often Should a Pump Cycle to Repressurize the System?
Quick Summary: A pump should cycle to repressurize the system no more than 6-8 times per hour under normal conditions. More frequent cycling indicates a potential leak or problem with the pressure tank, while less frequent cycling could mean the pump is oversized or the system isn’t being used enough. Monitoring cycle frequency helps maintain optimal pump performance and prevent premature wear.
Is your pump turning on and off too much? It’s a common worry for cyclists and homeowners alike. A pump that cycles too often to repressurize a system can be annoying and a sign of bigger problems. Figuring out the right cycling frequency is key to keeping things running smoothly and preventing damage. It’s like ensuring your bike tires have the perfect pressure for a comfortable ride.
In this guide, I’ll walk you through what’s normal, what’s not, and how to troubleshoot common issues. We’ll cover everything from identifying leaks to understanding pressure tank problems. By the end, you’ll know how to keep your pump working efficiently. Let’s get started and keep your system in top shape!
Understanding Pump Cycling
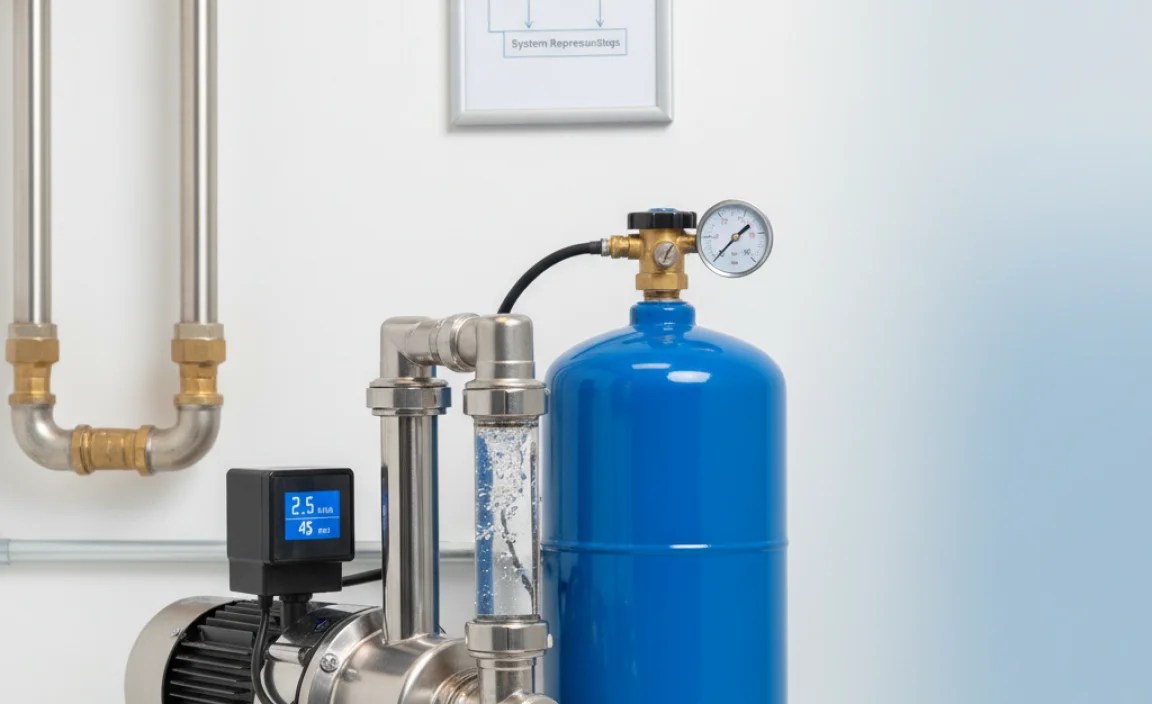
Pump cycling refers to how frequently your pump turns on and off to maintain pressure in a system. Whether it’s a well pump, a pressure booster, or even a bicycle pump, understanding this cycle is crucial for efficiency and longevity. Let’s dive into the details.
What is a Normal Cycling Frequency?
A normal cycling frequency for a pump is generally considered to be 6-8 times per hour. This range ensures that the pump isn’t overworked and that the pressure in the system remains consistent. Think of it like pedaling your bike at a comfortable cadence – not too fast, not too slow, but just right for maintaining speed and conserving energy.
Factors Affecting Cycling Frequency
Several factors can influence how often your pump cycles. These include:
- System Size: Larger systems typically require less frequent cycling because they can store more water or air.
- Usage: Higher water or air demand will naturally cause the pump to cycle more often.
- Pressure Tank Size: A larger pressure tank reduces the frequency of pump cycles by storing more water or air between cycles.
- Leaks: Undetected leaks can cause the pump to cycle more frequently as it tries to maintain pressure.
- Pump Size: An oversized pump might fill the tank too quickly, leading to short, frequent cycles.
Identifying Abnormal Cycling
Knowing what’s normal is the first step. Now, let’s look at what’s considered abnormal and what it might mean.
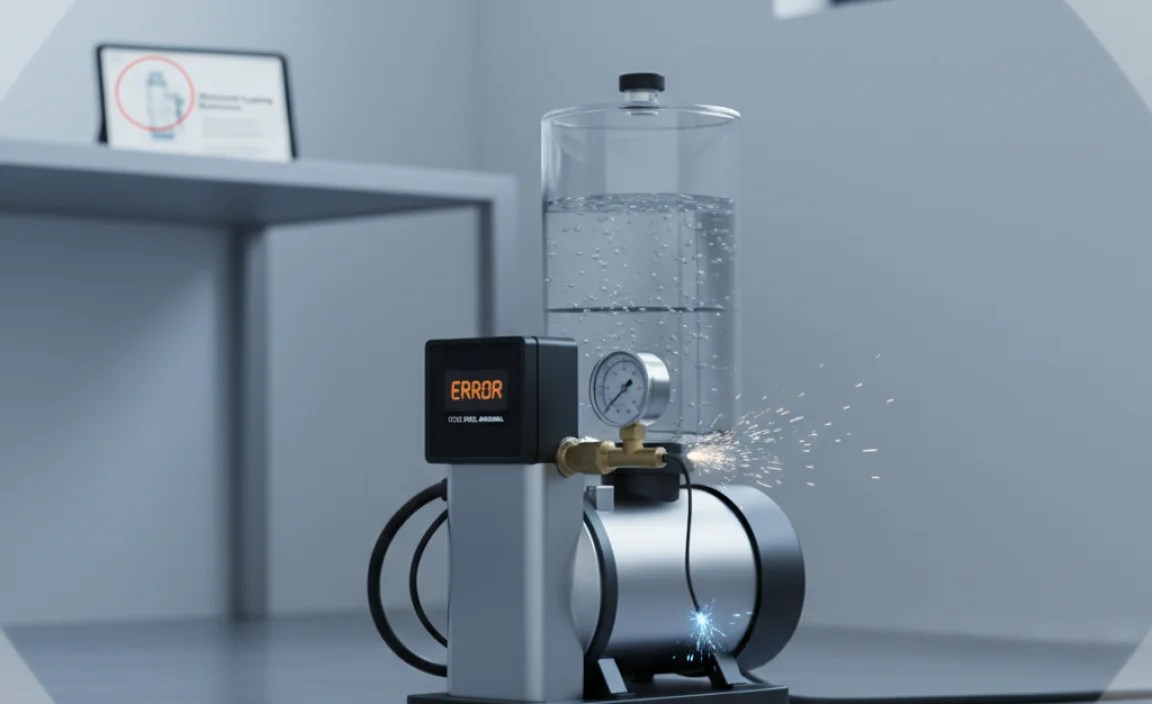
Too-Frequent Cycling
If your pump is cycling more than 8 times per hour, it’s a sign that something is amiss. This excessive cycling, often called “short cycling,” can wear out the pump quickly and increase energy consumption. It’s like repeatedly sprinting on your bike instead of maintaining a steady pace – exhausting and inefficient.
Common Causes of Too-Frequent Cycling:
- Leaks: Even small leaks in pipes, fittings, or fixtures can cause a significant drop in pressure, triggering the pump to cycle more often.
- Waterlogged Pressure Tank: A pressure tank that has lost its air charge becomes waterlogged, reducing its storage capacity and causing the pump to cycle more frequently.
- Incorrect Pressure Switch Setting: If the pressure switch is set too low, the pump will turn on more frequently to maintain the desired pressure.
Too-Infrequent Cycling
On the other hand, if your pump is cycling less than 6 times per hour, it might indicate a different set of issues. While it might seem like a good thing at first, infrequent cycling can also lead to problems.
Common Causes of Too-Infrequent Cycling:
- Oversized Pump: An oversized pump can fill the pressure tank very quickly, resulting in longer periods between cycles.
- Low Water Demand: If water usage is minimal, the pump won’t need to cycle as often to maintain pressure.
- Pressure Switch Issues: A faulty pressure switch might not be triggering the pump to turn on when it should.
Troubleshooting Pump Cycling Issues
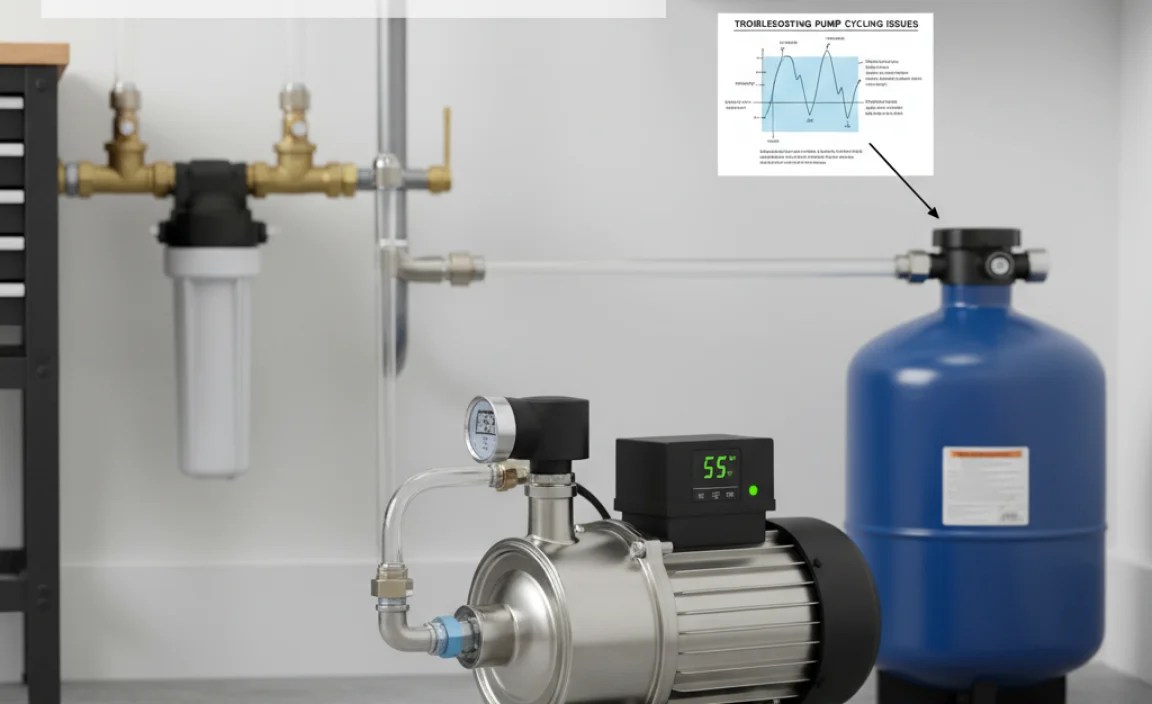
Now that you know what to look for, let’s get into troubleshooting. Here’s a step-by-step guide to diagnosing and fixing common pump cycling problems.
Step 1: Check for Leaks
Leaks are one of the most common causes of frequent pump cycling. Start by inspecting all visible pipes, fittings, and fixtures for any signs of water leakage. Don’t forget to check less obvious places like toilet fill valves and outdoor faucets.
How to Check:
- Visual Inspection: Look for drips, wet spots, or signs of water damage around pipes and fixtures.
- Sound Test: Listen for the sound of running water when no fixtures are in use.
- Pressure Test: Shut off all water-using appliances and check if the pressure drops on the gauge over time.
Step 2: Inspect the Pressure Tank
The pressure tank plays a crucial role in regulating pump cycles. A waterlogged or damaged tank can cause the pump to cycle too frequently. Here’s how to inspect it:
How to Check:
- Tap Test: Tap on the side of the tank. A full tank will sound solid from top to bottom, while a waterlogged tank will sound hollow at the top and solid at the bottom.
- Air Pressure Test: Turn off the pump and drain the tank. Use a tire pressure gauge to check the air pressure at the Schrader valve (usually located at the top of the tank). The pressure should be 2 PSI below the pump’s cut-in pressure (e.g., 28 PSI for a 30/50 switch).
- Leak Test: Check for water leaking from the Schrader valve when you press the pin. If water comes out, the bladder is likely damaged, and the tank needs replacement.
For more in-depth information on pressure tanks, you can refer to resources like this guide from the Engineering ToolBox: Water Pressure Tanks – Design and Application.
Step 3: Examine the Pressure Switch
The pressure switch controls when the pump turns on and off. A faulty switch can cause erratic cycling. Here’s how to check it:
How to Check:
- Visual Inspection: Look for signs of damage, corrosion, or loose wires on the switch.
- Continuity Test: Use a multimeter to check the continuity of the switch contacts. The switch should show continuity when the pressure is below the cut-in point and no continuity when the pressure is above the cut-out point.
- Adjustment: If the switch is adjustable, make sure the cut-in and cut-out pressures are set correctly. Consult the pump or tank manufacturer’s specifications for the correct settings.
Step 4: Evaluate Pump Size and Performance
An incorrectly sized or failing pump can also cause cycling issues. Consider the following:
How to Check:
- Pump Size: Ensure the pump is appropriately sized for your system’s needs. An oversized pump can lead to short cycling, while an undersized pump may struggle to maintain pressure.
- Pump Performance: Check the pump’s flow rate and pressure output. A worn or damaged pump may not be able to deliver the required performance.
- Well Water Level: For well pumps, ensure the water level in the well is sufficient. A low water level can cause the pump to run dry and cycle frequently.
Step 5: Check Valves and Foot Valves
Valves play a critical role in maintaining pressure and preventing backflow. A faulty check valve or foot valve can cause the pump to lose prime and cycle frequently.
How to Check:
- Check Valve Inspection: Ensure the check valve is functioning correctly by verifying that it prevents water from flowing back into the well or source.
- Foot Valve Inspection: For well pumps, inspect the foot valve at the bottom of the well. A damaged or clogged foot valve can cause the pump to lose prime and cycle frequently.
- Replacement: If either valve is faulty, replace it with a new one.
Step-by-Step Guide to Adjusting Pressure Tank Pre-Charge

Adjusting the pressure tank pre-charge is a crucial step in maintaining optimal pump performance. Here’s a detailed guide:
- Turn Off the Pump: Disconnect the power to the pump to ensure safety.
- Drain the Tank: Open a faucet or drain valve to completely drain the water from the pressure tank.
- Locate the Schrader Valve: Find the Schrader valve, usually located at the top of the tank, covered by a cap.
- Check the Pre-Charge: Use a tire pressure gauge to check the air pressure at the Schrader valve.
- Adjust the Pre-Charge: If the pre-charge is too low, use an air compressor to add air until it reaches the correct pressure (2 PSI below the pump’s cut-in pressure). If it’s too high, release air until it reaches the correct pressure.
- Recharge the System: Close the drain valve and turn the pump back on. Allow the tank to fill with water.
- Monitor Performance: Observe the pump cycling to ensure it’s operating within the normal range (6-8 cycles per hour).
Preventative Measures
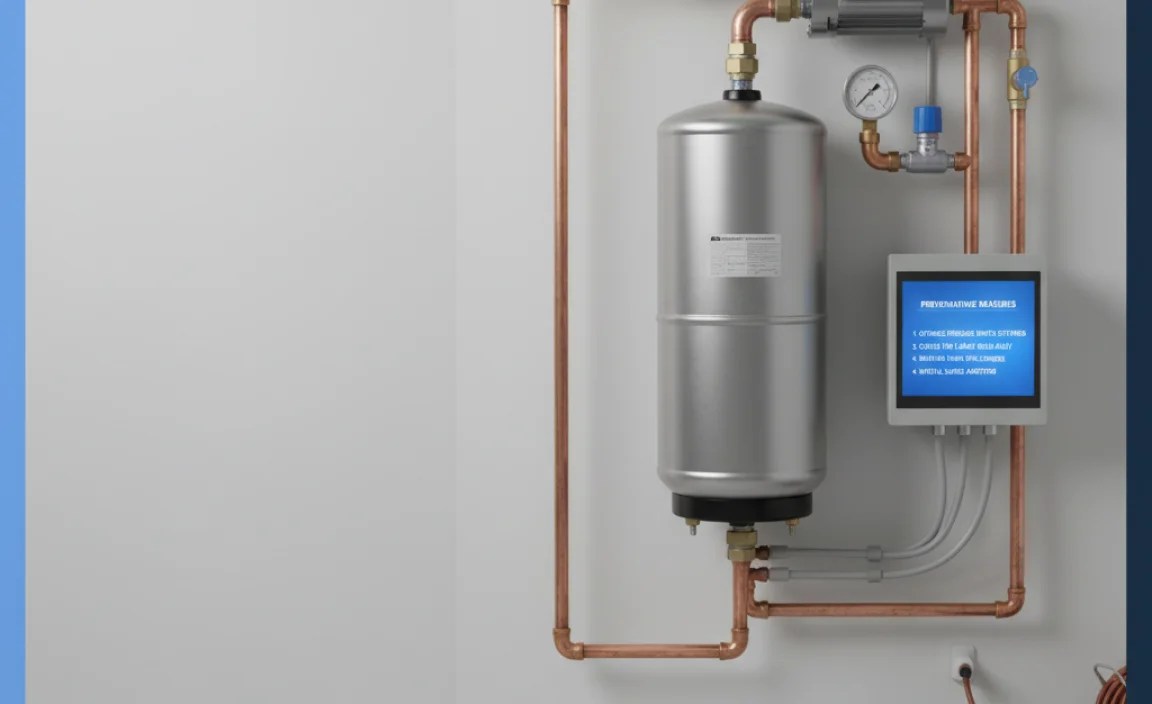
Preventing pump cycling issues is always better than fixing them. Here are some proactive steps you can take:
- Regular Inspections: Conduct routine inspections of your system to identify and address potential issues early.
- Maintain Pressure Tank: Check and adjust the pressure tank pre-charge annually.
- Check for Leaks: Regularly inspect pipes, fittings, and fixtures for leaks.
- Monitor Performance: Keep an eye on your pump’s cycling frequency and address any changes promptly.
Tools and Equipment
Having the right tools on hand can make troubleshooting and maintenance much easier. Here’s a list of essential tools:
- Pressure Gauge: For monitoring water pressure.
- Tire Pressure Gauge: For checking the pressure tank pre-charge.
- Multimeter: For testing electrical components.
- Adjustable Wrench: For tightening and loosening fittings.
- Air Compressor: For adjusting the pressure tank pre-charge.
- Plumber’s Tape: For sealing pipe threads.
Cost Considerations
Addressing pump cycling issues can involve various costs, depending on the problem and the solution. Here’s a breakdown of potential expenses:
| Issue | Potential Cost | Description |
|---|---|---|
| Leak Repair | $50 – $500 | Cost of materials and labor to repair leaks in pipes, fittings, or fixtures. |
| Pressure Tank Replacement | $200 – $800 | Cost of a new pressure tank and installation. |
| Pressure Switch Replacement | $30 – $150 | Cost of a new pressure switch and installation. |
| Pump Repair or Replacement | $300 – $2000 | Cost of repairing or replacing the pump, depending on the extent of the damage. |
Benefits of Proper Pump Cycling
Maintaining proper pump cycling offers several benefits:
- Extended Pump Life: Reducing excessive cycling minimizes wear and tear on the pump, extending its lifespan.
- Energy Savings: Efficient pump operation reduces energy consumption, lowering utility bills.
- Consistent Water Pressure: Proper cycling ensures consistent water pressure throughout your system.
- Reduced Maintenance Costs: Preventing pump cycling issues reduces the need for costly repairs and replacements.
Advanced Troubleshooting Tips
If you’ve tried the basic troubleshooting steps and are still experiencing issues, here are some advanced tips:
- Check for Air Leaks: Air leaks in the suction line can cause the pump to lose prime and cycle frequently. Use soapy water to check for air leaks at fittings and connections.
- Inspect the Well Casing: A damaged well casing can allow sediment and debris to enter the well, affecting pump performance.
- Evaluate Electrical Connections: Loose or corroded electrical connections can cause the pump to cycle erratically. Ensure all connections are clean and secure.
Expert Advice
When to Call a Professional?
While many pump cycling issues can be resolved with DIY troubleshooting, some situations require professional help. Consider calling a qualified plumber or well technician if:
- You’re uncomfortable working with electrical components.
- You suspect a major plumbing or well issue.
- You’ve tried troubleshooting and the problem persists.
FAQ
What is considered normal pump cycling frequency?
A normal pump cycling frequency is generally 6-8 times per hour. This range indicates efficient operation and consistent pressure.
What causes a pump to cycle too frequently?
Frequent cycling can be caused by leaks, a waterlogged pressure tank, or an incorrectly set pressure switch.
How do I check for leaks in my system?
Inspect visible pipes and fixtures for drips, listen for running water when no fixtures are in use, and monitor pressure gauge for drops when water is off.
How do I check the pressure tank?
Tap the side to listen for waterlogging, check air pressure at the Schrader valve, and look for water leaking from the valve.
What tools do I need for pump maintenance?
Essential tools include a pressure gauge, tire pressure gauge, multimeter, adjustable wrench, air compressor, and plumber’s tape.
How can I prevent pump cycling issues?
Regularly inspect your system, maintain the pressure tank, check for leaks, and monitor pump performance.
When should I call a professional?
Call a professional if you’re uncomfortable with electrical work, suspect a major plumbing issue, or can’t resolve the problem with DIY troubleshooting.
Conclusion
Understanding and addressing pump cycling is crucial for maintaining an efficient and reliable water system. By monitoring cycling frequency, troubleshooting common issues, and taking preventative measures, you can extend the life of your pump, save energy, and ensure consistent water pressure. Remember, regular maintenance and prompt attention to problems can prevent costly repairs and keep your system running smoothly. Just like keeping your bike well-maintained ensures a smooth and enjoyable ride, proper pump maintenance ensures a hassle-free water supply. So, grab your tools, follow these steps, and keep your pump cycling just right!
“`


