
How to Regulate Air Pressure Using Hose Bleed Button: Easy!
Quick Summary: Fine-tuning your tire pressure is easy with a hose bleed button! Simply attach your pump, inflate past your target pressure, then gently press the bleed button to release small bursts of air. Check your pressure gauge frequently until you reach the perfect PSI for a smoother, faster, and safer ride.
Ever pumped up your bike tires, only to realize you’ve added too much air? It’s a common problem that can lead to a bumpy ride or even a flat tire. Overinflating is frustrating, but luckily, most modern bike pumps come with a handy tool to fix this: the hose bleed button. This little button allows you to release small amounts of air with precision, making it easy to achieve the ideal tire pressure. No more guessing or starting over! This guide will walk you through using your pump’s bleed button, so you can enjoy optimal performance and comfort on every ride.
What is a Hose Bleed Button?
A hose bleed button, also known as a micro-adjust button or pressure release valve, is a small button or lever located on the hose or handle of many bicycle pumps. Its purpose is to allow you to release small amounts of air from the tire, making it easier to achieve precise tire pressure. This is especially useful for cyclists who want to fine-tune their tire pressure for different riding conditions or preferences.
Why Use a Bleed Button?
- Precision: Achieve exact tire pressure for optimal performance.
- Comfort: Fine-tune pressure for a smoother ride.
- Safety: Avoid overinflation, which can lead to tire blowouts.
- Efficiency: Quickly correct overinflation without starting over.
- Versatility: Adjust pressure for various terrains and riding styles.
Tools You’ll Need
- Bike pump with a hose bleed button
- Tire pressure gauge (if not integrated into your pump)
- Your bicycle
Step-by-Step Guide: Regulating Air Pressure with a Hose Bleed Button

Follow these steps to accurately regulate your tire pressure using a hose bleed button.
Step 1: Attach the Pump Head to Your Tire Valve
First, make sure your pump head is compatible with your bike’s valve type (Presta or Schrader). Most pumps have a dual head or an adapter. Securely attach the pump head to the valve. A hissing sound indicates that the connection isn’t airtight; readjust until the connection is secure.
Step 2: Inflate the Tire Above Your Target Pressure
Using the pump, inflate the tire to a pressure slightly higher (3-5 PSI) than your desired target. Refer to the recommended pressure range printed on the sidewall of your tire. It’s always better to start high and bleed air out than to under-inflate and have to pump more.
Step 3: Locate the Hose Bleed Button
The bleed button is usually located near the pump handle or on the hose itself. It’s typically a small button or a lever. Familiarize yourself with its location and how it operates before proceeding.
Step 4: Gently Press the Bleed Button
Press the bleed button in short, controlled bursts. You should hear a slight hissing sound as air is released. Avoid holding the button down continuously, as this can release too much air too quickly.
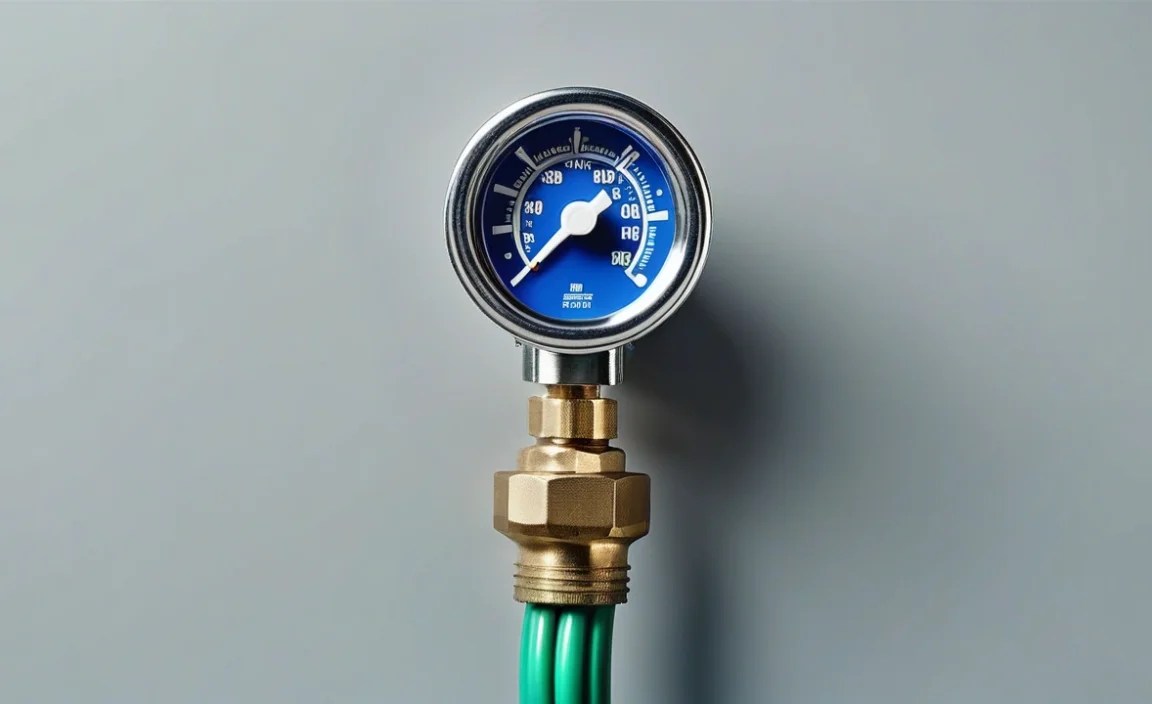
Step 5: Check the Tire Pressure
After each short burst of air release, check the tire pressure using the gauge on your pump or a separate tire pressure gauge. Digital gauges like the Schwalbe Airmax Pro offer precise readings. Compare the reading to your target pressure.
Step 6: Repeat Steps 4 and 5 Until You Reach the Desired Pressure
Continue releasing small amounts of air and checking the pressure until you reach your target PSI (pounds per square inch) or BAR (metric unit of pressure). Be patient and make small adjustments to avoid overshooting your target.
Step 7: Detach the Pump Head
Once you’ve reached the desired pressure, carefully detach the pump head from the tire valve. Ensure you do this quickly and smoothly to prevent excessive air loss. Some pump heads have a lever to help with easy detachment.
Step 8: Double-Check the Pressure (Optional)
For extra accuracy, use a separate, reliable tire pressure gauge to double-check the pressure. This is particularly useful if your pump’s gauge is not very accurate or if you want to ensure consistency.
Tips for Accurate Pressure Regulation
- Use a Reliable Gauge: Invest in a quality tire pressure gauge for accurate readings.
- Small Bursts: Release air in short, controlled bursts for better precision.
- Check Frequently: Check the pressure after each burst to avoid overshooting.
- Consider Conditions: Adjust pressure based on terrain, weather, and your weight.
- Calibrate Regularly: If possible, calibrate your gauge periodically for accuracy.
Understanding Tire Pressure

Tire pressure plays a crucial role in your bike’s performance, comfort, and safety. Too much pressure can lead to a harsh ride and increased risk of punctures from sharp objects, while too little pressure can cause pinch flats and increased rolling resistance. Finding the right balance is essential.
Factors Affecting Tire Pressure
- Tire Width: Wider tires generally require lower pressures.
- Rider Weight: Heavier riders need higher pressures.
- Terrain: Smooth roads allow for higher pressures; rough roads require lower pressures.
- Weather: Wet conditions may benefit from slightly lower pressures for better grip.
- Tire Type: Different tire types (e.g., road, mountain, gravel) have different optimal pressure ranges.
Recommended Tire Pressure Ranges
The recommended tire pressure range is usually printed on the sidewall of your tire. This range provides a starting point, but you may need to adjust it based on your specific needs and preferences. Here’s a general guideline:
| Tire Type | Typical Pressure Range (PSI) |
|---|---|
| Road Bike Tires (23-28mm) | 80-130 PSI |
| Hybrid Bike Tires (32-40mm) | 50-80 PSI |
| Mountain Bike Tires (2.0-2.5″) | 25-40 PSI |
| Gravel Bike Tires (35-45mm) | 30-60 PSI |
Note: Always stay within the manufacturer’s recommended pressure range.
Choosing the Right Pump
Not all bike pumps are created equal. When choosing a pump, consider the following factors:
- Pump Type: Floor pumps are best for home use, while mini-pumps are more portable for on-the-go inflation.
- Gauge Accuracy: Look for a pump with an accurate and easy-to-read gauge.
- Bleed Button: Ensure the pump has a reliable and easy-to-use bleed button.
- Valve Compatibility: Choose a pump that is compatible with both Presta and Schrader valves.
- Build Quality: Opt for a pump made from durable materials for long-lasting performance.
Here’s a comparison of popular pump types:
| Pump Type | Pros | Cons | Best For |
|---|---|---|---|
| Floor Pump | High volume, accurate gauge, easy to use | Not portable | Home use, frequent inflation |
| Mini-Pump | Portable, lightweight | Lower volume, less accurate gauge | On-the-go inflation, emergencies |
| CO2 Inflator | Fast inflation, very portable | Requires cartridges, can be wasteful | Racing, quick repairs |
Presta vs. Schrader Valves
Understanding the difference between Presta and Schrader valves is essential for proper inflation. Here’s a quick overview:
- Presta Valves: Narrower, with a valve core that needs to be opened before inflation. Common on road bikes and high-performance bicycles.
- Schrader Valves: Wider, similar to car tire valves. Common on mountain bikes, hybrid bikes, and older bicycles.
Make sure your pump head is compatible with the valve type on your bike. Many pumps come with adapters or dual heads to accommodate both types.
Troubleshooting Common Issues
Sometimes, you might encounter issues while using the hose bleed button. Here are some common problems and how to fix them:
- Air Leaking: Ensure the pump head is securely attached to the valve. Check for damage to the valve or pump head.
- Bleed Button Not Working: Make sure the button is not clogged or damaged. Try cleaning it with a small brush or needle.
- Inaccurate Gauge: Use a separate, reliable gauge to verify the pressure. If the pump gauge is consistently inaccurate, consider replacing the pump.
- Difficulty Detaching Pump Head: Ensure the pump head is properly aligned with the valve. Some pump heads have a lever for easy detachment.
Advanced Techniques
Once you’re comfortable with the basics, you can explore some advanced techniques for fine-tuning your tire pressure:
- Experiment with Different Pressures: Try different pressures to find what works best for your riding style and terrain.
- Use a Digital Gauge: Digital gauges offer more precise readings than analog gauges.
- Consider Tubeless Setups: Tubeless tires allow for lower pressures without the risk of pinch flats, improving comfort and grip.
Safety Precautions
Always follow these safety precautions when inflating your tires:
- Never Exceed Maximum Pressure: Do not inflate your tires beyond the maximum pressure listed on the sidewall.
- Inspect Tires Regularly: Check your tires for cuts, bulges, or other damage before each ride.
- Use Eye Protection: Wear safety glasses to protect your eyes from debris or a potential tire blowout.
- Inflate Slowly: Avoid rapid inflation, which can cause the tire to burst.
FAQ: Regulating Air Pressure with a Hose Bleed Button
Here are some frequently asked questions about regulating air pressure with a hose bleed button.
Q: What is the ideal tire pressure for my bike?
A: The ideal tire pressure depends on several factors, including tire width, rider weight, terrain, and riding style. Refer to the recommended pressure range printed on your tire’s sidewall as a starting point, and adjust as needed.
Q: How do I know if my pump has a bleed button?
A: Most modern bike pumps have a bleed button. Look for a small button or lever located near the pump handle or on the hose itself. Refer to your pump’s manual for specific instructions.
Q: Can I use a bleed button on any type of bike tire?
A: Yes, you can use a bleed button on any type of bike tire, as long as your pump has one and is compatible with the valve type (Presta or Schrader).
Q: What happens if I release too much air?
A: If you release too much air, simply re-inflate the tire to slightly above your target pressure and repeat the bleeding process. It may take a few tries to get it just right.
Q: How often should I check my tire pressure?
A: It’s a good idea to check your tire pressure before each ride, especially if you haven’t ridden in a while. Tires can lose pressure over time due to natural air leakage.
Q: Is it necessary to use a separate tire pressure gauge?
A: While most pumps have an integrated gauge, using a separate, reliable tire pressure gauge can provide more accurate readings. This is especially useful if you’re trying to fine-tune your tire pressure for optimal performance.
Q: What is the difference between PSI and BAR?
A: PSI (pounds per square inch) and BAR are both units of pressure. 1 BAR is approximately equal to 14.5 PSI. Most pumps and gauges display both units.
Conclusion
Mastering the use of a hose bleed button is a simple yet effective way to optimize your cycling experience. By accurately regulating your tire pressure, you can improve your bike’s performance, enhance your comfort, and increase your safety on the road or trail. Take the time to practice these steps and experiment with different pressures to find what works best for you. With a little patience and attention to detail, you’ll be able to fine-tune your tires like a pro and enjoy every ride to the fullest. So grab your pump, locate that bleed button, and get ready to roll with confidence!


