
How to Use Metal Fittings Instead of Plastic: Easy Guide
Switching to metal fittings from plastic ones is straightforward! First, identify the plastic fitting you want to replace. Then, choose a metal fitting of the same size and thread type (e.g., NPT, BSP). Use Teflon tape on the threads for a watertight seal. Finally, tighten the metal fitting securely with a wrench, being careful not to overtighten and damage the threads.
Are you tired of plastic fittings cracking, leaking, or just plain wearing out? You’re not alone! Many cyclists and DIYers face the same frustration. Plastic fittings often fail under pressure or in extreme temperatures. Fortunately, there’s a durable alternative: metal fittings. Switching to metal can save you time, money, and headaches in the long run.
This guide will walk you through the simple steps to replace plastic fittings with reliable metal ones. We’ll cover everything from choosing the right metal to proper installation techniques. Get ready to say goodbye to brittle plastic and hello to long-lasting performance!
Why Choose Metal Fittings Over Plastic?


Before diving into the how-to, let’s look at why you should consider metal fittings. The benefits are significant.
- Durability: Metal fittings are much stronger and less prone to cracking or breaking than plastic.
- Temperature Resistance: Metal can withstand higher and lower temperatures without degrading.
- Pressure Resistance: Metal fittings handle higher pressures, crucial in hydraulic or pneumatic systems.
- Longevity: Metal fittings last much longer, reducing the need for frequent replacements.
- Chemical Resistance: Certain metals resist corrosion from chemicals that can degrade plastic.
While plastic fittings have their place (they’re often cheaper and lighter), metal is the clear winner for durability and performance.
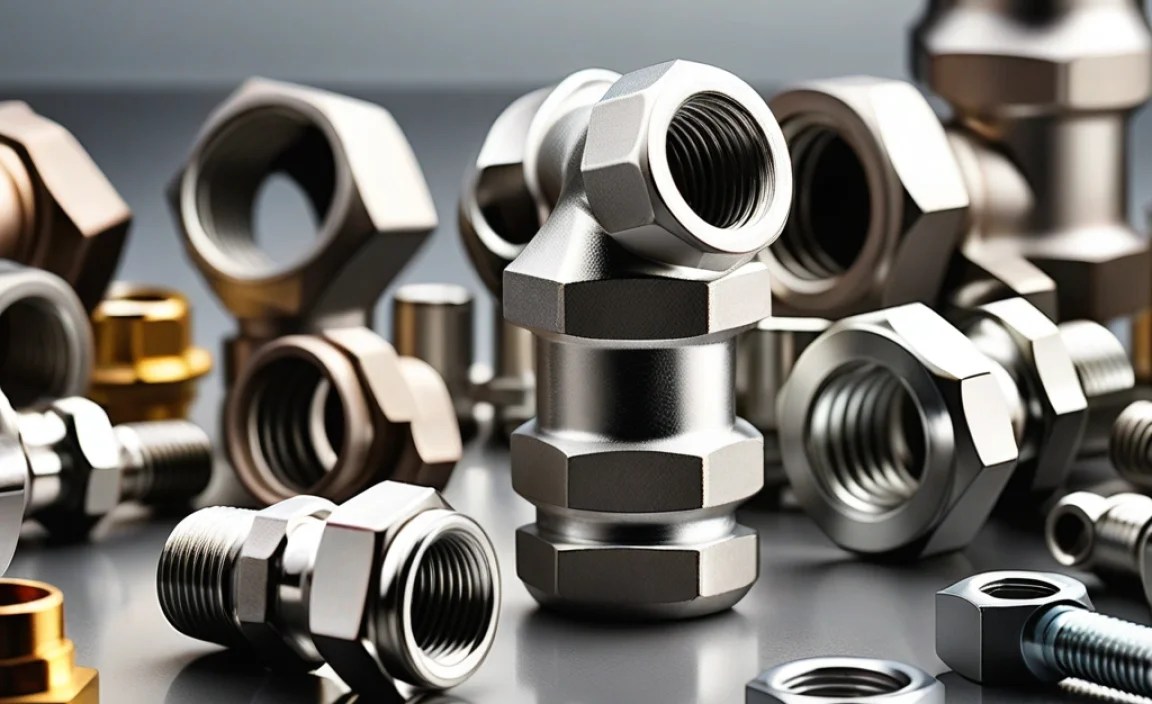
Choosing the Right Metal Fitting


Not all metals are created equal. Here’s a breakdown of common metals used for fittings and their ideal applications:
- Brass: Excellent corrosion resistance, good for water and gas lines.
- Stainless Steel: Superior corrosion resistance, ideal for harsh environments and food-grade applications.
- Aluminum: Lightweight and corrosion-resistant, suitable for low-pressure applications.
- Steel: Strong and durable, but prone to rust if not properly coated. Use galvanized or coated steel for outdoor applications.
Consider the application when choosing a metal. For example, stainless steel is best for marine environments, while brass is a good all-around choice for plumbing.
Tools and Materials You’ll Need
Before you start, gather these essential tools and materials:
- New Metal Fitting(s): Ensure they match the size and thread type of the plastic fitting you’re replacing.
- Wrench(es): Adjustable or appropriately sized wrenches to tighten the fittings.
- Teflon Tape (PTFE Tape): To create a watertight seal on threaded connections.
- Pipe Cutter (if needed): For cutting pipes to the correct length.
- Deburring Tool (if needed): To smooth the edges of cut pipes.
- Safety Glasses: To protect your eyes from debris.
- Gloves: To protect your hands.
- Pen and Paper/Phone: To take notes or pictures before disassembly.
Step-by-Step Guide: Replacing Plastic Fittings with Metal

Here’s a detailed guide to replacing plastic fittings with metal ones. Follow these steps carefully for a secure and leak-free connection.
Step 1: Turn Off the Supply
Before you do anything else, shut off the water, gas, or whatever fluid is running through the system. This prevents leaks and potential hazards. For plumbing, locate the main shut-off valve. For gas lines, consult your gas company or a qualified technician.
Step 2: Disconnect the Old Plastic Fitting
Use a wrench to loosen and remove the old plastic fitting. Be gentle, as plastic can become brittle over time. If the fitting is stuck, try applying some penetrating oil. If the plastic fitting breaks during removal, carefully extract all the pieces from the threads. A small pick or screwdriver can be helpful.
Step 3: Clean the Threads
Thoroughly clean the threads on the pipe or component where the new fitting will be installed. Remove any old Teflon tape, sealant, or debris. A wire brush can be helpful for removing stubborn residue. Clean threads ensure a good seal.
Step 4: Apply Teflon Tape
Wrap Teflon tape clockwise around the male threads of the new metal fitting. Apply 2-3 layers, overlapping each layer slightly. Teflon tape helps create a watertight seal and prevents leaks. Make sure the tape is applied neatly and doesn’t cover the opening of the fitting.
Step 5: Install the New Metal Fitting
Carefully thread the new metal fitting onto the pipe or component. Tighten it by hand until it’s snug. Then, use a wrench to tighten it further. Be careful not to overtighten, as this can damage the threads or the fitting itself. A general rule is to tighten until the fitting is snug and then another one or two turns.
Step 6: Test for Leaks
Turn the supply back on slowly and check for leaks around the fitting. If you see any leaks, turn off the supply immediately and tighten the fitting a bit more. If the leak persists, remove the fitting, reapply Teflon tape, and reinstall it. For gas lines, use a soap and water solution to check for leaks. Bubbles indicate a leak.
Step 7: Secure and Support (If Necessary)
If the fitting is part of a long run of pipe, ensure the pipe is properly supported to prevent strain on the fitting. Use pipe clamps or supports to secure the pipe to a wall or structure. This is especially important for metal pipes, which can be heavier than plastic.
Thread Types: NPT vs. BSP
Understanding thread types is crucial for selecting the correct fitting. The two most common thread types are NPT (National Pipe Taper) and BSP (British Standard Pipe).
- NPT: A tapered thread commonly used in North America.
- BSP: A parallel or tapered thread used in Europe and other parts of the world.
It’s essential to match the thread type of the fitting to the thread type of the pipe or component. Using the wrong thread type can result in leaks or damage to the threads. Use a thread gauge or consult a plumbing professional to identify the thread type.
Troubleshooting Common Problems
Even with careful installation, problems can sometimes arise. Here are some common issues and how to fix them:
- Leaking Fitting: Tighten the fitting further or reapply Teflon tape. Ensure the threads are clean and free of debris.
- Cross-Threading: If the fitting is difficult to thread on, stop immediately. Cross-threading can damage the threads. Clean the threads and try again, ensuring the fitting is properly aligned.
- Damaged Threads: If the threads are damaged, you may need to replace the pipe or component. A thread repair kit can sometimes be used to repair minor damage.
- Fitting Too Tight: Overtightening can damage the fitting or the pipe. If you overtighten, loosen the fitting and inspect for damage. Replace if necessary.
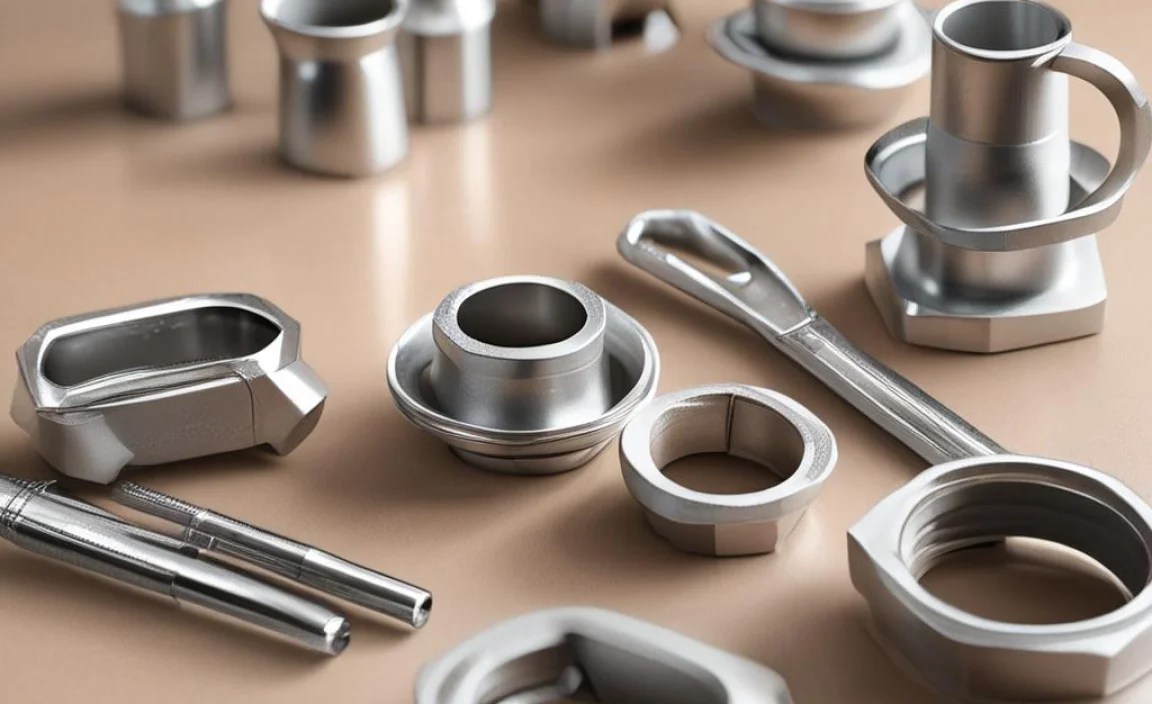
Metal Fitting Options and Applications
Here is a table summarizing popular metal fitting types and their uses:
| Fitting Type | Material | Common Applications | Pros | Cons |
|---|---|---|---|---|
| Elbow | Brass, Stainless Steel, Copper | Changing pipe direction | Durable, corrosion-resistant | Can be expensive |
| Tee | Brass, Stainless Steel, Copper | Splitting pipe flow | Versatile, strong | Requires precise alignment |
| Coupling | Brass, Stainless Steel, Copper | Joining two pipes | Simple, reliable | Not suitable for changing direction |
| Nipple | Brass, Stainless Steel, Galvanized Steel | Extending pipe length | Easy to install | Limited use cases |
| Union | Brass, Stainless Steel | Disconnecting pipes without cutting | Convenient for maintenance | Bulky |
Advantages and Disadvantages of Metal Fittings
Here’s a balanced view of the pros and cons of using metal fittings:
| Feature | Metal Fittings | Plastic Fittings |
|---|---|---|
| Durability | High | Low to Medium |
| Temperature Resistance | High | Low |
| Pressure Resistance | High | Low to Medium |
| Corrosion Resistance | Good to Excellent (depending on the metal) | Good (for certain plastics) |
| Cost | Higher | Lower |
| Weight | Heavier | Lighter |
| Ease of Installation | Moderate | Easy |
Safety Precautions
Working with plumbing and gas lines can be dangerous. Always follow these safety precautions:
- Wear safety glasses and gloves to protect yourself from debris and chemicals.
- Turn off the supply before working on any fittings.
- If working with gas lines, consult a qualified technician.
- Use the correct tools for the job.
- Do not overtighten fittings.
- Test for leaks after installation.
OSHA offers a comprehensive guide to safety during plumbing and construction work that is worth consulting before undertaking this kind of work.
FAQ: Metal Fittings vs. Plastic
Q: Can I use any type of metal fitting for plumbing?
A: No, use only fittings approved for plumbing. Brass, copper, and stainless steel are common choices. Check local codes for approved materials.
Q: How do I know what size fitting to buy?
A: Measure the outer diameter of the pipe you’re connecting to, and match it to the fitting size. Also, note the thread type (NPT or BSP).
Q: What is Teflon tape, and why do I need it?
A: Teflon tape (PTFE tape) is a sealant used on threaded connections. It helps create a watertight seal and prevents leaks by filling tiny imperfections in the threads.
Q: Can I reuse metal fittings?
A: It’s generally not recommended to reuse fittings, especially if they’ve been damaged or corroded. New fittings ensure a reliable seal.
Q: What if I can’t remove the old plastic fitting?
A: Try applying penetrating oil and let it sit for a few minutes. You can also try gently heating the plastic with a heat gun (be careful not to melt it). If all else fails, cut the fitting off with a saw.
Q: Are metal fittings suitable for all types of pipes?
A: Metal fittings can be used with various pipe materials, including metal, PVC, and PEX. Use the correct type of adapter to connect dissimilar materials.
Q: How often should I check metal fittings for leaks?
A: Regularly inspect fittings, especially in high-pressure or critical systems. Check for signs of corrosion, damage, or leaks. Address any issues promptly.
Conclusion
Switching from plastic to metal fittings is a smart move for increased durability and reliability. By following these steps and understanding the different types of metal and thread types, you can confidently replace plastic fittings and enjoy long-lasting, leak-free connections. Remember to prioritize safety and consult a professional if you’re unsure about any part of the process. With a little effort, you can upgrade your systems and say goodbye to the headaches of brittle plastic!


