
How to Repair Cracked Rubber Hose: Easy Fix!
Quick Summary
Got a cracked rubber hose? Don’t worry, you might be able to fix it! For small cracks, you can use rubber sealant or repair tape for a temporary fix. Clean the area, apply the sealant or tape tightly, and let it cure. For bigger cracks or critical hoses, replacement is always the best and safest option. Remember, safety first!
Cracked rubber hoses are a frustrating reality for any cyclist. Whether it’s on your trusty tire pump or somewhere on your bike’s components, these cracks can lead to frustrating performance issues, leaks, and sometimes even complete failure. But don’t panic! Many rubber hose cracks can be addressed with simple, cost-effective solutions.
In this guide, I’ll walk you through easy-to-follow steps to repair those pesky cracks. We’ll cover everything from identifying the type of damage to applying the right repair techniques. Plus, I’ll share when it’s time to throw in the towel and replace the hose altogether. Let’s get started and keep your ride smooth and safe!
Identifying the Crack and Assessing the Damage

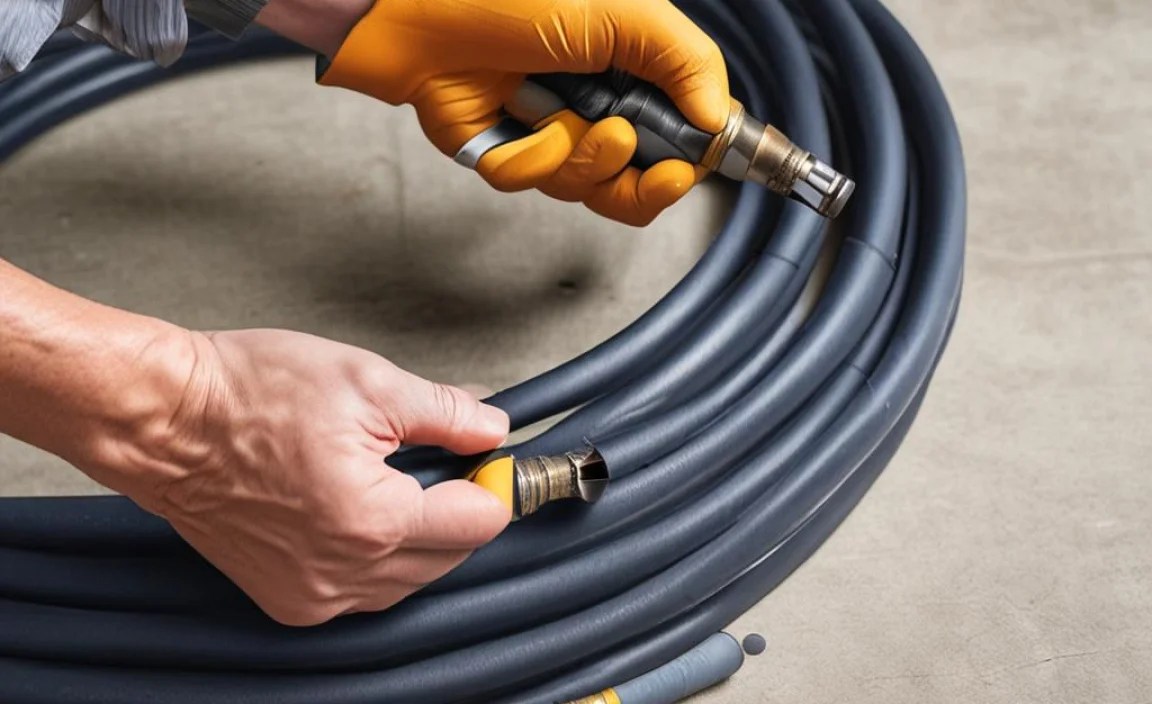
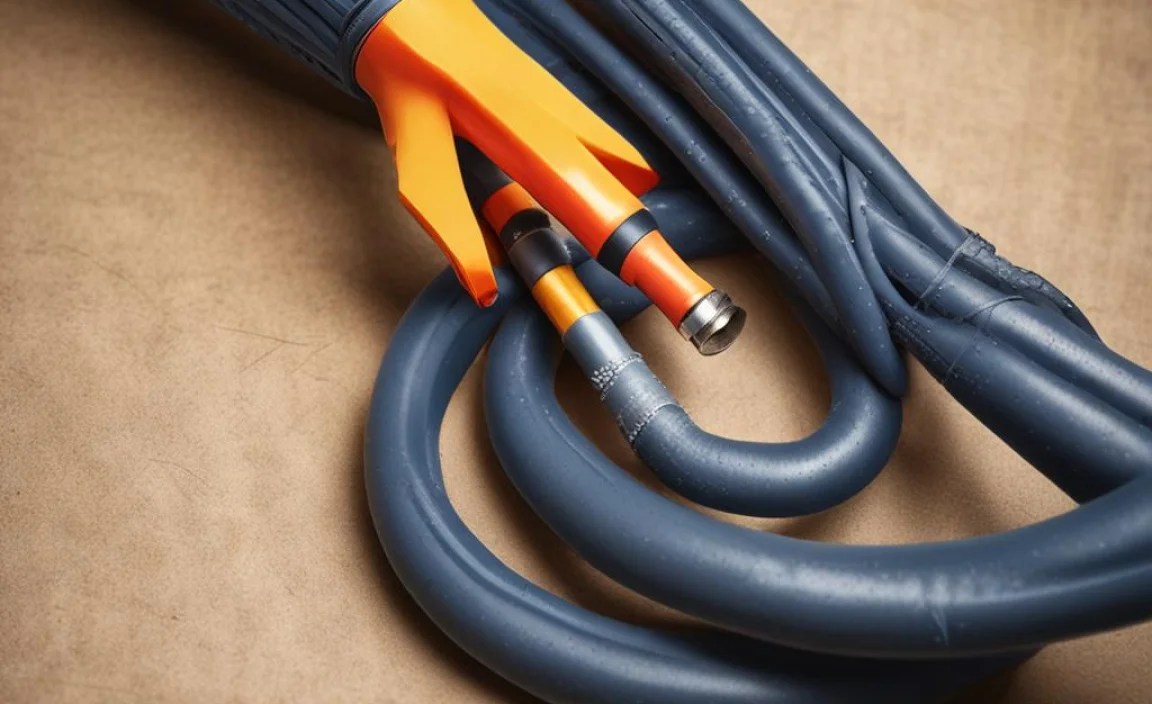
Before you grab your toolbox, let’s take a closer look at the crack itself. Not all cracks are created equal, and understanding the type and severity of the damage is crucial for a successful repair.
Types of Cracks
- Surface Cracks: These are small, superficial cracks that only affect the outer layer of the rubber. They might look like tiny lines or crazing on the surface.
- Deep Cracks: These cracks penetrate further into the rubber, potentially reaching the inner layers or even going all the way through the hose.
- Puncture Cracks: These are caused by sharp objects piercing the hose, leaving a distinct hole or tear.
Assessing the Severity
Once you’ve identified the type of crack, it’s time to assess how bad it is. Consider these factors:
- Size: How long and wide is the crack? Larger cracks are generally more difficult to repair.
- Location: Where is the crack located on the hose? Cracks near joints or areas of high stress are more likely to fail.
- Depth: How deep does the crack go? Deeper cracks compromise the integrity of the hose more significantly.
- Age of the Hose: Older hoses are often brittle and prone to cracking. If the hose is old and showing other signs of wear, replacement might be the best option.
If the crack is small, superficial, and located in a low-stress area, you might be able to repair it successfully. However, if the crack is large, deep, or located in a critical area, replacement is the safer option.
Tools and Materials You’ll Need

Having the right tools and materials on hand will make the repair process much smoother and more efficient. Here’s a list of essentials:
- Cleaning Supplies:
- Clean Rags
- Degreaser or Isopropyl Alcohol
- Repair Materials (choose one or more depending on the repair):
- Rubber Sealant (e.g., silicone-based sealant)
- Rubber Repair Tape (self-fusing silicone tape)
- Hose Clamps (if needed for reinforcement)
- Tools:
- Scissors or Utility Knife
- Sandpaper (fine-grit)
- Gloves (to protect your hands)
- Heat Gun or Hair Dryer (optional, for faster curing)
Step-by-Step Repair Methods
Now that you’ve assessed the damage and gathered your supplies, let’s dive into the repair process. Here are a few methods you can use, depending on the type and severity of the crack:
Method 1: Rubber Sealant
This method is best for small surface cracks or minor leaks.
- Clean the Area: Thoroughly clean the area around the crack with a degreaser or isopropyl alcohol. Remove any dirt, grease, or debris that could interfere with the sealant’s adhesion. Let it dry completely.
- Prepare the Surface: Lightly sand the area around the crack with fine-grit sandpaper to create a slightly rough surface. This will help the sealant bond better.
- Apply the Sealant: Apply a thin, even layer of rubber sealant over the crack, extending slightly beyond the edges.
- Cure the Sealant: Allow the sealant to cure completely according to the manufacturer’s instructions. This usually takes several hours or overnight. You can use a heat gun or hair dryer on a low setting to speed up the curing process, but be careful not to overheat the rubber.
- Inspect the Repair: Once the sealant is cured, inspect the repair to ensure it’s solid and covers the entire crack. If necessary, apply a second layer of sealant for added protection.
Method 2: Rubber Repair Tape
This method is great for a quick and easy fix, especially for pinhole leaks or small cracks.
- Clean the Area: Clean the area around the crack with a degreaser or isopropyl alcohol. Make sure the surface is dry and free of any contaminants.
- Wrap the Tape: Tightly wrap the rubber repair tape around the crack, overlapping each layer by at least 50%. Apply several layers for maximum protection. The tape should self-fuse, creating a waterproof and airtight seal.
- Secure the Ends: Press the ends of the tape firmly against the hose to ensure a secure bond.
- Test the Repair: Check the repair to make sure it’s holding and that there are no leaks.
Method 3: Hose Clamps (for Reinforcement)
If the crack is located near a joint or connection, or if you want to add extra reinforcement to your repair, you can use hose clamps.
- Position the Clamps: Place the hose clamps on either side of the crack, positioning them so that they cover the repaired area.
- Tighten the Clamps: Tighten the hose clamps securely, but be careful not to overtighten them, as this could damage the hose.
- Inspect the Repair: Check the repair to make sure the clamps are holding firmly and that there are no leaks.
Choosing the Right Repair Method

Selecting the right repair method depends on the crack’s size, location, and your comfort level with DIY repairs. Here’s a quick guide:
| Crack Type | Recommended Method | Pros | Cons |
|---|---|---|---|
| Small Surface Cracks | Rubber Sealant or Repair Tape | Easy to apply, cost-effective | May not be suitable for high-pressure applications |
| Pinhole Leaks | Rubber Repair Tape | Quick fix, self-fusing | May not be a long-term solution |
| Cracks Near Joints | Rubber Sealant or Repair Tape with Hose Clamps | Provides extra reinforcement, prevents leaks at connections | Requires additional hardware |
| Large or Deep Cracks | Replacement | Most reliable and safest option | More expensive, requires hose replacement |
When to Replace the Hose
While repairing a cracked rubber hose can be a temporary solution, there are times when replacement is the only safe and reliable option. Consider replacing the hose if:
- The crack is large, deep, or goes all the way through the hose.
- The hose is old, brittle, or showing other signs of wear.
- The crack is located in a critical area, such as a brake line or fuel line (on motorized vehicles).
- You’re not confident in your ability to repair the hose properly.
Replacing a hose is generally a straightforward process, but it’s important to use the correct type of hose and follow the manufacturer’s instructions. If you’re not comfortable replacing the hose yourself, it’s best to take it to a qualified mechanic or bike shop.
Safety Precautions
Before you start any repair work, it’s important to take a few safety precautions:
- Wear gloves to protect your hands from chemicals and sharp objects.
- Work in a well-ventilated area, especially when using sealants or solvents.
- Disconnect the hose from any pressurized systems before attempting to repair it.
- Follow the manufacturer’s instructions for all repair materials and tools.
- If in doubt, consult a professional.
Preventative Maintenance
The best way to deal with cracked rubber hoses is to prevent them from happening in the first place. Here are a few tips for preventative maintenance:
- Regularly inspect your hoses for signs of wear and tear, such as cracks, bulges, or leaks.
- Replace hoses that are old or showing signs of deterioration.
- Protect hoses from extreme temperatures and direct sunlight, which can cause them to dry out and crack.
- Use a rubber protectant to keep your hoses supple and prevent them from cracking.
- Avoid using harsh chemicals or solvents on your hoses, as these can damage the rubber.
Troubleshooting Common Issues
Even with the best repair techniques, you might encounter some issues along the way. Here are a few common problems and how to troubleshoot them:
| Problem | Possible Cause | Solution |
|---|---|---|
| Sealant won’t stick | Dirty or greasy surface | Clean the surface thoroughly with a degreaser or isopropyl alcohol. |
| Tape won’t self-fuse | Insufficient stretching or overlapping | Stretch the tape tightly as you wrap it around the hose, overlapping each layer by at least 50%. |
| Leak persists after repair | Crack is too large or deep | Replace the hose. |
| Hose clamp is slipping | Clamp is too loose or hose is too worn | Tighten the clamp or replace the hose. |
FAQ: Repairing Cracked Rubber Hoses
1. Can I use any type of tape to repair a cracked rubber hose?
No, you should only use specialized rubber repair tape or self-fusing silicone tape. Regular tape won’t provide a proper seal and will likely fail quickly.
2. How long does rubber sealant take to dry?
Drying time varies depending on the product and environmental conditions, but most rubber sealants take several hours to dry completely. Check the manufacturer’s instructions for specific drying times.
3. Is it safe to drive with a repaired rubber hose?
It depends on the location and severity of the crack. If the crack is small and located in a non-critical area, a temporary repair might be okay. However, it’s always best to replace the hose as soon as possible for safety reasons, especially with automotive applications.
4. Can I repair a cracked radiator hose with these methods?
Radiator hoses handle high pressure and temperatures. Repairing them is risky. It’s best to replace a cracked radiator hose to avoid potential coolant leaks and engine overheating.
5. What’s the best way to clean a rubber hose before repairing it?
Use a degreaser or isopropyl alcohol to remove any dirt, grease, or debris. Make sure the surface is completely dry before applying any repair materials.
6. How often should I inspect my rubber hoses?
You should inspect your rubber hoses at least twice a year, or more frequently if you live in a hot or humid climate. Look for signs of cracking, bulging, or leaking.
7. Can heat shrink tubing be used as an alternative to repair tape?
While heat shrink tubing can provide some reinforcement, it’s not designed to seal cracks or leaks. Rubber repair tape is a better option for sealing and protecting the hose.
Conclusion
Repairing a cracked rubber hose can save you time and money, but it’s essential to do it safely and effectively. By following the steps outlined in this guide, you can assess the damage, choose the right repair method, and get your equipment back in working order. Remember, when in doubt, replacement is always the safest option. Happy riding, and may your hoses stay crack-free!


