
How to Fit Hose with Quick Coupler: Easy Guide
Fitting a hose with a quick coupler is easy! First, prep the hose by cutting it cleanly. Then, push the hose onto the coupler’s barb until secure. Tighten any clamps if needed. Test for leaks before use. This simple process lets you quickly connect and disconnect hoses for various tasks.
Ever struggled with a leaky hose connection? Or spent ages wrestling to attach a hose to a tool? You’re not alone! Many folks find fitting hoses with quick couplers a bit tricky at first. But don’t worry, it’s easier than you think. With the right steps, you can create secure, leak-free connections in minutes.
This guide will walk you through the process step-by-step. We’ll cover everything from choosing the right coupler to making sure your hose is properly attached. Get ready to say goodbye to frustrating hose mishaps!
Understanding Quick Couplers
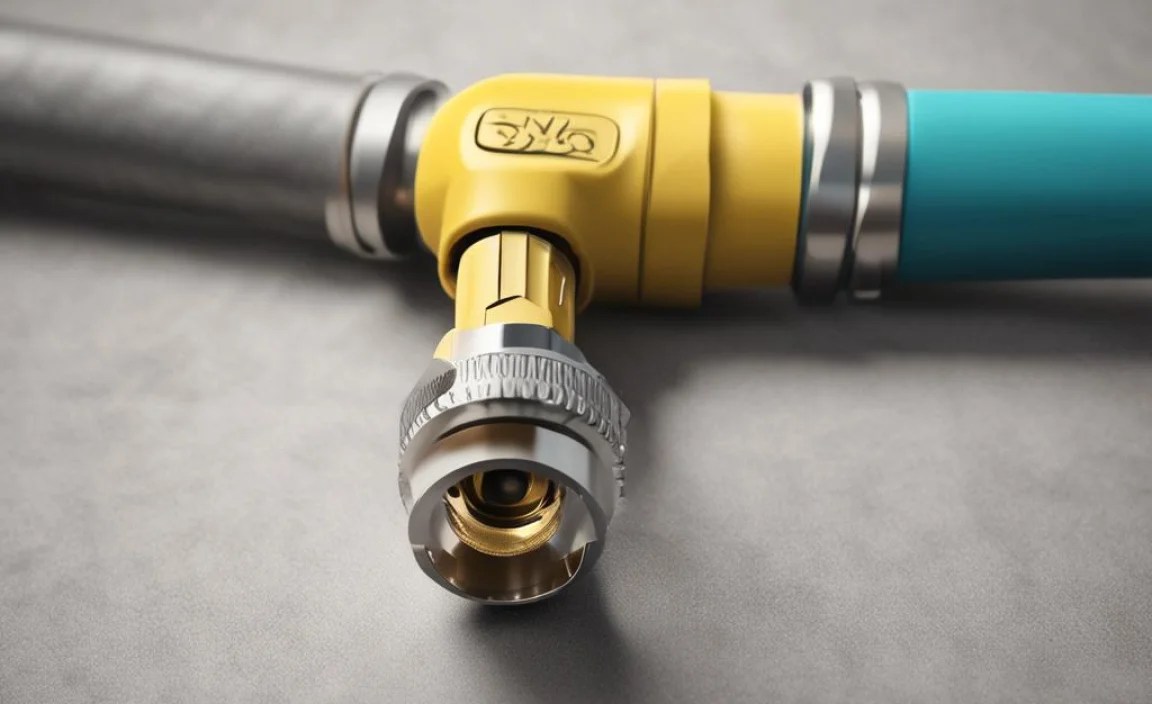
Quick couplers, also known as quick-connect fittings, are handy devices that let you easily connect and disconnect hoses without tools. They’re used in lots of different areas, from gardening to industrial work. Knowing the basics helps you choose the right one for your needs.
Types of Quick Couplers
There are several types of quick couplers, each designed for specific uses. Here’s a quick rundown:
- Industrial Interchange: These are the most common type, used in air compressors and pneumatic tools.
- Automotive Interchange: Similar to industrial, but often made to different standards.
- Ball Locking: Heavy-duty couplers used in hydraulic systems and high-pressure applications.
- Pin Locking: Another type of heavy-duty coupler, often used in construction equipment.
Benefits of Using Quick Couplers
Why use quick couplers? Here are some key advantages:
- Speed: Connect and disconnect hoses in seconds.
- Convenience: No tools needed for connections.
- Versatility: Use different tools with the same hose.
- Efficiency: Reduce downtime and increase productivity.
Choosing the Right Quick Coupler
Picking the right coupler depends on a few things:
- Hose Size: Match the coupler size to your hose’s inner diameter (ID).
- Material: Brass, steel, and plastic are common. Choose based on the fluid and environment.
- Pressure Rating: Make sure the coupler can handle the maximum pressure of your system.
- Application: Consider the specific use, such as air, water, or chemicals.
Tools and Materials You’ll Need

Before you start, gather these tools and materials. Having everything ready will make the job much smoother.
- Hose: Choose the right type and length for your needs.
- Quick Coupler Set: Includes both the male and female ends.
- Hose Cutter or Utility Knife: For clean, straight cuts.
- Hose Clamps (if needed): To secure the hose to the coupler.
- Screwdriver or Wrench (if needed): To tighten hose clamps.
- Safety Glasses: To protect your eyes.
- Gloves: To protect your hands.
Step-by-Step Guide to Fitting a Hose with a Quick Coupler

Ready to get started? Follow these steps for a secure, leak-free connection.
Step 1: Prepare the Hose
First, you need to prepare the hose. A clean, straight cut is essential for a good seal.
- Measure and Cut: Measure the hose to the desired length. Use a hose cutter or a sharp utility knife to make a clean, straight cut.
- Remove Burrs: Check the cut end for any burrs or rough edges. Remove them with a file or sandpaper to ensure a smooth surface.
- Clean the Hose: Wipe the inside and outside of the hose end to remove any dirt or debris.
Step 2: Attach the Quick Coupler
Now, it’s time to attach the quick coupler to the hose.
- Loosen the Clamp (if applicable): If your coupler has a clamp, loosen it with a screwdriver or wrench.
- Insert the Hose: Push the hose onto the coupler’s barb. Make sure it goes on far enough to create a secure connection.
- Secure the Clamp (if applicable): Tighten the clamp around the hose to secure it to the coupler. Don’t overtighten, as this could damage the hose.
Step 3: Repeat for the Other End (if needed)
If you need to attach a coupler to the other end of the hose, repeat steps 1 and 2.
Step 4: Test for Leaks
Before using the hose, it’s important to test for leaks.
- Connect the Hose: Connect the hose to a water source or air compressor.
- Turn on the Pressure: Turn on the water or air and check for leaks at the coupler connections.
- Check for Bubbles: If you’re using water, look for bubbles. If you’re using air, listen for hissing sounds.
- Tighten or Readjust: If you find any leaks, tighten the clamps or readjust the hose on the coupler.
- Re-test: Test again to make sure the leaks are gone.
Tips for a Secure Connection
Here are some extra tips to ensure a secure, leak-free connection.
- Use the Right Size: Always use the correct size coupler for your hose.
- Check the Barbs: Make sure the barbs on the coupler are sharp and in good condition.
- Use Hose Clamps: If your coupler doesn’t have a built-in clamp, use hose clamps for extra security.
- Don’t Overtighten: Overtightening clamps can damage the hose.
- Lubricate the Hose: A little bit of soapy water can help you slide the hose onto the coupler.
Troubleshooting Common Issues
Sometimes, things don’t go as planned. Here are some common issues and how to fix them.
| Issue | Possible Cause | Solution |
|---|---|---|
| Leaking Connection | Loose clamp, damaged hose, or incorrect coupler size | Tighten the clamp, replace the hose, or use the correct coupler size |
| Hose Won’t Stay On | Worn barbs, loose clamp, or incorrect hose size | Replace the coupler, tighten the clamp, or use the correct hose size |
| Difficult to Connect/Disconnect | Dirty coupler, damaged locking mechanism, or incorrect coupler type | Clean the coupler, replace the coupler, or use the correct coupler type |
Maintaining Your Quick Couplers
Proper maintenance will keep your quick couplers working well for years.
- Clean Regularly: Clean the couplers regularly to remove dirt and debris.
- Lubricate: Lubricate the moving parts with a silicone-based lubricant.
- Inspect: Inspect the couplers for damage, such as cracks or worn barbs.
- Replace: Replace any damaged couplers immediately.
Safety Precautions
Safety is always the top priority. Keep these precautions in mind.
- Wear Safety Glasses: Protect your eyes from debris.
- Wear Gloves: Protect your hands from sharp edges and chemicals.
- Disconnect Pressure: Always disconnect the pressure source before working on hoses or couplers.
- Use the Right Tools: Use the correct tools for the job to avoid injury.
- Follow Instructions: Always follow the manufacturer’s instructions for the couplers and hoses.
Quick Coupler Uses and Applications
Quick couplers are used in a wide range of applications. Here are a few examples:
- Gardening: Connecting hoses to sprinklers and nozzles.
- Air Compressors: Connecting air tools to compressors.
- Pressure Washers: Connecting hoses to pressure washer guns.
- Hydraulic Systems: Connecting hydraulic hoses to machinery.
- Automotive: Connecting fluid lines in vehicles.
Advanced Techniques
Once you’ve mastered the basics, you can explore some advanced techniques.
Using Thread Sealants
If you’re using threaded couplers, consider using a thread sealant like Teflon tape or pipe dope. These sealants help create a leak-proof connection by filling in any gaps between the threads. Apply the sealant to the male threads before connecting the coupler.
Working with High-Pressure Systems
When working with high-pressure systems, such as hydraulics or high-pressure air, it’s crucial to use couplers that are specifically rated for the pressure. Failure to do so can result in leaks, or even catastrophic failure. Always check the pressure rating of the coupler and make sure it exceeds the maximum pressure of your system.
Using Different Types of Couplers
As mentioned earlier, there are several types of quick couplers available. Experiment with different types to find the ones that work best for your specific applications. For example, ball-locking couplers are great for heavy-duty applications, while industrial interchange couplers are more suitable for general-purpose use.
How to Select Quality Hoses
Choosing the right hose is as important as selecting the right quick coupler. Here’s what to consider:
- Material: Rubber, PVC, and polyurethane are common. Rubber is durable, PVC is lightweight, and polyurethane is flexible.
- Diameter: Match the hose diameter to your needs. Larger diameters provide better flow.
- Length: Choose a length that’s long enough for your tasks but not too long to be unwieldy.
- Pressure Rating: Make sure the hose can handle the maximum pressure of your system.
- Reinforcement: Look for reinforced hoses with multiple layers for added strength and durability.
FAQ: Fitting Hoses with Quick Couplers
Here are some frequently asked questions about fitting hoses with quick couplers.
What size quick coupler do I need for my hose?
Match the coupler size to your hose’s inner diameter (ID). If your hose has a 1/2-inch ID, you’ll need a 1/2-inch coupler.
Can I use Teflon tape on quick coupler threads?
Yes, Teflon tape can help create a leak-proof seal on threaded couplers. Wrap the tape around the male threads before connecting the coupler.
How do I remove a stuck quick coupler?
Try lubricating the coupler with a silicone-based lubricant. If that doesn’t work, use a wrench to gently loosen the coupler. Avoid using excessive force, as this could damage the coupler or hose.
What’s the difference between male and female quick couplers?
Male couplers have a protruding thread or barb, while female couplers have a recessed opening. They connect together to create a secure seal.
How often should I replace my quick couplers?
Inspect your quick couplers regularly for damage, such as cracks or worn barbs. Replace them immediately if you find any damage. Otherwise, replace them every few years, depending on usage.
Can I use quick couplers with hot water?
Yes, but make sure the couplers are rated for hot water use. Check the manufacturer’s specifications to ensure they can handle the temperature.
Why is my quick coupler leaking even after tightening?
The O-ring inside the coupler may be worn or damaged. Try replacing the O-ring. Also, check the hose and coupler for any damage that might be preventing a tight seal.
Conclusion
Fitting a hose with a quick coupler might seem daunting at first, but with these steps, you’ll be connecting hoses like a pro in no time! Remember to choose the right coupler for your needs, prepare your hose properly, and always test for leaks. Regular maintenance and a few safety precautions will keep your connections secure and leak-free for years to come. Now go ahead and make those connections with confidence!


