
How to Maintain Air Tools with Chuck: Easy Guide
Quick Summary: Keeping your air tools with a chuck in good shape is all about regular cleaning, lubrication, and careful inspection. Clean the chuck after each use, oil it frequently with air tool oil, and check for wear and tear. This keeps your tools working efficiently and extends their lifespan, saving you money and hassle in the long run.
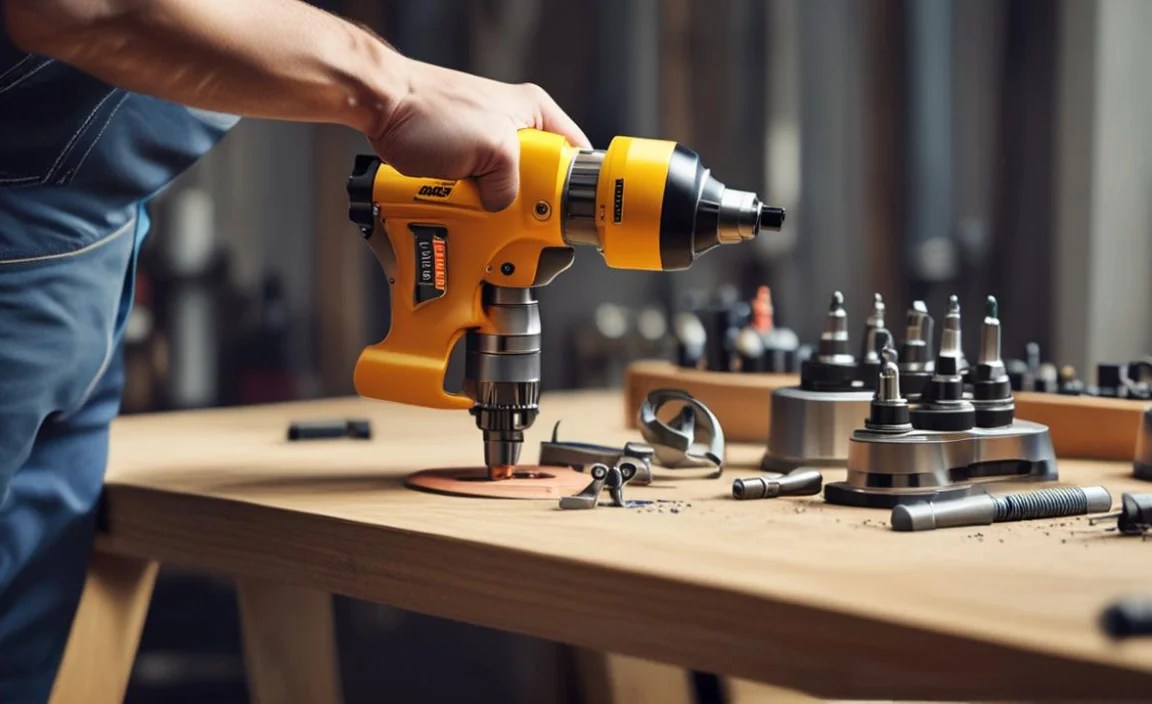
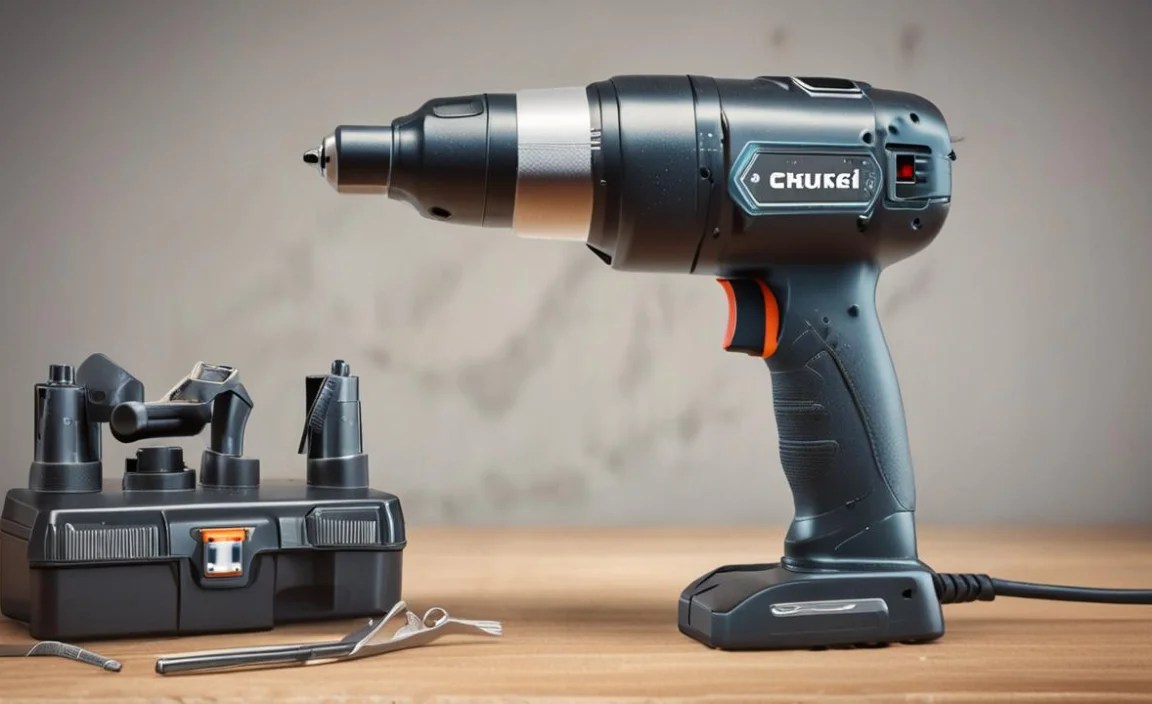
Air tools are workhorses in any shop, but they can quickly become unreliable if you don’t give them some TLC. One of the most critical parts of an air tool is the chuck – that’s the part that holds your bits or sockets. If the chuck isn’t working correctly, your whole tool is out of commission. Don’t worry; maintaining your air tool’s chuck isn’t rocket science. With a few simple steps, you can keep your air tools running smoothly. Let’s dive into how to keep that chuck in tip-top shape!
Why Maintaining Your Air Tool Chuck Matters

Think of the chuck as the unsung hero of your air tool. It grips bits tightly, ensuring efficient power transfer and accurate work. A neglected chuck can lead to several problems:
- Reduced Performance: A dirty or dry chuck can cause bits to slip, making your work less precise and more time-consuming.
- Increased Wear and Tear: Friction from a poorly maintained chuck can damage both the tool and the bits.
- Tool Failure: Over time, neglect can lead to complete chuck failure, requiring costly repairs or replacements.
- Safety Hazards: Slipping bits can be dangerous, potentially causing injury.
By keeping your air tool chuck clean, lubricated, and in good repair, you’ll extend the life of your tools and ensure they perform optimally.
Essential Tools and Materials
Before you start, gather these items. Having everything on hand will make the maintenance process smoother and more efficient.
- Air Tool Oil: Specifically designed for pneumatic tools, this oil keeps internal parts lubricated.
- Cleaning Solvent: A mild solvent like mineral spirits or WD-40 can help dissolve grease and grime.
- Clean Rags or Shop Towels: For wiping away dirt, oil, and solvent.
- Small Brush: A toothbrush or small parts brush is ideal for scrubbing hard-to-reach areas.
- Safety Glasses: Protect your eyes from debris and solvents.
- Compressed Air: To blow out dirt and dry components.
- Chuck Grease (Optional): High-quality grease designed for chucks can provide extra lubrication and protection.
- Chuck Key (if applicable): Some chucks require a key for tightening and loosening.
Step-by-Step Guide to Maintaining Your Air Tool Chuck

Follow these steps to keep your air tool chuck in excellent condition.
Step 1: Safety First
Before you begin any maintenance, disconnect the air tool from the air supply. This prevents accidental activation and ensures your safety. Put on your safety glasses to protect your eyes from any debris.
Step 2: Initial Cleaning
Use a clean rag to wipe down the exterior of the chuck. Remove any visible dirt, grease, or grime. Pay special attention to the jaws and any crevices where debris might accumulate.
Step 3: Deep Cleaning
Apply a small amount of cleaning solvent to a clean rag or brush. Scrub the chuck thoroughly, focusing on the jaws and any areas with stubborn residue. Rotate the chuck to ensure you clean all surfaces.
- For Stubborn Grime: Use a small brush to scrub away hardened deposits.
- Avoid Over-Soaking: Don’t saturate the chuck with solvent, as it can wash away essential lubricants from other tool components.
Step 4: Air Drying
Use compressed air to blow out any remaining solvent and debris from the chuck. This ensures that all parts are clean and dry before lubrication.
- Direct the Airflow: Aim the compressed air nozzle at different angles to reach all areas of the chuck.
- Be Thorough: Ensure no solvent or debris remains, as this could interfere with lubrication.
Step 5: Lubrication
Apply a few drops of air tool oil directly into the chuck mechanism. Rotate the chuck to distribute the oil evenly. If you’re using chuck grease, apply a small amount to the jaws and threads.
- Use the Right Oil: Always use air tool oil specifically designed for pneumatic tools. Other oils may damage internal components.
- Don’t Over-Lubricate: Too much oil can attract dirt and grime, negating the benefits of lubrication.
- Grease Application: If using chuck grease, apply a thin, even layer to the jaws and threads.
Step 6: Exercise the Chuck
Open and close the chuck several times to distribute the lubricant and ensure smooth operation. This helps the oil or grease penetrate all moving parts.
- Check for Smoothness: The chuck should open and close smoothly without any sticking or binding.
- Repeat if Necessary: If the chuck feels stiff, add a bit more lubricant and repeat the exercise.
Step 7: Final Wipe Down
Wipe away any excess oil or grease from the exterior of the chuck. This prevents dirt from accumulating and keeps your tool clean.
Step 8: Inspection
Carefully inspect the chuck for any signs of wear, damage, or corrosion. Check the jaws for sharpness and alignment. If you notice any issues, address them promptly to prevent further damage.
- Check the Jaws: Ensure the jaws are not chipped, cracked, or worn.
- Look for Corrosion: Check for any signs of rust or corrosion, especially in humid environments.
- Assess Alignment: Make sure the jaws align properly when closed, providing a secure grip.
Step 9: Reassemble and Test
Reassemble the air tool and connect it to the air supply. Test the chuck by inserting and tightening a bit or socket. Ensure it holds securely and operates smoothly.
- Secure Grip: The bit or socket should be held firmly in place without any slippage.
- Smooth Operation: The chuck should open and close easily without any binding or sticking.
Troubleshooting Common Chuck Issues
Even with regular maintenance, you might encounter some common issues with your air tool chuck. Here’s how to troubleshoot them:
| Issue | Possible Cause | Solution |
|---|---|---|
| Chuck is difficult to open or close | Lack of lubrication, dirt buildup | Clean and lubricate the chuck thoroughly. |
| Bits or sockets slip in the chuck | Worn jaws, insufficient tightening | Replace the chuck or use a chuck key for tighter grip. |
| Chuck is corroded or rusty | Exposure to moisture, lack of lubrication | Clean the chuck with a solvent, remove rust, and lubricate. |
| Chuck wobbles or vibrates excessively | Damaged bearings, loose components | Inspect and replace any damaged parts. Consult a professional if needed. |
| Chuck key is lost or damaged | Misplacement, wear and tear | Purchase a replacement chuck key. |
Preventative Measures for Long-Term Chuck Health

Prevention is always better than cure. Adopt these practices to extend the life of your air tool chuck:
- Regular Cleaning and Lubrication: Make cleaning and lubricating the chuck a part of your routine maintenance.
- Proper Storage: Store your air tools in a clean, dry environment to prevent corrosion.
- Use the Right Accessories: Use bits and sockets that are in good condition and compatible with your tool.
- Avoid Overloading: Don’t push your air tools beyond their capacity, as this can strain the chuck and other components.
- Inspect Regularly: Periodically inspect the chuck for any signs of wear or damage.
Choosing the Right Air Tool Oil and Grease
Selecting the right lubricants is crucial for maintaining your air tool chuck. Here’s what to look for:
- Air Tool Oil: Choose an oil specifically formulated for pneumatic tools. These oils typically contain additives that protect against rust, corrosion, and wear.
- Chuck Grease: If you prefer grease, select a high-quality chuck grease designed for high-pressure applications. Look for grease that is water-resistant and provides excellent adhesion.
Here’s a comparison of popular air tool oils:
| Brand | Type | Key Features | Pros | Cons |
|---|---|---|---|---|
| Marvel Mystery Oil | Petroleum-based | Cleans, lubricates, prevents rust | Versatile, readily available | Can be messy |
| Lucas Oil Air Tool Lubricant | Synthetic blend | Reduces wear, extends tool life | Excellent lubrication, resists breakdown | Slightly more expensive |
| DeWalt Air Tool Oil | Petroleum-based | Protects against rust and corrosion | Good value, reliable | Basic formulation |
Advanced Maintenance Tips
For those who want to take their air tool maintenance to the next level, here are some advanced tips:
- Ultrasonic Cleaning: For heavily soiled chucks, consider using an ultrasonic cleaner to remove stubborn deposits.
- Disassembly and Inspection: If you’re comfortable with disassembly, carefully take apart the chuck to inspect individual components. Replace any worn or damaged parts.
- Professional Servicing: If you’re unsure about performing advanced maintenance, consult a professional air tool technician.
Signs It’s Time to Replace Your Air Tool Chuck
Even with the best maintenance, air tool chucks eventually wear out. Here are some signs that it’s time for a replacement:
- Excessive Slippage: If bits or sockets consistently slip in the chuck, even after tightening, it’s likely worn out.
- Visible Damage: Cracks, chips, or severe corrosion indicate that the chuck should be replaced.
- Inability to Tighten: If the chuck no longer tightens properly, it’s time for a new one.
- Excessive Wobble: Significant wobble or vibration can indicate internal damage.
Extending the Life of Your Air Tools Beyond the Chuck
Maintaining the chuck is just one piece of the puzzle. Here’s how to keep your entire air tool in top condition:
- Regular Lubrication: Oil your air tools daily or before each use, following the manufacturer’s recommendations.
- Air Line Maintenance: Use an air line filter and lubricator to remove moisture and provide consistent lubrication.
- Proper Air Pressure: Operate your tools at the recommended air pressure to prevent excessive wear.
- Clean Air Supply: Ensure your air compressor is properly maintained and provides clean, dry air.
- Storage Practices: Store your air tools in a clean, dry place, away from extreme temperatures and humidity.
FAQ: Maintaining Air Tools with Chuck
What type of oil should I use for my air tools?
Always use air tool oil specifically designed for pneumatic tools. These oils contain additives that protect against rust, corrosion, and wear.
How often should I lubricate my air tool chuck?
Lubricate the chuck every time before using the air tool. Regular lubrication ensures smooth operation and prevents wear.
Can I use WD-40 to lubricate my air tool chuck?
WD-40 can be used as a cleaning solvent, but it’s not a suitable lubricant for air tools. It’s best to use air tool oil for lubrication.
How do I clean a rusty air tool chuck?
Use a wire brush or steel wool to remove rust, then apply a rust converter. After that, lubricate the chuck thoroughly with air tool oil.
What are the signs that my air tool chuck needs to be replaced?
Signs include excessive slippage, visible damage (cracks or chips), inability to tighten, and excessive wobble or vibration.
How do I prevent my air tools from rusting?
Store your air tools in a dry environment, lubricate them regularly, and use an air line filter to remove moisture from the air supply.
Is it okay to disassemble the chuck for cleaning?
If you’re comfortable with disassembly and have the necessary tools, you can carefully take apart the chuck for cleaning. However, be sure to reassemble it correctly.
Conclusion
Maintaining your air tools with a chuck doesn’t have to be a daunting task. By following these simple steps and adopting preventative measures, you can keep your tools in excellent condition for years to come. Regular cleaning, proper lubrication, and careful inspection will not only extend the life of your tools but also ensure they perform optimally, making your work easier and more efficient. So, take a few minutes to care for your air tools, and they’ll reward you with reliable performance every time you need them.


