
How to Easily Fit Clamp-On Chuck to Hose?
Quick Summary: Fitting a clamp-on chuck to a hose is easy! First, slide the clamp over the hose. Next, firmly push the chuck onto the hose end. Position the clamp over the hose and chuck connection. Finally, tighten the clamp using a screwdriver until it’s secure. Now you’re ready to inflate tires!
Ever struggled with a bike pump hose that just won’t stay connected to your tire valve? It’s a common frustration, whether you’re prepping for a ride or making quick adjustments on the trail. A loose connection means wasted effort and lost air pressure. Luckily, attaching a clamp-on chuck to your hose provides a secure, leak-free fit. This guide will walk you through each simple step, so you can say goodbye to frustrating air leaks and hello to perfectly inflated tires every time. Let’s get started!
Understanding Clamp-On Chucks

Before we dive into the “how-to,” let’s understand what a clamp-on chuck is and why it’s useful.
What is a Clamp-On Chuck?
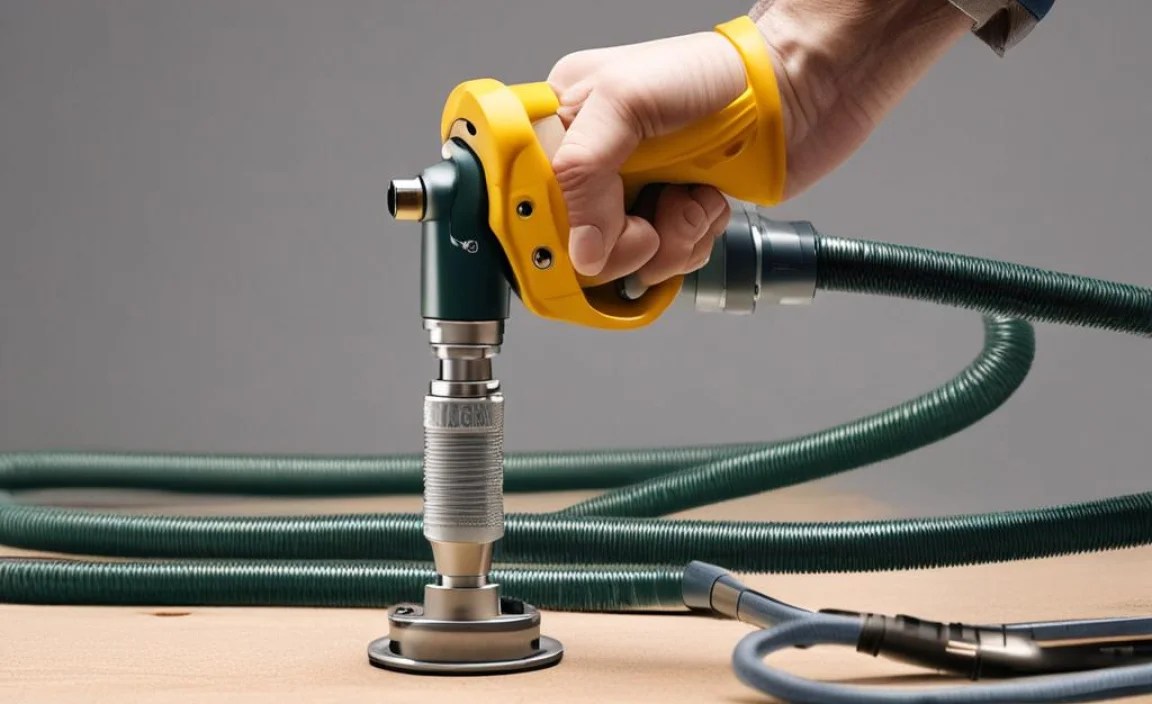
A clamp-on chuck is a connector that attaches to the end of your bike pump hose. It’s designed to create a tight, sealed connection with your tire’s valve (either Schrader or Presta). Unlike some press-on chucks, a clamp-on model uses a lever or clamp to secure itself firmly onto the valve. This minimizes air leakage and makes inflation more efficient.
Benefits of Using a Clamp-On Chuck
- Secure Connection: Provides a tighter seal, reducing air loss.
- Ease of Use: Simple to attach and detach from the valve.
- Durability: Typically made from robust materials that withstand frequent use.
- Versatility: Many clamp-on chucks are compatible with both Schrader and Presta valves.
Tools and Materials You’ll Need

Gathering the right tools beforehand makes the process smoother. Here’s what you’ll need:
- Clamp-On Chuck: Ensure it’s compatible with your hose and valve types (Schrader/Presta).
- Hose: The hose from your bike pump.
- Screwdriver: Usually a flathead or Phillips head, depending on the clamp.
- Hose Clamp: A metal ring with a screw to tighten around the hose.
- (Optional) Warm Water or Heat Gun: To soften the hose for easier chuck insertion.
Step-by-Step Guide: Fitting a Clamp-On Chuck to a Hose

Follow these steps to securely attach your clamp-on chuck:
Step 1: Prepare the Hose
Start by inspecting the end of your bike pump hose. Make sure it’s clean and free from any debris. A clean surface ensures a better grip. If the hose end is stiff or hard, warming it slightly can make the chuck easier to insert.
Tip: Dip the hose end in warm water for about 30 seconds, or use a heat gun on a low setting, being careful not to melt the plastic.
Step 2: Slide the Hose Clamp onto the Hose
Before you attach the chuck, slide the hose clamp onto the hose. Make sure the screw mechanism of the clamp is accessible. This step is crucial because you won’t be able to attach the clamp *after* the chuck is on.
Step 3: Insert the Chuck into the Hose
Now, firmly push the clamp-on chuck into the hose end. You might need to twist it slightly to help it along. Push until the chuck is securely seated inside the hose.
Tip: If you’re having trouble, a little soapy water can act as a lubricant.
Step 4: Position the Hose Clamp
Slide the hose clamp so that it’s positioned over the area where the hose meets the chuck. The clamp should provide even pressure around the circumference of the hose to ensure a tight seal.
Step 5: Tighten the Hose Clamp
Using your screwdriver, tighten the screw on the hose clamp. Don’t overtighten it, as this could damage the hose. The goal is a snug fit that prevents air leaks.
Tip: Tighten until you feel resistance, then give it another half-turn. Check for any signs of the hose bulging or deforming, which indicates overtightening.
Step 6: Test the Connection
Attach the chuck to a tire valve and try inflating the tire. Listen for any air leaks around the hose and chuck connection. If you hear or feel air escaping, tighten the clamp a bit more. If it still leaks, double-check that the chuck is fully inserted and the clamp is correctly positioned.
Troubleshooting Common Issues
Sometimes, things don’t go as planned. Here are some common issues and how to fix them:
Issue: Air Leaks
Cause: The most common cause is a loose clamp or an improperly seated chuck.
Solution: Retighten the hose clamp, ensuring it’s snug but not overtightened. If the leak persists, remove the chuck, inspect the hose for damage, and re-insert the chuck, making sure it’s fully seated.
Issue: Chuck Won’t Fit into Hose
Cause: The hose might be too stiff, or the chuck diameter might be too large.
Solution: Warm the hose end in warm water to soften it. If that doesn’t work, check the chuck and hose dimensions to ensure they are compatible. A small amount of soapy water can also act as a lubricant.
Issue: Damaged Hose
Cause: The hose might be cracked, split, or worn out.
Solution: Replace the hose. Continuing to use a damaged hose can lead to unreliable performance and potential failure.
Choosing the Right Clamp-On Chuck

Not all clamp-on chucks are created equal. Here’s what to consider when choosing one:
Valve Compatibility
Ensure the chuck is compatible with the type of valves you use (Schrader, Presta, or both). Some chucks are designed to work with both types, while others are specific to one.
Material Quality
Look for chucks made from durable materials like brass or high-quality plastic. These will withstand frequent use and resist corrosion.
Ease of Use
Consider the design of the clamp mechanism. Some are easier to operate than others, especially when your hands are cold or wet.
Brand Reputation
Opt for reputable brands known for producing reliable bike accessories. Reading reviews can provide valuable insights into the performance and durability of different models. Some top brands include:
- Park Tool
- Topeak
- Lezyne
- Silca
Maintaining Your Clamp-On Chuck
Proper maintenance ensures your clamp-on chuck lasts longer and performs reliably. Here are some tips:
- Regular Cleaning: Clean the chuck regularly to remove dirt and debris. Use a cloth and mild detergent.
- Inspection: Periodically inspect the chuck for signs of wear or damage, such as cracks or corrosion.
- Lubrication: Apply a small amount of silicone-based lubricant to the moving parts to keep them operating smoothly.
- Storage: Store your pump and chuck in a dry place to prevent corrosion and damage.
Alternative Connection Methods
While clamp-on chucks are popular, there are other ways to connect a hose to a chuck. Here’s a brief overview:
Threaded Connections
Some chucks and hoses use threaded connections. These provide a very secure fit but can be more time-consuming to attach and detach.
Press-Fit Connections
These rely on a tight friction fit. They are simple to use but may not be as secure as clamp-on or threaded connections. Press-fit connections are more prone to air leaks over time.
Quick-Release Couplings
These allow for rapid connection and disconnection. They are often used in high-pressure applications and offer a secure, leak-free seal. However, they can be more expensive.
Table: Comparison of Connection Methods
| Connection Method | Security | Ease of Use | Cost | Pros | Cons |
|---|---|---|---|---|---|
| Clamp-On | High | Medium | Medium | Secure, easy to adjust | Requires a clamp, can damage hose if overtightened |
| Threaded | Very High | Low | Medium | Extremely secure, reliable | Slower to connect/disconnect |
| Press-Fit | Low | High | Low | Simple, quick | Prone to leaks, less secure |
| Quick-Release | High | High | High | Fast, secure, durable | More expensive |
Advanced Tips and Tricks
Ready to take your clamp-on chuck skills to the next level? Here are some advanced tips:
Using Teflon Tape
For threaded connections, wrapping the threads with Teflon tape can help create a tighter seal and prevent leaks. Apply the tape in the direction of the threads.
Customizing Your Setup
Consider using different types of hoses or clamps to optimize your setup for specific needs. For example, a longer hose can make it easier to reach valves in awkward locations.
Adding a Pressure Gauge
If your pump doesn’t have a built-in pressure gauge, you can add an inline gauge to monitor tire pressure more accurately. This helps prevent over- or under-inflation, which can affect ride quality and tire wear.
FAQ: Fitting Clamp-On Chucks to Hoses
Here are some frequently asked questions about fitting clamp-on chucks to hoses:
Question 1: Can I use any clamp-on chuck with any hose?
Not always. It’s important to ensure that the inner diameter of the hose matches the outer diameter of the chuck’s insertion point. Check the specifications of both the chuck and the hose to confirm compatibility.
Question 2: What type of screwdriver should I use for tightening the clamp?
It depends on the type of screw on the hose clamp. Most commonly, you’ll need a flathead or a Phillips head screwdriver. Make sure the screwdriver fits snugly to avoid stripping the screw.
Question 3: How tight should I make the hose clamp?
Tighten the clamp until it’s snug but not overtightened. You should feel resistance, but avoid squeezing the hose excessively. Overtightening can damage the hose and reduce its lifespan.
Question 4: What if the hose keeps slipping off the chuck?
Ensure the chuck is fully inserted into the hose. Also, make sure the hose clamp is positioned correctly and tightened adequately. If the hose is old or worn, consider replacing it.
Question 5: Can I reuse a hose clamp?
Yes, hose clamps can typically be reused unless they are damaged or corroded. Inspect the clamp for any signs of wear before reusing it.
Question 6: What should I do if the chuck is leaking air?
First, check the connection between the chuck and the valve. Make sure the chuck is properly seated on the valve. If the leak persists, inspect the hose and clamp for any damage or looseness. Retighten the clamp or replace any damaged parts.
Question 7: Is it better to use a metal or plastic clamp?
Metal clamps generally provide a more secure and durable connection compared to plastic clamps. However, high-quality plastic clamps can also be effective and may be less likely to damage the hose if overtightened. Choose based on your specific needs and preferences.
Conclusion
Fitting a clamp-on chuck to your bike pump hose is a simple yet crucial skill for any cyclist. By following these steps, you can ensure a secure, leak-free connection that makes inflating your tires a breeze. Remember to choose the right chuck, maintain your equipment, and troubleshoot any issues that arise. With a little practice, you’ll be able to keep your tires perfectly inflated, ensuring a smooth and enjoyable ride every time. Now get out there and enjoy the road!


