
How Air Flows Through Hose to Valve? The Secret!
Quick Summary: Air flows from your pump, through the hose, and into your tire valve by pressure difference. When you push the pump handle, you compress air, increasing its pressure. This higher-pressure air then travels through the hose and forces open the valve on your tire, allowing air to flow in until the pressure equalizes or you stop pumping.
Ever struggled to get air into your bike tire? Understanding how air flows from the pump, through the hose, and into the valve is key to easy inflation. It’s a simple process, but knowing the ins and outs can save you time and frustration. Whether you’re dealing with a Presta or Schrader valve, we’ll walk you through each step. Get ready to pump like a pro and keep those tires perfectly inflated!
Understanding Airflow in Your Bike Pump System


To really nail tire inflation, it’s good to know the basics of how your bike pump works. Let’s break down the key components and how they work together to get air into your tires.
Key Components of a Bike Pump
A bike pump isn’t just a simple device; it’s a carefully designed system. Here’s a quick look at the important parts:
- Handle: This is what you push or pull to start the pumping action.
- Cylinder: The main chamber where air gets compressed.
- Piston: A moving part inside the cylinder that compresses the air.
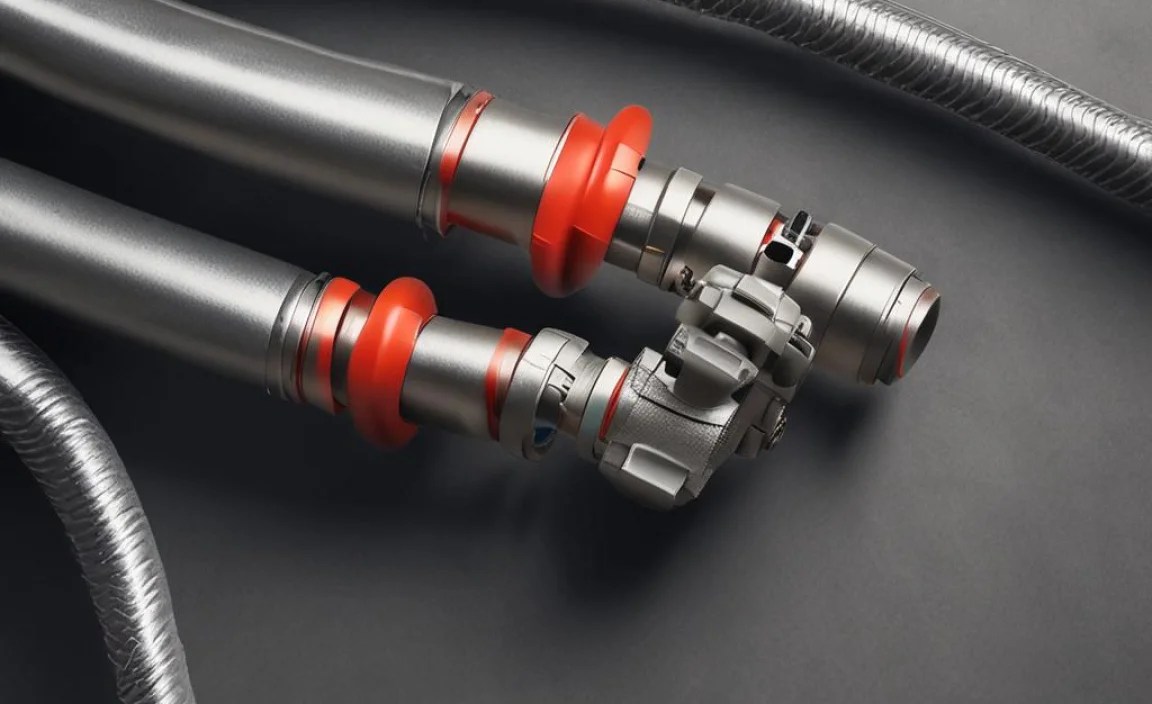
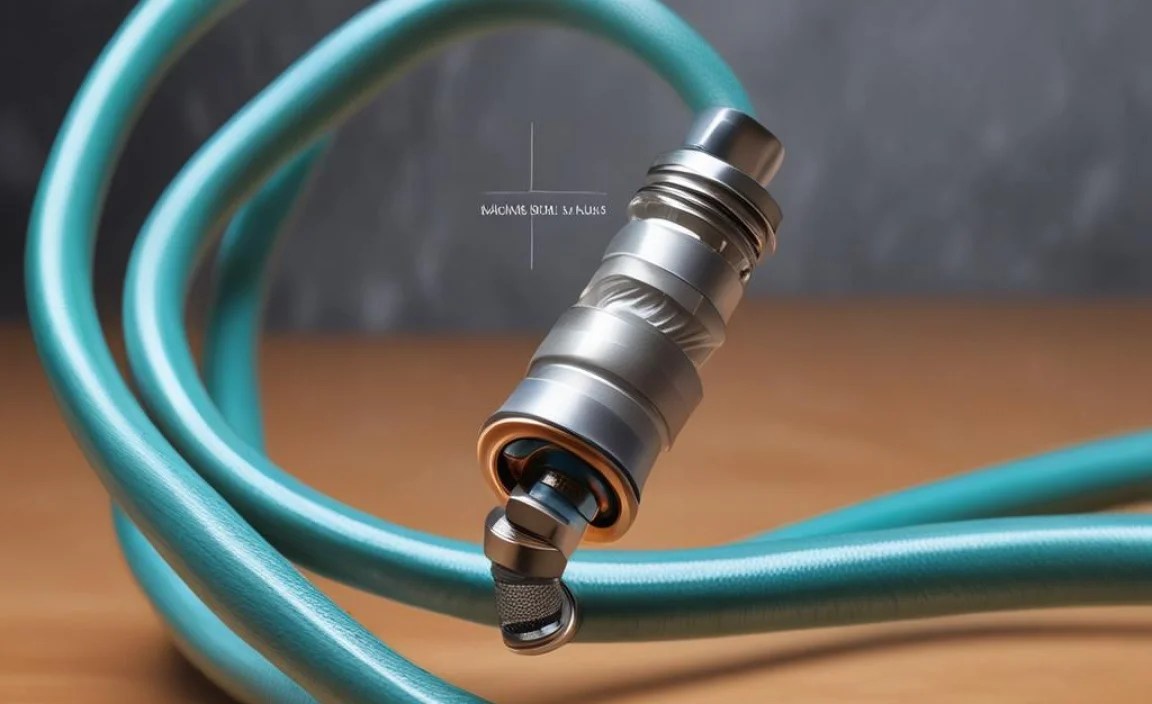
- Hose: Connects the pump to your tire valve, carrying the compressed air.
- Valve Connector (Chuck): Attaches securely to the tire valve, ensuring no air leaks.
The Science Behind Airflow
Air flows from areas of high pressure to areas of low pressure. Your bike pump uses this principle to inflate your tires.
- Compression: When you push down on the pump handle, the piston moves inside the cylinder, squeezing the air and increasing its pressure.
- Transfer: This high-pressure air is then forced through the hose towards the tire valve.
- Inflation: The pressurized air overcomes the valve’s resistance, entering the tire and increasing its internal pressure.
Step-by-Step: How Air Flows Through the Hose to the Valve
Let’s dive into the detailed steps of how air makes its way from the pump to your tire. We’ll cover the process for both Presta and Schrader valves, since they work a bit differently.
Step 1: Connecting the Pump to the Valve
First, you need to make a solid connection between the pump and the tire valve. The process varies slightly depending on the valve type.
Connecting to a Schrader Valve
Schrader valves are common on car tires and some bikes. Here’s how to connect your pump:
- Remove the Valve Cap: Unscrew the cap from the Schrader valve and set it aside.
- Attach the Pump Head: Push the pump head (or chuck) straight onto the valve. Make sure it’s firmly seated.
- Secure the Connection: Flip the lever on the pump head (if there is one) to lock it in place. This creates an airtight seal.
Connecting to a Presta Valve
Presta valves are often found on road bikes and high-performance bicycles. They require a slightly different approach:
- Loosen the Valve Nut: Unscrew the small nut at the top of the Presta valve. Press it in briefly to make sure it’s not stuck.
- Attach the Pump Head: Gently push the pump head onto the valve. It should fit snugly.
- Secure the Connection: If your pump has a lever, flip it to secure the connection. Be careful not to bend the delicate Presta valve.
Step 2: Pumping Air Through the Hose
Once the pump is properly connected, it’s time to start pumping air.
- Start Pumping: Hold the pump handle firmly and begin pumping in a smooth, consistent motion.
- Observe the Pressure: Keep an eye on the pressure gauge (if your pump has one) to monitor the tire pressure.
- Feel the Airflow: You should feel air moving through the hose and into the tire. If not, check your connection.
Step 3: Understanding the Valve Mechanism
The valve is a critical component that controls the airflow into the tire. Understanding how it works can help you troubleshoot any issues.
Schrader Valve Mechanism
The Schrader valve has a spring-loaded pin in the center. When you push the pump head onto the valve, it depresses this pin, allowing air to flow in. When you remove the pump, the spring pushes the pin back, sealing the valve.
Presta Valve Mechanism
The Presta valve uses a different design. When you loosen the valve nut, you’re essentially opening a small door. The pressure from the pump pushes this door open further, allowing air to flow in. When you remove the pump, the pressure inside the tire keeps the valve closed.
Step 4: Monitoring Tire Pressure
Keeping an eye on the tire pressure is essential for a safe and comfortable ride.
- Use a Pressure Gauge: Most bike pumps have a built-in pressure gauge. Use it to monitor the pressure as you pump.
- Check Recommended Pressure: Look for the recommended pressure range printed on the sidewall of your tire.
- Adjust as Needed: Inflate the tire to the correct pressure. Avoid over- or under-inflating, as this can affect performance and safety.
Step 5: Detaching the Pump
Once you’ve reached the desired tire pressure, it’s time to detach the pump.
- Release the Lever (if applicable): If your pump has a lever, flip it back to release the connection.
- Remove the Pump Head: Gently pull the pump head straight off the valve.
- Replace the Valve Cap: Screw the valve cap back on to protect the valve from dirt and debris.
Troubleshooting Common Airflow Problems

Sometimes, things don’t go as smoothly as planned. Here are some common issues you might encounter and how to fix them.
Problem: Air Leaking from the Connection
If you hear or feel air leaking around the pump head, it means you don’t have a tight seal.
- Solution: Make sure the pump head is properly seated on the valve. Check that the lever (if there is one) is securely locked. If the rubber seal inside the pump head is worn, replace it.
Problem: Difficulty Attaching the Pump Head
If you’re having trouble getting the pump head onto the valve, there might be a blockage or misalignment.
- Solution: Check the valve for dirt or debris. Make sure the pump head is aligned correctly with the valve. If the valve is bent or damaged, it may need to be replaced.
Problem: No Airflow Through the Hose
If you’re pumping but no air is going into the tire, there could be a blockage in the hose or a problem with the pump itself.
- Solution: Check the hose for kinks or obstructions. Disconnect the hose from the pump and blow through it to clear any blockages. If the pump isn’t working properly, it may need to be serviced or replaced.
Problem: Presta Valve Bending or Breaking
Presta valves are delicate and can sometimes bend or break if you’re not careful.
- Solution: Be gentle when attaching and detaching the pump head. Avoid applying excessive force. If the valve is bent, try to straighten it carefully. If it’s broken, you’ll need to replace the inner tube.
Choosing the Right Bike Pump

Selecting the right bike pump can make a big difference in your pumping experience. Here are some factors to consider.
Types of Bike Pumps
There are several types of bike pumps, each with its own advantages and disadvantages.
- Floor Pumps: These are the most common type of bike pump. They’re stable, easy to use, and provide high pressure.
- Hand Pumps: Compact and portable, hand pumps are great for carrying on rides. However, they require more effort to use.
- CO2 Inflators: These use compressed CO2 cartridges to quickly inflate tires. They’re lightweight and convenient but can be expensive in the long run.
Features to Look For
When choosing a bike pump, consider these features:
- Pressure Gauge: A built-in pressure gauge allows you to accurately monitor tire pressure.
- Valve Compatibility: Make sure the pump is compatible with both Presta and Schrader valves. Some pumps have a dual head that works with both types.
- Build Quality: Look for a pump made from durable materials that will last.
- Comfortable Handle: A comfortable handle makes pumping easier and more efficient.
Recommended Bike Pumps
Here are a few highly-rated bike pumps to consider:
| Pump | Type | Features | Price Range |
|---|---|---|---|
| Lezyne Classic Floor Drive | Floor Pump | Accurate gauge, durable construction | $70-$90 |
| Topeak Road Morph G Mini Pump | Hand Pump | Fold-out footpad, built-in gauge | $40-$50 |
| Genuine Innovations Ultraflate CO2 Inflator | CO2 Inflator | Compact, easy to use | $20-$30 |
Maintaining Your Bike Pump
Proper maintenance will keep your bike pump working efficiently for years to come.
Cleaning and Storage
Keep your pump clean and store it in a dry place to prevent corrosion and damage.
- Clean Regularly: Wipe down the pump with a damp cloth to remove dirt and grime.
- Store Properly: Store the pump in a cool, dry place away from direct sunlight.
Replacing Worn Parts
Over time, some parts of your bike pump may wear out and need to be replaced.
- Check the Seals: Inspect the rubber seals inside the pump head and replace them if they’re cracked or worn.
- Lubricate the Piston: Apply a small amount of lubricant to the piston to keep it moving smoothly.
- Replace the Hose: If the hose is damaged or cracked, replace it to prevent air leaks.
Optimizing Tire Pressure for Different Riding Conditions
Adjusting your tire pressure based on riding conditions can improve your comfort, handling, and performance.
Road Riding
For road riding, higher tire pressures (100-120 PSI) are generally recommended. This reduces rolling resistance and improves speed.
Mountain Biking
For mountain biking, lower tire pressures (25-35 PSI) provide better traction and absorb bumps and vibrations.
Gravel Riding
For gravel riding, a mid-range tire pressure (40-60 PSI) offers a good balance of speed and comfort.
Here’s a table summarizing recommended tire pressures for different riding conditions:
| Riding Condition | Recommended Tire Pressure (PSI) | Benefits |
|---|---|---|
| Road Riding | 100-120 | Reduced rolling resistance, increased speed |
| Mountain Biking | 25-35 | Improved traction, better bump absorption |
| Gravel Riding | 40-60 | Balance of speed and comfort |
Additional Tips for Efficient Pumping
Here are some extra tips to help you pump your tires more efficiently:
- Use Proper Technique: Stand with your feet shoulder-width apart and use your body weight to push down on the pump handle.
- Pump Smoothly: Avoid jerky movements. Pump in a smooth, consistent motion to maintain a steady airflow.
- Check the Valve Core: Make sure the valve core is properly tightened. A loose valve core can cause air leaks. You can tighten it with a valve core tool like this one from Park Tool.
- Adjust for Weight: If you’re a heavier rider, you may need to increase your tire pressure slightly to prevent pinch flats.
FAQ: Understanding Airflow in Bike Pumps
Here are some frequently asked questions to help you better understand airflow in bike pumps.
Why is air leaking when I try to pump my tire?
Air leaks usually happen because the pump head isn’t properly connected to the valve. Make sure it’s firmly seated and the lever (if there is one) is locked. Also, check the rubber seal inside the pump head for wear and tear.
How do I know if my tire is properly inflated?
Check the recommended pressure range printed on the sidewall of your tire. Use a pressure gauge to monitor the pressure as you pump. Don’t over- or under-inflate!
What’s the difference between Presta and Schrader valves?
Schrader valves are wider and have a spring-loaded pin in the center, similar to car tires. Presta valves are narrower and have a small nut at the top that you need to loosen before inflating.
Can I use a car tire pump on my bike?
Yes, you can, but you’ll need an adapter to fit the Schrader valve on your bike tire. Car pumps often deliver too much air at once, so be careful not to over-inflate.
How often should I check my tire pressure?
It’s a good idea to check your tire pressure before every ride, especially if you haven’t ridden in a while. Tires can lose air over time, so regular checks will keep you riding safely and efficiently.
What does PSI mean?
PSI stands for pounds per square inch. It’s a unit of pressure used to measure the amount of air in your tires. Keeping the right PSI ensures optimal performance and prevents flats.
Why is it hard to pump my tires with a hand pump?
Hand pumps are smaller and require more effort to use compared to floor pumps. Make sure you’re using proper technique and applying consistent pressure. It might take longer, but you’ll get there!
Conclusion
Understanding how air flows through your bike pump system is essential for keeping your tires properly inflated. By following these steps and tips, you can easily connect your pump, inflate your tires to the correct pressure, and troubleshoot common airflow problems. Regular maintenance and choosing the right pump will ensure a smooth and enjoyable riding experience. Now, get out there and enjoy the ride!


