
What is a Screw-On Chuck? Easy Guide!
Quick Summary: A screw-on chuck attaches to your bike pump and connects to your tire valve by screwing on. This creates a secure, leak-free seal, so you can pump your tires easily. It’s great for Presta and Schrader valves and is simple to use, making tire inflation quick and efficient.
Ever struggled with a bike pump that just won’t stay on your tire valve? It’s a common problem that can turn a quick tire top-up into a frustrating ordeal. The good news is that using a screw-on chuck can make inflating your tires much easier. These handy devices attach securely, so you don’t lose air and can get back on the road or trail faster.
In this guide, we’ll explore what a screw-on chuck is, how it works, and why it might be the perfect upgrade for your bike pump. We’ll cover everything from choosing the right type to using it like a pro. Let’s dive in and make tire inflation a breeze!
What is a Screw-On Chuck?
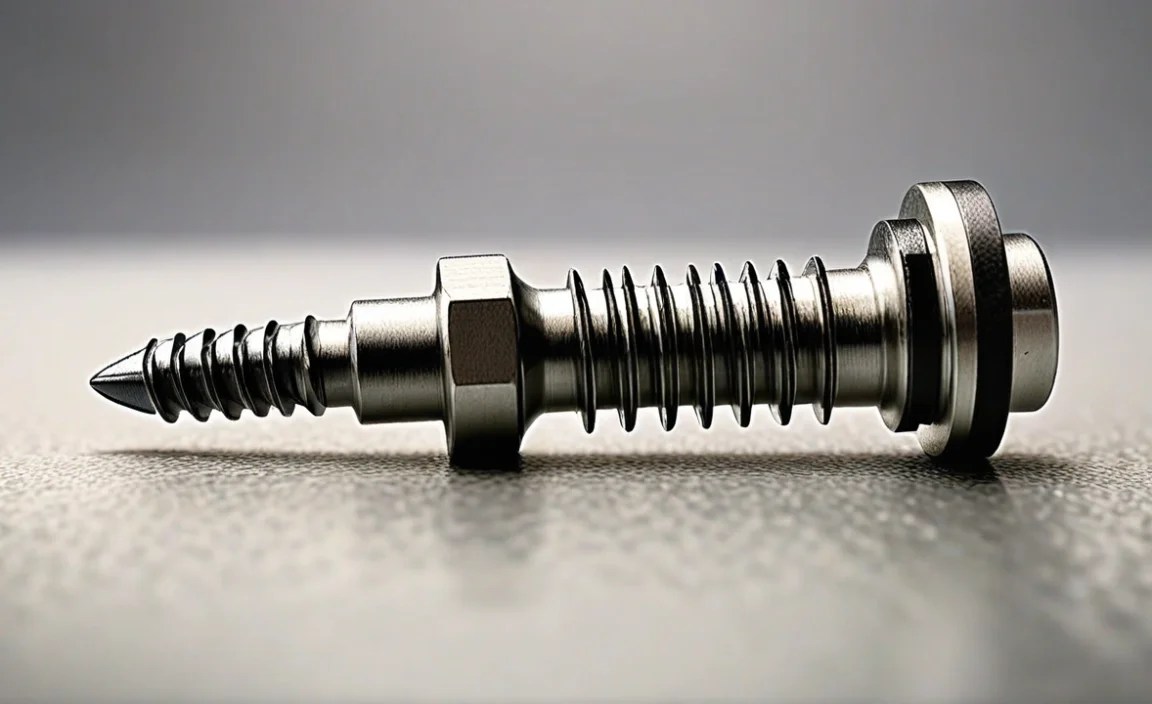
A screw-on chuck is a type of connector that attaches your bike pump to your tire valve. Unlike press-on chucks, which rely on friction, screw-on chucks create a secure seal by screwing onto the valve. This design minimizes air leaks and provides a stable connection, making it easier to inflate your tires to the correct pressure.
Key Features of a Screw-On Chuck
- Secure Connection: The threaded connection ensures no air escapes during inflation.
- Dual Compatibility: Many screw-on chucks work with both Presta and Schrader valves.
- Ease of Use: Simple to attach and remove, even for beginners.
- Durable Construction: Made from materials like brass or aluminum for longevity.
Why Choose a Screw-On Chuck?
Screw-on chucks offer several advantages over other types of connectors:
- Reduced Air Loss: The tight seal prevents air from leaking, ensuring accurate inflation.
- Stable Inflation: The secure connection means you don’t have to hold the chuck in place.
- Versatility: Many models are compatible with different valve types.
- Improved Accuracy: Consistent air delivery helps you achieve the desired tire pressure.
Types of Screw-On Chucks

Screw-on chucks come in various designs, each with its own set of features and benefits. Understanding the different types will help you choose the best one for your needs.
Dual-Head Chucks
Dual-head chucks are designed to work with both Presta and Schrader valves. They typically have two separate openings, one for each valve type. This versatility makes them a popular choice for cyclists who own bikes with different valve types or who want a single pump that can handle any tire.
- Pros:
- Compatible with both Presta and Schrader valves.
- Convenient for households with multiple bikes.
- Easy to switch between valve types.
- Cons:
- Can be slightly bulkier than single-head chucks.
- May require careful alignment to ensure a proper seal.
Single-Head Chucks
Single-head chucks are designed for a specific valve type, either Presta or Schrader. These chucks are often more compact and can provide a more precise fit for the intended valve. They are a good choice if you primarily use one type of valve.
- Pros:
- Compact and lightweight.
- Optimized for a specific valve type.
- May offer a more secure seal for the intended valve.
- Cons:
- Only works with one type of valve.
- Requires a separate chuck for different valve types.
Threaded vs. Non-Threaded Chucks
Some screw-on chucks have a threaded connection to attach to the pump hose, while others use a non-threaded, push-fit design. Threaded connections are generally more secure and less prone to leaking, but push-fit connections can be quicker to attach and remove.
- Threaded Chucks:
- Pros: Secure connection, minimal leakage.
- Cons: Slower to attach and remove.
- Non-Threaded (Push-Fit) Chucks:
- Pros: Quick attachment and removal.
- Cons: May be more prone to leaks.
How to Use a Screw-On Chuck

Using a screw-on chuck is straightforward, but following these steps will ensure a secure and efficient inflation process.
Step-by-Step Guide
- Prepare the Valve:
- For Presta valves, unscrew the valve nut at the top and gently push it in to loosen it.
- For Schrader valves, remove the valve cap.
- Attach the Chuck:
- Align the appropriate opening on the chuck with the valve.
- Screw the chuck onto the valve until it’s snug.
- Ensure the connection is secure to prevent air leaks.
- Inflate the Tire:
- Begin pumping, using smooth and consistent strokes.
- Monitor the pressure using the gauge on your pump.
- Inflate to the recommended pressure (printed on the tire sidewall).
- Remove the Chuck:
- Unscrew the chuck from the valve.
- For Presta valves, tighten the valve nut.
- Replace the valve cap on Schrader valves.
Tips for Effective Use
- Check for Leaks: Listen for hissing sounds that indicate air leaks. If you hear a leak, tighten the chuck or reposition it.
- Proper Alignment: Ensure the chuck is properly aligned with the valve to prevent damage and ensure a secure seal.
- Regular Maintenance: Clean the chuck regularly to remove dirt and debris that can affect its performance.
Choosing the Right Screw-On Chuck

Selecting the right screw-on chuck depends on your specific needs and preferences. Here are some factors to consider:
Valve Compatibility
The most important factor is whether the chuck is compatible with your bike’s valve type. If you have both Presta and Schrader valves, a dual-head chuck is the most convenient option. If you only use one type of valve, a single-head chuck may be a better choice.
Material and Durability
Look for chucks made from durable materials like brass or aluminum. These materials are resistant to corrosion and can withstand regular use. Avoid plastic chucks, as they are more prone to cracking and breaking.
Ease of Use
Consider how easy the chuck is to attach and remove. A chuck with a comfortable grip and smooth threading will make the inflation process more efficient. Some chucks also have ergonomic designs that make them easier to handle.
Brand and Price
Choose a chuck from a reputable brand known for producing high-quality bike accessories. While price is a factor, investing in a durable and reliable chuck can save you money in the long run by reducing the need for replacements. Here’s a comparison table:
| Brand | Model | Valve Compatibility | Material | Price Range |
|---|---|---|---|---|
| Topeak | SmartHead DX3 | Presta/Schrader | Aluminum/Brass | $25 – $35 |
| Lezyne | Dual Valve Head | Presta/Schrader | Aluminum | $30 – $40 |
| Park Tool | INF-2 | Schrader | Composite/Steel | $40 – $50 |
| SKS | EMAT 4.0 | Presta/Schrader/Dunlop | Aluminum | $20 – $30 |
Maintaining Your Screw-On Chuck
Proper maintenance will extend the life of your screw-on chuck and ensure it performs optimally. Here are some tips to keep it in good condition:
- Regular Cleaning: Clean the chuck regularly with a soft cloth to remove dirt and debris. Use a mild detergent if necessary.
- Check for Damage: Inspect the chuck for cracks, wear, or damage. Replace it if you notice any issues.
- Lubrication: Apply a small amount of lubricant to the threads to keep them smooth and prevent corrosion.
- Proper Storage: Store the chuck in a clean, dry place to prevent damage and corrosion.
Troubleshooting Common Issues
Even with proper maintenance, you may encounter some issues with your screw-on chuck. Here are some common problems and how to fix them:
- Air Leaks:
- Problem: Air is leaking from the connection between the chuck and the valve.
- Solution: Tighten the chuck, reposition it, or check for damage to the valve.
- Difficulty Attaching:
- Problem: The chuck is difficult to screw onto the valve.
- Solution: Clean the threads on both the chuck and the valve. Apply a small amount of lubricant to the threads.
- Valve Damage:
- Problem: The valve is damaged or bent.
- Solution: Replace the valve. If you’re not comfortable doing this yourself, take your bike to a professional mechanic.
Screw-On Chucks vs. Other Types of Chucks
Screw-on chucks aren’t the only option out there. Let’s see how they stack up against other common types:
Press-On Chucks
Press-on chucks, also known as slip-on chucks, rely on friction to stay in place. They’re quick to attach and remove, but they can be prone to air leaks if not held firmly in place. They are often found on cheaper pumps.
- Pros:
- Fast attachment and removal.
- Simple design.
- Cons:
- Prone to air leaks.
- Requires constant pressure to maintain a seal.
- Less accurate inflation.
Lever-Lock Chucks
Lever-lock chucks use a lever to clamp onto the valve. They provide a more secure connection than press-on chucks but can still leak if the lever isn’t properly adjusted. They are a good middle ground for ease of use and security.
- Pros:
- Relatively secure connection.
- Easy to attach and remove.
- Cons:
- Can still leak if not properly adjusted.
- May require occasional adjustments.
Comparison Table
| Type of Chuck | Connection Method | Security | Ease of Use | Leakage |
|---|---|---|---|---|
| Screw-On | Threaded | High | Moderate | Minimal |
| Press-On | Friction | Low | High | High |
| Lever-Lock | Clamp | Moderate | Moderate | Moderate |
FAQ About Screw-On Chucks
Q: Can I use a screw-on chuck on any bike pump?
A: Most screw-on chucks are designed to be compatible with standard bike pumps. However, it’s always a good idea to check the compatibility before purchasing. Look for chucks with a universal adapter or the correct thread size for your pump hose.
Q: How do I know if my bike has a Presta or Schrader valve?
A: Presta valves are narrow and have a small nut at the top that needs to be unscrewed before inflating. Schrader valves are wider and look similar to car tire valves. Check out this guide for a visual comparison.
Q: What should I do if my screw-on chuck keeps leaking air?
A: First, make sure the chuck is screwed on tightly. If it still leaks, check the valve for damage or debris. Cleaning the valve and the chuck can often resolve the issue. If the problem persists, the chuck may need to be replaced.
Q: Are screw-on chucks better than lever-lock chucks?
A: It depends on your preference. Screw-on chucks generally provide a more secure and leak-free connection, but they can be slower to attach and remove. Lever-lock chucks offer a good balance of security and ease of use.
Q: Can I convert a press-on chuck to a screw-on chuck?
A: Yes, it’s often possible to replace a press-on chuck with a screw-on chuck. You’ll need to purchase a screw-on chuck with the correct thread size for your pump hose and follow the manufacturer’s instructions for installation.
Q: How often should I replace my screw-on chuck?
A: The lifespan of a screw-on chuck depends on how frequently it’s used and how well it’s maintained. Inspect it regularly for wear and damage, and replace it if you notice any issues that affect its performance, such as persistent air leaks or difficulty attaching.
Q: What are some signs that my tire valve is damaged?
A: Signs of a damaged tire valve include difficulty inflating the tire, air leaking from the valve even when it’s closed, and visible cracks or bends in the valve stem. If you notice any of these issues, it’s best to replace the valve to ensure safe and efficient inflation.
Conclusion
A screw-on chuck can significantly improve your bike maintenance routine by providing a secure, leak-free connection for tire inflation. Whether you choose a dual-head model for versatility or a single-head for precision, the right chuck will make pumping your tires easier and more efficient. By understanding the different types, following proper usage techniques, and performing regular maintenance, you can ensure your tires are always at the correct pressure for a smooth and enjoyable ride.
So, upgrade your bike pump with a screw-on chuck and say goodbye to frustrating air leaks. Happy riding!


