
How to Quickly Attach Bike Chuck to Schrader Valve
Quick Summary: To attach a bike pump chuck to a Schrader valve, first ensure the chuck is compatible. Align the chuck straight onto the valve, press firmly to create a seal, and then engage the lever or twist mechanism to lock it in place. A hissing sound means it’s not sealed correctly; readjust and try again until secure.
Hey there, fellow cyclists! Raymond Ammons from BicyclePumper.com here. Ever struggled to get your bike pump properly attached to your tire’s Schrader valve? You’re not alone! It’s a common frustration that can turn a quick top-up into a mini wrestling match. But don’t worry, it’s usually a simple fix. Getting a solid, airtight connection is key to easy inflation and accurate pressure readings.
In this guide, I’ll walk you through the process step-by-step. We’ll cover how to identify a Schrader valve, choose the right chuck, and master the attachment technique. Plus, I’ll share some troubleshooting tips to handle common issues. By the end, you’ll be inflating your tires with confidence and getting back on the road in no time. Let’s get pumping!
Understanding Schrader Valves and Bike Pump Chucks


Before diving into the attachment process, let’s cover the basics of Schrader valves and the different types of bike pump chucks you might encounter.
What is a Schrader Valve?
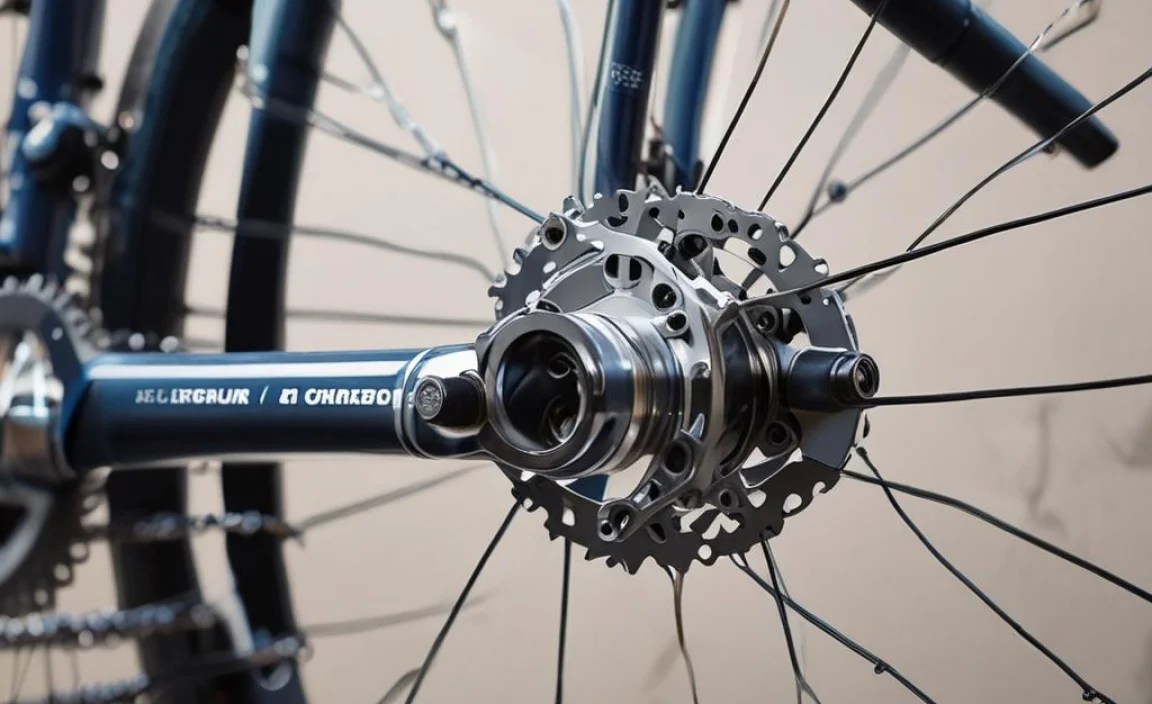
A Schrader valve is the same type of valve you’ll find on car tires. It’s sturdy, reliable, and consists of a valve stem threaded on the outside, with a spring-loaded pin in the center. When you press the pin, air can enter or exit the tire.
Key characteristics of a Schrader valve:
- Wider than Presta valves (another common bike valve type).
- Has a spring-loaded pin in the center.
- Common on mountain bikes, hybrid bikes, and kids’ bikes.
Types of Bike Pump Chucks
The “chuck” is the part of your bike pump that connects to the valve. There are generally two types:
- Schrader-Specific Chucks: Designed only for Schrader valves. These are straightforward and often found on basic bike pumps.
- Dual-Head Chucks: These have two openings – one for Schrader and one for Presta valves. These are more versatile.
Make sure you’re using the correct opening on a dual-head chuck when attaching to a Schrader valve. The Schrader opening is usually wider.
Identifying the Right Chuck
Here’s a simple table to help you quickly identify the right chuck for your Schrader valve:
| Chuck Type | Appearance | Compatibility |
|---|---|---|
| Schrader-Specific | Single opening, wider diameter | Schrader valves only |
| Dual-Head (Schrader Side) | Wider of the two openings | Schrader valves |
Step-by-Step Guide: Attaching a Bike Chuck to a Schrader Valve

Now, let’s get to the main event: attaching the chuck to the Schrader valve. Follow these steps for a secure and airtight connection.
Step 1: Prepare the Valve
Before attaching the chuck, make sure the valve is clean and accessible.
- Remove the valve cap: Unscrew the small cap covering the Schrader valve. Set it aside in a safe place.
- Check the valve: Ensure the valve stem is straight and not damaged. A bent or damaged valve can be difficult to seal.
Step 2: Position the Chuck
Proper alignment is key to a good seal.
- Align the chuck: Hold the chuck so that the Schrader opening is directly in line with the valve.
- Straight approach: Approach the valve straight on. Avoid angling the chuck, as this can make it harder to create a seal.
Step 3: Press and Engage
This is where you create the initial seal and lock the chuck in place.
- Press firmly: Push the chuck straight onto the valve with firm, even pressure. You should feel the chuck slide over the valve stem.
- Listen for a seal: As you press, listen for any hissing sounds. Hissing indicates air escaping, meaning the seal isn’t complete. If you hear hissing, readjust the chuck and try again.
- Engage the lever or twist: Most bike pump chucks have a lever or twist mechanism to lock them onto the valve. Engage this mechanism according to your pump’s instructions. This usually involves flipping a lever or twisting the chuck.
Step 4: Check the Connection
Before you start pumping, double-check the connection to ensure it’s secure.
- No hissing: Once the chuck is locked, there should be no hissing sounds. If you still hear air escaping, the connection isn’t secure.
- Gentle tug: Gently tug on the chuck to see if it comes loose. If it feels wobbly or comes off easily, readjust and re-engage the locking mechanism.
Pro Tip: If you’re having trouble getting a good seal, try moistening the rubber gasket inside the chuck with a little water. This can help it grip the valve better.
Troubleshooting Common Issues
Even with the best technique, you might encounter some common issues. Here’s how to troubleshoot them.
Problem: Chuck Won’t Attach
Possible Causes:
- Incorrect chuck size: Make sure you’re using the Schrader opening on a dual-head chuck.
- Debris in the chuck: Check for dirt or debris inside the chuck that might be blocking the valve.
- Damaged valve: Inspect the Schrader valve for damage or bending.
Solutions:
- Use the correct chuck opening.
- Clean the chuck with a small brush or compressed air.
- If the valve is damaged, consider replacing it.
Problem: Air Leakage (Hissing Sound)
Possible Causes:
- Poor seal: The chuck isn’t making a tight seal around the valve.
- Worn gasket: The rubber gasket inside the chuck is worn or damaged.
- Loose connection: The locking mechanism isn’t fully engaged.
Solutions:
- Readjust the chuck and press firmly.
- Replace the rubber gasket in the chuck (available at most bike shops).
- Ensure the locking lever or twist is fully engaged.
Problem: Chuck Gets Stuck
Possible Causes:
- Over-tight connection: The chuck is pressed on too hard.
- Corrosion: Corrosion between the chuck and valve.
Solutions:
- Gently wiggle the chuck while pulling it straight off.
- Apply a small amount of lubricant (like WD-40) to the valve stem before attaching the chuck.
Choosing the Right Bike Pump for Schrader Valves

Having a reliable bike pump is essential for maintaining proper tire pressure. Here are some factors to consider when choosing a pump for Schrader valves.
Floor Pumps vs. Hand Pumps
Floor Pumps:
- Pros: More efficient, easier to use for high-pressure tires, often have a built-in pressure gauge.
- Cons: Larger, not portable for on-the-road repairs.
- Best for: Home use, pre-ride inflation.
- Pros: Portable, lightweight, ideal for emergency repairs on the road.
- Cons: Requires more effort, can be difficult to reach high pressures, pressure gauges are less accurate (if present at all).
- Best for: On-the-go inflation, emergency repairs.
Key Features to Look For
- Schrader Compatibility: Ensure the pump head is compatible with Schrader valves (either Schrader-specific or dual-head).
- Pressure Gauge: A built-in pressure gauge helps you accurately inflate your tires to the correct PSI (pounds per square inch). Look for a gauge that’s easy to read and accurate to within a few PSI.
- Durable Construction: Choose a pump made from durable materials like steel or aluminum. A sturdy base is also important for floor pumps.
- Comfortable Handle: A comfortable handle will make pumping easier, especially when inflating tires to high pressures.
Recommended Bike Pumps
Here are a few highly-rated bike pumps that work well with Schrader valves:
| Pump Name | Type | Key Features |
|---|---|---|
| Topeak JoeBlow Sport III | Floor Pump | Durable, easy-to-read gauge, comfortable handle |
| Lezyne Micro Floor Drive HP | Hand Pump | Compact, efficient, includes a pressure gauge |
| Park Tool PMP-4 | Mini Pump | Durable, lightweight, Schrader and Presta compatible |
Maintaining Your Bike Pump Chuck

Proper maintenance of your bike pump chuck will ensure it lasts longer and performs reliably. Here are some tips:
- Keep it clean: Regularly clean the chuck with a small brush or cloth to remove dirt and debris.
- Inspect the gasket: Check the rubber gasket inside the chuck for wear and tear. Replace it if it’s cracked or damaged.
- Lubricate: Occasionally apply a small amount of silicone lubricant to the gasket to keep it pliable.
- Store properly: Store your bike pump in a clean, dry place to prevent corrosion.
FAQ: Attaching Bike Chuck to Schrader Valve
Here are some frequently asked questions about attaching a bike chuck to a Schrader valve.
Why is my bike pump not attaching to my Schrader valve?
The most common reasons are an incorrect chuck size, debris in the chuck, or a damaged valve. Ensure you’re using the Schrader opening, clean the chuck, and inspect the valve for damage.
How do I know if my bike pump chuck is properly attached?
A properly attached chuck will have no hissing sounds (indicating air leakage) and will feel secure when gently tugged. The locking mechanism should be fully engaged.
Can I use a Presta valve pump on a Schrader valve?
No, Presta and Schrader valves have different sizes and designs. You need a pump with a Schrader-compatible chuck (either Schrader-specific or a dual-head chuck).
What does PSI mean for bike tires?
PSI stands for pounds per square inch, which is the unit used to measure tire pressure. The recommended PSI for your tires is usually printed on the tire sidewall.
How often should I check my bike tire pressure?
It’s best to check your tire pressure before every ride, especially if you haven’t ridden in a while. Tires can slowly lose air over time.
What happens if I over-inflate my bike tires?
Over-inflating your tires can lead to a harsh ride, increased risk of punctures, and even tire blowouts. Always stay within the recommended PSI range.
Where can I buy replacement gaskets for my bike pump chuck?
Replacement gaskets are available at most bike shops and online retailers that sell bike pump accessories. Make sure to get the correct size for your pump model.
Conclusion
And there you have it! Attaching a bike pump chuck to a Schrader valve is a simple process once you understand the basics. By following these steps and troubleshooting tips, you’ll be able to maintain your bike tires with ease. Remember, proper tire pressure is crucial for a comfortable and efficient ride. So, keep your tires inflated, and enjoy the journey! Happy cycling!


