
Chuck Valves: Master the Sealing Mechanism Secret
Quick Summary: Chuck valves seal using a poppet, ball, or needle pressed against a valve seat by a spring or pressure. This creates a tight, leak-proof seal when closed. Understanding this mechanism is key to maintaining your bike pump and ensuring efficient tire inflation. We’ll break down the components and how they work together.
Ever struggled to pump up your bike tires, only to find air leaking around the valve? It’s a common frustration, often caused by a faulty sealing mechanism in your chuck valve. These small valves play a vital role in connecting your pump to the tire, ensuring all your effort goes into inflating the tire, not escaping around the edges. Luckily, understanding how these valves work and how to maintain them is pretty straightforward.
This guide will walk you through the inner workings of chuck valves, explaining the different types of sealing mechanisms and how to keep them in top shape. We’ll cover everything from identifying valve types to troubleshooting common issues, so you can keep your tires inflated and your rides smooth. Let’s dive in!
Understanding Chuck Valve Sealing Mechanisms

A chuck valve is the critical link between your bike pump and the tire valve. Its primary function is to create an airtight seal, allowing you to efficiently inflate your tires. The sealing mechanism is the heart of this process. Let’s explore the common types.
Types of Sealing Mechanisms
Different chuck valves use various mechanisms to create a seal. Here are the most common:
- Poppet Valves: These use a small, mushroom-shaped component (the poppet) that presses against a valve seat. A spring typically holds the poppet in place, creating a seal. When you apply pressure from the pump, the poppet lifts, allowing air to flow.
- Ball Valves: A ball valve uses a spherical ball that sits against a valve seat. Rotating the handle shifts the ball, opening or closing the valve. While less common in bike pumps directly, the principle is found in some higher-end systems.
- Needle Valves: These valves use a needle-shaped plunger that fits precisely into a matching seat. Turning a knob advances or retracts the needle, controlling the airflow. They offer fine control but are less common in standard bike pumps.
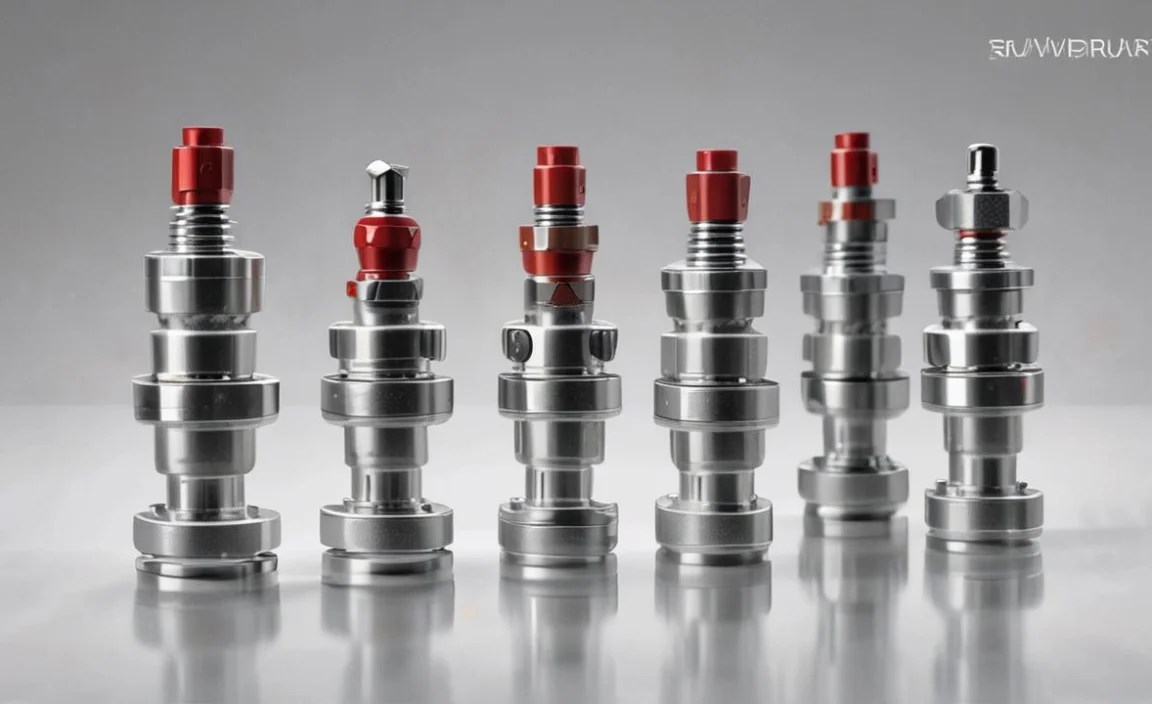
Components of a Typical Chuck Valve
To understand how these mechanisms work, let’s break down the key components:
- Valve Body: The main housing of the valve, usually made of metal or durable plastic.
- Sealing Element: The poppet, ball, or needle that creates the seal.
- Valve Seat: The surface against which the sealing element presses.
- Spring (if applicable): Provides the force to keep the sealing element closed.
- Actuator: The lever, handle, or knob used to open or close the valve.
- O-rings/Seals: Small rubber rings that prevent air from leaking around joints.
How the Sealing Mechanism Works: A Step-by-Step Guide

Let’s look at how a typical poppet valve (the most common type in bike pumps) creates a seal:
- Resting State: The spring pushes the poppet against the valve seat, creating an airtight seal. No air can pass through the valve.
- Connecting to the Tire Valve: You attach the chuck valve to the tire valve (Presta or Schrader).
- Applying Pressure: When you start pumping, the air pressure overcomes the spring’s force, pushing the poppet away from the valve seat.
- Airflow: Air flows through the valve and into the tire.
- Releasing Pressure: When you stop pumping, the spring pushes the poppet back against the valve seat, stopping the airflow and maintaining the pressure in the tire.
Common Problems and Troubleshooting
Even with a well-designed sealing mechanism, problems can arise. Here are some common issues and how to address them:
Air Leaking Around the Valve
This is the most common problem. Here’s what to check:
- Dirty Valve Seat: Dirt or debris can prevent the sealing element from seating properly. Clean the valve seat with a cotton swab.
- Worn Sealing Element: Over time, the poppet or ball can wear down. Replace the chuck valve or the sealing element if possible.
- Damaged O-rings: O-rings provide additional sealing. If they’re cracked or worn, replace them.
- Loose Connection: Ensure the chuck valve is securely attached to the tire valve.
Valve Not Opening
If the valve isn’t opening, check these:
- Stuck Sealing Element: The poppet or ball might be stuck due to corrosion or debris. Try lubricating the valve with a small amount of silicone-based lubricant.
- Weak Spring: If the spring is weak, it might not allow the sealing element to move freely. Replace the spring or the entire chuck valve.
- Incorrect Valve Type: Make sure you’re using the correct chuck valve for your tire valve (Presta or Schrader).
Difficulty Removing the Chuck Valve
Sometimes, the chuck valve can be difficult to remove from the tire valve. Here’s what to do:
- Wiggle and Pull: Gently wiggle the chuck valve while pulling it straight off.
- Lubricate: Apply a small amount of silicone-based lubricant to the connection point.
- Use a Tool: If necessary, use pliers or a similar tool to gently grip the chuck valve and pull it off. Be careful not to damage the valve.
Maintenance Tips for a Long-Lasting Seal

Proper maintenance can significantly extend the life of your chuck valve. Here are some tips:
- Regular Cleaning: Clean the chuck valve regularly to remove dirt and debris. Use a cotton swab or a small brush.
- Lubrication: Apply a small amount of silicone-based lubricant to the moving parts of the valve. This will keep them moving smoothly and prevent corrosion.
- Proper Storage: Store your bike pump in a clean, dry place. This will prevent the valve from corroding or becoming damaged.
- Inspect Regularly: Check the valve for signs of wear or damage. Replace any worn or damaged parts.
Tools and Materials for Chuck Valve Maintenance

Having the right tools and materials on hand makes maintenance much easier. Here’s a list of essentials:
- Cotton Swabs: For cleaning the valve seat and other small parts.
- Small Brush: For removing dirt and debris.
- Silicone-Based Lubricant: For lubricating the moving parts of the valve.
- O-rings: Replacement O-rings in various sizes.
- Pliers: For removing stubborn chuck valves or replacing parts.
- Screwdrivers: For disassembling the valve (if necessary).
- Replacement Chuck Valve: Having a spare chuck valve on hand can save you time and frustration.
Choosing the Right Chuck Valve
Not all chuck valves are created equal. Here are some factors to consider when choosing a chuck valve:
- Valve Type: Ensure the chuck valve is compatible with your tire valves (Presta or Schrader). Some valves are dual-headed and work with both types.
- Material: Metal valves are generally more durable than plastic valves.
- Ease of Use: Look for a valve that is easy to attach and remove.
- Sealing Performance: Read reviews to see how well the valve seals.
- Brand Reputation: Choose a valve from a reputable brand known for quality and reliability.
Presta vs. Schrader Valves: Understanding the Difference
Bike tires use two main types of valves: Presta and Schrader. Understanding the difference is crucial for selecting the right chuck valve and inflating your tires properly.
Presta Valves
- Appearance: Narrower and longer than Schrader valves, with a locking nut at the tip.
- Usage: Common on road bikes and high-performance bikes.
- Inflation: Requires unscrewing the locking nut before inflating and screwing it back on afterward.
- Advantages: Can hold higher pressures and are less prone to leaks.
Schrader Valves
- Appearance: Similar to car tire valves, wider and shorter than Presta valves.
- Usage: Common on mountain bikes, hybrid bikes, and some commuter bikes.
- Inflation: Simply attach the chuck valve and inflate.
- Advantages: More durable and easier to inflate at gas stations.
Here’s a table summarizing the key differences:
| Feature | Presta Valve | Schrader Valve |
|---|---|---|
| Appearance | Narrow, long, with locking nut | Wide, short, like car tire valve |
| Common Usage | Road bikes, high-performance bikes | Mountain bikes, hybrid bikes, commuter bikes |
| Inflation Process | Unscrew nut, inflate, screw nut back on | Attach chuck and inflate |
| Pressure Capacity | Higher | Lower |
| Durability | Less durable | More durable |
Advanced Sealing Technologies
Some high-end bike pumps and chuck valves incorporate advanced sealing technologies for improved performance and durability. These technologies often focus on minimizing leaks and maximizing airflow.
Dual-Head Chuck Valves
These valves have two separate openings, one for Presta valves and one for Schrader valves. This eliminates the need to switch adapters and ensures a secure seal for both valve types.
Thread-On Chuck Valves
Instead of simply pressing onto the valve, these chuck valves thread onto the valve stem, creating a more secure and leak-proof connection. They are often used in high-pressure applications.
Magnetic Chuck Valves
These valves use magnets to hold the chuck in place, making it easier to attach and remove. They also provide a more consistent seal.
DIY Repairs vs. Professional Service
While many chuck valve issues can be resolved with DIY repairs, some problems may require professional service. Here’s a guide to help you decide:
DIY Repairs
You can handle these issues yourself:
- Cleaning a dirty valve seat
- Replacing O-rings
- Lubricating the valve
- Replacing a worn chuck valve
Professional Service
Consider professional service for these issues:
- Internal valve damage
- Complex valve disassembly
- Unusual valve problems you can’t diagnose
If you’re unsure about a repair, it’s always best to consult a professional bike mechanic. They have the expertise and tools to properly diagnose and fix the problem.
Sealing Mechanisms in Tubeless Setups
Tubeless tire setups require airtight seals to maintain pressure without an inner tube. The sealing mechanism in your pump’s chuck valve plays a crucial role in this process.
Ensuring a Good Seal
When inflating tubeless tires, it’s essential to ensure a tight seal between the chuck valve and the tire valve. Any leaks can prevent the tire from seating properly on the rim.
Using a Tubeless-Specific Pump
Some bike pumps are specifically designed for tubeless setups. These pumps often have features like a “boost” mode that delivers a large volume of air quickly, helping to seat the tire. They also typically have high-quality chuck valves that provide a reliable seal.
Checking for Leaks
After inflating a tubeless tire, check for leaks around the valve stem. If you find any leaks, try tightening the valve core or applying sealant to the area.
FAQ: Sealing Mechanism of Chuck Valves
What is a chuck valve?
A chuck valve connects your bike pump to the tire valve, creating an airtight seal for inflation.
Why is the sealing mechanism important?
It ensures air goes into the tire, not leaking around the connection, making inflation efficient.
What are the common types of sealing mechanisms?
Poppet, ball, and needle valves are the most common types used in bike pumps.
How do I maintain my chuck valve?
Clean it regularly, lubricate moving parts with silicone-based lubricant, and store your pump in a dry place.
What causes air leaks around the valve?
Dirt, worn sealing elements, damaged O-rings, or a loose connection are common culprits.
Can I repair my chuck valve myself?
Yes, simple tasks like cleaning, lubricating, and replacing O-rings are DIY-friendly.
When should I replace my chuck valve?
If it’s worn, damaged, or consistently leaking despite maintenance, replacement is best.
Conclusion
Understanding the sealing mechanism of chuck valves is essential for maintaining your bike pump and ensuring efficient tire inflation. By knowing the different types of valves, their components, and common problems, you can troubleshoot issues and keep your tires properly inflated. Regular maintenance, such as cleaning and lubrication, can extend the life of your chuck valve and prevent frustrating leaks. Whether you’re a casual rider or a serious cyclist, a well-maintained chuck valve is a key to a smooth and enjoyable ride. So, take the time to understand your valve, keep it clean, and enjoy the ride!


