
Bike Pump Parts Diagram: The Easy Fix Guide
Quick Summary: Bike Pump Parts Diagram
Understanding your bike pump’s parts is super important! A typical pump includes a handle, barrel, piston, check valve, hose, and pump head. Knowing how these parts fit together helps you fix common issues like leaks or loss of pressure. A parts diagram makes maintenance easy, so you can keep your tires properly inflated and enjoy smooth rides.
Ever struggled with a bike pump that just won’t inflate your tires properly? It’s a common problem for cyclists, and it can be really frustrating! Often, the issue is a small part needing a little attention. The good news is, you don’t need to be a pro mechanic to fix it.
In this guide, we’ll explore a bike pump parts diagram. We’ll break down each component, explain what it does, and show you how understanding these parts can help you keep your pump in top shape. Let’s get started and make bike pump maintenance simple!
Understanding the Bike Pump: An Overview

Before we dive into the diagram, let’s get a general understanding of what a bike pump does and why each part is important. A bike pump is a simple machine designed to force air into your tires. By understanding the basics, you can troubleshoot common problems and keep your tires properly inflated.
Types of Bike Pumps
There are mainly two types of bike pumps:
- Floor Pumps (Track Pumps): These are larger, stand-up pumps that are very stable and efficient for inflating tires quickly.
- Hand Pumps: Smaller and portable, perfect for on-the-go inflation during rides.
Why Knowing the Parts Matters
Knowing the parts of your bike pump can help you:
- Troubleshoot Issues: Identify and fix problems like leaks or loss of pressure.
- Perform Maintenance: Keep your pump in good working condition with regular care.
- Save Money: Avoid replacing the entire pump by fixing individual parts.
Bike Pump Parts Diagram: Key Components

Let’s break down the main parts of a typical bike pump. While designs may vary slightly, most pumps share these basic components.
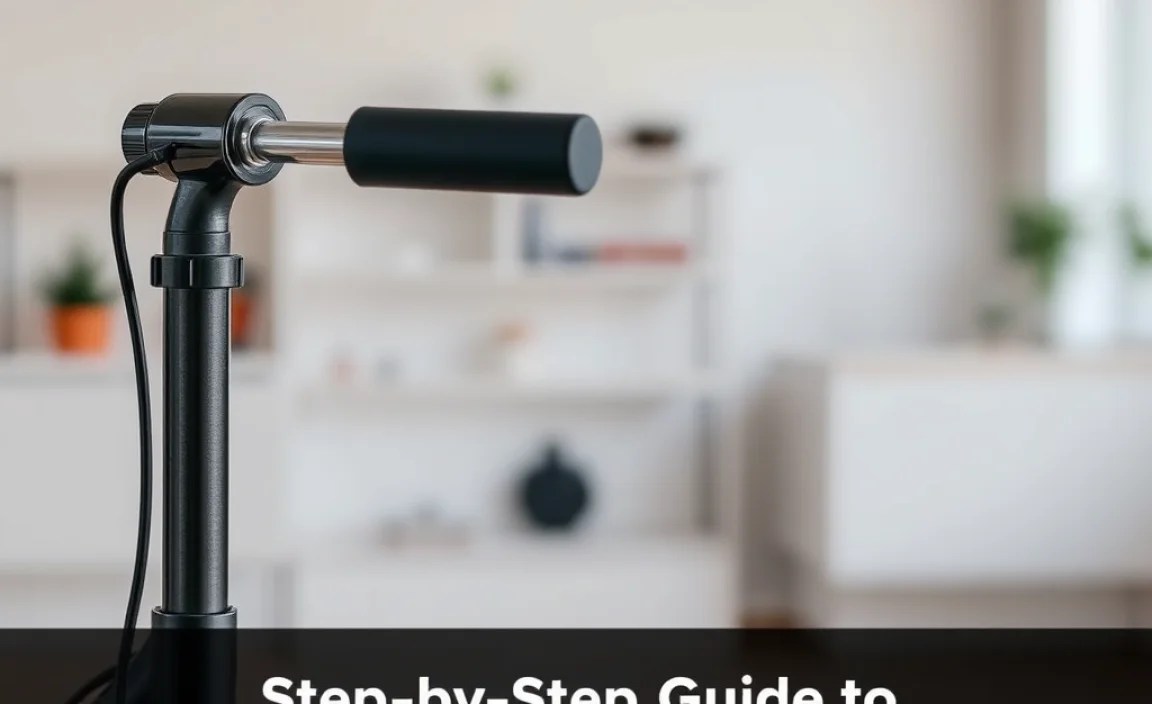
1. Handle
The handle is what you grip to operate the pump. It’s usually made of plastic, wood, or metal and is designed for comfortable use.
- Function: Allows you to push and pull the piston, creating air pressure.
- Maintenance Tip: Check for cracks or looseness. A loose handle can make pumping difficult.
2. Barrel
The barrel is the main body of the pump. It’s a cylinder that houses the piston.
- Function: Provides the chamber in which air is compressed.
- Material: Typically made of steel or aluminum for durability.
- Maintenance Tip: Inspect for dents or damage, as these can affect the pump’s efficiency.
3. Piston
The piston is a crucial part that moves up and down inside the barrel to compress the air.
- Function: Creates pressure by moving air through the pump.
- Material: Usually made of plastic or rubber.
- Maintenance Tip: Keep the piston clean and lubricated for smooth operation.
4. Piston Cup/O-Ring
The piston cup (or O-ring) is a seal on the piston that ensures air doesn’t leak past it.
- Function: Creates an airtight seal against the barrel walls.
- Material: Made of rubber or similar flexible material.
- Maintenance Tip: Replace if it becomes worn or cracked to maintain pressure.
5. Check Valve
The check valve is a one-way valve that allows air to flow into the tire but not back out.
- Function: Prevents air from escaping the tire between pump strokes.
- Location: Usually found at the base of the barrel or near the hose connection.
- Maintenance Tip: Clean or replace if it becomes clogged or fails to seal properly.
6. Hose
The hose connects the pump to the tire valve.
- Function: Transfers the compressed air from the pump to the tire.
- Material: Made of flexible rubber or plastic.
- Maintenance Tip: Check for cracks or leaks. Replace if damaged.
7. Pump Head (Chuck)
The pump head attaches to the tire valve and allows air to flow in.
- Types: Schrader (car-type) and Presta (narrower, for road bikes). Some pump heads are dual-compatible.
- Function: Creates a secure connection to the tire valve.
- Maintenance Tip: Ensure the rubber seals inside the head are in good condition. Replace if worn.
8. Base
The base provides stability for floor pumps.
- Function: Keeps the pump steady during use.
- Material: Usually made of steel or durable plastic.
- Maintenance Tip: Ensure the base is securely attached to the barrel.
9. Pressure Gauge (Optional)
Some pumps have a gauge to show the air pressure in the tire.
- Function: Allows you to inflate tires to the correct pressure (PSI or bar).
- Maintenance Tip: Check for accuracy periodically. If inaccurate, it may need calibration or replacement.
Detailed Bike Pump Parts Table

Here’s a quick reference table summarizing the key parts of a bike pump:
| Part Name | Function | Material | Maintenance Tip |
|---|---|---|---|
| Handle | Grip for pumping | Plastic, Wood, or Metal | Check for cracks or looseness |
| Barrel | Chamber for air compression | Steel or Aluminum | Inspect for dents or damage |
| Piston | Compresses air | Plastic or Rubber | Keep clean and lubricated |
| Piston Cup/O-Ring | Airtight seal | Rubber | Replace if worn or cracked |
| Check Valve | One-way air flow | Plastic or Metal | Clean or replace if clogged |
| Hose | Transfers air to tire | Rubber or Plastic | Check for cracks or leaks |
| Pump Head (Chuck) | Connects to tire valve | Metal and Rubber | Replace worn rubber seals |
| Base | Provides stability | Steel or Plastic | Ensure secure attachment |
| Pressure Gauge | Measures air pressure | Plastic and Metal | Check for accuracy |
Step-by-Step Guide to Disassembling a Bike Pump
Disassembling your bike pump can seem daunting, but with the right steps, it’s quite manageable. Here’s how to do it:
Tools You’ll Need
- Screwdrivers (various sizes)
- Pliers
- Wrench
- Lubricant (e.g., silicone grease)
- Clean cloth
Step 1: Prepare Your Workspace
Find a clean, well-lit area to work. Lay down a cloth or mat to protect small parts from getting lost.
Step 2: Disconnect the Hose
Unscrew the hose from the pump body. Use a wrench if necessary, but be careful not to overtighten it.
Step 3: Remove the Base (Floor Pumps)
If you have a floor pump, detach the base by unscrewing any bolts or screws holding it in place. Some bases may simply slide off.
Step 4: Open the Pump Body
Locate and remove any screws or bolts holding the pump body together. Carefully separate the two halves of the pump.
Step 5: Access the Piston
Once the pump body is open, you’ll see the piston and its connecting rod. Gently pull the piston out of the barrel.
Step 6: Examine the Piston Cup/O-Ring
Check the piston cup or O-ring for wear and tear. If it’s cracked or damaged, it needs to be replaced.
Step 7: Inspect the Check Valve
The check valve is usually located at the base of the barrel. Remove it and inspect for debris or damage. Clean or replace as needed.
Step 8: Clean All Parts
Use a clean cloth to wipe down all the parts. Remove any dirt or old lubricant.
Step 9: Reassemble the Pump
Follow these steps in reverse order to reassemble the pump:
- Lubricate the piston cup/O-ring with silicone grease.
- Reinsert the piston into the barrel.
- Reassemble the pump body.
- Reattach the base (if applicable).
- Reconnect the hose.
Common Problems and Solutions

Here are some common bike pump problems and how to fix them.
1. Loss of Pressure
- Problem: The pump isn’t building up pressure.
- Cause: Worn piston cup/O-ring.
- Solution: Replace the piston cup/O-ring.
2. Air Leaks
- Problem: Air is leaking from the hose or pump head.
- Cause: Cracked hose or worn seals in the pump head.
- Solution: Replace the hose or the seals in the pump head.
3. Difficulty Pumping
- Problem: The pump is hard to push or pull.
- Cause: Dry piston or debris in the barrel.
- Solution: Lubricate the piston and clean the barrel.
4. Pump Head Not Sealing
- Problem: The pump head won’t stay attached to the valve or seal properly.
- Cause: Worn rubber seals in the pump head.
- Solution: Replace the rubber seals in the pump head.
5. Inaccurate Pressure Gauge
- Problem: The pressure gauge shows incorrect readings.
- Cause: Faulty gauge.
- Solution: Replace the pressure gauge. Consider using a separate, reliable pressure gauge to double-check your tire pressure, such as a digital tire pressure gauge from a trusted brand like Accutire (Accutire.com).
Maintaining Your Bike Pump for Longevity
Proper maintenance ensures your bike pump lasts longer and performs optimally. Here are some tips:
Regular Cleaning
Keep the pump clean by wiping it down with a damp cloth regularly. This prevents dirt and grime from damaging the internal parts.
Lubrication
Lubricate the piston and other moving parts with silicone grease every few months. This keeps the pump operating smoothly.
Check for Wear
Periodically inspect the hose, pump head, and seals for wear and tear. Replace any worn parts promptly to prevent further damage.
Proper Storage
Store the pump in a dry place away from direct sunlight. This prevents the rubber and plastic parts from deteriorating.
Resources for Bike Pump Repair
Need more help? Here are some resources for bike pump repair:
- Local Bike Shops: Your local bike shop can provide expert advice and repair services.
- Online Forums: Cycling forums like Bike Forums (BikeForums.net) offer advice from experienced cyclists.
- YouTube Tutorials: Many helpful videos demonstrate bike pump repair.
FAQ: Bike Pump Maintenance
What is the most common reason a bike pump stops working?
The most common reason is a worn-out piston cup or O-ring. This part creates the airtight seal needed to build pressure. If it’s cracked or damaged, the pump won’t inflate properly.
How often should I lubricate my bike pump?
You should lubricate your bike pump every few months, or whenever you notice it becoming harder to pump. Use silicone grease on the piston and other moving parts.
Can I use any type of lubricant on my bike pump?
No, it’s best to use silicone grease. Other lubricants can damage the rubber and plastic parts inside the pump. Silicone grease is safe and effective.
How do I know if my pump head needs to be replaced?
If the pump head won’t stay attached to the valve or seal properly, it probably needs to be replaced. Also, check the rubber seals inside the head for wear and tear.
What is the difference between a Schrader and a Presta valve?
A Schrader valve is the same type you find on car tires – wider with a spring-loaded pin in the center. A Presta valve is narrower and typically found on road bikes. It has a small nut that you need to unscrew before inflating.
Is it worth repairing a bike pump, or should I just buy a new one?
It often depends on the issue and the cost of replacement parts. Simple fixes like replacing the piston cup or pump head are usually worth it. However, if the barrel is damaged or the pump is very old, buying a new one might be more practical.
How do I clean the inside of my bike pump?
Disassemble the pump and use a clean cloth to wipe down all the parts. You can also use a mild detergent solution to clean the barrel and piston, but make sure to rinse and dry them thoroughly before reassembling.
Conclusion
Understanding the parts of your bike pump and how they work together is essential for keeping your tires properly inflated and your rides smooth. By following this guide, you can troubleshoot common problems, perform routine maintenance, and extend the life of your pump. Regular maintenance, such as cleaning and lubricating the components, can prevent issues and ensure your pump is always ready when you need it. Don’t be afraid to get your hands dirty and tackle simple repairs – you’ll save money and gain a deeper appreciation for your cycling equipment. Happy riding!


