
Cycle Pump Parts Name: Easy Guide & Diagram
Cycle Pump Parts Names: A Quick Guide: Cycle pumps have several key parts that work together to inflate your tires. These include the handle, barrel, base, hose, valve connector (like Presta or Schrader), piston, and seals. Understanding these parts helps you maintain your pump and fix common issues, ensuring your tires are always properly inflated for a smooth ride.
Ever struggled with a bike pump that just won’t inflate your tires properly? It’s a common frustration for cyclists. The good news is that understanding the different parts of your cycle pump can make maintenance and troubleshooting much easier. Knowing the names and functions of these parts will empower you to keep your pump in top shape, so you’re never stuck with a flat tire again.
In this guide, we’ll break down each component of a cycle pump, from the handle to the valve connector. We’ll explain what each part does and how to identify it. By the end, you’ll have the knowledge to diagnose problems, replace worn parts, and keep your tires perfectly inflated. Let’s get started!
Understanding Cycle Pump Anatomy
A cycle pump might seem simple, but it’s a collection of parts working together. Knowing these parts helps you maintain the pump and troubleshoot problems. Let’s look at the main components.
The Main Components
These are the key parts you’ll find in most cycle pumps:
- Handle: The part you grip and push or pull to operate the pump.
- Barrel: The cylinder where air is compressed.
- Base: Provides stability and support for the pump.
- Hose: Connects the pump to the tire valve.
- Valve Connector: Attaches to the tire valve (Presta or Schrader).
- Piston: Moves inside the barrel to compress air.
- Seals: Create an airtight seal to prevent air leaks.
Detailed Breakdown of Cycle Pump Parts
Let’s dive deeper into each part, understanding their function and how they contribute to the pump’s overall operation.
Handle
The handle is your primary interface with the pump. It’s designed for a comfortable grip, allowing you to apply force efficiently. Handles are typically made of plastic, wood, or metal, often with a rubber or foam overmold for added comfort. Ergonomic designs reduce hand fatigue during prolonged use.
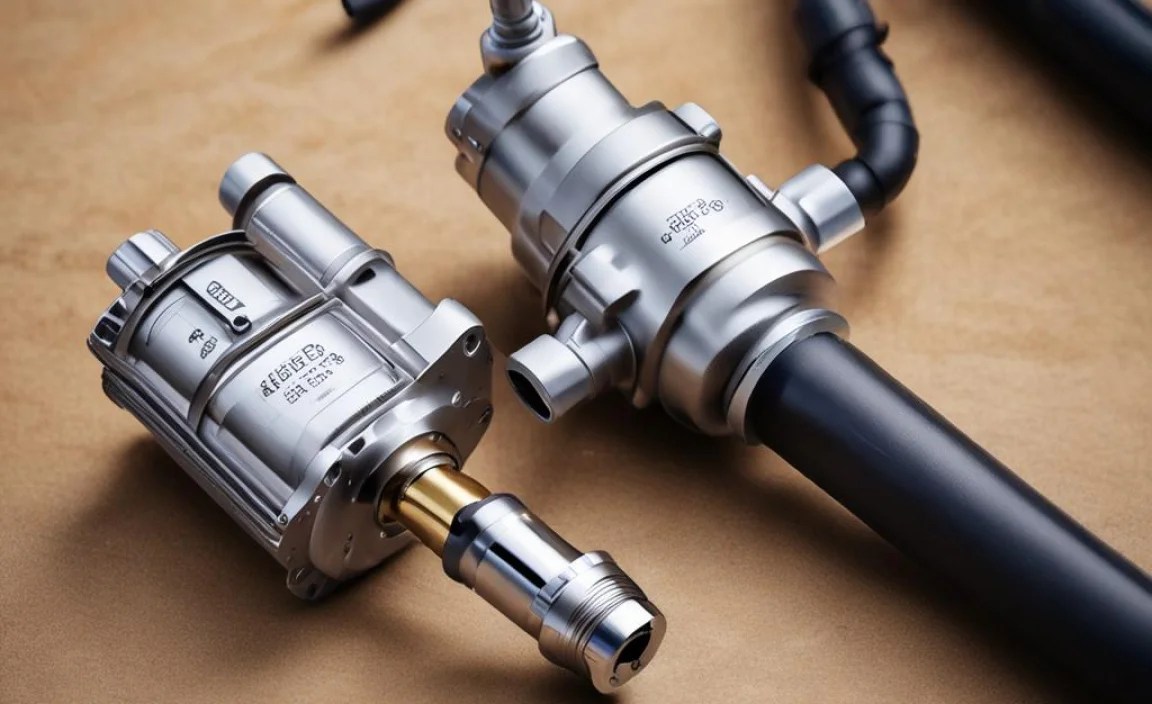
Barrel
The barrel is the heart of the pump. It’s a cylindrical chamber where air is compressed. The barrel’s material (usually steel or aluminum) must be strong enough to withstand high pressure. The inner surface is smooth to allow the piston to move freely and maintain a good seal. The volume of the barrel affects how much air is delivered with each stroke.
Base
The base provides stability, preventing the pump from tipping over while you’re using it. Bases are typically made of steel, aluminum, or durable plastic. Wider bases offer more stability. Some pumps have foldable bases for easier storage.
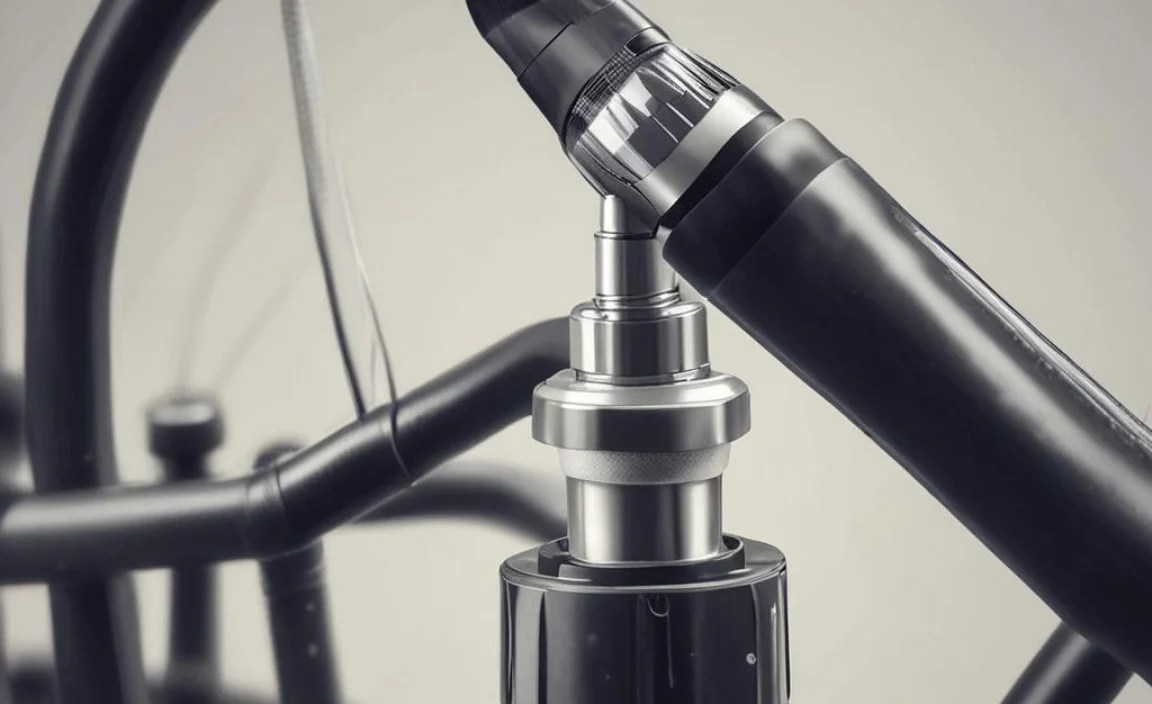
Hose
The hose connects the pump to the tire valve. It needs to be flexible enough to maneuver easily, but also strong enough to withstand high pressure. Hoses are usually made of reinforced rubber or plastic. The length of the hose affects how easily you can reach the tire valve, especially on bikes with awkward valve placements.
Valve Connector
The valve connector (also called the pump head) attaches to the tire valve. There are two main types:
- Presta: A narrow valve with a locking nut at the tip, common on road bikes.
- Schrader: Similar to car tire valves, wider and more robust, often found on mountain bikes and hybrid bikes.
Some pumps have dual-head connectors that can handle both Presta and Schrader valves. Others have interchangeable parts or adapters.
Piston
The piston moves inside the barrel to compress air. It’s usually made of plastic, rubber, or metal. The piston has a seal that creates an airtight barrier against the barrel walls. The piston’s design and material affect the pump’s efficiency and durability.
Seals
Seals are crucial for preventing air leaks. They’re typically made of rubber or synthetic materials. Seals are located on the piston and valve connector. Over time, seals can dry out, crack, or wear down, leading to reduced pumping efficiency.
Types of Cycle Pumps

Cycle pumps come in various types, each designed for specific purposes. Here’s an overview:
- Floor Pumps: Also known as track pumps, these are designed for home use. They provide high volume and pressure, making it easy to inflate tires quickly.
- Hand Pumps: Compact and portable, hand pumps are ideal for on-the-go inflation. They require more effort than floor pumps but are essential for emergency repairs.
- CO2 Inflators: These use cartridges of compressed CO2 to inflate tires rapidly. They’re lightweight and convenient for racing or quick fixes.
- Mini Pumps: A smaller version of hand pumps, designed to be as compact and lightweight as possible.
- Electric Pumps: Powered by batteries or mains electricity, these pumps inflate tires automatically.
Floor Pumps vs. Hand Pumps
Let’s compare floor pumps and hand pumps in more detail:
| Feature | Floor Pump | Hand Pump |
|---|---|---|
| Size | Larger, less portable | Compact, highly portable |
| Inflation Speed | Faster, higher volume | Slower, lower volume |
| Effort Required | Less effort per stroke | More effort per stroke |
| Accuracy | Built-in pressure gauge | Often lacks a gauge |
| Best Use | Home maintenance, pre-ride inflation | On-the-go repairs, emergency inflation |
Pros and Cons of CO2 Inflators
CO2 inflators offer a quick solution for flat tires, but they have drawbacks:
- Pros:
- Very fast inflation
- Lightweight and compact
- Easy to use
- Cons:
- Single-use cartridges
- Can be expensive over time
- Risk of freezing hands
- No pressure control
Maintaining Your Cycle Pump
Regular maintenance extends the life of your cycle pump and ensures it works efficiently. Here’s how to keep your pump in good condition:
Cleaning and Lubrication
Dirt and grime can damage the pump’s internal parts. Clean your pump regularly with a damp cloth. Pay special attention to the valve connector and hose. Lubricate the piston and seals with silicone-based lubricant to keep them moving smoothly. Avoid using oil-based lubricants, as they can damage rubber seals.
Replacing Worn Parts
Over time, certain parts will wear out. Here are some common replacements:
- Seals: Replace worn or cracked seals to prevent air leaks.
- Hose: Replace a damaged or brittle hose to maintain air pressure.
- Valve Connector: Replace a worn or damaged valve connector to ensure a secure fit.
You can find replacement parts at most bike shops or online retailers.
Troubleshooting Common Issues
Here are some common problems and how to fix them:
- Pump won’t inflate: Check the valve connector for proper attachment. Make sure the valve core is open. Inspect the seals for damage.
- Air leaking from the hose: Check the hose for cracks or leaks. Replace the hose if necessary.
- Pump is hard to push: Lubricate the piston and seals. Clean the barrel to remove any dirt or grime.
- Valve connector won’t fit: Ensure you’re using the correct valve connector for your tire type (Presta or Schrader). Check for damage to the connector.
Step-by-Step Guide to Replacing a Pump Seal
Replacing a pump seal is a straightforward process. Here’s how to do it:
Tools You’ll Need
- New replacement seals
- Small screwdriver or pick
- Silicone-based lubricant
- Clean cloth
Step 1: Disassemble the Pump
Carefully disassemble the pump to access the piston and seals. This usually involves unscrewing the handle and removing the piston assembly from the barrel. Refer to your pump’s manual for specific instructions.
Step 2: Locate the Worn Seal
Identify the worn seal on the piston. It may be cracked, flattened, or visibly damaged.
Step 3: Remove the Old Seal
Use a small screwdriver or pick to gently remove the old seal. Be careful not to scratch or damage the piston.
Step 4: Clean the Piston
Clean the piston with a clean cloth to remove any dirt or debris. This ensures a good fit for the new seal.
Step 5: Install the New Seal
Apply a small amount of silicone-based lubricant to the new seal. Carefully stretch the seal over the piston and into its groove.
Step 6: Reassemble the Pump
Reassemble the pump, making sure all parts are properly aligned. Tighten the screws securely.
Step 7: Test the Pump
Test the pump to ensure it’s working properly. Check for air leaks and smooth operation.
Choosing the Right Cycle Pump for Your Needs
Selecting the right cycle pump depends on your riding style, budget, and storage space. Here are some factors to consider:
Factors to Consider
- Type of Bike: Road bikes typically require higher pressure, so a floor pump with a gauge is essential. Mountain bikes and hybrid bikes can use lower pressure, so a hand pump or mini-pump may suffice.
- Frequency of Use: If you ride frequently, invest in a durable floor pump for home use. If you only ride occasionally, a hand pump or CO2 inflator may be sufficient.
- Portability: If you need a pump for on-the-go repairs, choose a compact hand pump, mini-pump, or CO2 inflator.
- Budget: Cycle pumps range in price from affordable hand pumps to high-end floor pumps. Set a budget and choose a pump that offers the best value for your needs.
Recommended Cycle Pump Brands
Here are some reputable cycle pump brands known for quality and reliability:
- Lezyne: Known for high-quality floor pumps and hand pumps with innovative designs.
- Topeak: Offers a wide range of pumps for various needs, from floor pumps to mini-pumps.
- Park Tool: Renowned for durable and reliable bike tools, including floor pumps.
- Silca: A premium brand known for high-end floor pumps with exceptional performance.
- Blackburn: Offers a variety of pumps at different price points, known for their durability.
Tips for Efficient Pumping
Pumping your tires efficiently can save time and energy. Here are some tips:
- Use Proper Technique: Stand with your feet shoulder-width apart and use your body weight to push down on the pump handle. Keep your arms straight and avoid bending at the elbows.
- Check Tire Pressure Regularly: Use a pressure gauge to ensure your tires are inflated to the correct pressure. Overinflating or underinflating your tires can affect performance and safety.
- Maintain Your Pump: Keep your pump clean and lubricated to ensure smooth operation. Replace worn parts as needed.
Understanding Tire Pressure
Maintaining the correct tire pressure is crucial for performance, comfort, and safety. Tire pressure is measured in pounds per square inch (PSI) or bar. The recommended tire pressure is usually printed on the sidewall of the tire.
Benefits of Correct Tire Pressure
- Improved Rolling Resistance: Correctly inflated tires roll faster and require less effort.
- Enhanced Comfort: Proper tire pressure absorbs bumps and vibrations, providing a smoother ride.
- Better Handling: Correctly inflated tires offer better grip and control, especially in corners.
- Reduced Risk of Flats: Properly inflated tires are less susceptible to pinch flats.
Overinflating vs. Underinflating
Both overinflating and underinflating your tires can have negative consequences:
- Overinflating:
- Harsh ride
- Reduced grip
- Increased risk of tire blowout
- Underinflating:
- Increased rolling resistance
- Poor handling
- Increased risk of pinch flats
FAQ About Cycle Pump Parts
Here are some frequently asked questions about cycle pump parts:
- What is the difference between Presta and Schrader valves?
- Presta valves are narrow valves with a locking nut at the tip, common on road bikes. Schrader valves are wider and more robust, similar to car tire valves, often found on mountain bikes and hybrid bikes.
- How often should I lubricate my cycle pump?
- Lubricate your cycle pump every few months, or whenever you notice it’s becoming harder to push. Use a silicone-based lubricant to keep the piston and seals moving smoothly.
- Can I use a car tire pump for my bike?
- Yes, if you have a Schrader valve. However, car tire pumps often deliver too much air at once, making it difficult to achieve precise pressure. It’s better to use a pump designed for bicycles.
- What do I do if my pump hose is leaking?
- Check the hose for cracks or leaks. If the hose is damaged, replace it. You can find replacement hoses at most bike shops or online retailers.
- How do I know if my pump seals are worn?
- If your pump is losing pressure or requires more effort to inflate tires, the seals may be worn. Inspect the seals for cracks or damage and replace them if necessary.
- What type of lubricant should I use on my cycle pump?
- Use a silicone-based lubricant. Avoid using oil-based lubricants, as they can damage rubber seals.
- Where can I buy replacement parts for my cycle pump?
- You can find replacement parts at most bike shops or online retailers specializing in bicycle components and accessories.
Conclusion
Understanding the different parts of your cycle pump empowers you to maintain it properly and troubleshoot common issues. Knowing the names and functions of each component, from the handle to the valve connector, can save you time and money in the long run. Whether you’re dealing with a flat tire on the road or performing routine maintenance at home, a well-maintained pump is an essential tool for any cyclist. By following the tips and guidelines in this article, you’ll be well-equipped to keep your tires properly inflated and enjoy smooth, safe rides. So, grab your pump, inspect those parts, and get ready to roll with confidence!


