
Best Practices for Inflating After Repair: Secret Tips
Quick Summary: After repairing a bike tire, inflate it gradually. Start with a small amount of air to ensure the tire is seated correctly on the rim. Check for bulges or uneven spots. If all looks good, inflate to the recommended pressure on the tire sidewall. Double-check the pressure with a gauge before riding. This process prevents pinch flats and ensures a safe, smooth ride.
Fixing a flat tire is a common part of cycling. But getting back on the road requires more than just patching a hole. The way you inflate your tire after a repair directly impacts your ride quality and safety. Many cyclists rush this step, leading to pinch flats or improperly seated tires.
In this guide, I’ll walk you through the best practices for inflating your tires after a repair. We’ll cover everything from checking the tire seating to achieving the ideal pressure. Follow these steps, and you’ll be rolling smoothly in no time.
Why Proper Inflation Matters After a Repair

Inflating your tires correctly after a repair is essential for several reasons:
- Prevents Pinch Flats: Underinflated tires are more likely to get pinch flats, where the tube is squeezed between the rim and the road.
- Ensures Proper Seating: Correct inflation helps the tire bead seat properly in the rim, preventing blowouts.
- Optimizes Rolling Resistance: Proper pressure reduces rolling resistance, making your ride more efficient.
- Improves Handling: Correctly inflated tires provide better grip and handling, enhancing safety.
Tools You’ll Need
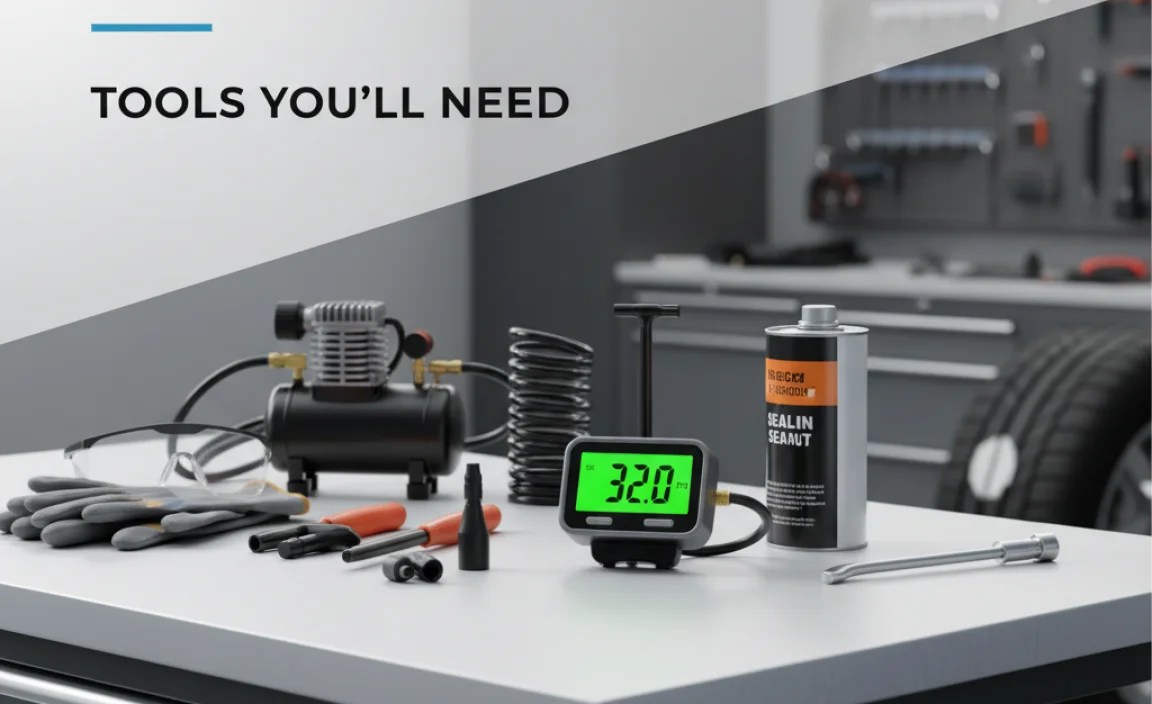
Before you start, gather these essential tools:
- Bike Pump: A floor pump with a gauge is ideal for accurate inflation. A mini-pump is useful for on-the-go repairs.
- Tire Levers: To remove and install the tire.
- Pressure Gauge: To ensure accurate tire pressure.
- Patch Kit or Spare Tube: For fixing the flat.
- Rag: To clean the rim and tire.
Step-by-Step Guide to Inflating After Repair

Follow these steps to properly inflate your tire after a repair:
Step 1: Inspect the Tire and Rim
After patching or replacing the tube, carefully inspect the inside of the tire for any remaining debris (glass, thorns, etc.). Run your fingers along the inside of the tire to feel for sharp objects. Also, check the rim for damage or sharp edges that could cause another flat. Use a rag to clean the rim if necessary.
Step 2: Partially Inflate the Tube
Before fully seating the tire, add just enough air to the tube so it holds its shape. This prevents it from being pinched between the tire and the rim during installation. You should be able to easily manipulate the tire without the tube flopping around.
Step 3: Seat the Tire Bead
Carefully seat one side of the tire bead into the rim. Start opposite the valve and work your way around. Use your thumbs to gently push the tire bead over the rim edge. Once one side is seated, repeat the process for the other side. Pay close attention near the valve to avoid pinching the tube.
Step 4: Check the Tire Seating
Before adding more air, inspect the tire to ensure the bead is evenly seated around the entire rim. Look for a consistent gap between the tire bead and the rim. If you see any bulges or uneven spots, deflate the tire slightly and use your thumbs to adjust the tire until it’s properly seated. An improperly seated tire can lead to a blowout, so take your time with this step.
Step 5: Inflate to the Recommended Pressure
Once you’re sure the tire is properly seated, begin inflating it to the recommended pressure. You can find the recommended pressure range printed on the tire sidewall. Use a floor pump with a gauge for accurate inflation. Inflate in small increments, checking the pressure frequently. Avoid exceeding the maximum pressure listed on the tire.
Step 6: Double-Check the Pressure
After reaching the desired pressure, use a separate pressure gauge to double-check the reading. Gauges on floor pumps can sometimes be inaccurate. A standalone gauge ensures you’re within the recommended pressure range. Overinflation can lead to a blowout, while underinflation increases the risk of pinch flats.
Step 7: Final Inspection
Give the tire one last inspection. Make sure the tire is still properly seated and that there are no bulges or uneven spots. Spin the wheel to check for wobbles or irregularities. If everything looks good, you’re ready to ride.
Understanding Tire Pressure
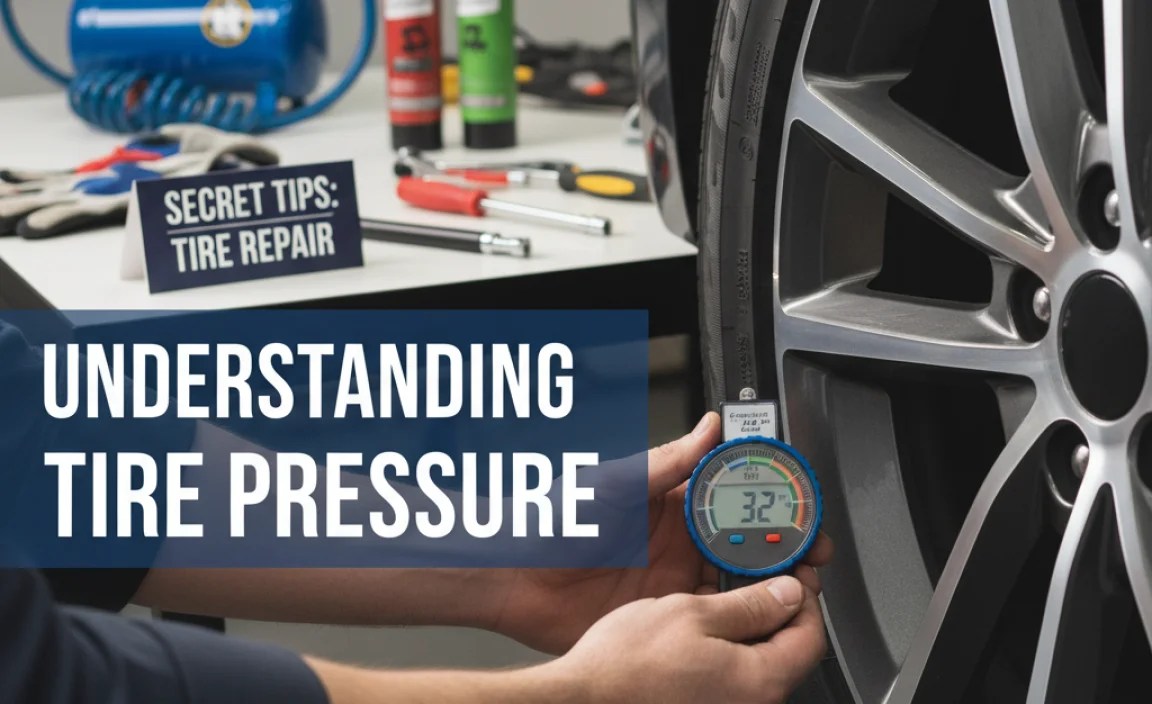
Tire pressure is a critical factor in your bike’s performance and safety. Here’s what you need to know:
PSI vs. BAR
Tire pressure is typically measured in PSI (pounds per square inch) or BAR (a metric unit). Most pumps and gauges display both units. To convert, 1 BAR is approximately equal to 14.5 PSI.
Finding the Right Pressure
The ideal tire pressure depends on several factors, including:
- Tire Size: Wider tires generally require lower pressure.
- Rider Weight: Heavier riders need higher pressure.
- Terrain: Rougher terrain may benefit from slightly lower pressure for comfort and grip.
- Personal Preference: Some riders prefer a firmer or softer feel.
As a general guideline, start with the pressure range printed on the tire sidewall. Then, adjust based on your specific needs and preferences. Experimenting within the recommended range will help you find the sweet spot for optimal performance.
Tire Pressure Chart Example
This table provides a general guideline for tire pressure based on tire size and rider weight. Always refer to the recommended pressure range on your tire sidewall.
| Tire Width (mm) | Rider Weight (lbs) | Recommended Pressure (PSI) |
|---|---|---|
| 23 | 120-150 | 110-120 |
| 23 | 150-180 | 120-130 |
| 25 | 120-150 | 90-100 |
| 25 | 150-180 | 100-110 |
| 28 | 120-150 | 80-90 |
| 28 | 150-180 | 90-100 |
Common Mistakes to Avoid

Here are some common mistakes to avoid when inflating your tires after a repair:
- Ignoring the Sidewall: Always check the recommended pressure range on the tire sidewall.
- Overinflation: Exceeding the maximum pressure can lead to a blowout.
- Underinflation: Riding with underinflated tires increases the risk of pinch flats and reduces efficiency.
- Skipping the Seating Check: Failing to ensure the tire is properly seated can result in a blowout.
- Using an Inaccurate Gauge: Invest in a reliable pressure gauge for accurate readings.
Choosing the Right Pump
The right pump can make a big difference in your cycling experience. Here’s a comparison of different types:
Floor Pumps
Floor pumps are ideal for home use. They provide high volume and pressure with minimal effort. Look for a pump with a built-in gauge for accurate inflation.
Pros:
- Easy to use
- Accurate pressure readings
- Durable
Cons:
- Not portable
- Can be expensive
Mini-Pumps
Mini-pumps are compact and portable, making them perfect for on-the-go repairs. However, they require more effort to inflate tires to high pressure.
Pros:
- Portable
- Lightweight
- Affordable
Cons:
- Requires more effort
- Less accurate pressure readings
CO2 Inflators
CO2 inflators use cartridges of compressed carbon dioxide to quickly inflate tires. They are lightweight and convenient but require purchasing replacement cartridges.
Pros:
- Fast inflation
- Lightweight
- Easy to use
Cons:
- Requires replacement cartridges
- Can be wasteful
- Risk of overinflation
Pump Comparison Table
This table summarizes the key features of each type of pump:
| Pump Type | Pros | Cons | Best Use |
|---|---|---|---|
| Floor Pump | Easy to use, accurate pressure readings, durable | Not portable, can be expensive | Home use |
| Mini-Pump | Portable, lightweight, affordable | Requires more effort, less accurate pressure readings | On-the-go repairs |
| CO2 Inflator | Fast inflation, lightweight, easy to use | Requires replacement cartridges, can be wasteful, risk of overinflation | Quick repairs during races or group rides |
Advanced Tips for Optimal Inflation
Here are some advanced tips to take your inflation game to the next level:
Using a Digital Pressure Gauge
Digital pressure gauges provide highly accurate readings. They are especially useful for fine-tuning tire pressure for specific conditions.
Tubeless Tire Inflation
Inflating tubeless tires requires a slightly different approach. You may need a compressor or a special tubeless inflator to seat the tire bead properly. Ensure the tire is compatible with your rim and that you’re using the correct sealant. Learn more about tubeless tire setup from reputable sources like BikeRadar.
Adjusting for Temperature
Tire pressure changes with temperature. As the temperature rises, tire pressure increases, and vice versa. Adjust your tire pressure accordingly, especially during extreme weather conditions. A good rule of thumb is that tire pressure changes by about 1 PSI for every 10 degrees Fahrenheit.
Experimenting with Tire Pressure
Don’t be afraid to experiment with different tire pressures to find what works best for you. Start with the recommended range on the tire sidewall and make small adjustments based on your riding style and terrain. Keep track of your preferred pressures for different conditions.
FAQ: Inflating After a Bike Tire Repair
What happens if I overinflate my bike tire?
Overinflating your bike tire can lead to a blowout, which is dangerous. It can also make the ride harsh and uncomfortable.
How do I know if my tire is properly seated?
Check the tire sidewall where it meets the rim. There should be a consistent gap all the way around the tire. If you see bulges or uneven spots, the tire is not properly seated.
Can I use a car tire inflator for my bike?
While it’s possible, it’s not recommended. Car tire inflators often deliver air too quickly and can easily overinflate your bike tire. A bike-specific pump is much safer and more accurate.
How often should I check my tire pressure?
Ideally, check your tire pressure before every ride. At a minimum, check it once a week. Tire pressure naturally decreases over time.
What is a pinch flat?
A pinch flat occurs when the tube is squeezed between the tire and the rim, causing two small holes in the tube. It’s usually caused by riding with underinflated tires.
Is it okay to use soapy water to help seat the tire bead?
Yes, a small amount of soapy water can help the tire bead slide into place more easily. Be careful not to use too much, as it can make the tire slippery.
What should I do if I can’t get the tire to seat properly?
Deflate the tire completely and try again. Make sure the tire bead is clean and free of debris. If you’re still having trouble, try using tire levers to gently coax the tire bead over the rim.
Conclusion
Inflating your tires properly after a repair is a crucial skill for any cyclist. By following these best practices, you can ensure a safe, comfortable, and efficient ride. Remember to inspect the tire and rim, seat the tire bead carefully, and inflate to the recommended pressure. With the right tools and techniques, you’ll be back on the road in no time, enjoying the ride with confidence. Happy cycling!


