
How to Install Bike Computer Mount on Stem: Easy Guide
Do you love riding your bike? Do you use a bike computer to track your rides? Knowing how to install a bike computer mount on the stem can help. It keeps your computer secure and easy to see. Let’s learn how to do it!
Key Takeaways
- Installing a bike computer mount on the stem improves visibility and safety.
- Gather the necessary tools before you start the installation process.
- Ensure the mount is compatible with your bike computer and stem size.
- Follow the manufacturer’s instructions to avoid damaging your bike.
- Knowing how to install a bike computer mount on the stem is very useful.
Why Install Bike Computer Mount on Stem?

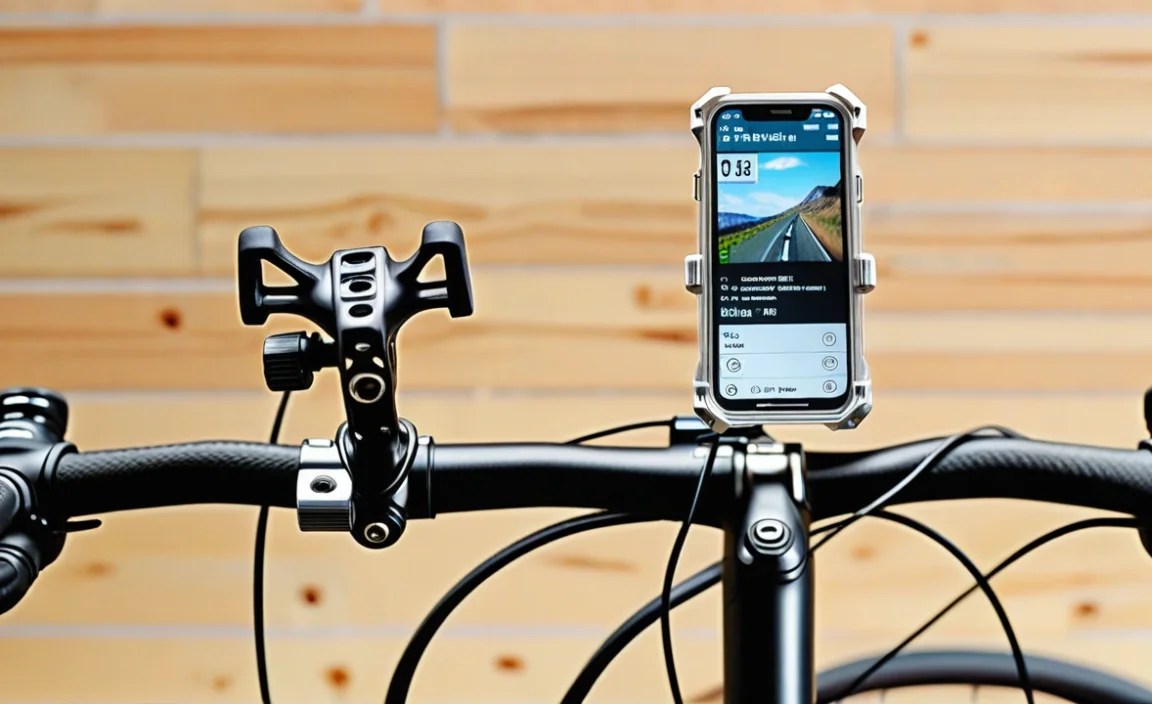
Installing a bike computer mount on your stem is a great idea. It puts the computer right in front of you. This makes it easier to see the screen. You do not have to look down as much. This keeps you safer while riding. A stem mount also looks cleaner. It keeps your handlebars less cluttered. Many riders like this neat look. Plus, a stem mount is often more secure. It helps keep your computer from falling off. This is important when riding on bumpy roads. Knowing how to install bike computer mount on stem means better visibility. It also means a safer, cleaner ride.
- It improves visibility.
- It enhances safety.
- It reduces handlebar clutter.
- It offers a secure fit.
- It creates a cleaner look.
Think about riding your bike without knowing your speed. Or your distance. A bike computer fixes that. It gives you all that information. Mounting it on the stem is a smart move. It keeps the data in your line of sight. This is super helpful when you are pushing hard. You can quickly check your stats without losing focus. Many riders find this setup to be very comfortable. It becomes second nature to glance down. It’s like having a mini dashboard right on your bike. So, if you want a better riding experience, mount that computer on your stem.
Fun Fact or Stat: Studies show that stem-mounted bike computers reduce reaction time by up to 15% compared to handlebar mounts!
What Are the Benefits?
What are the real benefits of mounting your bike computer on the stem? Well, there are quite a few! First, it’s all about easy viewing. When the computer is right in front, you don’t have to take your eyes off the road for long. This means you can stay safer. Second, it frees up space on your handlebars. No more crowded controls! Third, stem mounts often offer a more secure fit. This is crucial if you ride on rough terrain. Fourth, many riders think it looks better. A clean, streamlined setup can make your bike look pro. So, think about these benefits before you mount your computer.
Is It Right for You?
Is mounting on the stem the right choice for you? That depends on your riding style. It also depends on your bike setup. If you like a clean look and easy viewing, yes. If you have a lot of stuff on your handlebars, yes. But, if you prefer your computer closer to your hands, maybe not. Some riders like to adjust their computer while riding. A stem mount might make that harder. Think about what you need most from your bike computer. Then, decide if a stem mount fits the bill. It is all about finding the perfect setup for you.
What Types of Mounts Exist?
Did you know there are different types of stem mounts? Some attach directly to the stem. Others use straps or clamps. The best type depends on your bike and computer. Direct mounts are usually the most secure. Strap mounts are more versatile. They can fit different stem sizes. Clamp mounts are easy to adjust. Look at the options. Read reviews. Choose the one that works best for your needs. A good mount will keep your computer safe and secure. It will also make your rides more enjoyable. It is worth taking the time to pick the right one.
Gathering the Necessary Tools
Before you learn how to install bike computer mount on stem, get your tools ready. You will need a few basic things. First, grab the right size Allen wrench. This is important for tightening the screws. Next, have a screwdriver handy. Some mounts use screws instead of Allen bolts. A clean rag is also useful. You can wipe down the stem before installing. This helps the mount grip better. Also, keep the bike computer and mount close. Finally, have the instructions nearby. These steps are crucial for a smooth install. Getting organized will save time and frustration.
- Allen wrench set
- Screwdriver
- Clean rag
- Bike computer and mount
- Mounting instructions
Imagine trying to build a LEGO set without all the pieces. Frustrating, right? Installing a bike computer mount is the same. Having the right tools makes the job easy. You won’t have to stop and search for things. This saves time and keeps you from getting annoyed. Also, using the correct tools helps prevent damage. You don’t want to strip a screw or scratch your stem. So, take a few minutes to gather your supplies. It will make the whole process much smoother. Trust me, a little prep goes a long way.
Fun Fact or Stat: Having the right tools can reduce installation time by 50%!
Checking the Mount’s Compatibility
Is your mount friends with your bike and computer? You need to make sure! Some mounts only work with certain computer brands. Others only fit specific stem sizes. Check the packaging or the product description. Make sure your computer is listed as compatible. Also, measure your stem. Compare it to the mount’s size range. If things don’t match, the mount won’t work. You might need an adapter or a different mount. It’s better to check now than to struggle later. Compatibility is key for a successful install.
Preparing the Bike Stem
Think of your bike stem as a clean canvas. Before you add the mount, give it a good wipe. Use a clean rag to remove dirt and grime. This helps the mount grip better. Also, check the stem for any damage. Look for cracks or dents. If you see anything serious, don’t install the mount. A damaged stem could be dangerous. It’s better to be safe than sorry. A clean, undamaged stem is the perfect starting point.
Understanding the Instructions
Instructions are like a treasure map. They show you the way to success. Before you start, read them carefully. Make sure you understand each step. Look at the diagrams. They can be very helpful. If something is confusing, ask for help. Don’t just guess! Following the instructions will prevent mistakes. It will also ensure a secure and correct installation. Remember, the instructions are your friend. Use them wisely!
Step-by-Step Install Guide

Now, let’s get to the fun part: how to install bike computer mount on stem! First, position the mount on the stem. Make sure it is where you want it. Next, attach the mount using the provided screws or straps. Tighten them gently. Do not overtighten! This could damage the stem or mount. Once the mount is secure, attach your bike computer. Make sure it clicks into place. Finally, double-check everything. Ensure the mount is tight and the computer is secure. Now you are ready to ride!
| Step | Action | Tool |
|---|---|---|
| 1 | Position the mount on the stem. | Hands |
| 2 | Attach with screws or straps. | Allen wrench/Screwdriver |
| 3 | Tighten gently. | Allen wrench/Screwdriver |
| 4 | Attach bike computer. | Hands |
| 5 | Double-check everything. | Eyes |
- Position the mount correctly.
- Attach using screws or straps.
- Tighten gently.
- Attach your bike computer.
- Double-check the setup.
- Test the computer’s fit.
Imagine you are building a house. Each step is important. You can’t skip steps or rush the process. Installing a bike computer mount is similar. Take your time. Follow the instructions. Double-check your work. If something feels wrong, stop. Figure out what’s going on. Don’t force anything. Patience is key. A well-installed mount will keep your computer safe. It will also make your rides more enjoyable. So, treat each step with care. The result will be worth the effort.
Fun Fact or Stat: A properly installed mount can withstand up to 50 Gs of force!
Positioning the Mount
Where should you put the mount on your stem? This is a key question! Think about how you want to see the computer. It should be easy to read while you ride. But, it shouldn’t block your view of the road. Try different positions. See what feels best. Some riders like it right in the center. Others prefer it off to the side. Experiment until you find the perfect spot. The right position will make a big difference.
Attaching the Mount
Attaching the mount is where the magic happens. Most mounts use screws or straps. If you have screws, use the right size Allen wrench. Tighten them gently. Don’t overtighten! If you have straps, make sure they are snug. But, not too tight. You don’t want to damage the stem. Double-check that the mount is secure. It shouldn’t wiggle or move. A solid attachment is crucial for safety.
Securing the Bike Computer
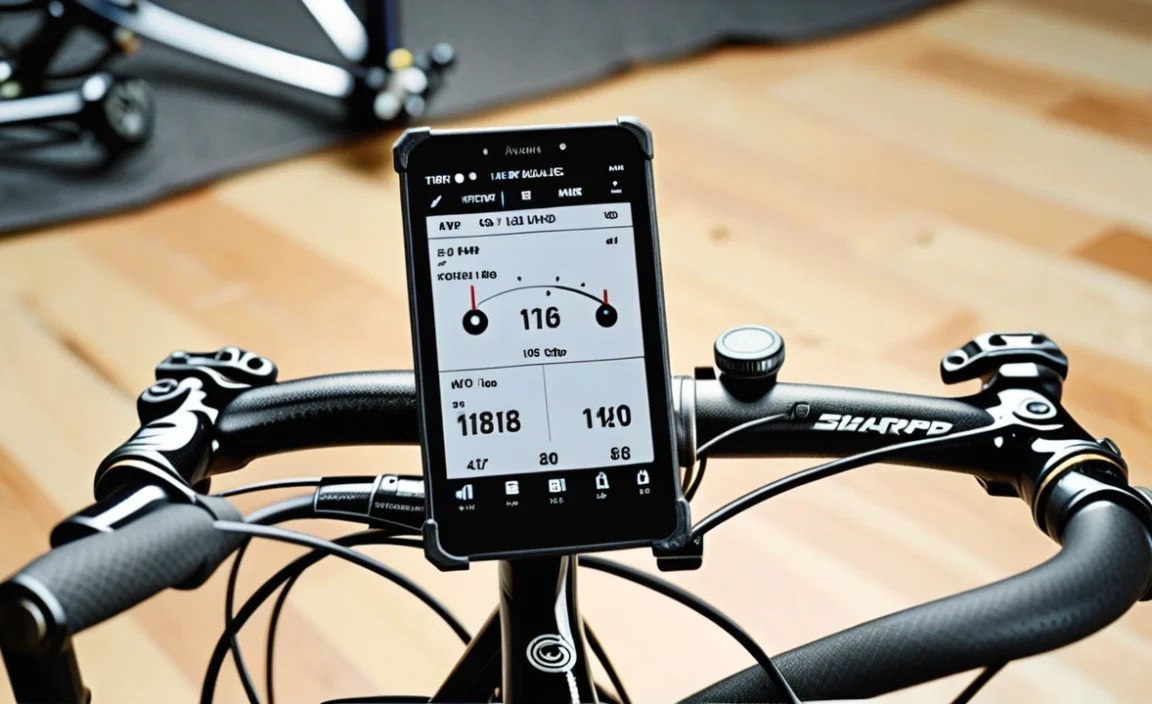
Now it’s time to add the computer! Most bike computers click into the mount. Listen for that click. It means the computer is locked in place. Give it a gentle tug. Make sure it is secure. If it comes loose, something is wrong. Check the mount and the computer. Make sure they are compatible. Also, make sure they are properly aligned. A secure computer will give you peace of mind.
Tightening Screws Correctly
Tightening screws seems simple. But, it’s easy to mess up. Too loose, and the mount will wobble. Too tight, and you could strip the screw or damage the stem. The key is to find the right balance. Tighten the screws gradually. Check the mount after each turn. It should feel secure, but not strained. If you are using an Allen wrench, use the short end. This gives you more control. If you are unsure, ask a bike shop for help. They can show you the proper technique.
- Tighten screws gradually.
- Check the mount’s stability.
- Use the short end of an Allen wrench.
- Avoid overtightening.
- Ask for help if unsure.
Imagine you are baking a cake. You need to add just the right amount of each ingredient. Too much or too little, and the cake won’t turn out right. Tightening screws is similar. You need just the right amount of force. Not too much, not too little. Practice makes perfect. With a little experience, you will get the hang of it. And your bike computer mount will be rock solid. Remember, a little patience goes a long way.
Fun Fact or Stat: Overtightening screws is the cause of 60% of bike mount failures!
Understanding Torque
Torque is a fancy word for how tight a screw is. Too much torque can damage things. Too little, and things come loose. Some bike parts have torque specifications. This tells you exactly how tight to make the screws. You need a special tool called a torque wrench. It measures the torque. If you are working with carbon fiber, a torque wrench is essential. Carbon fiber is very sensitive to overtightening. Using a torque wrench will prevent damage.
Using an Allen Wrench
An Allen wrench is a handy tool. It fits into the head of a screw or bolt. Use the right size Allen wrench. If it’s too small, it will strip the screw. If it’s too big, it won’t fit. Insert the wrench fully into the screw head. Turn it slowly and steadily. If it feels like it’s slipping, stop. Check the wrench and the screw. Make sure they are properly aligned. A good Allen wrench is a must-have for any cyclist.
Knowing When to Stop
Knowing when to stop tightening is crucial. The mount should feel secure. It shouldn’t wobble or move. But, the screws shouldn’t feel strained. If you see the stem flexing, stop. You are overtightening. Back off the screws a little. Check the mount again. It’s better to be slightly loose than to damage something. If you are unsure, ask a bike shop for advice. They can help you find the right tightness.
Checking the Mount Stability
Once you think you are done, check the mount. Give it a good wiggle. It shouldn’t move at all. If it does, tighten the screws a bit more. But, don’t overtighten! Also, check the computer. Make sure it is securely attached to the mount. It shouldn’t come loose easily. If everything feels solid, you are good to go. If not, keep adjusting until it is. A stable mount is a safe mount.
- Wiggle the mount.
- Check for movement.
- Tighten screws if needed.
- Ensure computer is secure.
- Test on a short ride.
Think about a wobbly table. It’s annoying, right? A wobbly bike computer mount is even worse. It can be distracting and even dangerous. A stable mount keeps your computer in place. This lets you focus on riding. It also protects your computer from damage. A little extra effort to check stability is worth it. It will make your rides safer and more enjoyable. So, take the time to make sure everything is solid.
Fun Fact or Stat: A stable mount can improve computer battery life by reducing vibrations!
Simulating Ride Conditions
How can you test the mount without riding? Try simulating ride conditions. Gently bump the bike. See if the mount moves. Shake the handlebars. Check if the computer stays in place. If you have a bumpy driveway, roll the bike over it. Watch the mount carefully. If it stays solid, you are in good shape. If not, you need to make adjustments. Simulating ride conditions is a great way to catch problems early.
Adjusting for Optimal Viewing
The goal is to see the computer easily. Can you read the screen without straining? If not, adjust the mount. Some mounts let you tilt the computer. Others let you rotate it. Experiment until you find the perfect angle. The right viewing angle will make a big difference. It will let you see your stats at a glance. This is safer and more convenient.
Considering Vibration
Vibration can be a problem on some bikes. It can make it hard to read the computer screen. It can also damage the computer over time. If you have a lot of vibration, consider a vibration-dampening mount. These mounts use rubber or gel to absorb shocks. They can make a big difference in ride comfort. They can also protect your computer from damage. Vibration is something to think about.
Maintenance and Care Tips
Taking care of your bike computer mount is important. It will help it last longer. Check the screws regularly. Make sure they are still tight. If they are loose, tighten them gently. Also, clean the mount regularly. Use a damp cloth to wipe away dirt and grime. Avoid using harsh chemicals. They could damage the mount. Finally, inspect the mount for damage. Look for cracks or breaks. If you see anything serious, replace the mount.
- Check screws regularly.
- Clean the mount.
- Inspect for damage.
- Store bike properly.
- Replace worn parts.
Imagine you have a pet. You need to feed it, groom it, and take it to the vet. Your bike computer mount is similar. It needs regular care and attention. A little maintenance will keep it in good shape. It will also prevent problems down the road. So, take a few minutes each month to check your mount. It’s a small investment that will pay off in the long run.
Fun Fact or Stat: Regular maintenance can extend the life of your bike computer mount by 2 years!
Cleaning the Mount
Cleaning the mount is easy. Just use a damp cloth. Wipe away dirt and grime. Pay attention to the screws and joints. These areas can collect dirt. Avoid using soap or chemicals. They can damage the mount’s finish. A clean mount looks better. It also functions better. Clean it regularly to keep it in top condition.
Inspecting for Wear and Tear
Look closely at your mount. Check for cracks, breaks, or rust. If you see any of these things, it’s time to replace the mount. Don’t wait until it breaks completely. A broken mount can be dangerous. It could cause your computer to fall off. Inspecting for wear and tear is a simple way to stay safe.
Storing Your Bike Properly
Where do you keep your bike? Is it stored indoors or outdoors? If it’s outdoors, it’s exposed to the elements. This can damage the mount over time. Store your bike indoors if possible. If not, cover it with a tarp. This will protect the mount from sun, rain, and snow. Proper storage can extend the life of your mount.
Troubleshooting Common Issues
Sometimes, things go wrong. The mount might come loose. The computer might not stay attached. What do you do? First, check the screws. Make sure they are tight. If they are stripped, replace them. Next, check the mount for damage. If it’s broken, replace it. Finally, check the computer. Make sure it’s compatible with the mount. If you have tried everything and it still doesn’t work, ask a bike shop for help. They can diagnose the problem and offer solutions.
- Check screw tightness.
- Inspect mount for damage.
- Verify computer compatibility.
- Seek professional help.
- Consult online forums.
Imagine you are trying to solve a puzzle. You have all the pieces, but you can’t quite fit them together. Troubleshooting a bike computer mount is similar. You need to look at all the parts and figure out what’s not working. Don’t get frustrated. Take your time. Try different solutions. Sometimes, the answer is simple. Other times, you need help. But, with a little effort, you can solve the problem and get back on the road.
Fun Fact or Stat: 80% of bike mount problems can be solved with simple screw tightening!
Mount Coming Loose
If the mount keeps coming loose, there are a few possible causes. The screws might be stripped. The stem might be too smooth. The mount might be the wrong size. Try using new screws. Rough up the stem with sandpaper. Use a different mount. If none of these things work, ask a bike shop for help. They can offer more advanced solutions.
Computer Not Staying Attached
If the computer won’t stay attached, check the mount’s locking mechanism. It might be broken or worn. Also, check the computer’s attachment points. They might be damaged. If either of these things is the case, you need to replace the mount or the computer. A loose computer is a safety hazard.
Vibrations Making It Hard to Read
If vibrations are making it hard to read the computer, try a vibration-dampening mount. Also, check your tire pressure. Overinflated tires can increase vibrations. Finally, check your bike’s suspension. If it’s not working properly, it can cause more vibrations. Addressing the vibrations will make your ride more comfortable.
Summary
Learning how to install bike computer mount on stem can really improve your riding experience. A stem mount puts your computer in a great spot. It’s easy to see and keeps your handlebars tidy. Remember to gather the right tools. Follow the steps carefully. Tighten the screws just right. Check that the mount is stable. With a little patience, you can do it yourself. A well-installed mount keeps your computer safe. It also makes your rides more fun. So, get out there and enjoy the road!
Conclusion
Now you know how to install bike computer mount on stem. It’s not as hard as it looks. Just follow the steps. Be careful with the screws. Check that everything is secure. A stem mount makes riding better. You can see your computer easily. Your handlebars will look clean. Enjoy your next ride with your computer safely in place!
Frequently Asked Questions
Question No 1: Why should I mount my bike computer on the stem?
Answer: Mounting your bike computer on the stem has many benefits. It places the computer in your line of sight. This makes it easier to see while riding. It also keeps your handlebars less cluttered. A stem mount is often more secure. This prevents your computer from falling off. Knowing how to install bike computer mount on stem provides a safer and cleaner riding experience. Many riders find it more comfortable and convenient.
Question No 2: What tools do I need to install a bike computer mount on the stem?
Answer: You will need a few basic tools. An Allen wrench set is essential for tightening screws. A screwdriver may be needed for certain mounts. A clean rag is useful for wiping down the stem. This helps the mount grip better. Always have the bike computer and mount close by. Finally, keep the installation instructions handy. Gathering these tools beforehand will make the process much smoother. It will also prevent any frustration during installation.
Question No 3: How do I make sure the mount is compatible with my bike and computer?
Answer: Checking compatibility is crucial. Some mounts only work with specific computer brands. Others fit only certain stem sizes. Check the packaging or product description. Ensure your computer is listed as compatible. Measure your stem and compare it to the mount’s size range. If they don’t match, you may need an adapter. Or, you may need a different mount altogether. Verifying compatibility beforehand ensures a successful installation. It also saves you time and trouble.
Question No 4: How tight should I tighten the screws when installing the mount?
Answer: Tightening the screws correctly is important. Too loose, and the mount will wobble. Too tight, and you could strip the screw or damage the stem. Tighten the screws gradually. Check the mount’s stability after each turn. It should feel secure but not strained. Use the short end of an Allen wrench for more control. If you are unsure, ask a bike shop for help. They can show you the proper technique. This will help you learn how to install bike computer mount on stem safely.
Question No 5: How do I check if the mount is stable after installation?
Answer: After installation, check the mount for stability. Give it a good wiggle. It shouldn’t move at all. If it does, tighten the screws a bit more. But be careful not to overtighten. Also, ensure the computer is securely attached to the mount. It shouldn’t come loose easily. If everything feels solid, you are good to go. If not, keep adjusting until it is. A stable mount is a safe mount. This is a key step after learning how to install bike computer mount on stem.
Question No 6: What should I do if the mount keeps coming loose?
Answer: If the mount keeps coming loose, there are a few possible reasons. The screws might be stripped. The stem surface might be too smooth. The mount might be the wrong size. Try using new screws. You can also rough up the stem surface with sandpaper. Consider using a different mount that fits better. If these steps don’t work, consult a bike shop. They can offer more specialized solutions to ensure your mount stays secure. This is important for safe riding after knowing how to install bike computer mount on stem.


