
How to Refill Sealant Using Hose: Easy Guide
Quick Summary: Refilling tire sealant with a hose is simple! First, remove the valve core from your tire. Next, attach the sealant hose to your sealant bottle and then to the valve stem. Squeeze the bottle to inject the sealant. Detach the hose, re-install the valve core, and inflate your tire. You’re ready to ride!
Tire sealant is your best friend when it comes to preventing flats while you’re out on a ride. But over time, sealant dries out and loses its effectiveness. Knowing how to refill your sealant using a hose is a simple skill that keeps you rolling smoothly. Many cyclists put off this maintenance task, but it’s much easier than you think. This guide will walk you through each step, so you can confidently maintain your tires and avoid frustrating flats.
In this article, I’ll explain the tools you need and provide easy-to-follow instructions for refilling your tire sealant using a hose. By the end, you’ll have the knowledge to keep your tires properly sealed and ready for any adventure. Let’s get started!
What You’ll Need to Refill Tire Sealant


Before you start, gather these essential tools and materials. Having everything ready will make the process smooth and efficient.
- New Tire Sealant: Choose a sealant compatible with your tires. Popular options include Stan’s NoTubes, Orange Seal, andFinish Line.
- Sealant Injector Hose: A hose designed to fit your sealant bottle and valve stem. Many sealant brands sell these separately or as part of a kit.
- Valve Core Removal Tool: This tool removes and installs valve cores without damaging them.
- Rag or Paper Towel: For cleaning up any spills.
- Tire Pump or Inflator: To re-inflate the tire after adding sealant.
- Gloves (Optional): To keep your hands clean.
Step-by-Step Guide to Refilling Tire Sealant Using a Hose


Follow these steps to refill your tire sealant quickly and effectively. I’ll break it down so even beginners can feel confident.
Step 1: Prepare Your Bike and Tire
First, position your bike so the tire you’re working on is easily accessible. You can place the bike in a stand or simply lean it against a wall. Locate the valve stem on your tire and remove the valve cap. This prepares the tire for sealant injection.
Step 2: Remove the Valve Core
Use the valve core removal tool to unscrew and remove the valve core from the valve stem. Insert the tool into the valve stem, engage the core, and turn counterclockwise. Once loose, carefully pull out the valve core and set it aside in a safe place. Removing the valve core allows you to inject the sealant directly into the tire.
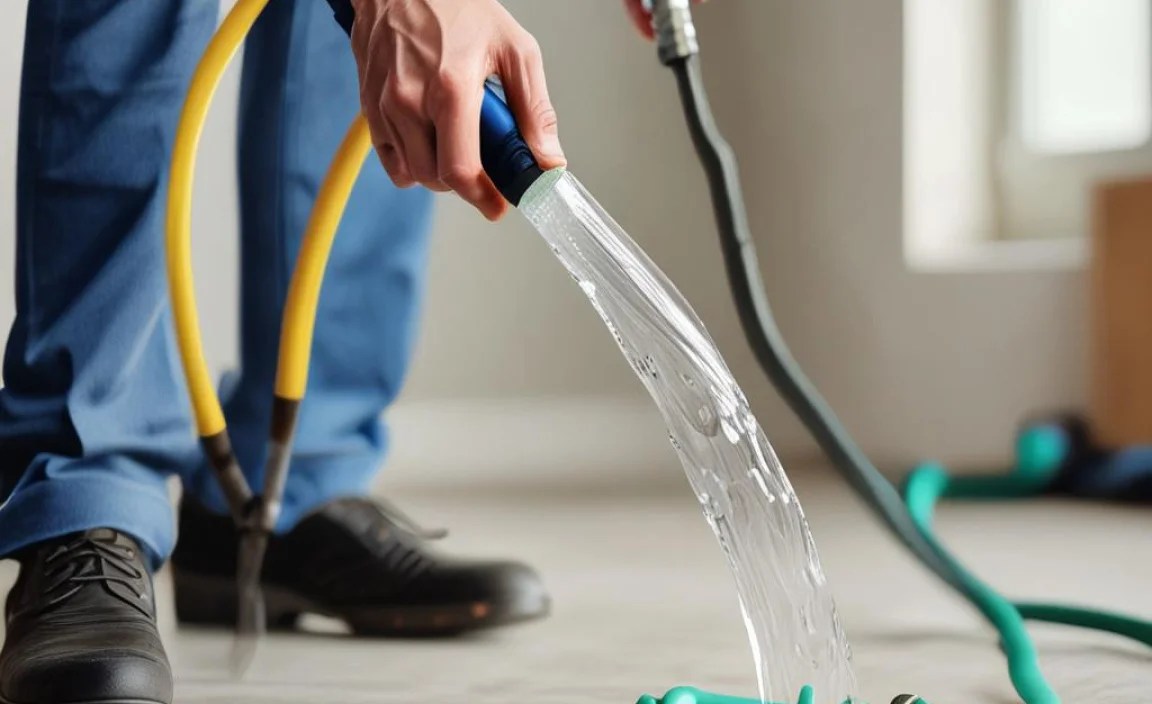
Step 3: Attach the Sealant Hose
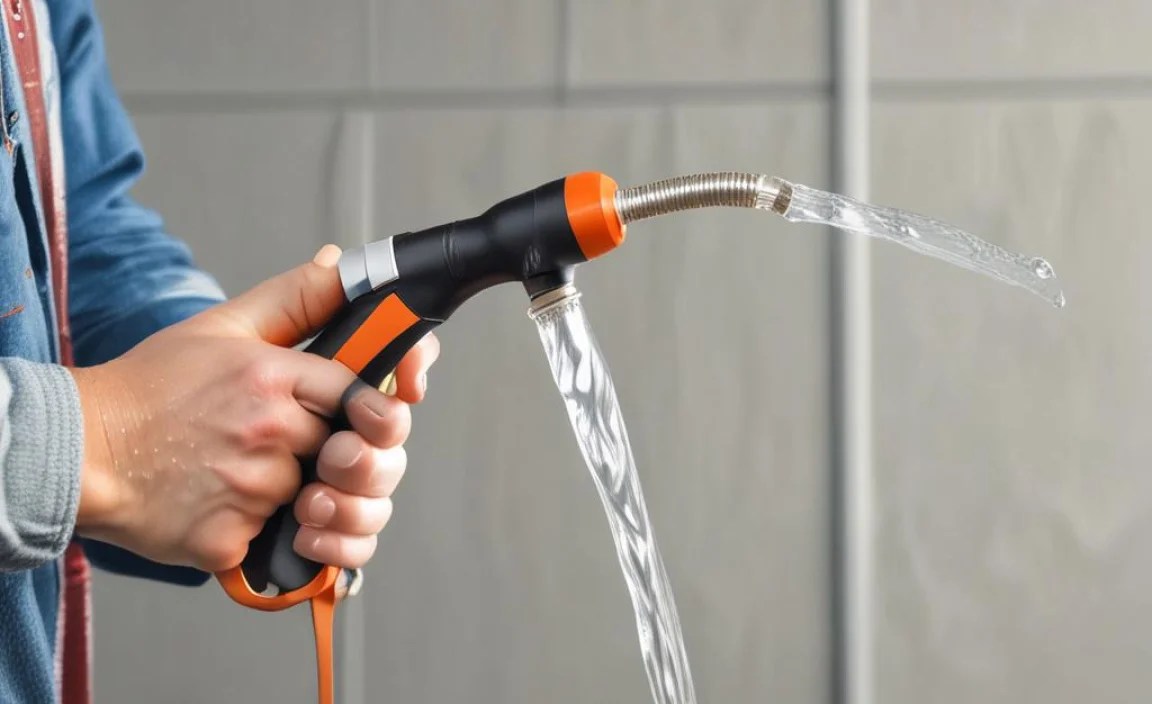
Connect one end of the sealant injector hose to the sealant bottle. Make sure it’s securely attached to prevent leaks. Then, attach the other end of the hose to the valve stem. Again, ensure a tight connection. This hose acts as a direct line for the sealant to enter the tire.
Step 4: Inject the Sealant
Squeeze the sealant bottle to inject the sealant into the tire. The amount of sealant you need depends on your tire size. Here’s a general guideline:
| Tire Size | Sealant Amount (ml) | Sealant Amount (oz) |
|---|---|---|
| Road Tires (700c x 23-28mm) | 30-40 ml | 1-1.4 oz |
| Gravel Tires (700c x 35-45mm) | 50-60 ml | 1.7-2 oz |
| Mountain Bike Tires (26″, 27.5″, 29″ x 2.0-2.5″) | 60-80 ml | 2-2.7 oz |
| Plus Size Tires (2.8-3.0″) | 80-100 ml | 2.7-3.4 oz |
If you’re unsure, start with a smaller amount; you can always add more later. Inject the sealant slowly to avoid spillage. Keep an eye on the bottle to gauge how much sealant you’re adding. This ensures you get the right amount for optimal performance.
Step 5: Detach the Hose and Reinstall the Valve Core
Once you’ve injected the desired amount of sealant, carefully detach the hose from the valve stem. Use a rag to wipe away any sealant that may have spilled. Then, reinstall the valve core using the valve core removal tool. Tighten it securely to ensure no air leaks. Reinstalling the valve core is crucial for maintaining tire pressure.
Step 6: Inflate the Tire
Use your tire pump or inflator to re-inflate the tire to the recommended pressure. You can find the recommended pressure on the sidewall of your tire. Inflate the tire slowly, checking the pressure with a gauge to avoid over-inflation. Proper inflation is essential for a comfortable and safe ride. Check out reputable resources such as the Schwalbe Tire Pressure Guide for more info on tire pressure.
Step 7: Distribute the Sealant
After inflating the tire, spin the wheel and bounce it a few times to distribute the sealant evenly inside the tire. This ensures the sealant coats the entire inner surface, providing maximum protection against punctures. Listen for the sealant sloshing around inside the tire—this means it’s spreading effectively.
Tips for a Smooth Sealant Refill

Here are some extra tips to make the process even smoother:
- Clean the Valve Stem: Before attaching the hose, clean the valve stem to remove any dirt or debris.
- Warm the Sealant: If the sealant is cold, warm it up slightly by placing the bottle in warm water for a few minutes. This makes it easier to inject.
- Check for Leaks: After inflating the tire, check around the valve stem and tire for any leaks. If you find any, rotate the wheel so the leak is at the bottom, allowing the sealant to coat the area.
- Store Sealant Properly: Keep your sealant bottle sealed tightly and store it in a cool, dark place to prolong its life.
Troubleshooting Common Issues

Sometimes, things don’t go exactly as planned. Here’s how to handle common problems:
| Issue | Solution |
|---|---|
| Sealant Leaks from Hose Connection | Ensure the hose is securely attached to both the sealant bottle and valve stem. Use a wrench to tighten if necessary. |
| Valve Core Won’t Come Out | Apply a small amount of penetrating oil to the valve core and let it sit for a few minutes before trying again. |
| Tire Won’t Inflate | Check that the valve core is properly installed and tightened. Also, inspect the tire for any punctures or damage. |
| Sealant is Clogged | Remove the hose and clean it thoroughly with water. Shake the sealant bottle vigorously to break up any clumps. |
Why Refilling Sealant is Important

Refilling your tire sealant regularly is crucial for maintaining optimal performance and preventing flats. Here’s why:
- Prevents Flats: Fresh sealant is more effective at sealing punctures quickly, keeping you rolling without interruptions.
- Maintains Tire Pressure: Sealant helps maintain consistent tire pressure, improving your ride quality and efficiency.
- Extends Tire Life: By preventing flats and maintaining pressure, sealant helps extend the life of your tires.
- Improves Ride Quality: Properly sealed tires provide a smoother, more comfortable ride.
Choosing the Right Sealant
Selecting the right tire sealant is essential for optimal performance. Here’s what to consider:
- Compatibility: Make sure the sealant is compatible with your tire type (tubeless-ready or tubeless).
- Climate: Consider your local climate. Some sealants perform better in hot or cold conditions.
- Puncture Size: Choose a sealant that can handle the typical puncture size in your riding area.
- Longevity: Look for a sealant with a good lifespan, so you don’t have to refill it too often.
Sealant Brands Compared
Here’s a quick comparison of some popular sealant brands:
| Brand | Pros | Cons | Best For |
|---|---|---|---|
| Stan’s NoTubes | Widely available, seals small punctures quickly. | Can dry out relatively quickly. | General use, road and mountain biking. |
| Orange Seal | Long-lasting, seals larger punctures. | More expensive than some alternatives. | Aggressive riding, larger tires. |
| Finish Line | Eco-friendly, ammonia-free formula. | May not seal larger punctures as effectively. | Environmentally conscious riders. |
| Peaty’s | Biodegradable glitter particles help seal punctures. | Can stain tires if not cleaned promptly. | All-around use, unique sealant technology. |
Regular Maintenance for Tire Sealant
To keep your sealant working effectively, follow these maintenance tips:
- Check Sealant Levels Regularly: Every month or two, check the sealant level in your tires. You can do this by removing the valve core and using a dipstick or small tool to check the level.
- Top Off as Needed: If the sealant level is low, add more sealant as needed.
- Replace Dried Sealant: If the sealant has dried out and formed a “sealant booger” inside the tire, remove the tire and clean it out before adding fresh sealant.
- Inspect Tires Regularly: Check your tires for any cuts, punctures, or damage that may affect sealant performance.
Safety Precautions
When working with tire sealant, keep these safety precautions in mind:
- Wear Gloves: Sealant can be messy, so wear gloves to protect your hands.
- Work in a Well-Ventilated Area: Sealant can release fumes, so work in a well-ventilated area to avoid inhaling them.
- Avoid Eye Contact: If sealant gets in your eyes, rinse them immediately with water and seek medical attention.
- Keep Out of Reach of Children: Store sealant in a safe place where children cannot access it.
Alternative Methods for Adding Sealant
While using a hose is a convenient method, here are a couple of alternative approaches for adding sealant to your tires:
Using a Syringe
A syringe can be used to inject sealant directly into the tire. Here’s how:
- Remove the valve core.
- Draw the desired amount of sealant into the syringe.
- Insert the syringe tip into the valve stem.
- Slowly inject the sealant into the tire.
- Remove the syringe, reinstall the valve core, and inflate the tire.
Pouring Sealant Directly
If you don’t have a hose or syringe, you can pour the sealant directly into the tire. This method requires removing a section of the tire from the rim:
- Deflate the tire completely.
- Use tire levers to carefully remove a small section of the tire from the rim.
- Pour the desired amount of sealant into the tire.
- Carefully reinstall the tire bead back onto the rim.
- Inflate the tire to the recommended pressure.
FAQ About Refilling Tire Sealant
1. How often should I refill my tire sealant?
You should refill your tire sealant every 3-6 months, depending on the sealant type and riding conditions. Hot and dry climates may require more frequent refills.
2. Can I mix different brands of tire sealant?
It’s generally not recommended to mix different brands of tire sealant, as they may have different chemical compositions that could cause them to react poorly together. Always use the same brand and type of sealant.
3. What happens if I use too much sealant?
Using too much sealant can add unnecessary weight to your tires and may cause the sealant to pool in certain areas, leading to an unbalanced ride. It can also make a mess when changing tires.
4. Can I use tire sealant in tubed tires?
Yes, you can use tire sealant in tubed tires to help prevent and seal punctures. However, it’s more commonly used in tubeless tires.
5. How do I know if my sealant is still good?
If your sealant has dried up and formed a solid mass inside the tire, it’s no longer effective and needs to be replaced. You can also check the sealant’s consistency by removing the valve core and using a dipstick to see if it’s still liquid.
6. What should I do if sealant gets on my skin or clothes?
If sealant gets on your skin, wash it off with soap and water. If it gets on your clothes, try to remove it immediately before it dries. Some sealants may stain, so it’s best to wear old clothes or an apron when working with sealant.
7. Is it okay to ride my bike immediately after refilling sealant?
Yes, it’s generally okay to ride your bike immediately after refilling the sealant. Just make sure you’ve properly inflated the tires and distributed the sealant evenly by spinning the wheels and bouncing them a few times.
Conclusion
Refilling your tire sealant using a hose is a straightforward process that can save you from frustrating flats and keep your rides smooth and enjoyable. By following the steps outlined in this guide, you can confidently maintain your tires and ensure they’re always ready for your next adventure. Remember to gather the right tools, choose a quality sealant, and perform regular maintenance to keep your tires in top condition. Happy riding!


