
How to Connect Hose for Fork Tuning: Easy Guide
Quick Summary: Connecting a hose for fork tuning involves attaching a shock pump to your fork’s air valve to adjust the air pressure. First, locate the valve (usually on the fork leg). Remove the valve cap, carefully thread the pump hose onto the valve, and ensure a secure connection. Then, pump air to the desired pressure, disconnect the hose, and replace the valve cap. Always consult your fork manufacturer’s pressure recommendations.
Ever felt like your bike’s front suspension wasn’t quite right? Maybe it’s too stiff, too soft, or just not responding how you expect. Fine-tuning your fork with a shock pump is a simple way to dial in your ride and get the most out of your mountain bike or any bike with air suspension. It might seem a bit intimidating at first, but don’t worry! This guide will walk you through connecting a hose for fork tuning, step-by-step, so you can confidently adjust your suspension and enjoy a smoother, more controlled ride. Let’s get started and make your bike feel like new again.
Understanding Fork Tuning and Why It Matters

Fork tuning involves adjusting the settings on your front suspension fork to match your weight, riding style, and the terrain you’re riding. The most common adjustment is air pressure, but some forks also allow you to adjust rebound and compression damping. Getting these settings right can dramatically improve your bike’s performance and comfort.
Benefits of Properly Tuned Forks
- Improved Comfort: A properly tuned fork absorbs bumps and vibrations, reducing fatigue and making your ride more enjoyable.
- Enhanced Control: By dialing in the right settings, you’ll have better control over your bike, especially on technical terrain.
- Increased Efficiency: A well-tuned fork allows you to maintain momentum and pedal more efficiently.
- Reduced Risk of Bottoming Out: Proper air pressure prevents the fork from fully compressing on big hits, protecting your fork and wrists.
Basic Fork Components and Terminology
Before you start tuning, it’s helpful to understand the basic parts of your fork:
- Air Valve: This is where you connect your shock pump to add or release air. It usually looks like a Schrader valve (the same type found on car tires).
- Rebound Adjuster: This controls how quickly the fork returns to its extended position after being compressed.
- Compression Adjuster: This controls how easily the fork compresses when it encounters a bump.
- Stanchions: The upper tubes of the fork that slide into the lowers.
- Lowers: The lower part of the fork that connects to the front wheel.
Tools and Equipment You’ll Need

To connect a hose for fork tuning, you’ll need just a few simple tools:
- Shock Pump: A high-pressure pump specifically designed for suspension forks and shocks. These pumps have a gauge for accurate pressure readings and a special valve that minimizes air loss when disconnecting.
- Rag or Shop Towel: For cleaning the air valve and wiping away any excess oil.
- Fork Manufacturer’s Recommendation Chart or Sticker: This chart will provide a starting point for your air pressure based on your weight. This can often be found on the fork itself. If not, check the manufacturer’s website.
Step-by-Step Guide: Connecting the Hose for Fork Tuning

Here’s a detailed guide on how to connect the hose for fork tuning:
Step 1: Prepare Your Bike and Fork
First, make sure your bike is stable. You can use a bike stand or simply lean it against a wall. Clean the area around the air valve on your fork with a rag. This will prevent dirt and debris from entering the valve.
Step 2: Locate the Air Valve
The air valve is usually located on the top of one of the fork legs. It may be covered by a small cap. If there is a cap, unscrew it and set it aside in a safe place.
Step 3: Prepare the Shock Pump
Make sure the shock pump’s hose and valve head are clean and free of debris. Extend the pump’s hose and locate the valve connector.
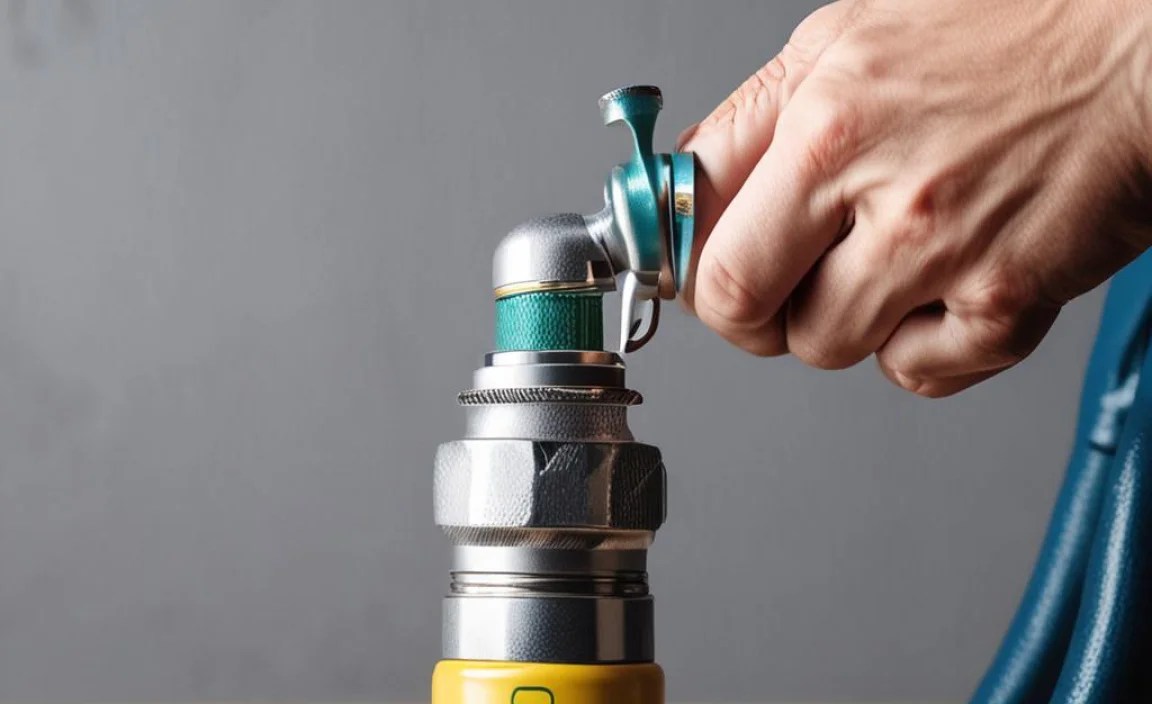
Step 4: Connect the Hose to the Air Valve
Carefully thread the pump hose onto the air valve. Turn the valve head clockwise until it’s snug but not overly tight. You should feel a secure connection. Ensure the hose is straight and not kinked.
Step 5: Check the Connection
Before you start pumping, double-check that the hose is securely connected to the air valve. A loose connection can cause air to leak, resulting in inaccurate pressure readings. Listen for any hissing sounds, which indicate a leak.
Step 6: Set the Pressure
Consult the fork manufacturer’s recommendation chart or sticker for the appropriate air pressure based on your weight. Begin pumping the shock pump until you reach the recommended pressure. Watch the gauge on the pump carefully and avoid over-pressurizing the fork.
Important Note: It’s always better to start with a lower pressure and gradually increase it until you achieve the desired feel. You can always add more air, but it’s harder to remove it without losing a significant amount.
Step 7: Disconnect the Hose
Once you’ve reached the desired pressure, carefully disconnect the hose from the air valve. Most shock pumps have a special valve that minimizes air loss when disconnecting. Even so, you may hear a brief hiss of air escaping. This is normal.
Step 8: Reinstall the Valve Cap
Replace the valve cap on the air valve. This will protect the valve from dirt and debris. Tighten the cap securely, but don’t overtighten it.
Tips for Accurate Fork Tuning

Here are some tips to ensure accurate and consistent fork tuning:
- Use a Quality Shock Pump: A good shock pump will provide accurate pressure readings and minimize air loss when disconnecting.
- Check the Pressure Regularly: Air pressure can change over time, so it’s a good idea to check it before each ride.
- Make Small Adjustments: When tuning your fork, make small adjustments and test the results. This will help you dial in the perfect settings.
- Keep a Record of Your Settings: Write down the air pressure and other settings you’re using. This will make it easier to replicate your settings in the future.
- Consult a Professional: If you’re not sure how to tune your fork, consult a professional bike mechanic.
Troubleshooting Common Issues
Even with careful attention, you might encounter some issues when connecting the hose for fork tuning. Here are some common problems and how to solve them:
| Issue | Possible Cause | Solution |
|---|---|---|
| Air leaking when connecting the hose | Loose connection, damaged valve, or worn-out pump seal | Ensure the hose is securely connected. Inspect the valve for damage. Replace the pump seal if necessary, or replace the pump. |
| Inaccurate pressure readings | Faulty pump gauge | Try a different shock pump. If the readings are still inaccurate, consult a professional bike mechanic. |
| Difficulty connecting the hose | Damaged valve threads or misaligned hose | Inspect the valve threads for damage. Ensure the hose is properly aligned before threading it onto the valve. |
| Unable to reach desired pressure | Leaking valve or insufficient pump capacity | Check the valve for leaks. Make sure your shock pump is capable of reaching the desired pressure. |
Advanced Fork Tuning Concepts
Once you’re comfortable with basic fork tuning, you can start experimenting with more advanced concepts like:
- Volume Spacers: These are small plastic pieces that you can add to the air chamber of your fork to make it more progressive. This means that the fork will feel softer at the beginning of its travel and stiffer at the end.
- Rebound Damping: This controls how quickly the fork returns to its extended position after being compressed. Too little rebound damping can cause the fork to feel bouncy, while too much can cause it to feel sluggish.
- Compression Damping: This controls how easily the fork compresses when it encounters a bump. Too little compression damping can cause the fork to bottom out easily, while too much can make it feel harsh.
Adjusting these settings can fine-tune your fork’s performance to match your specific riding style and the terrain you’re riding. Consult your fork’s manual or a professional mechanic for guidance on adjusting these settings.
Choosing the Right Shock Pump
Selecting the right shock pump is crucial for accurate and efficient fork tuning. Here’s what to consider:
- Pressure Range: Ensure the pump’s pressure range matches your fork’s requirements. Most forks require pumps that can reach at least 300 PSI.
- Gauge Accuracy: Look for a pump with a precise and easy-to-read gauge. Digital gauges are often more accurate than analog ones.
- Bleed Valve: A bleed valve allows you to release small amounts of air for fine-tuning the pressure.
- Hose and Connector: Opt for a pump with a durable hose and a secure valve connector to minimize air leaks.
- Ergonomics: Choose a pump with a comfortable handle and a stable base for easy and efficient pumping.
Brands like RockShox, Fox Racing Shox, and Topeak offer high-quality shock pumps that are popular among cyclists.
Safety Precautions
When working on your bike’s suspension, always follow these safety precautions:
- Consult the Manufacturer’s Manual: Always refer to your fork manufacturer’s manual for specific instructions and recommendations.
- Wear Safety Glasses: Protect your eyes from debris when working on your bike.
- Work in a Well-Ventilated Area: Some suspension fluids can be harmful if inhaled.
- Don’t Over-Pressurize: Never exceed the maximum pressure rating for your fork. This could damage the fork or cause it to fail.
- If in Doubt, Seek Professional Help: If you’re not comfortable working on your bike’s suspension, take it to a professional bike mechanic.
FAQ: Connecting Hose for Fork Tuning
What is a shock pump, and why do I need one?
A shock pump is a high-pressure pump specifically designed for adjusting air pressure in suspension forks and shocks. Regular bike pumps don’t provide the necessary pressure or accuracy. A shock pump also has a special valve to minimize air loss when disconnecting.
How often should I check my fork’s air pressure?
It’s a good idea to check your fork’s air pressure before each ride, especially if you notice a change in performance. Air pressure can fluctuate due to temperature changes and normal air leakage.
What happens if I over-pressurize my fork?
Over-pressurizing your fork can damage the seals and internal components, potentially leading to fork failure. Always consult the manufacturer’s recommendations and never exceed the maximum pressure rating.
Can I use a regular tire pump to inflate my fork?
No, you should not use a regular tire pump to inflate your fork. Tire pumps don’t provide the high pressures needed for suspension systems, and they lack the precision and low-loss valve of a shock pump.
How do I know what air pressure to use in my fork?
Refer to the fork manufacturer’s recommendation chart or sticker, which usually provides a starting point based on your weight. You can also consult a professional bike mechanic for personalized guidance.
What should I do if I hear air leaking when connecting the hose?
First, ensure the hose is securely connected. If the leak persists, inspect the valve for damage or replace the pump seal. If the problem continues, consult a professional mechanic.
Is it normal for some air to escape when disconnecting the shock pump?
Yes, it’s normal for a small amount of air to escape when disconnecting the shock pump. Most pumps are designed to minimize this loss, but a brief hiss is usually unavoidable.
Conclusion
Connecting a hose for fork tuning might seem a little complex at first, but with the right tools and a little practice, it’s something you can easily do yourself. By following these steps, you can dial in your fork’s air pressure and enjoy a smoother, more controlled ride. Remember to always consult your fork manufacturer’s recommendations and take your time. With a properly tuned fork, you’ll be amazed at how much better your bike feels and performs. Now get out there and enjoy the ride!


