
How Often Do You HAVE to Wash Pump Parts?
Quick Summary
You should wash your breast pump parts after every single use. Cleaning after each pumping session helps prevent bacteria growth. Daily sanitizing is also recommended to thoroughly eliminate germs. Proper washing and sanitizing protect your baby’s health and keep your pump working well.
Are you a new parent using a breast pump? It’s normal to wonder how often you really need to wash all those parts. Let’s face it, you’re already short on time and sleep! But don’t worry; I’ll walk you through the simple steps to keep your pump clean and your baby safe. Understanding the proper cleaning schedule will give you peace of mind and help you maintain your pump’s performance. We’ll cover everything from daily washing to sanitizing, so you’ll be a pro in no time.
Why Washing Your Pump Parts Is Important

Keeping your breast pump parts clean is super important for a few key reasons. First and foremost, it protects your baby from harmful bacteria and germs. Milk residue can quickly become a breeding ground for unwanted microorganisms, which can lead to infections. Regular cleaning prevents this buildup.
Also, a clean pump works better and lasts longer. Milk residue can clog the small parts of your pump, reducing its suction power and overall efficiency. Think of it like cleaning your bike chain – a clean chain runs smoother and lasts longer. By keeping your pump parts clean, you ensure that your pump operates at its best and you avoid costly repairs or replacements.
How Often to Wash Your Pump Parts

So, how often do you really need to wash your pump parts? Here’s a simple guide:
- After Every Use: Wash all parts that come into contact with breast milk immediately after each pumping session. This includes the flanges, bottles, valves, and connectors.
- Daily Sanitizing: Sanitize your pump parts at least once a day. This kills any remaining bacteria and ensures everything is extra clean.
Step-by-Step Guide to Washing Your Pump Parts

Washing your pump parts doesn’t have to be a chore. Here’s a simple, step-by-step guide to make it easy:
- Disassemble the Pump Parts: Take apart all the components that come into contact with breast milk. This usually includes the flanges, valves, connectors, and bottles.
- Rinse with Cool Water: Rinse each part under cool running water to remove any remaining milk. Cool water helps prevent milk proteins from sticking to the surfaces.
- Wash with Warm, Soapy Water: Fill a clean basin with warm water and add a mild dish soap. Use a dedicated bottle brush and wash each part thoroughly. Make sure to get into all the nooks and crannies.
- Rinse Again: Rinse each part thoroughly under warm running water to remove all traces of soap. Soap residue can be harmful to your baby, so make sure everything is completely clean.
- Air Dry: Place the clean pump parts on a clean, dry surface or a drying rack to air dry completely. Avoid using a towel to dry them, as towels can harbor bacteria.
Sanitizing Your Pump Parts
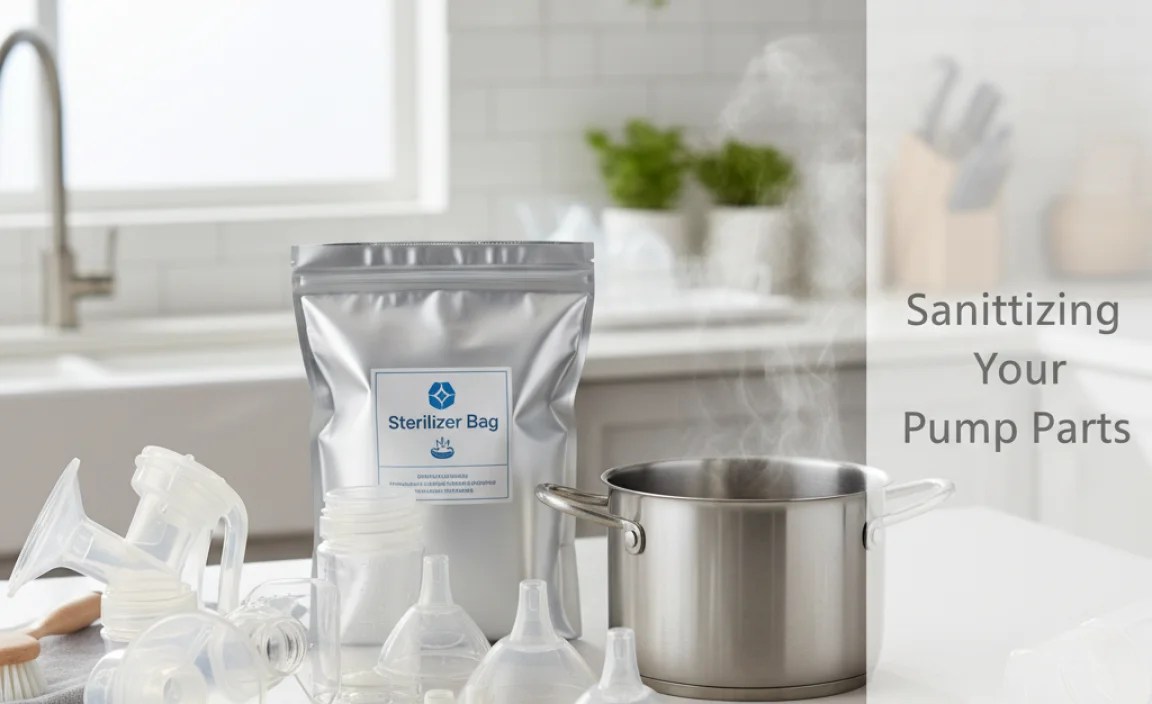
Sanitizing is an extra step that kills any remaining bacteria after washing. Here are a few ways to sanitize your pump parts:
Boiling
Boiling is a simple and effective way to sanitize your pump parts:
- Place Parts in Boiling Water: Put the clean pump parts in a pot of boiling water.
- Boil for 5 Minutes: Let the parts boil for about 5 minutes.
- Remove and Air Dry: Carefully remove the parts from the boiling water and let them air dry on a clean surface.
Steaming
Steaming is another great option for sanitizing. You can use a microwave steam bag or a dedicated steam sterilizer:
- Use Steam Sterilizer or Bag: Follow the manufacturer’s instructions for your steam sterilizer or bag.
- Steam for Recommended Time: Usually, this involves steaming the parts for a few minutes.
- Air Dry: Let the parts cool and air dry completely.
Dishwasher
Some pump parts are dishwasher-safe, but always check the manufacturer’s instructions first:
- Check Compatibility: Make sure your pump parts are dishwasher-safe.
- Place on Top Rack: Put the parts on the top rack of your dishwasher.
- Run Sanitizing Cycle: Use a sanitizing cycle if your dishwasher has one.
- Air Dry: Let the parts air dry after the cycle is complete.
Tips for Keeping Your Pump Parts Clean on the Go

Sometimes you need to pump when you’re away from home. Here are some tips for keeping your pump parts clean on the go:
- Pump Wipes: Use Medela Quick Clean Wipes or similar sanitizing wipes designed for pump parts. Wipe down all parts that come into contact with breast milk after each use.
- Storage Bags: Store your clean pump parts in a clean, airtight bag or container. This helps protect them from germs and dirt.
- Hand Hygiene: Always wash your hands thoroughly before handling your pump parts.
- Consider a Portable Sterilizer: If you pump frequently away from home, a portable UV sterilizer can be a convenient option.
What to Avoid When Cleaning Pump Parts
To ensure you’re cleaning your pump parts safely and effectively, here are some things to avoid:
- Harsh Soaps: Avoid using harsh detergents or soaps that can leave harmful residues. Stick to mild dish soap.
- Abrasive Cleaners: Don’t use abrasive cleaners or scrub brushes that can scratch or damage the pump parts.
- Dish Towels: Avoid drying pump parts with dish towels, as they can harbor bacteria. Air drying is the best option.
- Ignoring Instructions: Always follow the manufacturer’s instructions for cleaning and sanitizing your specific pump model.
Troubleshooting Common Cleaning Issues
Even with the best cleaning routine, you might run into a few common issues. Here’s how to troubleshoot them:
Milk Residue Buildup
If you notice milk residue buildup, try soaking the parts in warm, soapy water for a longer period before washing. Use a small brush to scrub away any stubborn residue.
Mold Growth
Mold can sometimes grow in hard-to-reach areas. If you find mold, discard the affected parts immediately. To prevent mold growth, make sure to disassemble and thoroughly dry all parts after each cleaning.
Cloudy or Discolored Parts
Over time, some pump parts may become cloudy or discolored. This is often due to mineral deposits from hard water. You can try soaking the parts in a mixture of water and white vinegar to remove the deposits.
Maintaining Your Pump for Longevity
Besides regular cleaning, there are other things you can do to keep your breast pump in good working condition:
- Replace Parts Regularly: Replace valves, membranes, and tubing as recommended by the manufacturer. These parts can wear out over time and affect pump performance.
- Check for Damage: Regularly inspect your pump parts for any signs of damage, such as cracks or tears. Replace any damaged parts immediately.
- Store Properly: Store your pump and parts in a clean, dry place away from direct sunlight and extreme temperatures.
Recommended Cleaning Products for Pump Parts
Choosing the right cleaning products can make a big difference. Here are some recommended options:
- Dapple Baby Dish Soap: A gentle, plant-based dish soap that’s safe for cleaning pump parts and bottles.
- Medela Quick Clean Wipes: Convenient sanitizing wipes for on-the-go cleaning.
- Philips Avent Microwave Steam Sterilizer Bags: Easy-to-use steam sterilizer bags for quick sanitizing.
- Bottle Brushes: A good bottle brush set with different sizes for cleaning various pump parts.
Understanding Different Types of Breast Pumps and Cleaning Needs
Different breast pumps may have slightly different cleaning requirements. Here’s a quick overview:
Electric Breast Pumps
Electric breast pumps typically have more parts that need regular cleaning. Pay close attention to the valves, membranes, and tubing. Make sure to follow the manufacturer’s instructions for your specific model.
Manual Breast Pumps
Manual breast pumps usually have fewer parts, making them easier to clean. However, it’s still important to wash and sanitize all parts that come into contact with breast milk after each use.
Hospital-Grade Breast Pumps
Hospital-grade breast pumps are designed for multiple users and require strict cleaning protocols. Follow the hospital’s guidelines for cleaning and sanitizing these pumps.
Creating a Cleaning Schedule
To make sure you stay on top of cleaning your pump parts, create a simple cleaning schedule:
| Task | Frequency |
|---|---|
| Wash Pump Parts | After every use |
| Sanitize Pump Parts | Daily |
| Replace Valves and Membranes | Every 2-4 weeks or as needed |
| Inspect for Damage | Weekly |
The Science Behind Cleanliness: Bacteria and Breast Milk
Breast milk is incredibly nutritious for your baby, but it can also be a breeding ground for bacteria if not handled properly. Studies have shown that bacteria can grow rapidly in breast milk at room temperature [^1^]. Proper cleaning and sanitizing of pump parts help prevent this bacterial growth, reducing the risk of infection for your baby.
According to the Centers for Disease Control and Prevention (CDC), thorough cleaning and sanitization are essential for safe breast milk expression and storage[^2^]. Washing removes visible milk residue, while sanitizing kills harmful germs that may remain. This dual approach ensures that your baby receives the safest possible milk.
How to Choose the Right Dish Soap for Cleaning Pump Parts
Selecting the appropriate dish soap is essential for ensuring the safety of your baby. Here’s a detailed guide on what to consider:
- Opt for Mild, Fragrance-Free Options: Soaps with strong fragrances or dyes can leave residues that may irritate your baby’s skin or digestive system. Look for products specifically labeled as fragrance-free and dye-free.
- Check for Non-Toxic Labels: Ensure the dish soap is labeled as non-toxic. This indicates that the product does not contain harmful chemicals that could leach into the pump parts and contaminate the breast milk.
- Read the Ingredient List Carefully: Avoid soaps that contain harsh chemicals like phthalates, parabens, or sulfates. These ingredients are known irritants and can be harmful to your baby’s health.
- Consider Plant-Based or Natural Options: Plant-based or natural dish soaps are often gentler and safer for cleaning baby-related items. These products typically use ingredients derived from plants and are free from synthetic chemicals.
Here’s a comparison of dish soap types to help you make an informed choice:
| Dish Soap Type | Pros | Cons | Recommended Brands |
|---|---|---|---|
| Mild, Fragrance-Free | Safe for baby, reduces risk of irritation | May not be as effective on heavy milk residue | Dapple Baby Dish Soap, Seventh Generation Free & Clear |
| Plant-Based | Gentle, non-toxic, environmentally friendly | Can be more expensive | Babyganics Foaming Dish & Bottle Soap, Puracy Natural Dish Soap |
| Conventional | Effective cleaning, readily available | May contain harsh chemicals and fragrances | Dawn (use sparingly and rinse thoroughly), Palmolive |
Expert Opinions on Breast Pump Hygiene
Healthcare professionals and lactation consultants emphasize the importance of maintaining strict hygiene when using breast pumps. According to lactation consultant Jane Smith, “Consistent and thorough cleaning of breast pump parts is crucial for preventing bacterial contamination and ensuring the health of both mother and baby.” She recommends washing pump parts immediately after each use and sanitizing them daily to minimize the risk of infection.
Pediatrician Dr. Emily Johnson advises, “Parents should follow the guidelines provided by the CDC and the pump manufacturer to properly clean and maintain their breast pumps. This includes disassembling all parts, washing them with warm, soapy water, and sanitizing them regularly.” She also stresses the importance of replacing pump parts, such as valves and membranes, as recommended by the manufacturer to maintain optimal pump performance and hygiene.
FAQ: Washing Pump Parts
How long can breast milk sit out before it needs to be refrigerated?
Freshly expressed breast milk can sit at room temperature (up to 77°F or 25°C) for up to 4 hours. If it’s warmer than that, it should be refrigerated sooner.
Can I wash pump parts in the dishwasher?
Some pump parts are dishwasher-safe, but always check the manufacturer’s instructions first. Place the parts on the top rack and use a sanitizing cycle if available.
How often should I replace my pump parts?
Replace valves, membranes, and tubing every 2-4 weeks, or as recommended by the manufacturer. These parts can wear out over time and affect pump performance.
What’s the best way to dry pump parts after washing?
Air drying on a clean, dry surface or drying rack is the best option. Avoid using a towel, as towels can harbor bacteria.
Can I use hand sanitizer instead of washing my hands before pumping?
While hand sanitizer is better than nothing, washing your hands with soap and water is always the preferred method for ensuring optimal hygiene.
Is it okay to store pump parts in the refrigerator between pumping sessions?
Storing pump parts in the refrigerator between pumping sessions is not recommended. Bacteria can still grow in a cool environment. Always wash and sanitize your pump parts after each use.
What should I do if I accidentally use a dirty pump part?
If you accidentally use a dirty pump part, discard the milk you pumped and thoroughly clean and sanitize all pump parts before your next pumping session. Monitor your baby for any signs of illness.
Conclusion
Keeping your breast pump parts clean might seem like a lot of work, but it’s a crucial part of ensuring your baby’s health and the longevity of your pump. By following these simple steps and creating a consistent cleaning schedule, you can easily maintain a safe and effective pumping routine. Remember to wash after every use, sanitize daily, and replace parts as needed. With these tips, you’ll be well-equipped to provide the best care for your little one. Happy pumping!


