
How to Attach Chuck to Shock Pump Hose: Easy Guide
Quick Summary: Attaching a chuck to your shock pump hose is usually straightforward. First, make sure you have the correct chuck type for your pump and the valve on your bike’s suspension. Then, firmly thread the chuck onto the hose fitting, ensuring it’s snug but not overtightened. Test the connection by gently pumping and checking for leaks. If it leaks, re-tighten or check for worn threads.
Ever felt the frustration of trying to pump up your bike’s suspension, only to find the chuck (that little valve connector) won’t stay put on the hose? It’s a common headache for cyclists, whether you’re prepping for a mountain bike trail or fine-tuning your e-bike’s ride. A loose or poorly attached chuck means wasted effort, inaccurate pressure readings, and a whole lot of aggravation.
But don’t worry! Getting that chuck securely onto your shock pump hose is easier than you think. In this guide, I’ll walk you through the simple steps to ensure a tight, leak-free connection. We’ll cover everything from identifying the right parts to troubleshooting common issues. By the end, you’ll be able to confidently attach your chuck and keep your suspension dialed for optimal performance. Let’s get started!
What You’ll Need
Before we dive in, let’s gather the few items you’ll need for this quick task:
- Your Shock Pump: This is the heart of the operation.
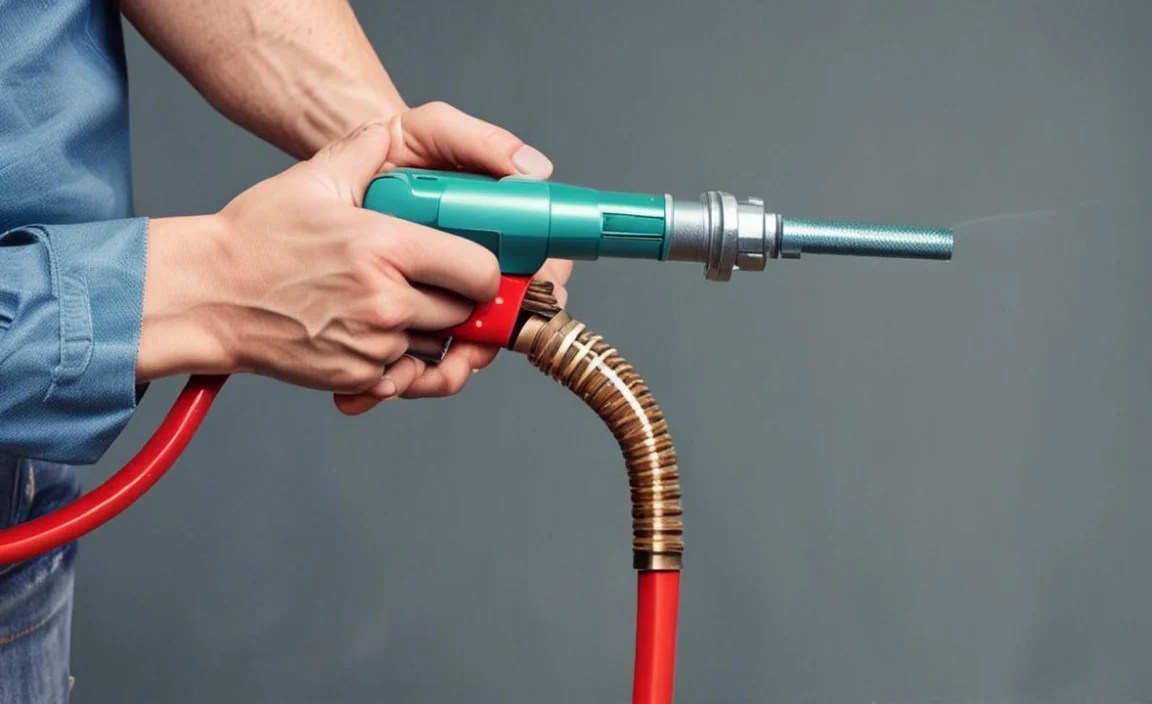
- The Chuck: This is the connector that attaches to your bike’s valve. Make sure it’s compatible with your valve type (usually Schrader or Presta for shocks).
- A Clean Rag: For wiping down parts and keeping things clean.
- (Optional) Teflon Tape: If you’re dealing with persistent leaks, Teflon tape can help seal the threads. You can find this at most hardware stores like Ace Hardware.
- (Optional) Small Wrench: Only if your chuck or hose fitting has wrench flats for tightening.
Step-by-Step Guide: Attaching the Chuck
Here’s how to get your chuck securely attached to your shock pump hose:
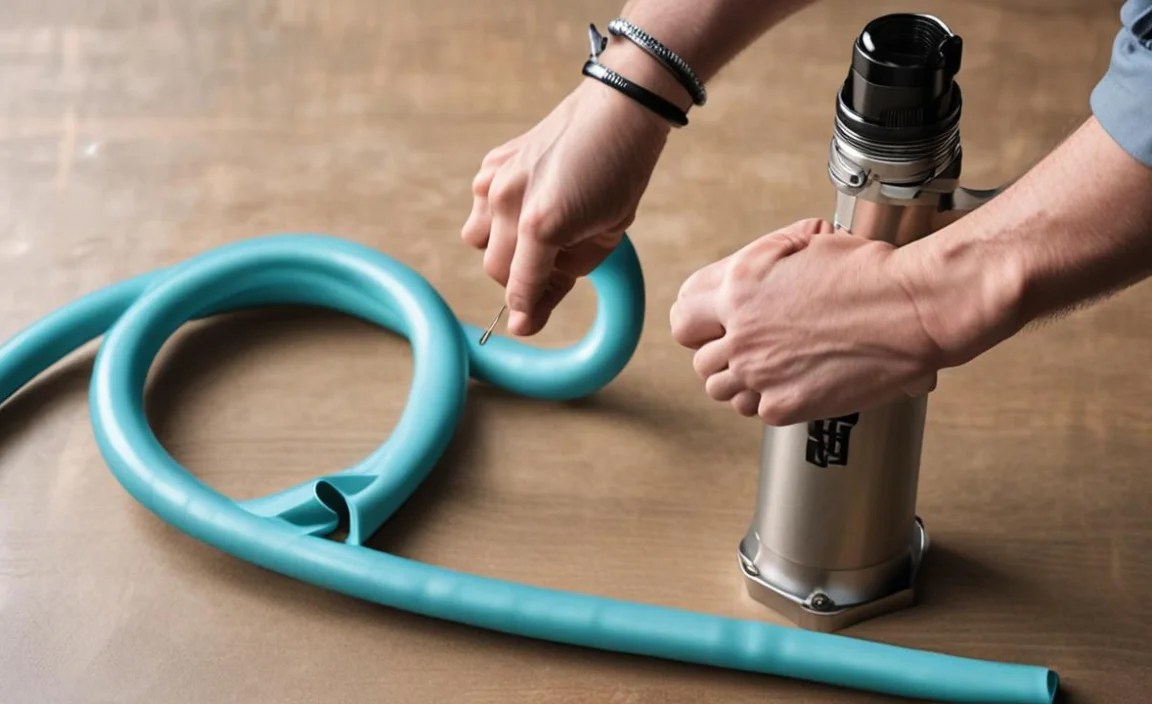
Step 1: Identify the Components
First, let’s make sure we know what we’re working with:
- The Hose: This flexible tube connects the pump to the chuck.
- The Hose Fitting: This is the threaded end of the hose that the chuck will attach to.
- The Chuck: The valve connector itself. It has internal threads that mate with the hose fitting.
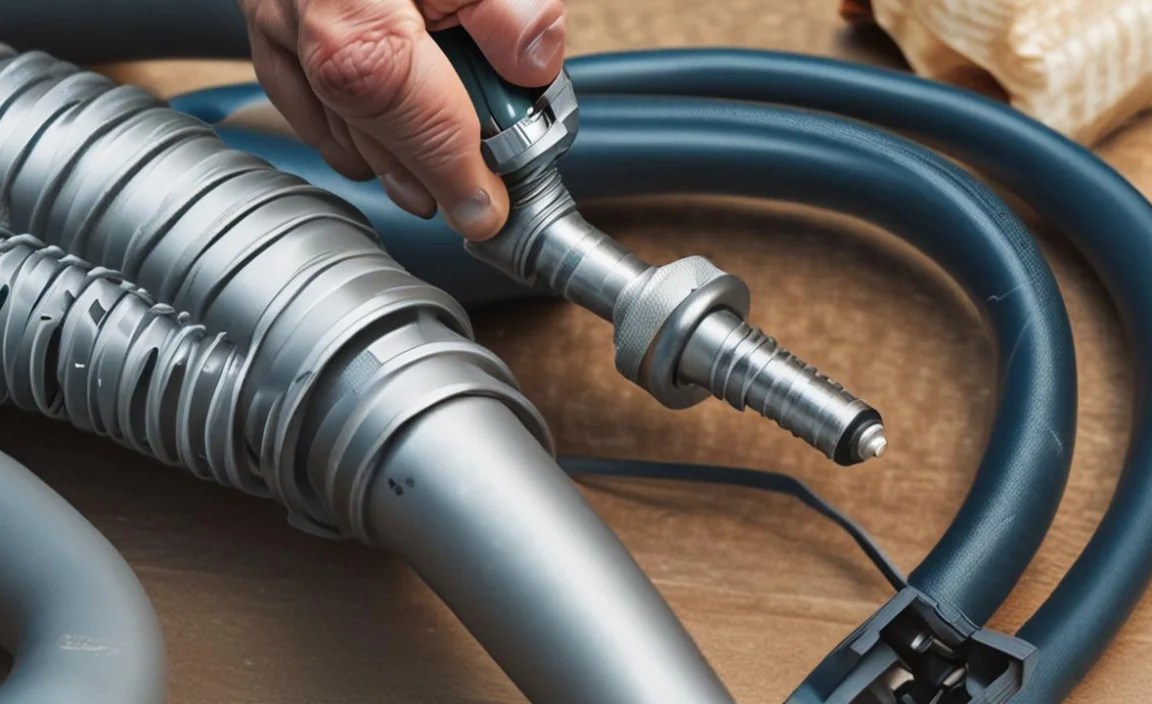
Step 2: Inspect the Threads
Take a close look at the threads on both the hose fitting and the chuck. Check for:
- Damage: Look for stripped, flattened, or cross-threaded areas.
- Dirt or Debris: Clean any grime with a clean rag.
If the threads are damaged beyond cleaning, you may need to replace the hose or chuck. Threads are often made of aluminum alloy and can be easily damaged. Check out some thread repair tools at Park Tool if you need to make some repairs.
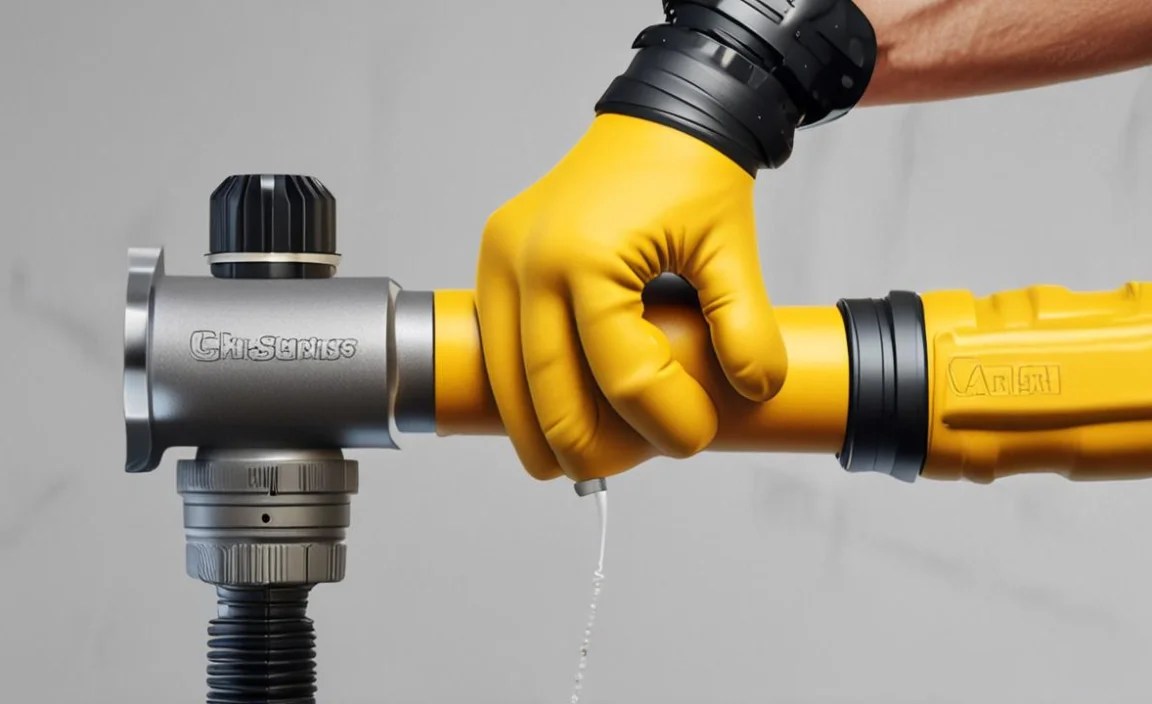
Step 3: Thread the Chuck onto the Hose
This is the main step. Here’s how to do it right:
- Align the Threads: Carefully line up the threads of the chuck with those of the hose fitting.
- Start Threading by Hand: Gently turn the chuck clockwise to start threading it onto the hose. Avoid forcing it. It should turn smoothly.
- Tighten Snugly: Once the chuck is fully threaded on by hand, tighten it snugly. You want it firm, but don’t overtighten.
- (Optional) Use a Wrench: If your chuck or hose fitting has wrench flats, use a small wrench to tighten it a bit more. Again, be careful not to overtighten.
Step 4: Test the Connection
Now, let’s see if our connection is solid:
- Attach the Chuck to a Suspension Valve: Connect the chuck to the valve on your bike’s shock or fork.
- Pump a Few Strokes: Gently pump a few strokes and listen for air leaks.
- Check for Leaks: Pay close attention to the connection point between the chuck and the hose. If you hear or feel air escaping, that indicates a leak.
Step 5: Troubleshoot Leaks (If Necessary)
If you find a leak, don’t panic! Here’s what to do:
- Tighten Further: Try tightening the chuck a bit more. A small adjustment can often solve the problem.
- Check the Valve Core: Ensure the valve core (inside the valve) is tightened. A loose valve core can also cause leaks. A valve core tool like those made by Pedro’s can help with this.
- Apply Teflon Tape: If tightening doesn’t work, remove the chuck and wrap the threads of the hose fitting with Teflon tape. This can help seal any minor imperfections.
- Re-test: After each adjustment, re-test the connection for leaks.
Understanding Chuck Types
Different shocks and forks use different valve types, so it’s important to have the right chuck. Here’s a quick overview:
- Schrader Valves: These are common on many mountain bike shocks and forks. They’re wider and have a spring-loaded pin in the center.
- Presta Valves: These are narrower and often found on higher-end suspension systems. They have a locking nut that needs to be opened before inflating.
Make sure your chuck is compatible with the valve on your suspension. Some chucks are dual-compatible, while others are specific to one valve type.
Troubleshooting Common Issues
Even with the best intentions, you might run into a few snags. Here’s how to handle them:
Problem: The Chuck Won’t Thread On
Possible Causes:
- Cross-threading
- Damaged threads
- Incorrect chuck size
Solutions:
- Carefully realign the threads and try again.
- Inspect the threads for damage. If damaged, replace the chuck or hose.
- Ensure you have the correct chuck size for your hose fitting.
Problem: The Connection Leaks Even After Tightening
Possible Causes:
- Worn threads
- Loose valve core
- Damaged O-ring (inside the chuck)
Solutions:
- Apply Teflon tape to the threads.
- Tighten the valve core with a valve core tool.
- Inspect the O-ring inside the chuck. If damaged, replace the O-ring or the entire chuck.
Problem: The Chuck Pops Off During Pumping
Possible Causes:
- Insufficient tightening
- Worn threads
- Excessive pressure
Solutions:
- Tighten the chuck more securely.
- Inspect the threads for wear. If worn, replace the chuck or hose.
- Avoid exceeding the recommended pressure for your suspension.
Table: Common Problems and Solutions
| Problem | Possible Cause | Solution |
|---|---|---|
| Chuck won’t thread on | Cross-threading, damaged threads, incorrect size | Realign threads, inspect for damage, ensure correct size |
| Connection leaks | Worn threads, loose valve core, damaged O-ring | Apply Teflon tape, tighten valve core, replace O-ring/chuck |
| Chuck pops off | Insufficient tightening, worn threads, excessive pressure | Tighten securely, inspect threads, avoid over-pressurizing |
Tips for Maintaining Your Shock Pump
A well-maintained shock pump will last longer and provide more accurate readings. Here are some tips:
- Keep it Clean: Wipe down your pump and chuck regularly to remove dirt and grime.
- Store it Properly: Store your pump in a clean, dry place. Avoid leaving it exposed to the elements.
- Inspect Regularly: Check the hose, chuck, and gauge for damage or wear.
- Replace Worn Parts: If you notice any worn or damaged parts, replace them promptly. Many manufacturers like RockShox provide rebuild kits with the necessary parts.
Table: Recommended Tools and Accessories
| Tool/Accessory | Description | Use |
|---|---|---|
| Teflon Tape | Plumber’s tape for sealing threads | Sealing leaky connections |
| Valve Core Tool | Tool for tightening/removing valve cores | Tightening loose valve cores |
| Small Wrench Set | Set of small wrenches | Tightening chucks with wrench flats |
| O-ring Replacement Kit | Kit with various size O-rings | Replacing damaged O-rings in chucks |
FAQ: Attaching Chuck to Shock Pump Hose
Here are some frequently asked questions about attaching a chuck to a shock pump hose:
Question 1: Why is my chuck leaking air?
Answer: Air leaks usually happen because the chuck isn’t tight enough, the threads are damaged, or the valve core is loose. Try tightening the chuck, inspecting the threads, or tightening the valve core.
Question 2: Can I use Teflon tape on the threads?
Answer: Yes, Teflon tape is a great way to seal minor imperfections in the threads and prevent leaks. Wrap the tape around the threads of the hose fitting before attaching the chuck.
Question 3: How tight should I make the connection?
Answer: Tighten the chuck snugly, but don’t overtighten it. You want it firm enough to prevent leaks, but not so tight that you risk damaging the threads.
Question 4: What if my chuck keeps popping off during pumping?
Answer: This usually means the chuck isn’t tight enough or the threads are worn. Try tightening it more securely. If that doesn’t work, inspect the threads for wear and replace the chuck or hose if necessary.
Question 5: How do I know if I have the right chuck for my valve?
Answer: Schrader valves are wider with a spring-loaded pin, while Presta valves are narrower with a locking nut. Make sure your chuck is compatible with the type of valve on your suspension.
Question 6: What’s the best way to clean the threads?
Answer: Use a clean rag to wipe away any dirt or debris. For stubborn grime, you can use a small brush and some mild soapy water, but be sure to dry the threads thoroughly before reassembling.
Question 7: Can I use a regular tire pump instead of a shock pump?
Answer: While you *can* technically use a tire pump in some situations, it’s not recommended. Shock pumps are designed to deliver small volumes of air at high pressure, which is necessary for accurately adjusting suspension. Tire pumps deliver larger volumes at lower pressure and don’t offer the same level of control.
Conclusion
Attaching a chuck to your shock pump hose doesn’t have to be a frustrating experience. By following these simple steps and troubleshooting tips, you can ensure a secure, leak-free connection every time. Remember to inspect your equipment regularly, keep it clean, and replace worn parts as needed. With a little care and attention, your shock pump will provide years of reliable service, helping you keep your suspension dialed for optimal performance on every ride.
Now that you’ve got your chuck securely attached, get out there and enjoy the ride! Whether you’re tackling technical trails or cruising on your e-bike, properly inflated suspension will make a world of difference. Happy trails!


