
How to Repair Cycle Pump at Home: Easy Fix!
Quick Summary: Don’t throw away your bike pump just yet! Most cycle pump problems, like weak pressure or air leaks, are easily fixed at home. This guide shows you how to diagnose common issues, replace worn-out parts like O-rings and pump heads, and get your pump working like new again. Save money and keep your tires inflated with these simple DIY repairs.
Is your bike pump not working as well as it used to? Does it take forever to inflate your tires, or does air leak out while you’re pumping? Don’t worry; you’re not alone! Many cyclists experience problems with their pumps over time. The good news is that most pump issues are simple to fix with a few basic tools and some inexpensive replacement parts. You don’t need to be a bike mechanic to keep your pump in top shape. This guide will walk you through the most common cycle pump problems and show you how to repair them yourself, step-by-step. Let’s get started!
Understanding Your Cycle Pump
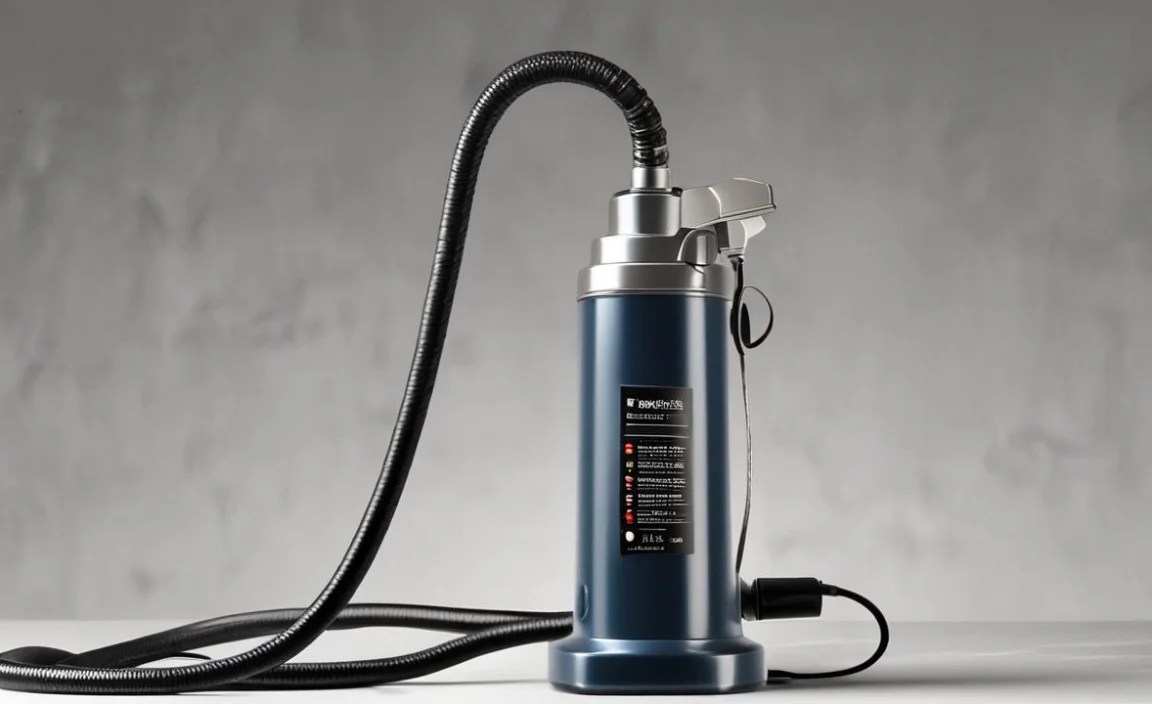
Before you start taking your pump apart, it’s helpful to understand how it works. Most cycle pumps, whether floor pumps or hand pumps, share a similar design. Knowing the different parts will make diagnosing and fixing problems much easier.
- Handle: The part you push or pull to create air pressure.
- Cylinder: The main body of the pump where air is compressed.
- Piston: A component inside the cylinder that moves up and down to compress air. Often sealed with an O-ring.
- O-rings: Rubber rings that create airtight seals between moving parts.
- Check Valve: A one-way valve that allows air to flow into the tire but prevents it from escaping.
- Hose: Connects the pump to the tire valve.
- Pump Head (Chuck): The part that attaches to the tire valve. It may be specific to Presta or Schrader valves, or dual-headed to accommodate both.
- Base: Provides stability for floor pumps.
Common Cycle Pump Problems and Solutions
Here’s a breakdown of the most frequent issues you might encounter with your cycle pump and how to address them:
| Problem | Possible Cause | Solution |
|---|---|---|
| Pump doesn’t build pressure | Worn or damaged O-ring on the piston | Replace the O-ring. |
| Air leaks from the pump handle | Loose connection or worn O-ring at the handle base | Tighten connections; replace the O-ring if needed. |
| Air leaks from the hose connection | Loose hose clamp or damaged hose | Tighten the hose clamp; replace the hose if cracked or brittle. |
| Pump head won’t seal on the valve | Worn or damaged rubber seal in the pump head; incorrect pump head for the valve type | Replace the rubber seal or the entire pump head; ensure you’re using the correct pump head for Presta or Schrader valves. |
| Difficulty inflating tires to high pressure | Worn piston O-ring; clogged air filter (if applicable) | Replace the O-ring; clean or replace the air filter. |
| Pump feels stiff or hard to use | Lack of lubrication; internal corrosion | Apply lubricant to the piston and cylinder; clean internal parts with a mild solvent if necessary. |
Tools and Materials You’ll Need

Before you start any repairs, gather the necessary tools and materials. Having everything on hand will make the process smoother and more efficient.
- Screwdrivers: Both Phillips head and flathead screwdrivers in various sizes.
- Allen Wrenches (Hex Keys): A set of Allen wrenches to fit various bolts and screws.
- Pliers: For gripping and removing small parts.
- Adjustable Wrench: For loosening and tightening nuts and bolts.
- O-rings: A selection of O-rings in different sizes (or a pump-specific O-ring replacement kit).
- Lubricant: A light oil or silicone grease specifically designed for bicycle parts. Phil Wood Tenacious Oil or Finish Line Teflon Grease are good options.
- Replacement Pump Head: If your pump head is damaged or worn out.
- Hose Clamps: To secure the hose to the pump body and pump head.
- Clean Rags: For wiping away dirt and grease.
- Degreaser: For cleaning dirty parts. Simple Green or Bike specific degreasers work well.
Step-by-Step Repair Guide
Follow these steps to diagnose and repair common cycle pump problems:
1. Disassembly
- Disconnect the Hose: Use a screwdriver or wrench to loosen the hose clamp and remove the hose from the pump body.
- Remove the Handle: Depending on your pump model, the handle may be secured with screws, nuts, or a retaining clip. Remove these to detach the handle.
- Access the Cylinder: Carefully disassemble the pump body to access the cylinder and piston. Take note of how the parts fit together, as you’ll need to reassemble them later.
- Remove the Piston: Gently pull the piston out of the cylinder. Be careful not to scratch the cylinder walls.
2. Inspection and Cleaning
- Inspect the O-ring: Examine the O-ring on the piston for wear, cracks, or damage. This is a common source of air leaks.
- Check the Cylinder Walls: Look for scratches or damage inside the cylinder. Minor scratches may not be a problem, but deep scratches can affect performance.
- Clean All Parts: Use a clean rag and degreaser to remove any dirt, grease, or debris from all parts, including the cylinder, piston, and O-ring groove.
3. O-ring Replacement
- Remove the Old O-ring: Use a small screwdriver or pick to carefully remove the old O-ring from the piston groove.
- Install the New O-ring: Stretch the new O-ring slightly and carefully place it into the groove. Make sure it sits evenly and isn’t twisted.
- Lubricate the O-ring: Apply a thin layer of lubricant to the new O-ring. This will help it seal properly and reduce friction.
4. Pump Head Repair or Replacement
- Inspect the Pump Head: Check the rubber seal inside the pump head for wear or damage. If it’s cracked or deformed, it needs to be replaced.
- Replace the Seal (if possible): Some pump heads have replaceable rubber seals. Use a small screwdriver or pick to remove the old seal and install a new one.
- Replace the Entire Pump Head (if necessary): If the seal isn’t replaceable or the pump head is damaged, you’ll need to replace the entire unit. Unscrew the old pump head from the hose and screw on the new one. Make sure it’s compatible with your tire valves (Presta or Schrader).
5. Reassembly
- Reinsert the Piston: Carefully slide the piston back into the cylinder. Make sure it moves smoothly without excessive friction.
- Reassemble the Pump Body: Reassemble the pump body, making sure all parts are properly aligned and secured. Refer to the notes you took during disassembly.
- Reattach the Handle: Reattach the handle and secure it with the screws, nuts, or retaining clip.
- Reconnect the Hose: Slide the hose back onto the pump body and secure it with a hose clamp. Tighten the clamp to ensure a tight seal.
6. Testing
- Test the Pump: Attach the pump head to a tire valve and try inflating the tire. Check for air leaks around the pump head, hose connections, and handle.
- Adjust as Needed: If you find any leaks, tighten the hose clamps or connections. If the pump is still not working properly, double-check your work and make sure all parts are properly installed.
Maintaining Your Cycle Pump
Regular maintenance can help prevent problems and extend the life of your cycle pump. Here are some tips:
- Lubricate Regularly: Apply a few drops of light oil or silicone grease to the piston and other moving parts every few months.
- Store Properly: Store your pump in a clean, dry place to prevent corrosion and damage.
- Clean the Pump Head: Periodically clean the pump head with a clean rag to remove dirt and debris.
- Replace Worn Parts: Replace O-rings, pump heads, and hoses as soon as they show signs of wear or damage.
Troubleshooting Tips
Still having trouble with your cycle pump? Here are some additional troubleshooting tips:
- Check the Check Valve: The check valve prevents air from escaping the tire. If it’s stuck open, air will leak out. Clean the check valve with a mild solvent or replace it if necessary.
- Inspect the Hose for Cracks: Cracks in the hose can cause air leaks. Replace the hose if you find any cracks.
- Make Sure the Pump Head is Compatible: Ensure that your pump head is compatible with your tire valves (Presta or Schrader). Some pump heads are dual-headed and can be used with both types of valves.
- Consult the Manufacturer’s Website: Many pump manufacturers have troubleshooting guides and replacement parts available on their websites.
When to Replace vs. Repair
While many pump issues can be fixed, there comes a point where replacement might be the more sensible option. Consider replacing your pump if:
- The cylinder is severely damaged or corroded.
- The internal parts are excessively worn and replacement parts are unavailable.
- You’ve attempted multiple repairs without success.
- Newer pumps offer significantly better performance or features.
A good quality floor pump can last for many years with proper care and maintenance. However, if the cost of repairs starts to approach the price of a new pump, it might be time to upgrade.
FAQ: Cycle Pump Repair at Home
- Why is my bike pump not building pressure?
- The most common reason is a worn-out O-ring on the piston. Replacing the O-ring will usually solve this problem. Also check for leaks in the hose or pump head.
- How often should I lubricate my bike pump?
- Lubricate your pump every few months, or whenever it starts to feel stiff or difficult to use. Use a light oil or silicone grease specifically designed for bicycle parts.
- What kind of O-ring do I need for my bike pump?
- The size and type of O-ring will depend on your specific pump model. Check your pump’s manual or the manufacturer’s website for the correct specifications. You can also purchase a pump-specific O-ring replacement kit.
- Can I use any kind of lubricant on my bike pump?
- No, it’s important to use a lubricant that is compatible with rubber and plastic parts. Avoid using petroleum-based lubricants, as they can damage the O-rings and other components. Silicone grease or light oil are good options.
- How do I know if my pump head is compatible with my tire valves?
- Most bike pumps have pump heads that are designed for either Presta or Schrader valves. Some pump heads are dual-headed and can be used with both types of valves. Make sure you are using the correct pump head for your tire valves.
- My pump hose is cracked. Can I repair it?
- While you might be able to temporarily patch a cracked hose with tape, it’s best to replace it. A new hose will ensure a reliable and airtight connection. You can find replacement hoses at most bike shops or online retailers.
- Where can I buy replacement parts for my bike pump?
- You can find replacement parts for your bike pump at most bike shops, online retailers, or directly from the pump manufacturer’s website. Be sure to have your pump’s make and model handy when searching for parts.
Conclusion
Repairing your cycle pump at home is a straightforward process that can save you money and keep your tires properly inflated. By understanding the basic components of your pump, diagnosing common problems, and following these step-by-step instructions, you can keep your pump working like new for years to come. Don’t be afraid to get your hands dirty and tackle these simple repairs yourself. With a little bit of effort, you’ll be back on the road in no time! Remember to always prioritize safety and consult the manufacturer’s instructions if you’re unsure about any step. Happy cycling!


