
How to Make a DIY Bike Pump with a Bottle: A Step-by-Step Guide
Quick Summary: Building a simple bike pump from a plastic bottle is possible for emergency situations. You’ll need a bottle, valve stem, rubber bands, and basic tools. While not as efficient or durable as a commercial pump, it can inflate a tire enough to get you home. This guide provides a step-by-step approach to constructing this makeshift pump.
Ever found yourself miles from home with a flat tire and no pump? It’s a cyclist’s worst nightmare! While a proper bike pump is always the best solution, knowing how to improvise can be a lifesaver. This guide will show you how to create a rudimentary bike pump using a plastic bottle. It’s not a replacement for a real pump, but in a pinch, it can get you rolling again. Let’s get started!
What You’ll Need

Before we begin, gather the necessary materials and tools. Most of these are common household items, making this a truly DIY project.
- Plastic Bottle: A sturdy plastic bottle (500ml to 1 liter) works best. Avoid thin, easily crushed bottles.
- Valve Stem: An old valve stem from a discarded inner tube. Make sure it’s the same type as your bike’s tubes (Presta or Schrader).
- Rubber Bands: Several strong rubber bands. The wider the better.
- Scissors or Knife: For cutting the bottle. Be careful!
- Drill or Awl: To create a hole in the bottle cap.
- Duct Tape (Optional): For extra reinforcement.
- Sandpaper or File (Optional): To smooth rough edges.
Step-by-Step Instructions
Follow these steps carefully to build your DIY bottle pump. Remember to prioritize safety when using tools.
Step 1: Prepare the Bottle
Start by cleaning the plastic bottle thoroughly. Remove any labels and make sure it’s completely dry inside.
Step 2: Cut the Bottle
Carefully cut the bottom off the bottle. You’ll want to cut it as straight as possible. Aim for a cut about 2-3 inches from the bottom.
Step 3: Prepare the Bottle Cap
Using a drill or awl, create a hole in the center of the bottle cap. The hole should be just large enough to snugly fit the valve stem.
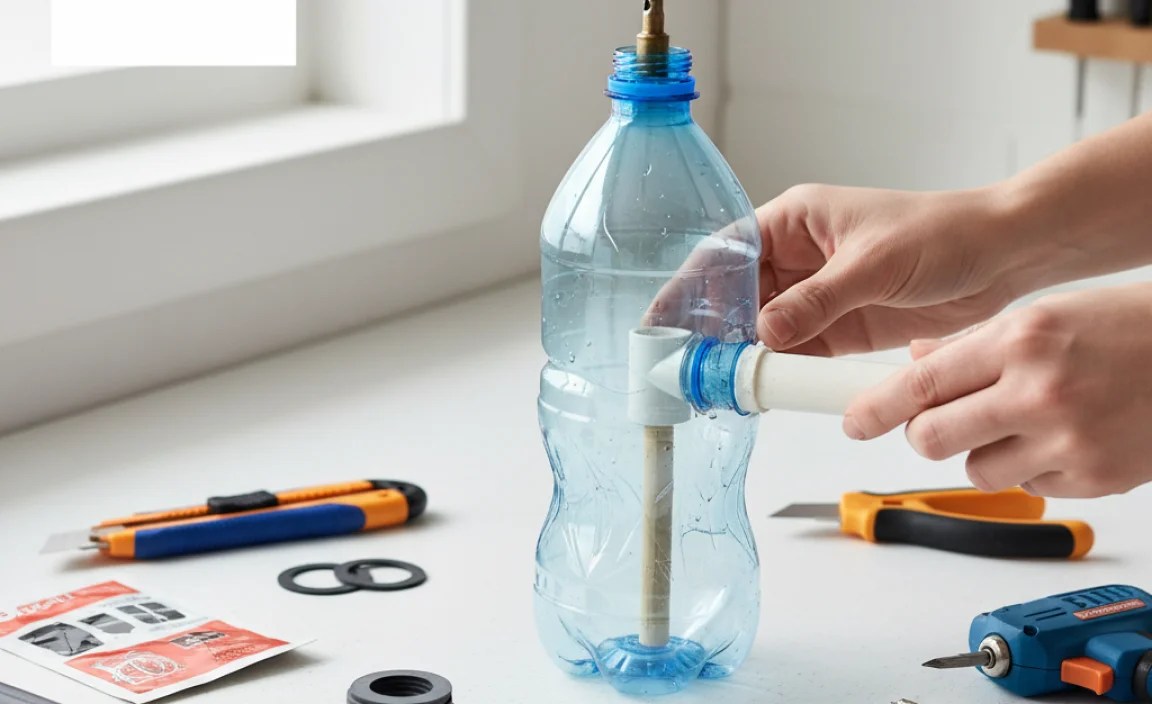
Step 4: Insert the Valve Stem
Push the valve stem through the hole in the bottle cap. Ensure a tight fit. If the fit is loose, use duct tape to secure it and create an airtight seal.
Step 5: Secure the Valve Stem
Wrap duct tape around the base of the valve stem where it meets the bottle cap. This will reinforce the seal and prevent air leakage. Use multiple layers of tape for maximum security.
Step 6: Create the Piston
The bottom portion of the bottle you cut off will act as the piston. Insert it into the main body of the bottle.
Step 7: Secure the Piston with Rubber Bands
Use the rubber bands to create a seal between the piston (the bottom of the bottle) and the main body of the bottle. Wrap the rubber bands tightly around the bottle where the two pieces meet. This is crucial for creating pressure.
Step 8: Test Your Pump
Carefully insert the valve stem into your bike’s tire valve. Hold the bottle firmly and push the piston (the bottom of the bottle) in and out. You should feel air being forced into the tire. Keep pumping until you reach a usable pressure. Remember, this is a makeshift pump, so it won’t be as efficient as a regular one.
Tips for Success
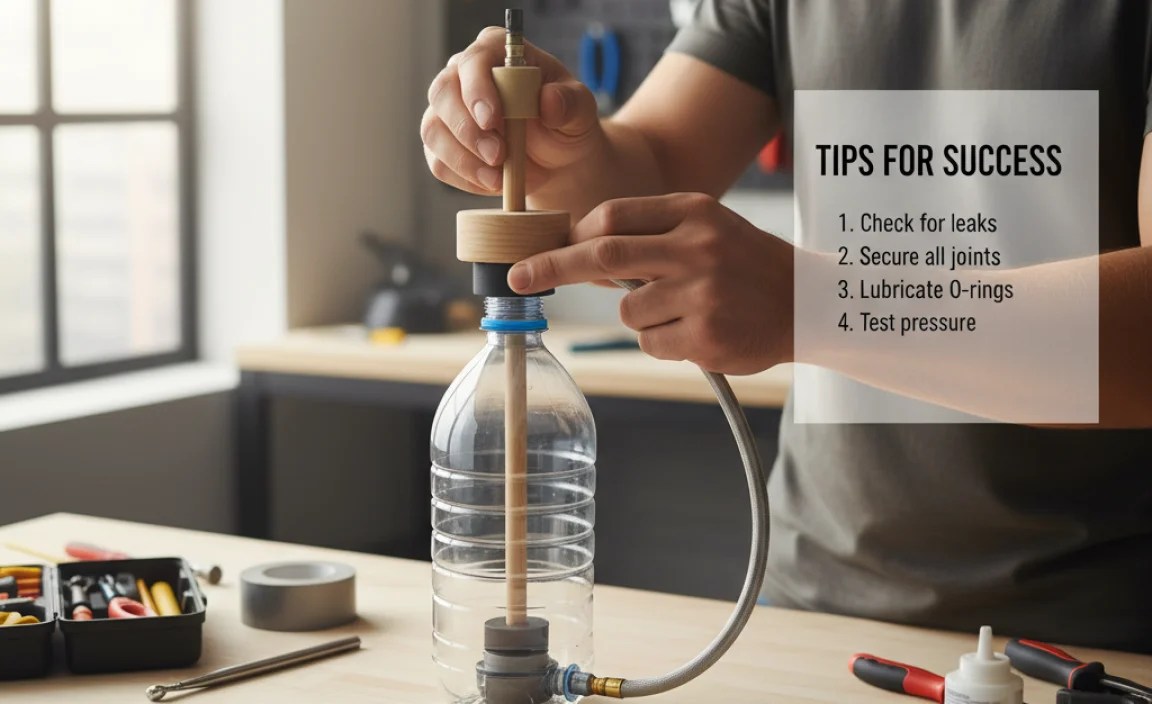
Here are some tips to help you get the most out of your DIY bottle pump:
- Airtight Seal: The most important aspect is creating an airtight seal between the bottle, valve stem, and piston. Use plenty of duct tape and strong rubber bands.
- Bottle Choice: Use a sturdy bottle that won’t easily collapse under pressure.
- Valve Stem Compatibility: Make sure the valve stem matches your bike’s inner tubes (Presta or Schrader).
- Patience: This makeshift pump will require more effort and time than a standard pump.
- Emergency Use Only: This pump is intended for emergency situations only. Invest in a quality bike pump for regular use.
Troubleshooting
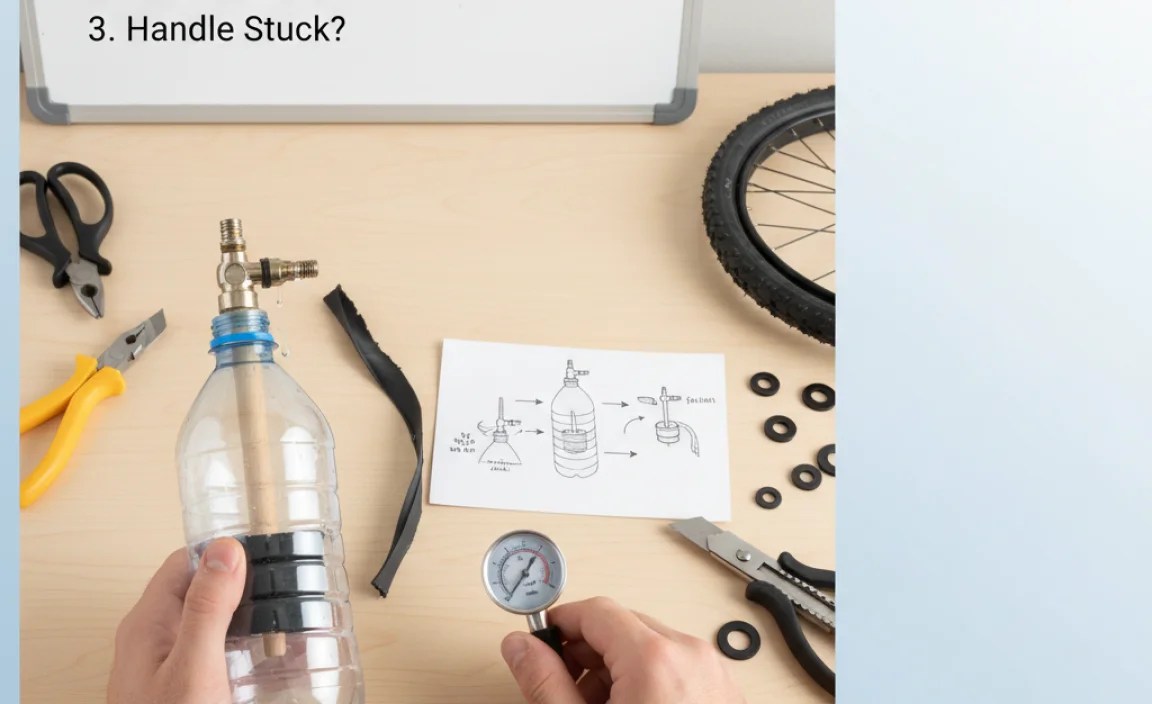
If your DIY bottle pump isn’t working, here are some common issues and solutions:
- Air Leakage: Check all seals (bottle cap, piston) and reinforce with more duct tape or rubber bands.
- Insufficient Pressure: Make sure the piston is moving smoothly and creating a good seal. Try using more rubber bands.
- Valve Stem Issues: Ensure the valve stem is properly inserted into the tire valve and that the valve core is open.
Advantages and Disadvantages

Let’s weigh the pros and cons of using a DIY bottle pump:
| Advantages | Disadvantages |
|---|---|
| Uses readily available materials. | Not as efficient as a standard pump. |
| Lightweight and portable. | Requires more effort and time. |
| Inexpensive to make. | Less durable than a commercial pump. |
| Good for emergency situations. | May not reach high pressures. |
Alternative DIY Pump Ideas
While the bottle pump is a common method, here are a few other DIY pump ideas you might consider:
- Syringe Pump: Use a large syringe and a valve adapter to create a small, handheld pump.
- Foot Pump with Tubing: Connect a length of tubing to a foot-operated bellows or air mattress pump.
Essential Bike Pump Features to Consider
When you’re ready to invest in a real bike pump, here are some key features to look for:
- Type: Floor pumps are best for home use, while mini-pumps are more portable for on-the-go repairs.
- Pressure Gauge: A gauge helps you inflate your tires to the correct pressure (PSI).
- Valve Compatibility: Ensure the pump works with both Presta and Schrader valves. Some pumps have dual heads or adapters.
- Durability: Look for a pump made from high-quality materials like aluminum or steel.
- Ergonomics: A comfortable handle and stable base make pumping easier.
Maintaining Your Regular Bike Pump
To keep your regular bike pump in good working order, follow these maintenance tips:
- Clean the Nozzle: Regularly clean the pump nozzle to remove dirt and debris.
- Check the Hose: Inspect the hose for cracks or leaks. Replace it if necessary.
- Lubricate Moving Parts: Apply a small amount of lubricant to the piston and other moving parts.
- Store Properly: Store your pump in a dry place to prevent rust and corrosion.
Recommended Bike Pumps
Here are a few highly-rated bike pumps available on the market:
| Pump Name | Type | Key Features |
|---|---|---|
| Lezyne Floor Drive | Floor Pump | High pressure, accurate gauge, durable construction. |
| Topeak Mini Morph | Mini Pump | Compact, foldable foot pad, integrated gauge. |
| Blackburn Chamber HV | Floor Pump | High-volume, stable base, comfortable handle. |
Safety Precautions
Always exercise caution when working with tools and inflating tires.
- Wear safety glasses to protect your eyes.
- Be careful when using sharp objects like scissors or knives.
- Do not over-inflate your tires. Check the recommended PSI on the tire sidewall.
- If you’re unsure about any step, consult a professional bike mechanic.
Understanding Tire Pressure
Maintaining the correct tire pressure is crucial for a comfortable and efficient ride. Here’s what you need to know:
- PSI (Pounds per Square Inch): This is the unit used to measure tire pressure.
- Recommended PSI: The recommended PSI range is printed on the sidewall of your tire.
- Factors Affecting PSI: Your weight, riding style, and terrain can all affect the ideal PSI.
- Too Low Pressure: Can lead to pinch flats and increased rolling resistance.
- Too High Pressure: Can result in a harsh ride and reduced traction.
You can use online tire pressure calculators like the one from Silca to get a more accurate recommendation.
Types of Bike Valves
There are two main types of bike valves:
- Presta: Narrower valve, commonly found on road bikes and high-performance bikes.
- Schrader: Wider valve, similar to those found on car tires, often used on mountain bikes and hybrid bikes.
Make sure your pump is compatible with the type of valves on your bike. Some pumps have dual heads that work with both types.
FAQ
Can I use any type of plastic bottle?
No, you should use a sturdy plastic bottle that won’t easily crush under pressure. Thicker bottles like those used for soda are better than thin water bottles.
Will this DIY pump inflate my tire to the correct pressure?
Probably not. This DIY pump is designed for emergency situations and will likely only inflate your tire enough to get you home. It won’t be as efficient or accurate as a real bike pump.
Is it safe to use a knife to cut the bottle?
Yes, but you need to be very careful. Use a sharp knife and cut slowly and deliberately. It’s best to use scissors if you have them. Always cut away from yourself and keep your fingers clear of the blade.
What if the valve stem doesn’t fit snugly in the bottle cap?
Use duct tape to create a tighter seal. Wrap multiple layers of tape around the base of the valve stem where it meets the bottle cap. This will help prevent air leakage.
How many rubber bands should I use?
Use as many rubber bands as needed to create a tight seal between the piston (the bottom of the bottle) and the main body of the bottle. The more rubber bands, the better the seal will be.
Can I use this pump on a tubeless tire?
While technically possible, it’s not recommended. Tubeless tires require higher pressures to seat properly, and this DIY pump likely won’t be able to generate enough pressure. You’re better off using a CO2 inflator or a dedicated tubeless inflator pump.
How long will this DIY pump last?
This DIY pump is not designed for long-term use. It’s a temporary solution for emergency situations. The lifespan of the pump will depend on the quality of the materials used and how carefully it’s constructed. Don’t expect it to last more than a few uses.
Conclusion
While a DIY bottle pump is no substitute for a proper bike pump, it’s a clever and potentially life-saving solution when you’re caught in a pinch. By following these steps and taking your time, you can create a functional pump that will get you back on the road. Remember to prioritize safety and invest in a quality bike pump for regular use. Happy cycling!
“`


