
How to Kick Off a Defrost Cycle on Your Bryant Heat Pump
Quick Summary: To manually start a defrost cycle on your Bryant heat pump, first locate the test pins on the control board inside the outdoor unit. Then, using a screwdriver or jumper wire, briefly short these pins together. Your heat pump should switch into defrost mode within a few minutes, melting any accumulated ice. Remember to consult your owner’s manual for specific instructions and safety precautions.
Is your Bryant heat pump covered in ice during the winter? It’s a common problem! Heat pumps need to defrost regularly to work efficiently. Sometimes, the automatic defrost cycle doesn’t kick in when it should. This can lead to poor heating and potentially damage your unit. Don’t worry, manually starting a defrost cycle is often a simple fix you can do yourself. This guide will walk you through the process step-by-step, so you can get your heat pump back in top shape. Let’s dive in!
Understanding the Defrost Cycle

Before we get started, let’s understand why defrosting is necessary. Heat pumps work by transferring heat from the outside air to your home. Even when it’s cold outside, there’s still some heat available. However, as the heat pump extracts this heat, the outdoor coil can get very cold. When the humidity is high and the temperature is near freezing, frost and ice can quickly build up on the coil. This ice acts as an insulator, reducing the heat pump’s ability to extract heat and making it work harder.
The defrost cycle melts this ice, allowing the heat pump to operate efficiently. During the defrost cycle, the heat pump temporarily switches to cooling mode, reversing the flow of refrigerant. This warms the outdoor coil, melting the ice. To compensate for the temporary cooling, auxiliary heat (usually electric resistance heat) is activated inside your home to keep you warm.
Safety First!
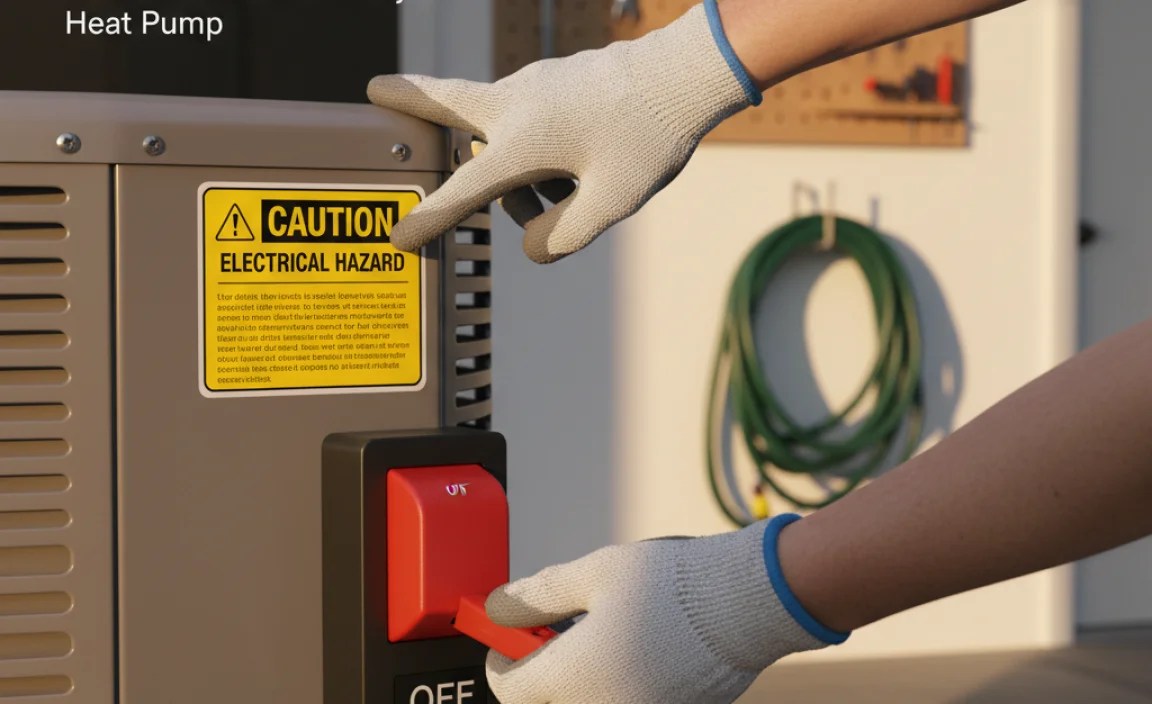
Working with electrical equipment can be dangerous. Before you begin, it’s important to take these safety precautions:
- Turn off the power: Locate the breaker that controls your outdoor unit and switch it off. This will prevent electric shock.
- Wear appropriate safety gear: Wear gloves and eye protection.
- Read your manual: Consult your Bryant heat pump owner’s manual for specific instructions and warnings related to your model.
- If in doubt, call a professional: If you’re not comfortable working with electrical equipment, don’t hesitate to call a qualified HVAC technician.
Tools You’ll Need
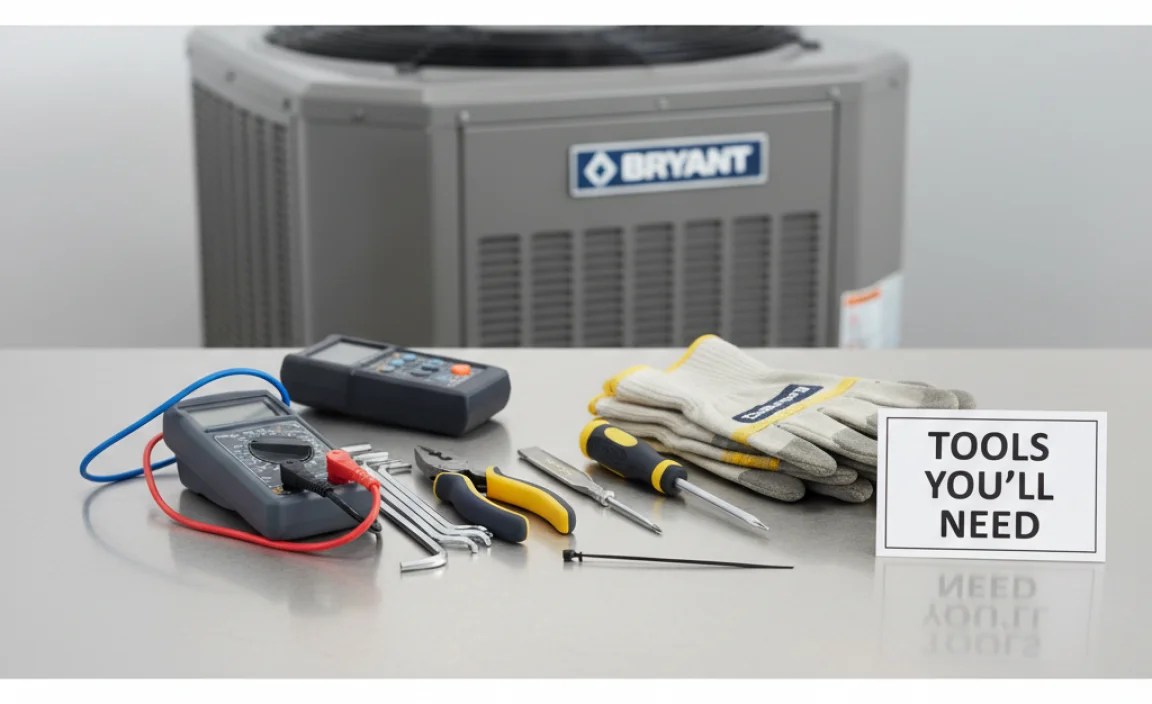
You won’t need many tools for this task. Here’s a list:
- Screwdriver: You’ll need a screwdriver to open the access panel on your outdoor unit. A Phillips head screwdriver is usually required.
- Jumper wire or screwdriver (for shorting pins): A short piece of insulated wire with stripped ends or a screwdriver with an insulated handle can be used to briefly short the test pins.
- Owner’s manual: This is essential for locating the test pins and understanding any specific instructions for your model.
- Gloves and eye protection: For safety.
Step-by-Step Guide to Initiating a Defrost Cycle

Follow these steps carefully to manually start a defrost cycle on your Bryant heat pump.
- Turn off the power: Locate the circuit breaker for your outdoor unit in your electrical panel and switch it to the “off” position. This is a crucial safety step.
- Locate the outdoor unit: Go to your Bryant heat pump’s outdoor unit.
- Remove the access panel: Use your screwdriver to remove the access panel that covers the control board. The location and type of panel may vary slightly depending on your model.
- Identify the test pins: Consult your owner’s manual to locate the test pins on the control board. These pins are usually labeled “TEST,” “DEF,” or something similar. They may be located near the defrost control module. If you can’t find the test pins in your manual, search online for your specific model number and “defrost test pins.”
- Short the test pins: Using your jumper wire or screwdriver, briefly short the test pins together. This means connecting the two pins for a second or two. Important: Do not hold the pins shorted for an extended period. A brief connection is all that’s needed.
- Observe the heat pump: After shorting the pins, wait a few minutes. The heat pump should switch into defrost mode. You’ll likely hear a change in the sound of the unit, and you may see steam rising from the outdoor coil as the ice melts.
- Replace the access panel: Once you’ve confirmed that the defrost cycle has started, replace the access panel and secure it with the screws.
- Turn the power back on: Go back to your electrical panel and switch the circuit breaker for your outdoor unit back to the “on” position.
- Monitor the heat pump: Observe the heat pump for the next few hours to ensure that it completes the defrost cycle and resumes normal operation.
Troubleshooting
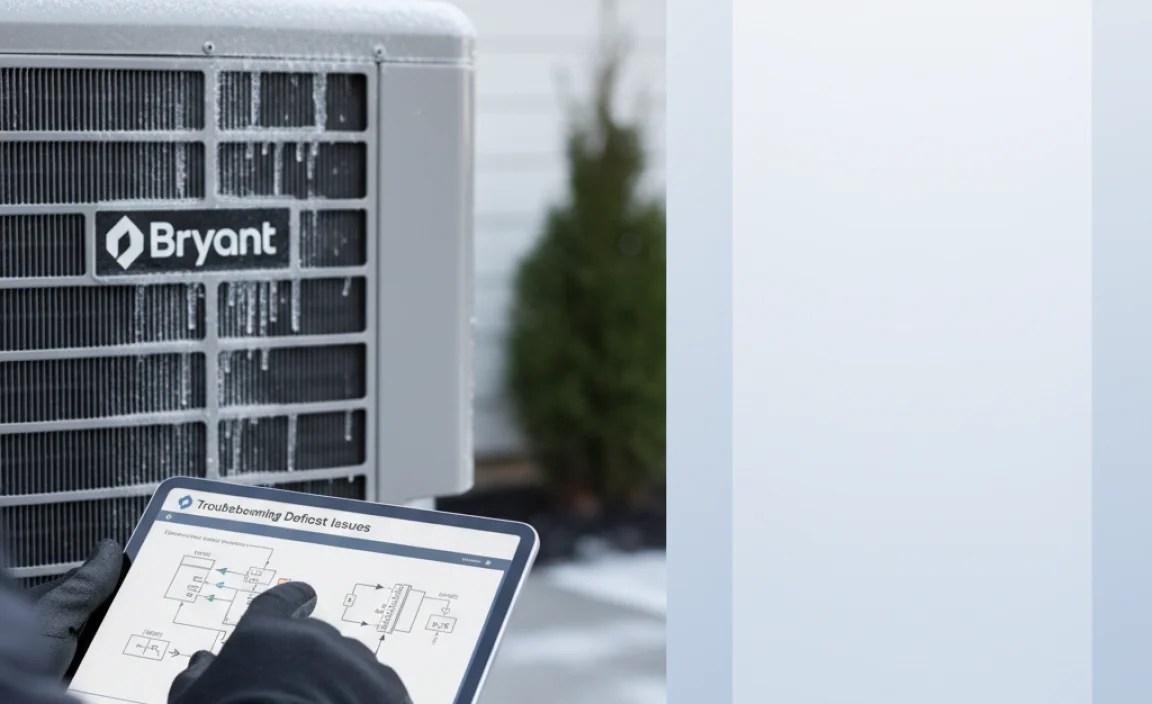
What if the defrost cycle doesn’t start after shorting the test pins? Here are a few things to check:
- Check the power: Make sure the circuit breaker is on and that the unit is receiving power.
- Verify the test pins: Double-check your owner’s manual to ensure you’re shorting the correct pins.
- Inspect the control board: Look for any visible signs of damage to the control board, such as burned components or loose connections.
- Check the defrost sensor: The defrost sensor is responsible for initiating the automatic defrost cycle. If it’s faulty, it may prevent the manual defrost cycle from working.
- Call a professional: If you’ve tried these steps and the defrost cycle still doesn’t start, it’s time to call a qualified HVAC technician. There may be a more serious problem with your heat pump.
Understanding the Defrost Control Board
The defrost control board is the brain of the defrost system. It monitors the outdoor coil temperature and air temperature and initiates the defrost cycle when necessary. It also controls the auxiliary heat to keep your home warm during the defrost cycle.
Here’s a table summarizing the key components and their functions:
| Component | Function |
|---|---|
| Defrost Timer | Initiates defrost cycles at set intervals (older models). |
| Defrost Thermostat/Sensor | Measures coil temperature and signals the control board when to defrost. |
| Control Board | Processes information from the sensor and timer, controls the reversing valve and auxiliary heat. |
| Reversing Valve | Reverses the flow of refrigerant to switch between heating and cooling modes. |
| Auxiliary Heat | Provides supplemental heat during the defrost cycle. |
Why Won’t My Heat Pump Defrost Automatically?
Several factors can prevent your heat pump from defrosting automatically. Here are some common causes:
- Faulty defrost sensor: If the defrost sensor is not working properly, it may not be able to accurately measure the coil temperature, preventing the defrost cycle from initiating.
- Bad control board: A malfunctioning control board may not be able to process the information from the defrost sensor or timer, preventing the defrost cycle from starting.
- Refrigerant leak: A refrigerant leak can reduce the heat pump’s ability to extract heat, leading to excessive ice buildup and preventing the defrost cycle from working properly.
- Airflow obstruction: Blocked airflow to the outdoor unit can also cause excessive ice buildup. Make sure the coils are clean and free of debris.
- Incorrect settings: Some heat pumps have adjustable defrost settings. Make sure the settings are correct for your climate and conditions.
Preventing Ice Buildup
While manual defrosting can help in a pinch, preventing ice buildup is the best approach. Here are some tips:
- Keep the outdoor unit clean: Regularly clean the outdoor coil to remove dirt, leaves, and other debris that can restrict airflow and contribute to ice buildup.
- Trim vegetation: Trim any vegetation that is growing too close to the outdoor unit. This will help to improve airflow and reduce the amount of moisture that comes into contact with the coil.
- Ensure proper drainage: Make sure the area around the outdoor unit is properly drained. This will prevent water from pooling and freezing around the unit.
- Consider a coil coating: Applying a coil coating can help to prevent ice from sticking to the coil.
The Benefits of Regular Defrosting
Regular defrosting is essential for maintaining the efficiency and lifespan of your heat pump. Here are some of the benefits:
- Improved efficiency: Removing ice buildup allows the heat pump to transfer heat more efficiently, reducing energy consumption and lowering your heating bills.
- Extended lifespan: By preventing excessive ice buildup, you can reduce the strain on the heat pump components and extend its lifespan.
- Consistent heating: Regular defrosting ensures that your heat pump can provide consistent heating, even in cold weather.
- Reduced repair costs: Addressing ice buildup early can prevent more serious problems from developing, reducing the need for costly repairs.
When to Call a Professional
While manual defrosting can be a helpful troubleshooting step, there are times when it’s best to call a qualified HVAC technician. Here are some situations where professional help is recommended:
- You’re not comfortable working with electrical equipment.
- The defrost cycle doesn’t start after shorting the test pins.
- You notice any signs of damage to the control board or other components.
- The heat pump is making unusual noises.
- The heat pump is not heating properly, even after defrosting.
- You suspect a refrigerant leak.
Choosing the Right HVAC Technician
If you need to call a professional, it’s important to choose a qualified and experienced HVAC technician. Here are some tips:
- Ask for recommendations: Ask friends, family, or neighbors for recommendations.
- Check online reviews: Read online reviews to get an idea of the technician’s reputation.
- Verify licenses and insurance: Make sure the technician is licensed and insured.
- Get multiple quotes: Get quotes from several technicians before making a decision.
- Ask about experience: Ask about the technician’s experience with Bryant heat pumps.
Heat Pump Defrost Cycle FAQs
Here are some frequently asked questions about heat pump defrost cycles:
- Why is my heat pump icing up?
- Ice forms when moisture in the air freezes on the cold outdoor coil. This is more common when temperatures are near freezing and humidity is high.
- How often should my heat pump defrost?
- The frequency depends on weather conditions. It could be several times a day in icy conditions or not at all in milder weather.
- Is it normal for my heat pump to make noise during defrost?
- Yes, it’s normal to hear hissing or gurgling sounds as the refrigerant reverses and the ice melts.
- Will my house get cold during the defrost cycle?
- Your auxiliary heat should kick in to keep your home warm while the outdoor unit defrosts. You might notice a slight temperature drop.
- Can I manually defrost my heat pump if it’s not icing up?
- It’s generally not recommended unless you suspect the automatic defrost isn’t working. Unnecessary defrosting wastes energy.
- What does it mean if my heat pump is constantly defrosting?
- This could indicate a problem with the defrost sensor, control board, or refrigerant levels. Call a technician to investigate.
- How long does a defrost cycle last?
- A typical defrost cycle lasts between 5 and 15 minutes.
Conclusion
Manually starting a defrost cycle on your Bryant heat pump can be a quick and easy way to address ice buildup and restore your unit’s efficiency. By following the steps outlined in this guide, you can safely and effectively initiate the defrost cycle and keep your home warm all winter long. Remember to prioritize safety, consult your owner’s manual, and don’t hesitate to call a professional if you’re not comfortable performing the task yourself. Regular maintenance and preventative measures can help to minimize ice buildup and ensure that your heat pump operates efficiently for years to come. With a little knowledge and effort, you can keep your Bryant heat pump running smoothly and efficiently, providing reliable comfort for your home.
“`


