
Harley Davidson Shock Pump: Ride Smoother Now!
Harley Davidson Shock Pump: A Step-by-Step Guide


Quick Summary: Adjusting your Harley’s air suspension is simple with the right shock pump. This guide shows you how to safely add or release air, fine-tuning your ride for optimal comfort and performance. We’ll cover everything from choosing the right pump to achieving the perfect pressure. Let’s get started!
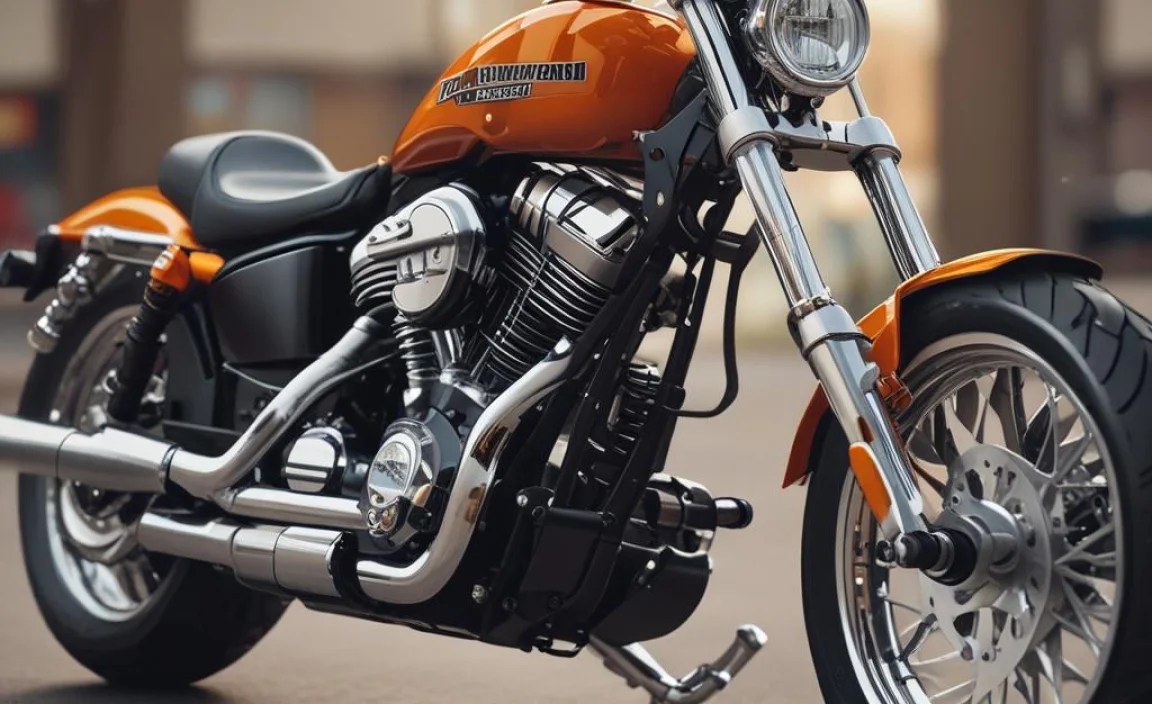
Harley Davidson motorcycles are known for their powerful engines and distinctive style. But did you know that many models also feature adjustable air suspension? This means you can customize the ride to suit your weight, road conditions, or personal preferences. The key to making these adjustments is a Harley Davidson shock pump. If you’ve ever felt your ride was too stiff or too soft, you’re not alone. Many riders struggle to get their suspension dialed in just right. Luckily, adjusting your shocks is easier than you might think! In this guide, we’ll walk you through the process step-by-step, so you can achieve the perfect ride every time. We’ll cover choosing the right pump, finding the correct pressure, and making precise adjustments.
Why Use a Harley Davidson Shock Pump?


A Harley Davidson shock pump is a specialized hand pump designed for fine-tuning the air pressure in your motorcycle’s air suspension system. Unlike regular tire pumps, shock pumps deliver small volumes of air at high pressure, allowing for precise adjustments. Here’s why using the right pump is essential:
- Precision: Shock pumps have sensitive gauges that show small pressure changes, crucial for optimal suspension performance.
- Compatibility: Designed to fit the specific valves used on Harley Davidson air shocks.
- Safety: Prevents over-inflation, which can damage your shocks.
Choosing the Right Shock Pump

Not all shock pumps are created equal. Here’s what to look for when selecting a Harley Davidson shock pump:
- Pressure Range: Ensure the pump’s gauge reads accurately within the pressure range recommended for your specific Harley model. Check your owner’s manual!
- Gauge Accuracy: A high-quality gauge is crucial for precise adjustments. Look for pumps with a clear, easy-to-read gauge.
- Bleed Valve: A bleed valve (or air release button) allows you to release small amounts of air for fine-tuning. This is a must-have feature.
- Hose and Connector: Make sure the hose is flexible and the connector securely attaches to your shock’s valve without leaking.
- Build Quality: A durable pump will last longer and provide more consistent performance. Look for pumps made from high-quality materials.
Recommendation: While Harley Davidson offers their own branded shock pump, many aftermarket options provide excellent performance at a competitive price. Brands like AccuGauge and Pro Suspension are popular choices.
Tools You’ll Need


Before you start, gather these essential tools:
- Harley Davidson Shock Pump: As discussed above, choose a pump with the right features and pressure range.
- Owner’s Manual: This provides the recommended air pressure for your specific model and riding conditions.
- Clean Rag: To wipe off any dirt or debris from the shock valve.
- Safety Glasses: To protect your eyes.
Step-by-Step Guide to Adjusting Your Harley Davidson Shocks


Follow these steps carefully to adjust your Harley Davidson shocks using a shock pump:
- Prepare Your Motorcycle: Park your motorcycle on a level surface and allow the shocks to cool down. This ensures accurate pressure readings.
- Locate the Air Valve: The air valve is typically located on the top or side of the shock absorber. Refer to your owner’s manual if you’re unsure of its location.
- Clean the Valve: Use a clean rag to wipe off any dirt or debris from the valve. This prevents contaminants from entering the shock.
- Attach the Shock Pump: Carefully attach the shock pump’s connector to the air valve. Ensure a secure connection to prevent air leaks.
- Inflate or Deflate:
- To Increase Pressure: Slowly pump air into the shock, monitoring the pressure gauge. Use short, controlled strokes to avoid over-inflation.
- To Decrease Pressure: Use the bleed valve to release small amounts of air. Check the pressure gauge frequently to avoid releasing too much air.
- Check the Pressure: Compare the pressure reading on the gauge to the recommended pressure in your owner’s manual.
- Fine-Tune: Make small adjustments as needed until you reach the desired pressure. Remember, small changes can make a big difference in ride quality.
- Detach the Pump: Carefully detach the shock pump from the air valve. Some air loss is normal during detachment, so recheck the pressure after removing the pump.
- Test Ride: Take your motorcycle for a short test ride to evaluate the suspension performance. Make further adjustments as needed.
Understanding Air Pressure and Ride Quality
The air pressure in your shocks directly affects your motorcycle’s ride quality. Here’s a general guideline:
- Lower Pressure: Provides a softer, more comfortable ride, especially on rough roads. However, it can also lead to bottoming out under heavy loads or during aggressive riding.
- Higher Pressure: Provides a firmer, more controlled ride, ideal for carrying passengers or cargo. However, it can also make the ride feel harsh on bumpy surfaces.
Refer to your owner’s manual for the recommended pressure range for different riding conditions and loads. Experiment within this range to find the settings that work best for you.
Troubleshooting Common Issues
Here are some common issues you might encounter and how to resolve them:
| Problem | Possible Cause | Solution |
|---|---|---|
| Air Leak During Inflation | Loose pump connection. | Ensure the pump connector is securely attached to the valve. |
| Air Leak After Detachment | Damaged valve core. | Replace the valve core with a new one. |
| Pump Won’t Build Pressure | Faulty pump seals. | Inspect and replace the pump seals. |
| Inaccurate Pressure Readings | Faulty pressure gauge. | Replace the shock pump. |
| Shocks Bottoming Out | Insufficient air pressure. | Increase the air pressure in the shocks. |
| Harsh Ride | Excessive air pressure. | Decrease the air pressure in the shocks. |
Safety Precautions
Safety should always be your top priority. Keep these precautions in mind:
- Never Exceed Maximum Pressure: Exceeding the maximum recommended pressure can damage your shocks and compromise your safety.
- Wear Safety Glasses: Protect your eyes from debris or accidental air blasts.
- Inspect Shocks Regularly: Check for signs of damage or leaks before each ride.
- Consult a Professional: If you’re unsure about any aspect of shock adjustment, consult a qualified motorcycle mechanic.
Maintaining Your Shock Pump
Proper maintenance will extend the life of your shock pump and ensure accurate performance. Here are some tips:
- Clean Regularly: Wipe down the pump with a clean cloth after each use.
- Store Properly: Store the pump in a clean, dry place to prevent corrosion.
- Inspect Hoses and Connectors: Check for cracks or damage and replace as needed.
- Lubricate Seals: Periodically lubricate the pump seals with a silicone-based lubricant.
Air Suspension System Types
Air suspension systems on Harley-Davidson motorcycles can vary. Here’s a brief overview of common types:
- Rear Air Shocks: These are the most common type, found on many touring models. They allow you to adjust the rear ride height and stiffness.
- Front Air Forks: Some models feature air-adjustable front forks, providing additional control over the front suspension.
- Complete Air Ride Systems: Aftermarket systems offer full front and rear air suspension, often with electronic controls and preset ride heights.
No matter the type of system, the principles of using a shock pump remain the same: precise pressure adjustments for optimal ride quality.
Aftermarket Upgrades and Customization
If you’re looking to further enhance your Harley’s suspension, consider these aftermarket upgrades:
- Progressive Springs: These springs offer a variable spring rate, providing a smoother ride over small bumps while still offering good support for larger impacts.
- Adjustable Dampers: These allow you to fine-tune the damping characteristics of your shocks, controlling how quickly the suspension compresses and rebounds.
- Air Ride Kits: These kits replace your stock shocks with air-adjustable units, offering a wider range of adjustability and improved ride quality.
Before making any modifications, research thoroughly and consult with a qualified mechanic to ensure compatibility and proper installation.
Understanding Sag and Rebound
To truly dial in your suspension, it’s helpful to understand the concepts of sag and rebound:
- Sag: The amount the suspension compresses when you sit on the bike. Proper sag ensures the suspension is working in its optimal range.
- Rebound: The speed at which the suspension returns to its original position after being compressed. Proper rebound control prevents the bike from feeling bouncy or unstable.
Adjusting your air pressure affects both sag and rebound. Experiment with different settings to find the balance that works best for your riding style and preferences. A good starting point is to aim for 25-30% of total suspension travel as sag when you’re sitting on the bike in your normal riding gear.
Air Compressor vs. Hand Pump
While a hand pump provides the control needed for air shock adjustments, some riders may consider using an air compressor. Here’s a comparison:
| Feature | Shock Pump (Hand Pump) | Air Compressor |
|---|---|---|
| Precision | Excellent. Designed for small, accurate adjustments. | Poor. Difficult to control small pressure changes. |
| Portability | Highly portable. No power source needed. | Less portable. Requires a power source. |
| Cost | Relatively inexpensive. | More expensive. |
| Risk of Over-Inflation | Low, if used carefully. | High. Can easily over-inflate shocks. |
| Best Use Case | Fine-tuning air shocks. | Inflating tires, other tasks. |
Recommendation: For adjusting Harley Davidson air shocks, a dedicated shock pump is the preferred tool due to its precision and control.
FAQ About Harley Davidson Shock Pumps
What is a Harley Davidson shock pump used for?
A shock pump is used to precisely adjust the air pressure in your Harley’s air suspension, letting you fine-tune the ride for comfort and handling.
Can I use a regular tire pump for my Harley shocks?
No, a regular tire pump delivers too much air too quickly. You need the precision of a shock pump to avoid over-inflation and damage.
How do I know the correct air pressure for my shocks?
Check your Harley Davidson owner’s manual. It provides recommended air pressures based on your model and riding conditions.
What does the bleed valve on a shock pump do?
The bleed valve allows you to release small amounts of air, so you can make very fine adjustments to the shock pressure.
How often should I adjust my shock pressure?
Adjust your shock pressure whenever you change your load (adding a passenger or luggage) or notice a change in ride quality.
Is some air loss normal when I remove the pump?
Yes, a small amount of air loss is normal when detaching the pump. Always recheck the pressure after removing the pump and adjust as needed.
What if my shocks are leaking air?
If your shocks are consistently losing air, you may have a leak. Inspect the valve and shock body for damage, and consult a mechanic if needed.
Conclusion
Adjusting your Harley Davidson shocks with a shock pump is a straightforward process that can significantly improve your riding experience. By choosing the right pump, following the steps outlined in this guide, and understanding the relationship between air pressure and ride quality, you can dial in your suspension for optimal comfort and performance. Remember to always prioritize safety and consult your owner’s manual for specific recommendations. Now get out there and enjoy the ride!


