
High Pressure Shock Pump: Ultimate Guide
Quick Summary: A high-pressure shock pump lets you fine-tune the air pressure in your bike’s suspension for the best ride. You’ll attach the pump to your fork or shock valve, carefully add or remove air, and use the gauge to hit your target PSI. Always double-check the pressure and ensure a secure connection to avoid leaks. This ensures optimal performance and comfort on the trails!
Is your mountain bike feeling a bit bouncy, or maybe a little too stiff? Getting your suspension dialed in makes a huge difference in comfort and control. But figuring out the right air pressure can feel tricky. Don’t worry! Using a high-pressure shock pump is easier than you think. This guide walks you through each step, showing you how to adjust your suspension like a pro. Let’s get started and make your next ride the best one yet!
What is a High-Pressure Shock Pump?

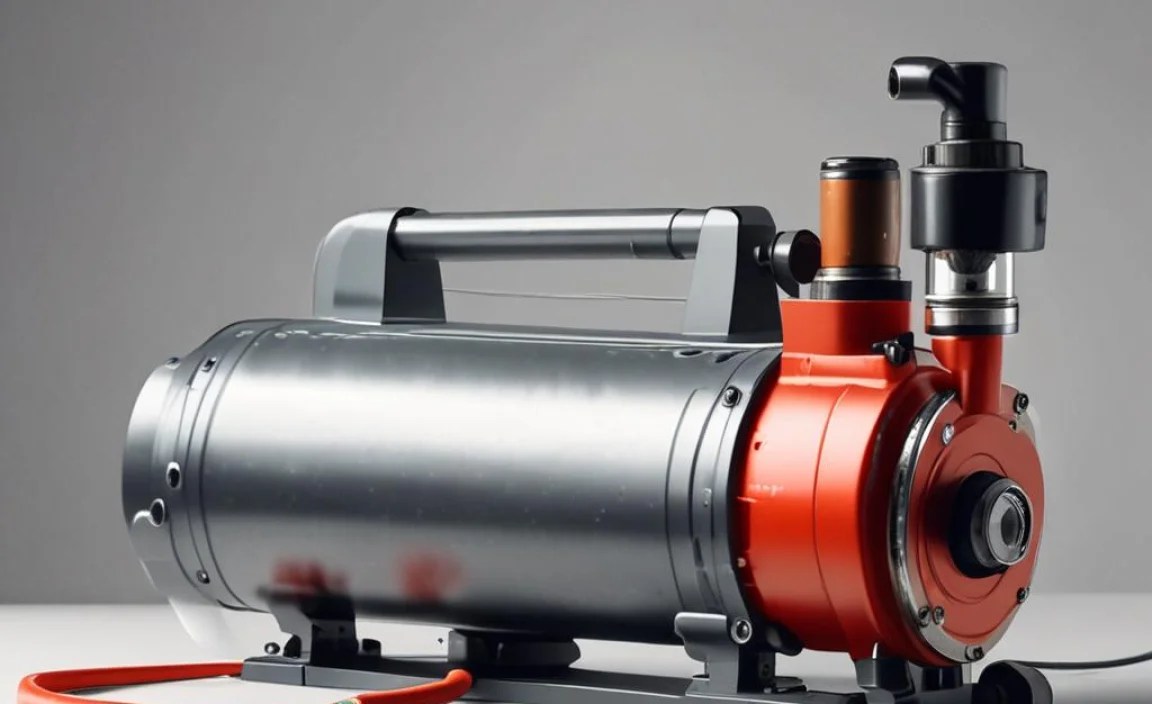
A high-pressure shock pump is a specialized hand pump designed to inflate air shocks and forks on bicycles. Unlike regular tire pumps, shock pumps can deliver very high pressures (up to 300 PSI or more) in small, precise increments. They also feature a special “no-loss” connector to prevent air from escaping when disconnecting the pump.
Key Features of a Shock Pump:
- High-Pressure Gauge: Displays the pressure accurately, usually in PSI and bar.
- No-Loss Connector: Minimizes air loss during disconnection.
- Bleed Valve: Allows for precise pressure adjustments by releasing small amounts of air.
- Compact Size: Easy to carry in a backpack for trailside adjustments.
Why Use a High-Pressure Shock Pump?

Your bike’s suspension directly impacts your riding experience. Properly inflated shocks and forks improve:
- Comfort: Absorbing bumps and vibrations for a smoother ride.
- Control: Maintaining tire contact with the ground for better traction.
- Efficiency: Reducing energy loss from excessive suspension movement.
- Performance: Allowing you to tackle challenging terrain with confidence.
Using a shock pump allows you to fine-tune your suspension based on your weight, riding style, and the terrain you’re riding on. This level of customization simply isn’t possible with a standard tire pump.
Tools You’ll Need

- High-Pressure Shock Pump: A reliable pump with an accurate gauge.
- Rag or Shop Towel: To clean the valve and pump head.
- Bike’s Manual: To find the recommended PSI range for your suspension.
Step-by-Step Guide to Using a High-Pressure Shock Pump
Step 1: Prepare Your Bike and Pump
First, make sure your bike is stable. A bike stand works great, but leaning it against a wall will also do the trick. Inspect your shock pump to make sure the hose and fittings are in good condition. A little preventative maintenance goes a long way. Next, locate the valve on your fork or shock. It usually has a small cap that you can unscrew.
Step 2: Connect the Pump
Thread the pump head onto the valve. Ensure it’s snug but not overly tight. Most shock pumps have a two-stage connector. You might need to unscrew the outer sleeve, push the connector onto the valve, and then tighten the sleeve to create a secure seal. This helps prevent air leaks.
Step 3: Check the Initial Pressure
Before pumping, take a look at the gauge. This shows the current pressure in your suspension. Note this number. It’s your starting point. Compare it to the recommended pressure range in your bike’s manual or the suspension manufacturer’s guidelines.
Step 4: Inflate to the Desired Pressure
Begin pumping in smooth, consistent strokes. Watch the gauge as the pressure increases. It might take several pumps to reach your target PSI. If you’re unsure about the exact pressure, start with a lower value and gradually increase it.
Step 5: Fine-Tune the Pressure
If you overshot your target pressure, use the bleed valve on the pump. Press it lightly to release small bursts of air. Check the gauge after each burst until you reach the exact pressure you want. This is where a high-quality pump with a sensitive bleed valve really shines.
Step 6: Disconnect the Pump
Carefully disconnect the pump. Most shock pumps have a “no-loss” feature, but a tiny bit of air might still escape. That’s normal. Quickly remove the pump head and replace the valve cap on your fork or shock.
Step 7: Double-Check Your Work
After disconnecting the pump, compress the suspension a few times. This settles the air and ensures everything is working correctly. Recheck the pressure one last time to confirm it’s still at your desired level. If it dropped significantly, double-check the valve core for leaks.
Understanding Sag
Sag is the amount your suspension compresses when you’re sitting on the bike in your normal riding position. Setting the correct sag is crucial for optimal performance. Here’s how to measure and adjust it:
- Find the Sag Indicator: Most forks and shocks have markings or O-rings to indicate sag.
- Mount Your Bike: Sit on your bike in your normal riding gear. Have a friend hold the bike steady.
- Measure the Sag: Check how far the sag indicator has moved.
- Adjust Pressure: Add or remove air to achieve the recommended sag for your suspension. This is typically 20-30% of the total suspension travel.
Troubleshooting Common Issues
Even with the best equipment, you might run into a few snags. Here’s how to handle them:
- Air Leaks: Make sure the pump head is securely attached to the valve. Check the valve core for damage.
- Inaccurate Readings: Ensure your pump is calibrated correctly. Try a different pump to verify.
- Pump Not Building Pressure: Check the pump’s seals and fittings. They may need to be replaced.
- Difficulty Connecting the Pump: Clean the valve and pump head. Apply a small amount of silicone grease to the threads.
Choosing the Right Shock Pump
With so many options available, picking the right shock pump can feel overwhelming. Here are some key factors to consider:
- Gauge Accuracy: Look for a pump with a precise and easy-to-read gauge.
- Build Quality: Choose a pump made from durable materials that can withstand regular use.
- No-Loss Connector: This feature is essential to minimize air loss during disconnection.
- Ergonomics: A comfortable handle and easy-to-use bleed valve make adjustments easier.
- Price: Balance your budget with the features and quality you need.
Recommended Shock Pumps
| Pump | Features | Price Range |
|---|---|---|
| Topeak PocketShock DXG | Accurate gauge, compact size, durable construction. | $40 – $50 |
| RockShox High-Pressure Fork/Shock Pump | Designed specifically for RockShox suspension, reliable performance. | $45 – $55 |
| Fox Racing High-Pressure Shock Pump | Optimized for Fox suspension, precise adjustments. | $50 – $60 |
| Lezyne Digital Shock Drive | Digital gauge for precise readings, compact and lightweight. | $60 – $70 |
Maintenance Tips for Your Shock Pump
A little care goes a long way in keeping your shock pump working properly:
- Clean Regularly: Wipe down the pump after each use to remove dirt and grime.
- Check for Leaks: Inspect the hose and fittings for any signs of wear or damage.
- Lubricate Seals: Apply a small amount of silicone grease to the seals to keep them supple.
- Store Properly: Keep your pump in a clean, dry place away from direct sunlight.
Advanced Suspension Tuning
Once you’re comfortable with basic pressure adjustments, you can explore more advanced tuning techniques:
- Volume Spacers: These reduce the air volume in your fork or shock, making the suspension more progressive.
- Rebound Damping: Adjusting rebound controls how quickly your suspension returns after compression.
- Compression Damping: Adjusting compression controls how easily your suspension compresses under load.
Experiment with these settings to fine-tune your suspension for different riding conditions and terrain. Consult your bike’s manual or a suspension expert for guidance.
Safety First
Working with high-pressure systems requires caution:
- Never Exceed Maximum Pressure: Check the maximum pressure rating on your fork or shock and never exceed it.
- Wear Eye Protection: Protect your eyes from potential air blasts or debris.
- Inspect Equipment Regularly: Look for signs of wear or damage before each use.
- Consult a Professional: If you’re unsure about any aspect of suspension tuning, seek advice from a qualified mechanic.
FAQ About High-Pressure Shock Pumps
What is the ideal PSI for my shock?
The ideal PSI varies depending on your weight, bike, and riding style. Start with the manufacturer’s recommendation and adjust based on sag and feel.
Can I use a regular tire pump for my shocks?
No, a regular tire pump cannot generate the high pressures needed for shocks and lacks the precise control of a shock pump.
How often should I check my shock pressure?
Check your shock pressure before each ride, especially if you notice a change in suspension performance.
What does “no-loss” mean on a shock pump?
“No-loss” means the pump is designed to prevent air from escaping when you disconnect it from the valve.
What is a bleed valve used for?
A bleed valve allows you to release small amounts of air to fine-tune the pressure in your shocks.
How do I know if my shock pump is accurate?
Compare readings with another pump or a calibrated gauge to check for accuracy.
Can I over-inflate my shocks?
Yes, exceeding the maximum pressure can damage your shocks. Always stay within the recommended PSI range.
Conclusion
Using a high-pressure shock pump might seem a little daunting at first, but with a bit of practice, you’ll be dialing in your suspension like a seasoned pro. Remember to take it one step at a time, double-check your work, and always prioritize safety. By understanding the basics of suspension tuning, you’ll unlock a new level of comfort, control, and confidence on the trails. So grab your shock pump, hit the trails, and enjoy the ride!


