
Topeak Shock Pump: The Easy Way to Perfect Pressure
Quick Summary: Getting the right pressure in your bike’s suspension is easy with a Topeak shock pump. To use one, connect the pump head securely to your shock’s valve. Then, pump slowly while watching the gauge until you reach your desired pressure. After pumping, carefully disconnect the pump to avoid losing air. Always double-check the pressure for the best ride!
Ever felt like your mountain bike was bouncing all over the trail? Or maybe your e-bike’s suspension felt too stiff on your commute? Getting your suspension dialed in makes a huge difference in comfort and control. A Topeak shock pump is the tool for the job, letting you fine-tune your air suspension with precision. It might seem intimidating, but it’s actually quite simple.
In this guide, I’ll walk you through using a Topeak shock pump step-by-step. You’ll learn how to connect it, pump it up, and disconnect it without losing pressure. Plus, I’ll share some tips and tricks to get the most out of your suspension. Let’s get started and make your rides smoother and more enjoyable!
Understanding Your Topeak Shock Pump

Before we dive into the how-to, let’s cover the basics of your Topeak shock pump. Knowing its parts and features will make the process much smoother.
Key Components
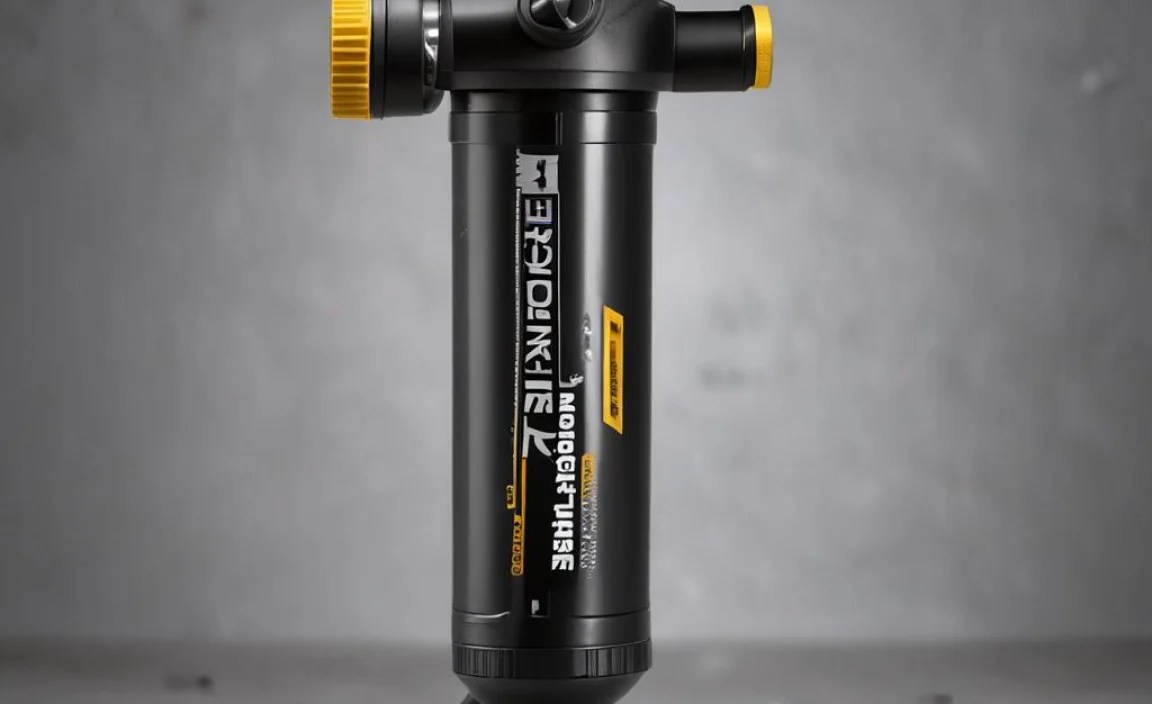
- Pump Head: This part connects to your suspension’s valve. Look for models with a “no-loss” design to minimize air loss when disconnecting.
- Gauge: The gauge displays the pressure in PSI (pounds per square inch) or BAR. Accurate readings are crucial for proper suspension setup.
- Pump Body: This is the main cylinder that compresses air. Topeak pumps often have ergonomic designs for comfortable use.
- Handle: The handle allows you to pump air into the suspension. Look for a comfortable, non-slip grip.
- Bleed Valve: This small valve lets you release small amounts of air for precise pressure adjustments.
Types of Topeak Shock Pumps
Topeak offers several shock pump models, each with slightly different features. Here are a few popular ones:
- PocketShock DXG: A compact and lightweight option, great for carrying on rides.
- Shock ‘n Roll: Designed for both shocks and forks, offering versatility.
- Digital Shock Pump: Features a digital gauge for ultra-precise pressure readings.
Understanding Air Suspension
Air suspension uses compressed air to provide cushioning and support. Unlike coil springs, air suspension is highly adjustable, allowing you to fine-tune the ride to your weight and riding style. Regularly checking and adjusting your suspension pressure is key to optimal performance and comfort.
Step-by-Step Guide: Using a Topeak Shock Pump

Now, let’s get to the main event: using your Topeak shock pump. Follow these steps for accurate and safe suspension adjustments.
Step 1: Prepare Your Bike and Pump
- Clean the Valve: Wipe the valve area on your fork or shock with a clean cloth to remove any dirt or debris.
- Inspect the Pump Head: Make sure the pump head is clean and the O-ring is in good condition. A damaged O-ring can cause leaks.
- Know Your Pressure: Consult your bike or suspension manufacturer’s recommendations for the correct pressure range based on your weight and riding style.
Step 2: Connect the Pump
- Unscrew the Valve Cap: Remove the valve cap from your fork or shock. Store it in a safe place.
- Attach the Pump Head: Firmly press the pump head onto the valve. Ensure it’s fully seated to create a tight seal. Many Topeak pumps have a threaded connection for added security.
- Listen for Leaks: Listen for any hissing sounds, which indicate a leak. If you hear a leak, reposition the pump head and try again.
Step 3: Inflate to the Desired Pressure
- Start Pumping: Begin pumping the handle smoothly and steadily. Watch the gauge as the pressure increases.
- Monitor the Gauge: Pay close attention to the gauge. Avoid over-inflating, which can damage your suspension.
- Use the Bleed Valve: If you accidentally over-inflate, use the bleed valve to release small amounts of air until you reach the correct pressure.
Step 4: Disconnect the Pump
- Disconnect Quickly: Quickly and smoothly remove the pump head from the valve. A small amount of air loss is normal with most pumps. Topeak pumps with “no-loss” valves minimize this.
- Reinstall the Valve Cap: Replace the valve cap to protect the valve from dirt and debris.
- Double-Check the Pressure: After disconnecting, check the pressure again to ensure it’s still correct.
Step 5: Fine-Tune and Test Ride
- Adjust as Needed: Based on your test ride, make small adjustments to the pressure until you achieve the desired feel.
- Keep Records: Note the pressure settings that work best for different riding conditions.
Troubleshooting Common Issues
Even with the best equipment, you might run into some issues. Here’s how to troubleshoot common problems with your Topeak shock pump.
Problem: Air Leak When Connecting
- Possible Cause: Damaged O-ring on the pump head.
- Solution: Replace the O-ring. Topeak usually includes spare O-rings with their pumps.
Problem: Inaccurate Pressure Reading
- Possible Cause: Faulty gauge.
- Solution: Compare the reading with another pump or a digital pressure gauge. If the gauge is consistently inaccurate, contact Topeak for a replacement.
Problem: Difficulty Pumping
- Possible Cause: Clogged valve or pump.
- Solution: Clean the valve and pump head. Use a small brush or compressed air to remove any debris.
Problem: Losing Too Much Air When Disconnecting
- Possible Cause: Pump head not properly seated.
- Solution: Ensure the pump head is fully and firmly connected before pumping. Consider upgrading to a pump with a “no-loss” valve.
Tips for Accurate Suspension Setup
Getting your suspension dialed in takes more than just a pump. Here are some tips to help you achieve the perfect ride feel.
- Use a Shock Pump with a Gauge: A good quality shock pump with an accurate gauge is essential.
- Find the Right Pressure: Start with the manufacturer’s recommended pressure for your weight and adjust from there.
- Measure Sag: Sag is the amount your suspension compresses when you sit on the bike. Proper sag is crucial for optimal performance. Use the O-ring on your shock or fork stanchion to measure sag.
- Adjust Rebound: Rebound controls how quickly your suspension returns after compression. Adjust it to match your riding style and terrain.
- Experiment: Don’t be afraid to experiment with different pressure and rebound settings to find what works best for you.
Maintaining Your Topeak Shock Pump

Proper maintenance will keep your Topeak shock pump working accurately and reliably for years to come.
- Clean Regularly: Wipe down the pump body and handle with a clean cloth after each use.
- Lubricate: Occasionally lubricate the pump shaft with a light oil or silicone spray.
- Inspect the O-ring: Regularly check the O-ring on the pump head for damage and replace it as needed.
- Store Properly: Store the pump in a clean, dry place.
Topeak Shock Pump Comparison Table
Here’s a quick comparison of some popular Topeak shock pumps:
| Model | Weight | Max Pressure | Gauge Type | Features |
|---|---|---|---|---|
| PocketShock DXG | 170g | 360 PSI | Analog | Compact, lightweight |
| Shock ‘n Roll | 227g | 300 PSI | Analog | For shocks and forks |
| Digital Shock Pump | 200g | 350 PSI | Digital | Precise readings |
Recommended Tools and Accessories
To make your suspension setup even easier, consider these tools and accessories:
- Digital Pressure Gauge: For ultra-precise pressure readings.
- Sag Meter: Helps you accurately measure sag.
- Shock Pump Hose Extension: Makes it easier to access hard-to-reach valves.
External Resources for Further Reading
- Read articles about suspension setup on reputable cycling websites like BikeRadar.
- Check out suspension maintenance guides from manufacturers like SRAM and Fox.
FAQ About Topeak Shock Pumps
Here are some frequently asked questions about using Topeak shock pumps.
What is a shock pump used for?
A shock pump is used to inflate the air chambers in your bike’s suspension fork and rear shock. This allows you to adjust the stiffness and performance of your suspension to match your weight, riding style, and the terrain.
How often should I check my suspension pressure?
It’s a good idea to check your suspension pressure before each ride, especially if you’re riding frequently. Air can leak out over time, affecting your suspension’s performance.
How do I know what pressure to put in my suspension?
Start with the manufacturer’s recommended pressure for your weight. This information can usually be found in the bike’s manual or on the suspension component itself. You can then fine-tune the pressure based on your riding style and preferences.
What is sag, and why is it important?
Sag is the amount your suspension compresses when you sit on the bike in your normal riding position. Proper sag ensures that your suspension can effectively absorb bumps and maintain traction. Aim for around 20-25% sag for most mountain bikes.
Can I use a regular tire pump for my suspension?
No, you should not use a regular tire pump for your suspension. Tire pumps deliver a much larger volume of air at lower pressures, while shock pumps deliver a small volume of air at high pressures. Using a tire pump could damage your suspension.
What does the bleed valve do?
The bleed valve allows you to release small amounts of air from your suspension for precise pressure adjustments. This is useful if you accidentally over-inflate or want to fine-tune the feel of your suspension.
How do I maintain my Topeak shock pump?
To maintain your Topeak shock pump, clean it regularly with a dry cloth, lubricate the pump shaft occasionally with a light oil, and inspect the O-ring on the pump head for damage. Store the pump in a clean, dry place.
Conclusion
Using a Topeak shock pump might seem complex at first, but with a little practice, you’ll be adjusting your suspension like a pro. Remember to start with the manufacturer’s recommendations, pay close attention to the gauge, and make small adjustments until you achieve the perfect ride feel. Regular maintenance will keep your pump working smoothly for years. With properly tuned suspension, you’ll enjoy improved comfort, control, and performance on every ride. Now get out there and dial in your ride!


