
How to Fix a Mini Bike Pump That’s Not Working: Fast!
How to Fix a Mini Bike Pump That’s Not Working


Quick Summary: A mini bike pump not working? Don’t worry! First, check the valve connection for a secure fit. Next, inspect the pump’s internal parts for dirt or damage, cleaning or replacing as needed. Ensure the pump seals are lubricated. If all else fails, consider replacing the pump, especially if it’s old or heavily used.
Is your mini bike pump failing you when you need it most? It’s a common frustration for cyclists. You’re out on a ride, get a flat, and your pump just won’t inflate the tire. It’s happened to the best of us! A faulty pump can ruin a good ride, but often, the fix is simple.
This guide will walk you through easy steps to diagnose and repair your mini pump, so you can get back on the road quickly. We’ll cover everything from valve issues to internal problems. Let’s get started and get that tire inflated!
Understanding Why Your Mini Bike Pump Fails


Mini bike pumps are essential for cyclists, but their compact design can make them prone to certain issues. Here are the common reasons why your mini pump might not be working:
- Valve Connection Problems: The pump head may not be properly attached to the tire valve (Presta or Schrader).
- Clogged or Dirty Pump Head: Dirt and debris can block airflow.
- Worn or Damaged Seals: Seals keep the air compressed; if they’re worn, the pump loses pressure.
- Bent or Damaged Pump Parts: Internal components can bend or break with rough use.
- Lack of Lubrication: Moving parts need lubrication to function smoothly.
Tools You’ll Need
Before you start, gather these essential tools:
- Small Adjustable Wrench: For tightening or loosening small parts.
- Small Screwdrivers (Phillips and Flathead): To open the pump casing.
- Needle-Nose Pliers: For gripping small parts.
- Clean Rags: For wiping away dirt and grease.
- Lubricant (Silicone or Teflon-based): To lubricate moving parts.
- Warm Soapy Water: For cleaning dirty parts.
- Spare Parts (O-rings, Seals): If you know what needs replacing.
Step-by-Step Guide to Fixing Your Mini Bike Pump


Follow these steps to diagnose and repair your mini bike pump:
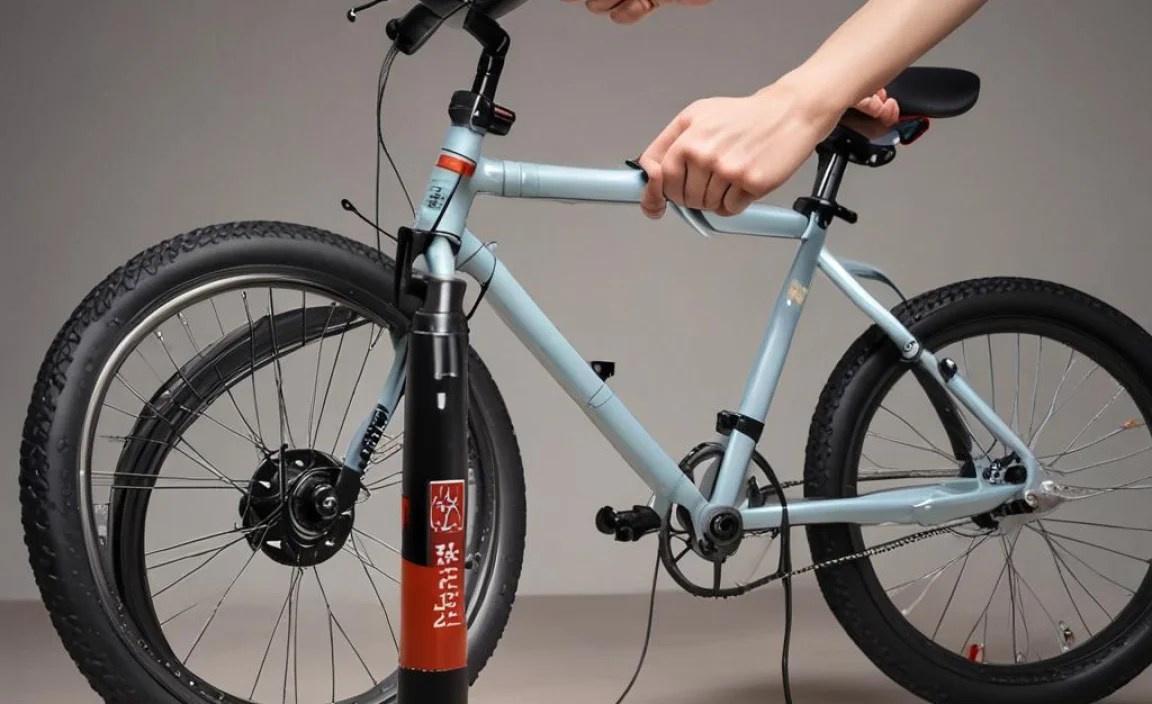
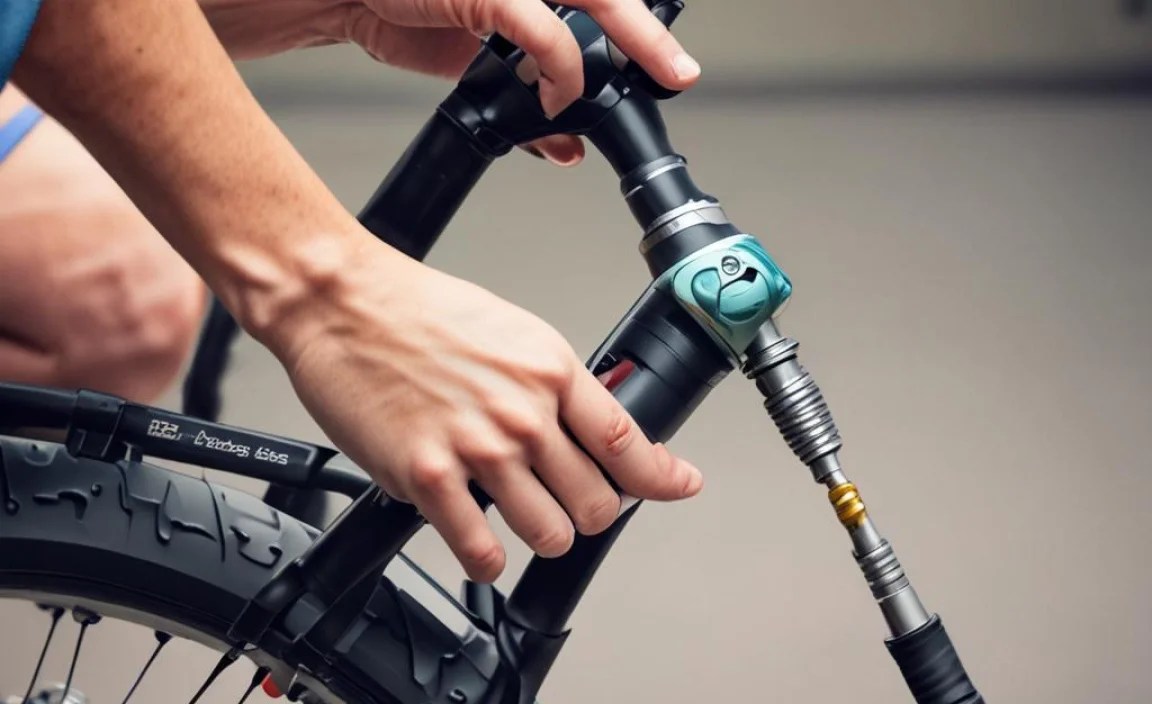
Step 1: Check the Valve Connection
The first thing to check is whether the pump head is properly connected to the valve.
- Inspect the Valve Type: Make sure your pump head is compatible with your tire’s valve (Presta or Schrader). Many pumps have a switch or reversible parts for both types.
- Secure the Connection: Firmly press the pump head onto the valve. Ensure it’s fully seated. For Presta valves, unscrew the valve nut slightly before attaching the pump.
- Check for Leaks: Listen for air escaping around the valve. If you hear hissing, readjust the pump head until the seal is tight.
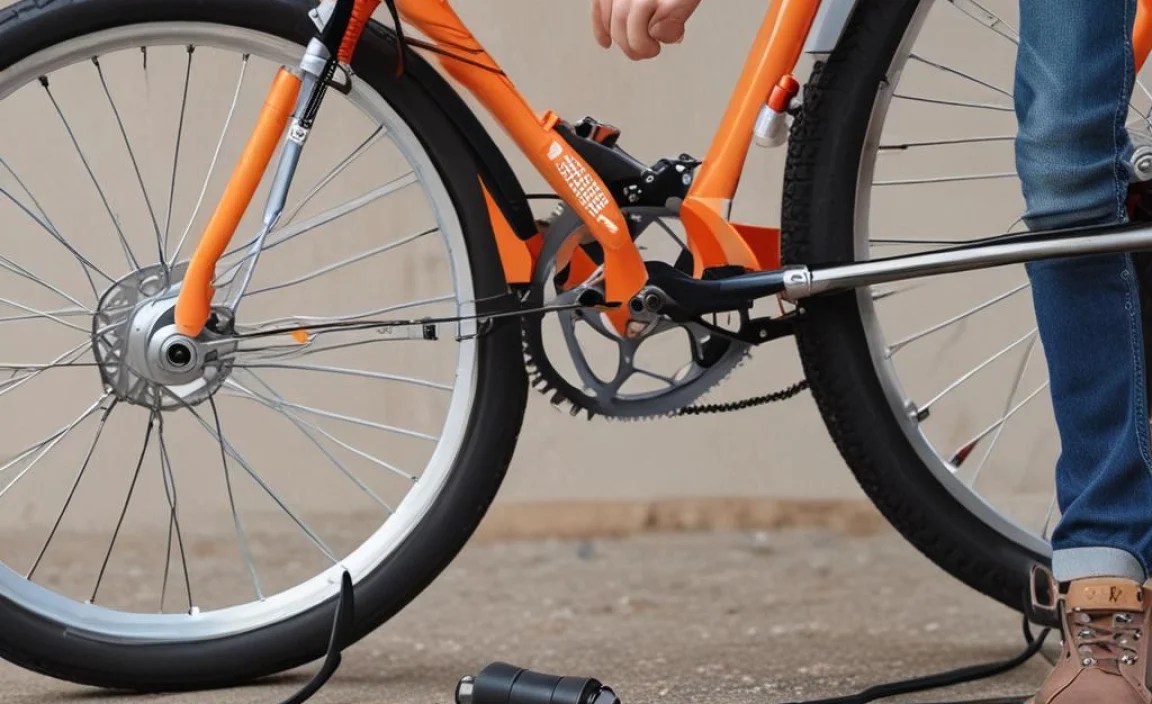
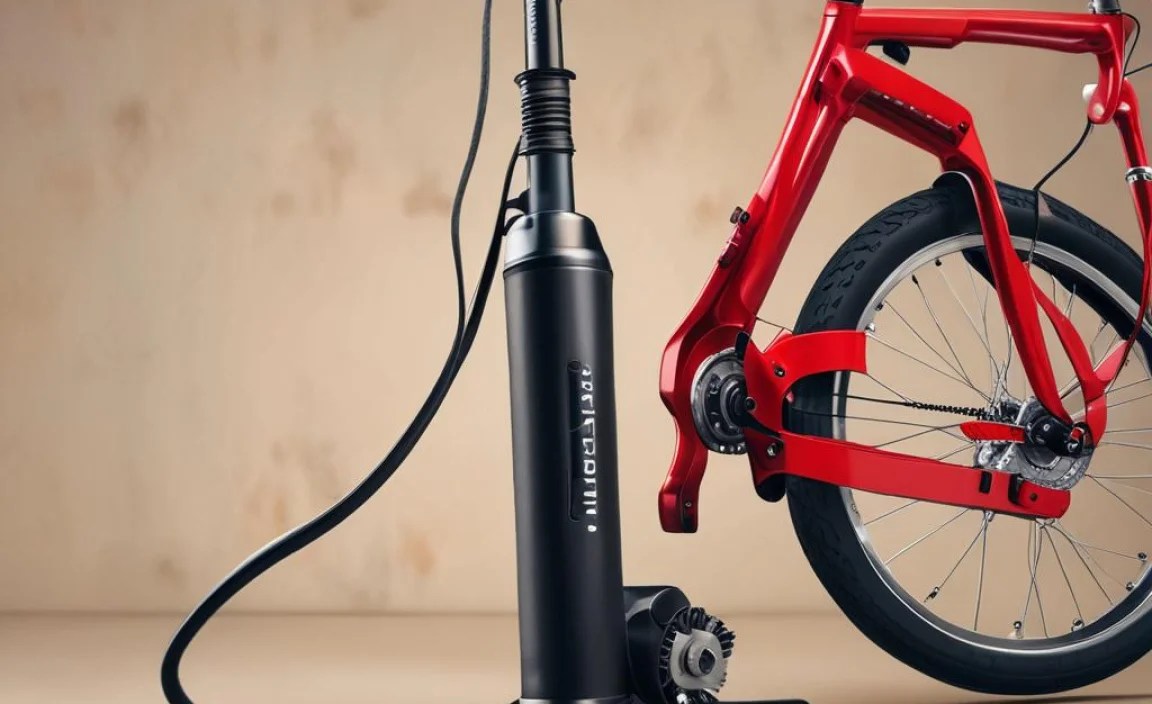
Step 2: Clean the Pump Head
A dirty pump head can prevent proper airflow. Here’s how to clean it:
- Disassemble the Pump Head: Carefully take apart the pump head. Note how the parts fit together, or take a photo for reference.
- Clean the Parts: Use warm, soapy water and a small brush to clean each component. Remove any dirt or debris.
- Rinse and Dry: Rinse the parts thoroughly and let them dry completely before reassembling.
- Reassemble: Put the pump head back together, ensuring all parts are correctly aligned.
Step 3: Inspect and Replace Seals
Worn or damaged seals are a common cause of pump failure.
- Locate the Seals: Open the pump casing to access the internal seals (O-rings).
- Inspect the Seals: Look for cracks, tears, or wear. If a seal is damaged, it needs to be replaced.
- Replace the Seals: Use a small tool to remove the old seal. Install the new seal, making sure it fits snugly.
- Lubricate: Apply a small amount of silicone or Teflon-based lubricant to the new seal.
Step 4: Lubricate the Pump
Proper lubrication keeps the pump working smoothly.
- Access the Internal Parts: Open the pump casing to expose the piston and cylinder.
- Apply Lubricant: Apply a small amount of lubricant to the piston and inside the cylinder.
- Work the Pump: Pump the handle several times to distribute the lubricant evenly.
- Wipe Excess: Wipe away any excess lubricant to prevent dirt buildup.
Step 5: Check for Bent or Damaged Parts
Inspect the internal components for any signs of damage.
- Disassemble the Pump: Take the pump apart carefully.
- Inspect Each Part: Look for bent rods, cracked plastic, or any other damage.
- Replace Damaged Parts: If you find a damaged part, replace it. You may need to order replacement parts online or from a bike shop.
- Reassemble: Put the pump back together, ensuring all parts are properly aligned.
Step 6: Test the Pump
After performing the repairs, test the pump to see if it’s working correctly.
- Attach to Tire Valve: Connect the pump head to your tire valve.
- Pump: Start pumping and check if air is flowing into the tire.
- Check Pressure: Use a pressure gauge to ensure the tire is inflating to the correct PSI.
- Listen for Leaks: Check for any air leaks around the valve or pump.
Troubleshooting Common Issues
Here are some common problems and their solutions:
Problem: Pump Won’t Attach to Valve
- Solution: Ensure the pump head is compatible with the valve type (Presta or Schrader). Check for debris in the pump head and clean if necessary.
Problem: Air Leaks Around Valve
- Solution: Ensure the pump head is securely attached. Replace worn seals in the pump head.
Problem: Pump Feels Stiff
- Solution: Lubricate the piston and cylinder. Check for bent or damaged internal parts.
Problem: No Airflow
- Solution: Clean the pump head. Inspect and replace worn seals. Check for blockages in the air path.
Preventative Maintenance Tips
To keep your mini bike pump in good working condition, follow these maintenance tips:
- Regular Cleaning: Clean the pump head and exterior regularly to remove dirt and debris.
- Lubrication: Lubricate the internal parts every few months.
- Proper Storage: Store the pump in a clean, dry place to prevent corrosion and damage.
- Check Seals: Inspect the seals regularly and replace them as needed.
When to Replace Your Mini Bike Pump
Sometimes, despite your best efforts, a mini bike pump is beyond repair. Here are some signs it’s time for a new one:
- Extensive Damage: If the pump has significant damage to its internal parts.
- Worn Components: If multiple parts are worn or broken, and replacements are costly.
- Poor Performance: If the pump consistently fails to inflate tires properly, even after maintenance.
- Age: If the pump is old and has seen heavy use, it may be time for an upgrade.
Choosing a New Mini Bike Pump
If you need to replace your mini bike pump, consider these factors:
- Type: Choose between hand pumps, CO2 inflators, or hybrid models.
- Size and Weight: Look for a compact and lightweight pump that’s easy to carry.
- Pressure: Ensure the pump can reach the required PSI for your tires.
- Valve Compatibility: Check that the pump works with both Presta and Schrader valves.
- Durability: Opt for a pump made from high-quality materials that can withstand regular use.
Mini Pump Comparison Table
Here is a comparison table to help you decide which mini pump is best for you.
| Pump Model | Type | Weight | Max PSI | Valve Compatibility | Features | Price |
|---|---|---|---|---|---|---|
| Lezyne Micro Floor Drive HP | Hand Pump | 220g | 160 PSI | Presta/Schrader | Foot Peg, Integrated Gauge | $60 |
| Topeak RaceRocket HP | Hand Pump | 82g | 120 PSI | Presta/Schrader | Lightweight, Compact | $40 |
| Genuine Innovations Ultraflate CO2 | CO2 Inflator | 25g | N/A | Presta/Schrader | One-Hand Operation | $25 |
| Pro Bike Tool Mini Pump | Hand Pump | 129g | 100 PSI | Presta/Schrader | Frame Mount Included | $35 |
Advantages and Disadvantages of Mini Bike Pumps
| Advantage | Disadvantage |
|---|---|
| Lightweight and portable | Can be time-consuming for high-pressure tires |
| Easy to carry on rides | Requires more physical effort compared to floor pumps |
| Affordable | Some models may lack precision pressure gauges |
| Versatile and can be used on different bikes | May require practice to achieve a good seal on the valve |
Tips for Using CO2 Inflators
CO2 inflators are a quick alternative to hand pumps. Here are some tips for using them safely and effectively:
- Practice: Practice using the inflator at home before relying on it during a ride.
- Control: Use short bursts of CO2 to avoid over-inflating the tire.
- Gloves: Wear gloves to protect your hands from the cold CO2 cartridge.
- Cartridge Size: Choose the correct cartridge size for your tire type.
- Check Valve: Ensure the inflator is compatible with your valve type.
Mini Bike Pump: Presta vs. Schrader
Understanding the difference between Presta and Schrader valves is crucial for using your mini bike pump effectively. Here’s a quick breakdown:
Presta Valves
- Appearance: Narrower and longer with a valve nut that needs to be unscrewed before inflation.
- Usage: Commonly found on high-performance road and mountain bikes.
- Advantages: Can handle higher pressures and offer a better seal.
- Considerations: More delicate and can be bent or broken if not handled carefully.
Schrader Valves
- Appearance: Wider and shorter, similar to car tire valves.
- Usage: Common on hybrid, commuter, and older mountain bikes.
- Advantages: More durable and easier to inflate.
- Considerations: Can be less precise when inflating to high pressures.
Many mini bike pumps come with dual-head designs or adapters that allow them to work with both Presta and Schrader valves. Always ensure you are using the correct setting or adapter to achieve a secure and effective seal.
External Resources
For more in-depth information on bike maintenance and repair, check out these resources:
- Park Tool Repair Help: Comprehensive guides and videos on bike repair.
- BikeRadar’s Best Bike Pumps: Reviews and comparisons of different bike pumps.
- REI Expert Advice on Bike Repair: Articles and tips on bike maintenance and repair.
FAQ
Why is my mini bike pump not inflating my tire?
The most common reasons are a poor valve connection, a dirty pump head, or worn seals. Make sure the pump head is securely attached to the valve and that the pump head is clean. If it’s still not working, the seals may need to be replaced.
How do I know if my pump head is compatible with my valve?
Check the pump head for a switch or reversible parts that allow it to work with both Presta and Schrader valves. Presta valves are narrow and have a valve nut at the top, while Schrader valves are wider and look like car tire valves.
How often should I lubricate my mini bike pump?
It’s a good idea to lubricate your mini bike pump every few months, or whenever you notice it becoming stiff or difficult to use. Use a silicone or Teflon-based lubricant for best results.
What type of lubricant should I use on my mini bike pump?
Use a silicone or Teflon-based lubricant. These lubricants are safe for rubber and plastic parts and won’t attract dirt and grime.
Can I use a CO2 inflator instead of a mini bike pump?
Yes, CO2 inflators are a quick and convenient alternative to mini bike pumps. However, they only provide a one-time inflation, so it’s a good idea to carry a few cartridges with you. They are also less environmentally friendly than using a pump.
How do I store my mini bike pump properly?
Store your mini bike pump in a clean, dry place to prevent corrosion and damage. Avoid leaving it exposed to extreme temperatures or direct sunlight.
What do I do if my mini bike pump is damaged beyond repair?
If your mini bike pump is extensively damaged or worn out, it’s time to replace it. Consider factors like pump type, size, weight, pressure, and valve compatibility when choosing a new pump.
Conclusion
Fixing a mini bike pump that’s not working can seem daunting, but with a few simple steps, you can often get it back in action. By checking the valve connection, cleaning the pump head, inspecting and replacing seals, and lubricating the moving parts, you can keep your pump working smoothly. Remember to perform regular maintenance and know when it’s time to replace your pump. With these tips, you’ll be able to handle flat tires and keep your rides rolling without interruption.


