
How to Replace Seal in Mini Bike Pump: Easy Fix!
Quick Summary
Replacing the seal in your mini bike pump is easier than you think! This guide will show you how to quickly disassemble your pump, identify the worn seal, and install a new one. With just a few simple tools and about 15 minutes, you can restore your pump to like-new condition and get back on the road. Let’s get pumping!
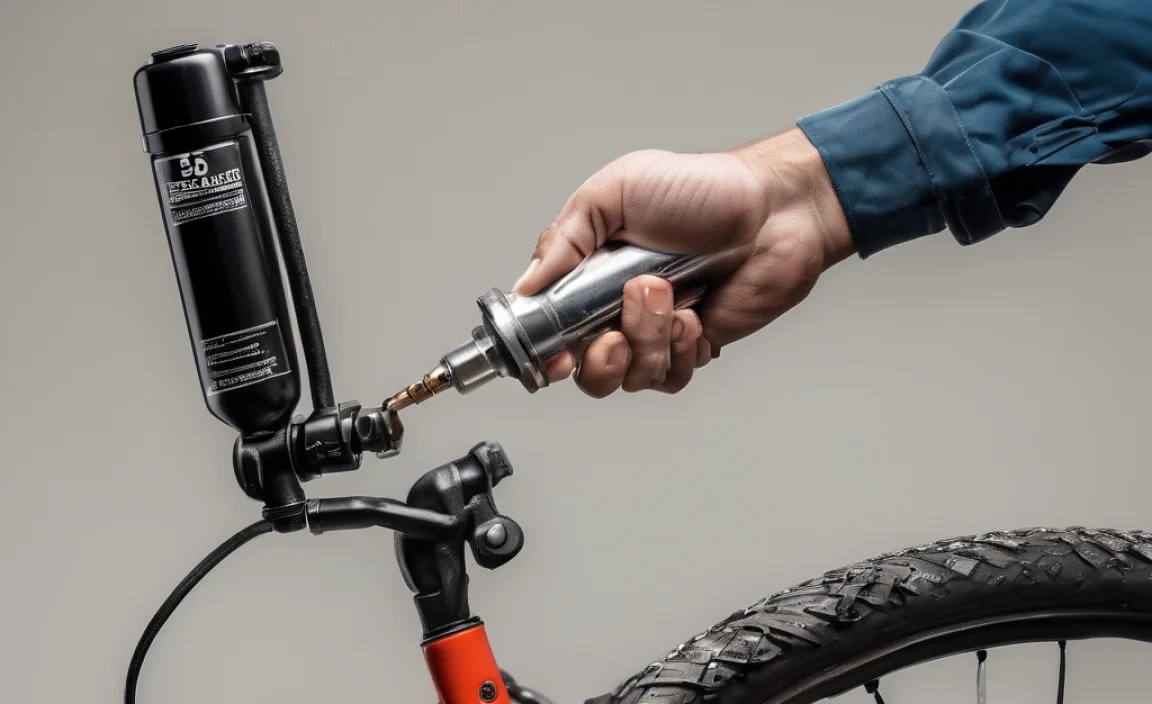
Is your mini bike pump struggling to inflate your tires? Losing pressure or not working at all? Chances are, the culprit is a worn-out seal. Don’t toss that pump! Replacing the seal is a simple, cost-effective way to breathe new life into your trusty tool. It’s a common issue, but easily fixed with the right guidance.
In this step-by-step guide, I’ll walk you through the process of replacing the seal in your mini bike pump. I’ll show you exactly what tools you’ll need, how to safely disassemble your pump, identify the seal, and install a new one. Plus, I’ll share some tips for preventing future seal failures. Let’s get started!
Tools and Materials You’ll Need

Before you begin, gather these essential tools and materials:
- Replacement Seal: The correct size and type for your pump model (check your pump’s manual or the manufacturer’s website).
- Small Screwdrivers: Both Phillips head and flathead.
- Pliers: Needle-nose pliers are particularly useful.
- Allen Wrench Set: A set of various sizes to fit any bolts on your pump.
- Grease: Silicone grease or a similar lubricant safe for rubber seals.
- Clean Rag: For wiping away dirt and excess grease.
- Work Gloves: To protect your hands.
Step-by-Step Guide to Replacing the Seal

Step 1: Disassemble the Pump
Carefully take apart your mini bike pump. The disassembly process can vary slightly depending on the pump model, but the general steps are similar:
- Remove the End Cap: Usually, this is screwed on or held in place by clips. Use a screwdriver or pliers to gently remove it.
- Extract the Internal Components: Carefully slide out the inner parts, including the piston, rod, and seal. Note the order of these components as you remove them; taking a photo can be helpful.
Step 2: Identify the Worn Seal
The seal is usually a small, rubber or plastic ring located on the piston. Inspect it carefully for:
- Cracks
- Tears
- Deformation
- Excessive wear
If the seal shows any of these signs, it needs to be replaced.
Step 3: Remove the Old Seal
Use a small screwdriver or pick to gently pry the old seal off the piston. Be careful not to scratch or damage the piston itself. Here’s how to do it safely:
- Secure the Piston: Hold the piston firmly in one hand.
- Insert the Tool: Carefully insert the tip of the screwdriver or pick between the seal and the piston.
- Pry Gently: Gently pry the seal away from the piston, working your way around the circumference until it comes loose.
Step 4: Clean the Piston
Before installing the new seal, clean the piston thoroughly with a clean rag to remove any dirt, debris, or old grease. This ensures a good seal and prevents premature wear.
Step 5: Install the New Seal
Now, it’s time to install the new seal. Follow these steps:
- Lubricate the Seal: Apply a small amount of silicone grease to the new seal. This helps it slide onto the piston and creates a better seal.
- Position the Seal: Place the seal over the end of the piston and gently push it into place.
- Ensure Proper Seating: Make sure the seal is fully seated in the groove on the piston. It should fit snugly and evenly.
Step 6: Reassemble the Pump
Reassemble the pump in the reverse order of disassembly. Pay close attention to the orientation of each component. Here’s a reminder:
- Insert the Piston Assembly: Carefully slide the piston, rod, and seal assembly back into the pump cylinder.
- Replace the End Cap: Screw or clip the end cap back into place, making sure it’s secure.
Step 7: Test the Pump
Before you hit the road, test the pump to make sure it’s working properly. Inflate a tire to the recommended pressure and check for leaks. If the pump is working smoothly and holding pressure, you’re good to go!
Troubleshooting Tips
Sometimes, even with a new seal, your pump might not work perfectly. Here are some common issues and how to address them:
- Pump Still Leaks: Double-check that the seal is properly seated and lubricated. Also, inspect the pump cylinder for any scratches or damage.
- Pump is Hard to Push: Make sure you’ve used enough grease on the seal and other moving parts.
- Pump Doesn’t Reach Full Pressure: The seal might not be the only problem. Check the valve connector and hose for leaks.
Preventative Maintenance
To prolong the life of your mini bike pump and its seals, follow these maintenance tips:
- Regular Cleaning: Clean your pump regularly to remove dirt and debris.
- Proper Lubrication: Lubricate the seal and other moving parts with silicone grease every few months.
- Careful Storage: Store your pump in a clean, dry place to prevent damage and corrosion.
Choosing the Right Replacement Seal

Selecting the correct replacement seal is crucial for ensuring your pump works effectively. Here’s a breakdown of factors to consider:
- Pump Model: Seals are often specific to pump models. Check your pump’s manual or the manufacturer’s website for the correct part number.
- Material: Seals are typically made of rubber, silicone, or polyurethane. Choose a material that is compatible with your pump and the pressures you’ll be using.
- Size: The seal must be the correct size to fit snugly on the piston. Measure the old seal or check the pump’s specifications to determine the correct dimensions.
Different Types of Mini Bike Pump Seals
Mini bike pump seals come in various materials and designs, each suited for specific applications and pump types. Understanding these differences can help you choose the best replacement for your needs. Here’s a table outlining the common types:
| Seal Type | Material | Characteristics | Typical Applications | Pros | Cons |
|---|---|---|---|---|---|
| Rubber (Buna-N) | Nitrile Rubber | Good abrasion resistance, oil resistance | General-purpose pumps | Affordable, readily available | Can degrade with some lubricants, less flexible at low temperatures |
| Silicone | Silicone Rubber | Excellent temperature resistance, good flexibility | High-performance pumps, pumps used in extreme conditions | Resistant to temperature extremes, good sealing properties | More expensive than rubber, lower abrasion resistance |
| Polyurethane | Polyurethane | High abrasion resistance, high pressure resistance | High-pressure pumps, pumps used in harsh environments | Very durable, excellent sealing at high pressures | Less flexible than rubber, can be more difficult to install |
| O-Ring | Various (Rubber, Silicone, Polyurethane) | Simple circular design, versatile | Various pump types, sealing connections | Easy to install, widely available | Can be prone to twisting or pinching during installation |
| U-Cup Seal | Various (Rubber, Silicone, Polyurethane) | U-shaped profile, provides a better seal at low pressures | Pumps requiring a good seal at low pressures | Excellent sealing, good stability | More complex installation than O-rings |
Mini Bike Pump Types
There are several types of mini bike pumps, each designed for different uses and tire types. Knowing which type you have can help when replacing the seal. The table below shows common mini bike pump types, their typical uses, and general seal replacement considerations:
| Pump Type | Typical Uses | Characteristics | Seal Replacement Considerations |
|---|---|---|---|
| Hand Pump | Portable inflation for road and mountain bikes | Compact, lightweight, manual operation | Seals are typically small O-rings or U-cup seals; check model-specific guides. |
| CO2 Inflator | Rapid inflation for emergencies | Uses compressed CO2 cartridges, very fast inflation | Seals are usually located in the valve head; replacements may require specific tools. |
| Hybrid Pump (Hand/CO2) | Versatile inflation options | Combines manual and CO2 inflation methods | May have multiple seals; identify each seal’s function before replacement. |
| Frame-Mounted Pump | Convenient on-bike storage | Attaches directly to the bike frame, always available | Seals must withstand outdoor conditions; silicone or polyurethane seals are often preferred. |
| Mini Floor Pump | More efficient than hand pumps | Compact floor pump design, easier to use than hand pumps | Larger seals than hand pumps; ensure the replacement seal matches the pump’s pressure rating. |
FAQ: Replacing Seals in Mini Bike Pumps
Here are some frequently asked questions about replacing seals in mini bike pumps:
Q1: How often should I replace the seal in my mini bike pump?
A: It depends on how often you use your pump. If you use it frequently, you may need to replace the seal every year or two. If you only use it occasionally, the seal may last longer. Look for signs of wear, such as leaks or reduced pumping efficiency.
Q2: Can I use any type of grease on the seal?
A: No, you should only use silicone grease or a lubricant specifically designed for rubber seals. Other types of grease can damage the seal and cause it to fail prematurely.
Q3: Where can I buy replacement seals for my mini bike pump?
A: You can buy replacement seals at most bike shops or online retailers that sell bike parts and accessories. Be sure to check the pump’s manual or the manufacturer’s website for the correct part number.
Q4: Is it worth replacing the seal, or should I just buy a new pump?
A: Replacing the seal is usually much cheaper than buying a new pump. If your pump is otherwise in good condition, replacing the seal is a cost-effective way to extend its life.
Q5: What if I can’t find a replacement seal for my specific pump model?
A: Contact the pump manufacturer or a bike shop that carries their products. They may be able to help you find a compatible seal or suggest an alternative solution.
Q6: Can I upgrade to a higher-quality seal for better performance?
A: Yes, you can often upgrade to a seal made of a more durable material, such as silicone or polyurethane. This can improve the pump’s performance and extend its life. Just make sure the new seal is compatible with your pump model.
Q7: What are the signs that my mini bike pump seal needs replacing?
A: Common signs include difficulty inflating tires, air leaking from the pump during use, or a noticeable decrease in pumping efficiency. If you experience any of these issues, inspect the seal for wear and tear.
Conclusion
Replacing the seal in your mini bike pump is a simple and rewarding task that can save you money and keep you rolling. By following these steps and taking good care of your pump, you can ensure it remains a reliable companion on all your cycling adventures. So, next time your pump starts to lose its oomph, don’t despair – just replace the seal and get back on the road!


