
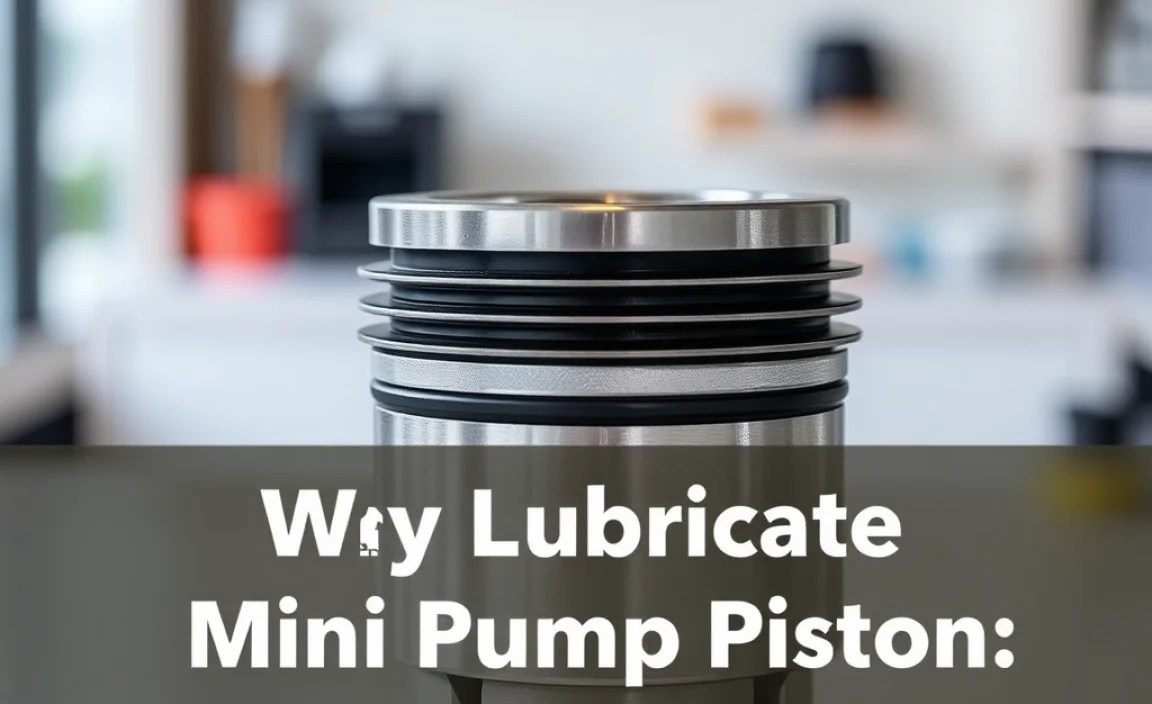
How to Lubricate Mini Pump Piston: Easy Steps!
Quick Summary: Keeping your mini pump working smoothly is easy! You’ll need a clean rag, some silicone-based lubricant, and a few minutes. Simply open the pump, wipe down the piston, apply a small amount of lube, and reassemble. Regular lubrication prevents wear and tear, ensuring your mini pump is always ready to inflate your tires on the go.
Ever been stuck on the side of the road with a flat tire and a mini pump that just won’t cooperate? A sticky or dry piston is often the culprit. Don’t toss that pump! With a little lubrication, you can bring it back to life and avoid future roadside frustrations. This guide provides simple, step-by-step instructions to keep your mini pump piston sliding smoothly, so you can get back to enjoying your ride. Let’s get started and make your pump work like new!
Why Lubricate Your Mini Pump Piston?
Lubricating your mini pump piston is essential for several reasons. A dry or poorly lubricated piston can lead to:
- Reduced Efficiency: It takes more effort to pump, and you get less air per stroke.
- Increased Wear and Tear: Friction can damage the piston and cylinder, shortening the pump’s lifespan.
- Unreliable Performance: The pump may become difficult to use or fail entirely when you need it most.
- Annoying Noises: Squeaking or grinding sounds can be a sign of a dry piston.
Regular lubrication ensures smooth operation, extends the life of your pump, and makes inflating your tires much easier. Think of it as preventative maintenance for your trusty cycling companion.
Tools and Materials You’ll Need

Before you begin, gather these simple tools and materials:
- Silicone-Based Lubricant: Silicone is ideal because it won’t damage rubber or plastic components. Avoid petroleum-based lubricants, which can degrade these materials.
- Clean Rag: For wiping away old grease and applying new lubricant. A microfiber cloth works great.
- Small Screwdriver or Allen Key: Depending on your pump model, you may need these to disassemble it.
- Work Gloves (Optional): To keep your hands clean.
- A Clean Work Surface: To prevent dirt from getting into the pump.
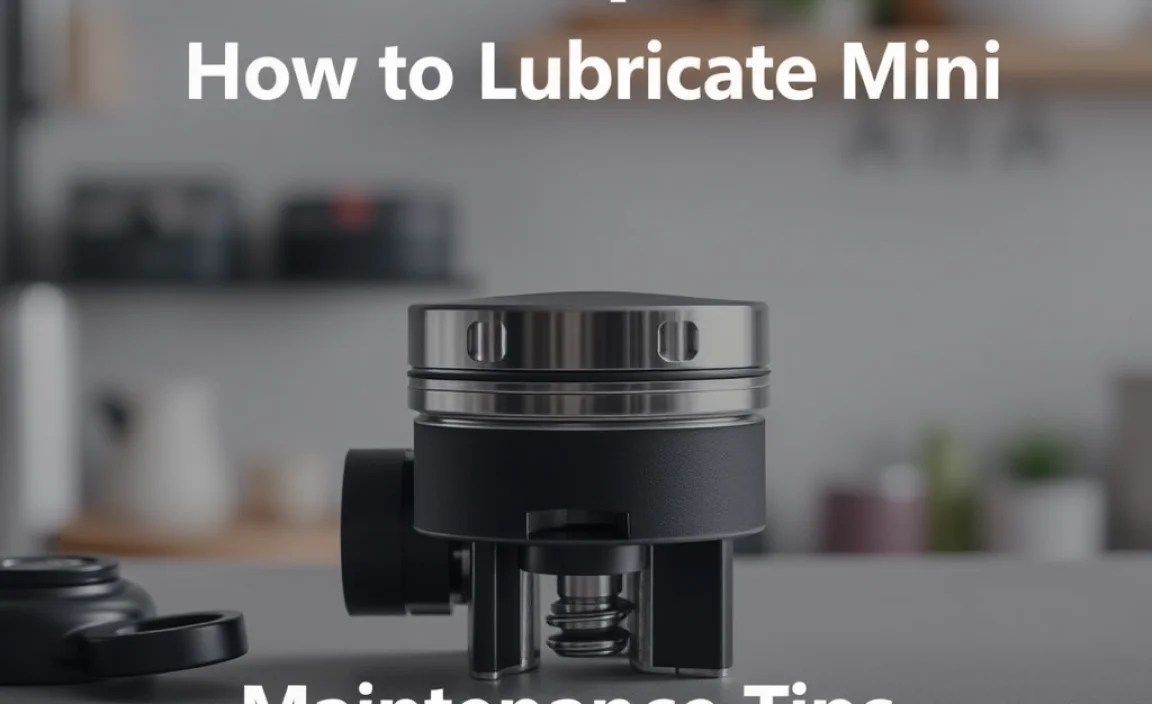
Step-by-Step Guide: How to Lubricate Your Mini Pump Piston

Follow these steps to properly lubricate your mini pump piston:
Step 1: Disassemble the Pump
Carefully disassemble your mini pump. The exact method will vary depending on the model, but here’s a general approach:
- Locate the Fasteners: Look for screws, bolts, or clips holding the pump together. These are often located at the ends of the pump body.
- Remove the End Caps: Use a screwdriver or Allen key to remove any screws or bolts. Gently pry off the end caps. Be careful not to lose any small parts.
- Extract the Internal Components: Slide out the inner components, including the piston, rod, and any seals or O-rings.
Pro Tip: Take photos as you disassemble the pump. This will help you remember how everything goes back together.
Step 2: Clean the Piston and Cylinder
Use a clean rag to thoroughly wipe down the piston and the inside of the cylinder. Remove any old grease, dirt, or debris.
- Inspect for Damage: Check the piston and cylinder for scratches, cracks, or other damage. If you find any significant damage, the pump may need to be replaced.
- Clean O-Rings and Seals: If your pump has O-rings or seals, clean them gently with a rag. Replace them if they appear worn or damaged.
Step 3: Apply Lubricant
Apply a small amount of silicone-based lubricant to the piston and the inside of the cylinder. A little goes a long way. You don’t want to over-lubricate, as this can attract dirt.
- Even Distribution: Spread the lubricant evenly over the surface of the piston.
- Lubricate Seals: If your pump has O-rings or seals, apply a thin layer of lubricant to them as well.
Step 4: Reassemble the Pump
Carefully reassemble the mini pump, following the reverse order of disassembly.
- Insert the Piston: Slide the piston back into the cylinder.
- Reattach End Caps: Secure the end caps with the screws or bolts you removed earlier.
- Test the Pump: Extend and retract the pump handle to ensure it moves smoothly.
Step 5: Test and Fine-Tune
Test the pump by inflating a tire. If it feels stiff or makes unusual noises, disassemble it again and check for any misaligned parts or areas that need more lubrication.
Choosing the Right Lubricant
Selecting the correct lubricant is crucial for the longevity and performance of your mini pump. Here’s a comparison of different types of lubricants:
| Lubricant Type | Pros | Cons | Best Use |
|---|---|---|---|
| Silicone-Based Lubricant | Safe for rubber and plastic, excellent water resistance, good temperature range. | Can be more expensive than other options. | Ideal for mini pump pistons, O-rings, and seals. |
| Petroleum-Based Lubricant | Inexpensive, readily available. | Can degrade rubber and plastic, attracts dirt. | Not recommended for mini pumps with rubber or plastic parts. |
| Dry Lubricant (e.g., Teflon) | Doesn’t attract dirt, good for dry environments. | May not provide sufficient lubrication for high-friction applications. | Suitable for certain pump models, but check manufacturer’s recommendations. |
| Grease | Long-lasting, excellent water resistance. | Can be too thick for some pump designs, may attract dirt. | Not generally recommended for mini pump pistons. |
Raymond’s Recommendation: Always opt for a silicone-based lubricant for your mini pump. It’s the safest and most effective choice for protecting your pump’s components.
Maintenance Tips for Your Mini Pump
Here are some additional tips to keep your mini pump in top condition:
- Regular Cleaning: Clean your pump regularly, especially after using it in dirty or wet conditions.
- Store Properly: Store your pump in a dry place to prevent corrosion and damage.
- Check for Wear: Inspect the piston, cylinder, and seals regularly for wear and tear. Replace worn parts as needed.
- Avoid Over-Pumping: Don’t exceed the recommended pressure for your tires. Over-pumping can damage the pump and your tires.
Troubleshooting Common Mini Pump Problems
Even with regular maintenance, you may encounter some common mini pump problems. Here’s how to troubleshoot them:
| Problem | Possible Cause | Solution |
|---|---|---|
| Pump is hard to push | Dry piston, dirty cylinder, damaged seals. | Lubricate the piston, clean the cylinder, replace the seals. |
| Pump isn’t inflating the tire | Leaky valve, damaged hose, incorrect valve attachment. | Check the valve and hose for leaks, ensure the valve attachment is secure. |
| Pump is making strange noises | Dry piston, loose parts, internal damage. | Lubricate the piston, tighten any loose parts, inspect for internal damage. |
| Pump handle is slipping | Worn grip, loose handle. | Replace the grip, tighten the handle. |
When to Replace Your Mini Pump
While regular maintenance can extend the life of your mini pump, there comes a time when replacement is necessary. Consider replacing your pump if:
- It’s Severely Damaged: Cracks in the cylinder, a bent piston rod, or other significant damage can render the pump unusable.
- Parts Are Unavailable: If you can’t find replacement parts for your pump, it may be more cost-effective to buy a new one.
- Performance Is Consistently Poor: If your pump is constantly failing to inflate tires or requires excessive effort, it’s time for an upgrade.
Raymond’s Recommendation: A good quality mini pump is an investment in your cycling safety and enjoyment. Don’t hesitate to replace it when it’s no longer performing reliably.
Mini Pump Recommendations
If you’re in the market for a new mini pump, here are a few highly-rated options:
- Lezyne Road Drive: Compact, lightweight, and efficient, with a CNC-machined aluminum construction. Lezyne Hand Pumps are known for their quality.
- Topeak RaceRocket HP: High-pressure pump designed for road bikes, with a built-in pressure gauge. Topeak Mini Pumps offer reliable performance.
- Blackburn Mammoth 2FL: High-volume pump for mountain bikes, with a flexible hose and easy-to-read gauge. Blackburn Bike Pumps are a solid choice.
- Crankbrothers Sterling LG: Versatile pump that can handle both high-pressure and high-volume tires, with a hidden hose and folding handle. Crankbrothers Pumps provide innovative designs.
FAQ: Lubricating Your Mini Pump Piston
Here are some frequently asked questions about lubricating mini pump pistons:
Q: How often should I lubricate my mini pump piston?
A: Lubricate your mini pump piston every 1-3 months, depending on how often you use the pump and the conditions you ride in. If you notice the pump becoming harder to use, it’s a good sign it needs lubrication.
Q: Can I use WD-40 to lubricate my mini pump piston?
A: No, WD-40 is not recommended for lubricating mini pump pistons. It’s a solvent and can dry out rubber and plastic components. Use a silicone-based lubricant instead.
Q: What happens if I don’t lubricate my mini pump piston?
A: If you don’t lubricate your mini pump piston, it can become dry and sticky, leading to reduced efficiency, increased wear and tear, and eventual failure of the pump.
Q: Can I use too much lubricant on my mini pump piston?
A: Yes, using too much lubricant can attract dirt and debris, which can clog the pump and reduce its efficiency. Apply a small amount of lubricant and spread it evenly.
Q: How do I know if my mini pump piston needs lubrication?
A: Signs that your mini pump piston needs lubrication include the pump being hard to push, making strange noises, or not inflating tires efficiently.
Q: Can I use a multi-purpose lubricant on my mini pump piston?
A: It’s best to use a silicone-based lubricant specifically designed for rubber and plastic components. Multi-purpose lubricants may contain petroleum-based additives that can damage these materials.
Q: Where can I buy silicone-based lubricant?
A: You can buy silicone-based lubricant at most bike shops, hardware stores, and online retailers. Look for a lubricant that is specifically labeled as safe for rubber and plastic.
Conclusion
Keeping your mini pump piston properly lubricated is a simple yet crucial part of bike maintenance. By following these steps and tips, you can ensure your pump is always ready to get you back on the road. Remember, regular maintenance not only extends the life of your equipment but also enhances your overall riding experience. So, grab your silicone lubricant, give your mini pump some love, and enjoy smooth, hassle-free rides!


