
How to Pump a Mountain Bike Tyre with Hand Pump: Easy!
Quick Summary:
Pumping a mountain bike tire with a hand pump is simple! First, make sure your pump head matches your valve type (Presta or Schrader). Attach the pump head securely to the valve, lock it in place, and pump with steady strokes until you reach the recommended PSI (printed on your tire sidewall). Detach the pump carefully and you’re ready to ride!
Is your mountain bike tire looking a little flat? Don’t let a soft tire ruin your ride! Many cyclists find themselves needing to add air on the trail or before heading out. The good news is, pumping up your tires with a hand pump is a skill anyone can master. It’s easier than you think, and with the right technique, you’ll be back on the trails in no time.
This guide will walk you through each step, from identifying your valve type to reaching the perfect tire pressure. Let’s get started and keep you rolling smoothly!
What You’ll Need

Before you start, gather these essential items:
- Mountain bike hand pump: Choose a pump designed for higher pressures and with a gauge.
- Your mountain bike: Obviously!
- Tire pressure gauge (optional): Some pumps have built-in gauges, but a separate gauge can be more accurate.
- Rag or cloth: To wipe off any dirt from the valve.
Understanding Tire Valves
Mountain bikes typically use two types of valves:
- Presta: Narrower valve with a locking nut at the tip.
- Schrader: Wider valve, similar to those found on car tires.
Your pump head needs to be compatible with your valve type. Many pumps have dual heads that can switch between Presta and Schrader.
Step-by-Step Guide: Pumping Your Mountain Bike Tire

Follow these steps to inflate your mountain bike tire quickly and efficiently.
Step 1: Prepare the Valve
First, locate the valve on your tire. Remove the valve cap and store it in a safe place. For Presta valves, unscrew the small locking nut at the tip. Gently push the valve in to release any remaining air and ensure it’s not stuck.
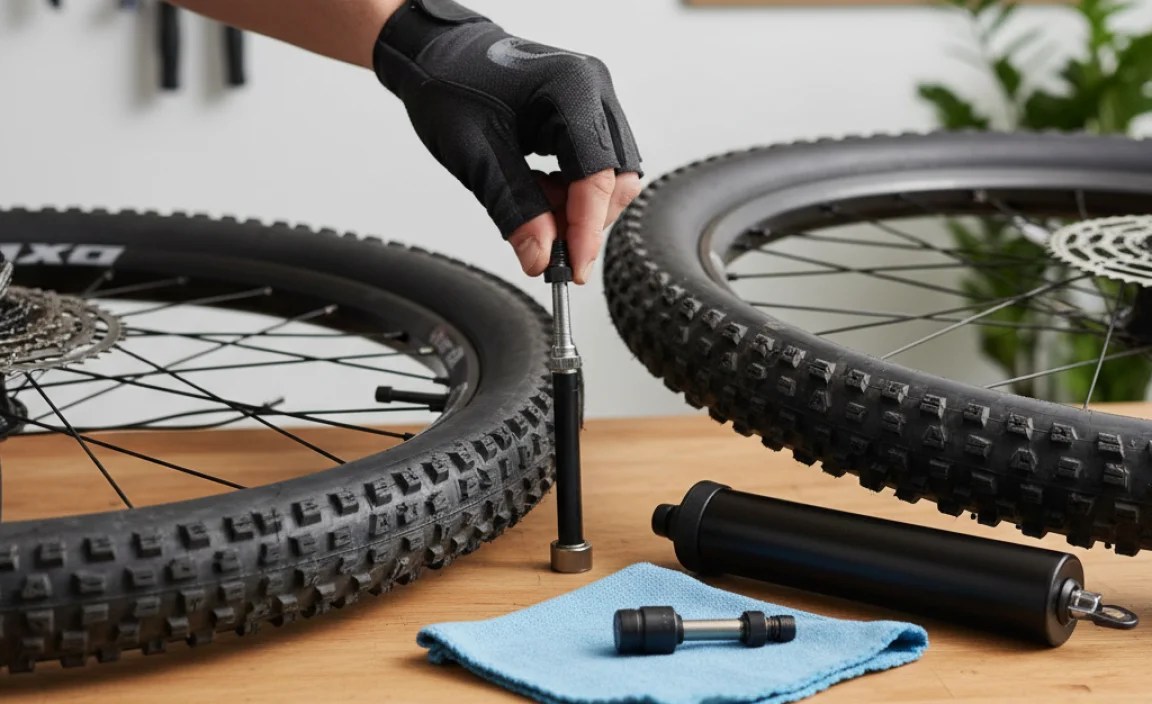
Step 2: Attach the Pump Head
Now, attach the pump head to the valve. The way you attach it depends on the type of valve:
- Presta: Press the pump head onto the valve, making sure it’s fully seated. Flip the locking lever on the pump head to secure it.
- Schrader: Press the pump head straight onto the valve. You should feel it make a good seal. No lever is usually needed.
Ensure the pump head is firmly attached to avoid air leakage.
Step 3: Begin Pumping
Place the pump on the ground and hold the pump handle firmly. Use a smooth, consistent motion to pump air into the tire. Avoid jerky movements, which can damage the valve. If your pump has a gauge, watch the pressure as you pump.
Step 4: Monitor Tire Pressure
Check the recommended tire pressure on the sidewall of your tire. It’s usually printed as a range (e.g., 30-50 PSI). Adjust the pressure according to your weight, riding style, and trail conditions. Lower pressures provide more grip but increase the risk of pinch flats.
Here’s a basic guideline:
- Hardpack trails: Higher pressure (closer to the maximum)
- Loose or rocky trails: Lower pressure (closer to the minimum)
Step 5: Detach the Pump Head
Once you reach the desired pressure, detach the pump head carefully. For Presta valves, flip the locking lever on the pump head before removing it. Screw the locking nut back on the valve. For Schrader valves, simply pull the pump head straight off.
Step 6: Check for Leaks
After pumping, listen for any hissing sounds, which could indicate a leak. If you hear a leak, reattach the pump head and try again, or inspect the valve for damage.
Step 7: Replace the Valve Cap
Finally, replace the valve cap to protect the valve from dirt and debris. You’re now ready to hit the trails!
Troubleshooting Common Issues
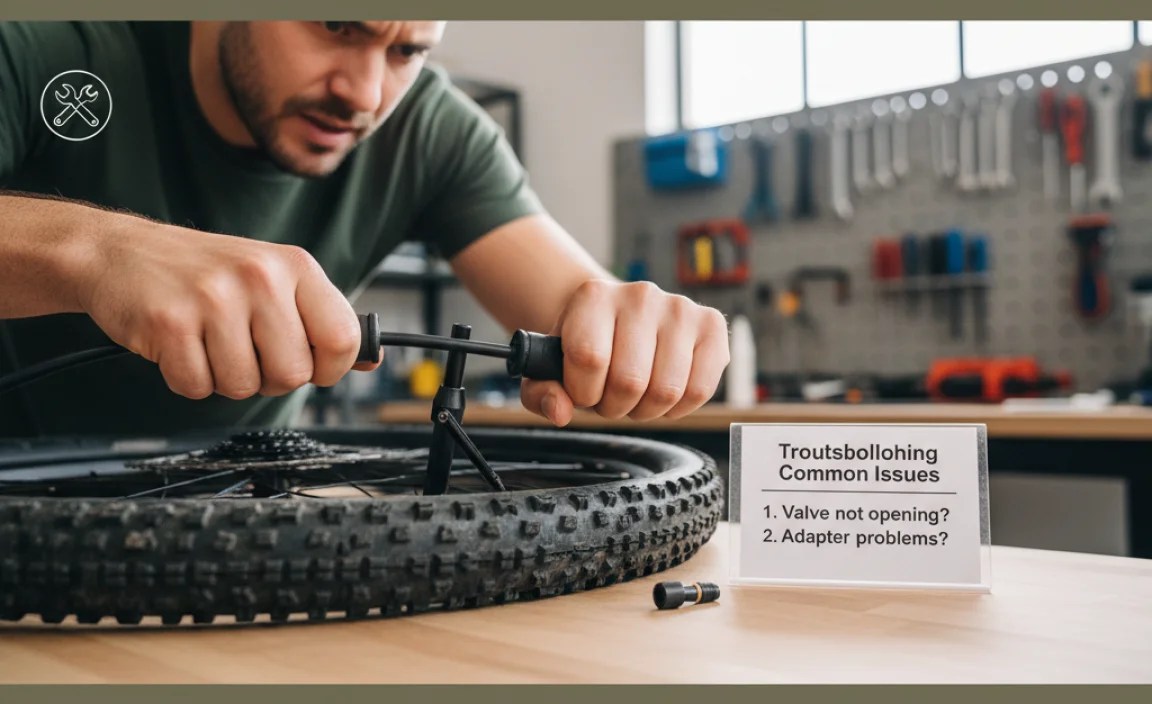
Sometimes, things don’t go as planned. Here are some common issues and how to fix them:
- Pump not attaching properly: Make sure the pump head is compatible with your valve type and is securely attached.
- Air leaking while pumping: Check the seal between the pump head and the valve. You may need to adjust the position or tighten the locking lever.
- Unable to reach desired pressure: Ensure your pump is designed for high pressures. Some pumps are better suited for road bikes than mountain bikes.
- Valve stem bent or damaged: If the valve stem is bent or damaged, you may need to replace the inner tube.
Choosing the Right Hand Pump

With so many options available, selecting the right hand pump can feel overwhelming. Here’s what to consider:
- Pressure Rating: Look for a pump that can reach the pressures you need for your mountain bike tires.
- Valve Compatibility: Ensure it works with both Presta and Schrader valves.
- Gauge: A built-in gauge makes it easier to monitor tire pressure.
- Size and Weight: Choose a compact and lightweight pump for easy portability.
- Durability: Opt for a pump made from high-quality materials that can withstand regular use.
Maintaining Your Hand Pump
Proper maintenance will keep your hand pump working smoothly for years. Here are some tips:
- Clean Regularly: Wipe down the pump with a damp cloth to remove dirt and grime.
- Lubricate: Apply a small amount of lubricant to the pump piston to keep it moving freely.
- Inspect: Check the pump head and hose for cracks or damage. Replace any worn parts.
- Store Properly: Store the pump in a dry place to prevent rust and corrosion.
Optimal Mountain Bike Tire Pressure
Finding the right tire pressure is key to a good mountain biking experience. Too much pressure, and you’ll have a harsh ride with less grip. Too little, and you risk pinch flats and rim damage.
Here’s a detailed table to guide your tire pressure choices, considering rider weight and trail conditions:
| Rider Weight (lbs) | Trail Condition | Recommended Tire Pressure (PSI) |
|---|---|---|
| 120-150 | Hardpack | 28-30 |
| 120-150 | Loose/Rocky | 25-27 |
| 150-180 | Hardpack | 30-32 |
| 150-180 | Loose/Rocky | 27-29 |
| 180-210 | Hardpack | 32-34 |
| 180-210 | Loose/Rocky | 29-31 |
| 210+ | Hardpack | 34-36 |
| 210+ | Loose/Rocky | 31-33 |
Note: These are general guidelines. Experiment to find what works best for you!
Hand Pump vs. Floor Pump
While a hand pump is great for on-the-go adjustments, a floor pump is ideal for home use. Here’s a comparison:
| Feature | Hand Pump | Floor Pump |
|---|---|---|
| Portability | Excellent | Poor |
| Inflation Speed | Slow | Fast |
| Pressure Accuracy | Less Accurate | More Accurate |
| Effort Required | More | Less |
| Best Use | Trailside Repairs | Home Maintenance |
Alternative Inflation Methods
While hand pumps are convenient, you might consider other options:
- CO2 Inflators: Quick and easy, but require CO2 cartridges.
- Electric Pumps: Battery-powered and offer fast inflation.
Safety Tips
Before you start pumping, keep these safety tips in mind:
- Wear Safety Glasses: Protect your eyes from debris.
- Inspect Tires: Check for cuts, bulges, or wear before inflating.
- Don’t Overinflate: Exceeding the recommended pressure can cause the tire to explode.
- Use Caution: Be careful when detaching the pump head to avoid injury.
Enhancing Your Mountain Biking Experience
Properly inflated tires are only one part of a great mountain biking experience. Consider these additional tips:
- Suspension Setup: Adjust your suspension for optimal performance and comfort.
- Brake Maintenance: Keep your brakes clean and properly adjusted.
- Chain Lubrication: Lube your chain regularly for smooth shifting.
- Proper Gear: Wear appropriate clothing, helmet, and gloves.
Further Reading: Mountain Bike Maintenance
For more in-depth information on mountain bike maintenance, check out this article from REI. It covers everything from basic repairs to advanced tuning.
FAQ: Pumping Mountain Bike Tires
What PSI should my mountain bike tires be?
The recommended PSI is printed on the sidewall of your tire. Adjust it based on your weight, riding style, and trail conditions.
How do I know if my pump is compatible with my valve?
Check the pump head. Many pumps have dual heads that can switch between Presta and Schrader valves. If not, you need a pump head adapter or a pump specifically designed for your valve type.
Why is my tire losing air after pumping?
Check the valve core for tightness. Also, inspect the tire for punctures or damage. The valve stem could be bent or damaged, or the tire itself could have a slow leak.
Can I use a car tire pump on my mountain bike?
Yes, if your bike has Schrader valves. However, car tire pumps often deliver too much air too quickly, so be careful not to overinflate. A hand pump or floor pump designed for bikes is generally better.
How often should I pump my mountain bike tires?
Check your tire pressure before each ride. Mountain bike tires tend to lose air over time, especially if they are tubeless. Inflate them as needed to maintain the optimal pressure.
What is a Presta valve?
A Presta valve is a narrow valve with a locking nut at the tip, commonly found on higher-end bikes. It requires a specific pump head or adapter.
What is a Schrader valve?
A Schrader valve is a wider valve, similar to those found on car tires. Most standard pumps can inflate Schrader valves without an adapter.
Conclusion
Pumping your mountain bike tires with a hand pump is a simple yet essential skill for any cyclist. By following these steps and tips, you can keep your tires properly inflated and enjoy a smooth, confident ride. Remember to choose the right pump, maintain it properly, and always prioritize safety. So, grab your pump, hit the trails, and experience the joy of mountain biking with perfectly inflated tires!


