
How to Check Tyre Pressure Using Hand Pump Gauge: Easy!
Quick Summary: Checking your bike’s tire pressure with a hand pump gauge is super easy! First, find the recommended PSI on your tire’s sidewall. Then, attach the pump head to your tire valve, making sure it’s snug. Use the pump to inflate the tire, watching the gauge until you reach the right pressure. That’s it—you’re ready to ride!
Ever hopped on your bike only to feel like you’re riding through molasses? Underinflated tires are a common culprit, making every pedal stroke harder than it needs to be. Getting your tire pressure right doesn’t have to be a chore. With a hand pump and a built-in gauge, you can quickly and easily ensure your tires are perfectly inflated for a smooth, efficient ride.
In this guide, I’ll walk you through each step, from understanding tire pressure to using your hand pump like a pro. We’ll cover everything you need to know to keep your tires in top shape, so you can enjoy every mile. Let’s get started!
Understanding Tire Pressure

Before we dive into the how-to, let’s cover some basics about tire pressure. Knowing the right pressure for your tires can make a huge difference in your riding experience.
Why Tire Pressure Matters
Proper tire pressure affects several things:
- Rolling Resistance: Overinflating or underinflating your tire impacts how easily your bike rolls.
- Grip: The tire pressure impacts the contact patch of your tire.
- Comfort: Correct pressure smooths out bumps for a more comfortable ride.
- Puncture Resistance: Properly inflated tires are less likely to get pinch flats.
Understanding PSI
PSI stands for “pounds per square inch.” It’s the unit we use to measure the amount of air pressure in your tires. Most tires have a recommended PSI range printed on the sidewall. This range gives you a safe zone to work within, but the ideal pressure can vary based on your weight, riding style, and the terrain.
Finding the Right PSI for Your Tires
Look for the PSI range printed on the sidewall of your tire. It usually looks something like “50-85 PSI” or “3.5-6.0 BAR.” Here’s what to consider when deciding where in that range to inflate your tires:
- Your Weight: Heavier riders need higher pressure.
- Tire Width: Wider tires can handle lower pressures.
- Riding Surface: Smooth roads? Go for higher pressure. Rough roads or trails? Lower pressure will provide more comfort and grip.
Presta vs. Schrader Valves
There are two main types of valves you’ll find on bike tires:
- Presta: These are narrower and have a valve core that you need to unlock before inflating. They are common on road bikes and higher-end bikes.
- Schrader: These are wider, like the ones you find on car tires. They are common on mountain bikes, hybrid bikes, and some older bikes.
Make sure your hand pump is compatible with the type of valve on your tires. Some pumps have dual heads that work with both types, while others require you to switch an internal part to change valve compatibility.
Tools You’ll Need
Before you start, make sure you have these essential tools:
- Hand Pump with Gauge: A good quality hand pump with an accurate gauge is crucial. Look for one that’s easy to use and has a clear, readable gauge.
- Tire Pressure Chart (Optional): A tire pressure chart can be a handy reference, especially when you’re experimenting with different pressures.
- Rag or Cloth: To wipe off any dirt or grime from the valve.
Step-by-Step Guide: Checking Tire Pressure
Alright, let’s get to the main event. Here’s how to check and adjust your tire pressure using a hand pump with a gauge:
Step 1: Prepare Your Bike and Pump
First, position your bike so that you can easily access the tire valves. Make sure your pump is in good working condition. Check the pump head to ensure it’s clean and free of debris.
Step 2: Locate the Valve
Find the valve on your tire. If you have a Presta valve, unscrew the small nut at the end to unlock it. Press the valve briefly to release a small amount of air – this ensures it isn’t stuck.
Step 3: Attach the Pump Head
Place the pump head firmly over the valve. For Schrader valves, just press the pump head straight on. For Presta valves, make sure the pump head is fully seated and then engage the lever to lock it in place. You should not hear air escaping.
Step 4: Check the Initial Pressure
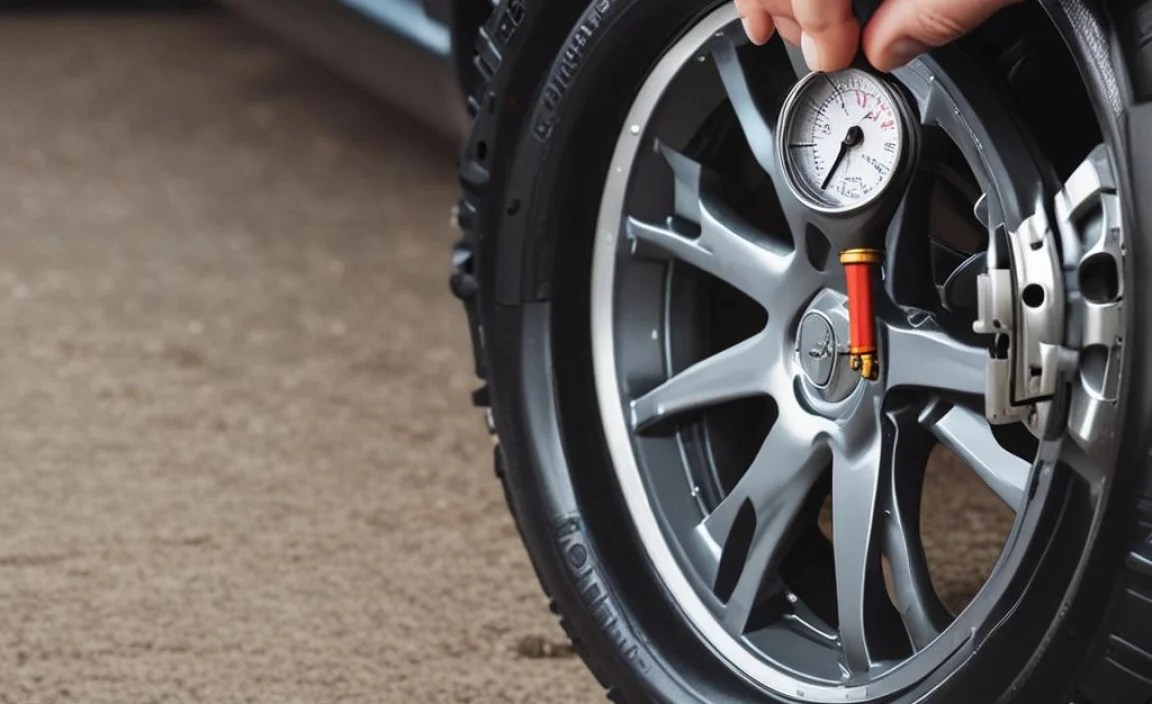
Before you start pumping, take a look at the gauge to see the current pressure in your tire. This will give you an idea of how much air you need to add.
Step 5: Inflate to the Desired Pressure
Begin pumping in a smooth, steady motion. Watch the gauge as you pump. When the needle reaches your desired pressure, stop pumping.
Step 6: Remove the Pump Head
Disengage the lever (if you have a Presta valve) and carefully remove the pump head from the valve. For Presta valves, quickly screw the nut back on to prevent air from escaping.
Step 7: Double-Check the Pressure
After removing the pump head, double-check the pressure on the gauge. Sometimes a little air can escape when you remove the pump, so it’s good to make sure you’re still at the correct pressure.
Step 8: Repeat for the Other Tire
Repeat the same process for your other tire. It’s important to keep both tires at the correct pressure for balanced handling and performance.
Troubleshooting Common Issues

Sometimes things don’t go as planned. Here are some common issues you might encounter and how to fix them:
Air Leaking When Pumping
If you hear air leaking while you’re pumping, it could be one of a few things:
- Loose Connection: Make sure the pump head is securely attached to the valve.
- Damaged Valve: Inspect the valve for any signs of damage. If it’s damaged, you may need to replace the inner tube.
- Worn Pump Head: The rubber seal inside the pump head can wear out over time. If this happens, you may need to replace the pump head or the entire pump.
Gauge Not Reading Correctly
If you suspect your gauge isn’t accurate, try these steps:
- Compare with Another Gauge: Use a different pump or a standalone tire pressure gauge to compare readings.
- Check the Battery: If your pump has a digital gauge, make sure the battery is good.
- Calibrate the Gauge: Some pumps allow you to calibrate the gauge. Check your pump’s manual for instructions.
Difficulty Attaching the Pump Head
If you’re having trouble attaching the pump head, try these tips:
- Clean the Valve: Dirt and grime can make it difficult to get a good connection. Wipe the valve with a clean cloth.
- Check Valve Type: Make sure your pump head is set to the correct valve type (Presta or Schrader).
- Lubricate the Seal: A tiny bit of silicone grease on the pump head seal can help it slide on more easily.
Tips for Maintaining Your Hand Pump
A well-maintained hand pump will last longer and work more efficiently. Here are some tips to keep your pump in top shape:
- Clean Regularly: Wipe down your pump with a damp cloth to remove dirt and grime.
- Lubricate Moving Parts: Use a silicone-based lubricant to keep the moving parts working smoothly.
- Store Properly: Store your pump in a dry place to prevent rust and corrosion.
- Replace Worn Parts: Replace any worn or damaged parts, such as the pump head or hose, as needed.
Choosing the Right Hand Pump
Not all hand pumps are created equal. Here’s what to look for when choosing a hand pump:
Gauge Accuracy
A reliable gauge is essential for getting your tire pressure just right. Look for pumps with a clear, easy-to-read gauge that provides accurate readings.
Pump Efficiency
Some pumps are more efficient than others, meaning they require fewer strokes to inflate your tires. Look for pumps with a high volume output.
Valve Compatibility
Make sure the pump is compatible with both Presta and Schrader valves, or choose one that matches the type of valves on your tires.
Durability
A durable pump will withstand regular use and last for years. Look for pumps made from high-quality materials like aluminum or steel.
Comfort
Choose a pump with an ergonomic handle that’s comfortable to grip and easy to use. No one wants hand cramps mid-pump!
Understanding Pressure Loss
It’s normal for tires to lose a little pressure over time. Here’s why and what you can do about it:
Permeation
Air can slowly leak through the tire and tube material, a process called permeation. High-quality tires and tubes tend to lose air more slowly.
Temperature Changes
Temperature fluctuations can affect tire pressure. As the temperature rises, the pressure increases, and as the temperature drops, the pressure decreases. Check your pressure regularly, especially during significant temperature changes.
Small Leaks
Even without a puncture, small leaks can occur around the valve stem or where the tire meets the rim. Inspect your tires and valves regularly for any signs of damage.
How Often to Check
As a general rule, check your tire pressure before every ride, especially if you haven’t ridden in a few days. This ensures your tires are properly inflated for optimal performance and safety.
Advanced Tips for Tire Pressure
Want to take your tire pressure knowledge to the next level? Here are some advanced tips:
Experiment with Different Pressures
Don’t be afraid to experiment with different pressures within the recommended range. Try lower pressures for more comfort and grip on rough roads, or higher pressures for faster rolling on smooth surfaces.
Use a Digital Gauge
For even more precise readings, consider using a digital tire pressure gauge. These gauges provide highly accurate measurements and can be especially useful for fine-tuning your tire pressure.
Consider Tubeless Setups
If you’re serious about performance, consider switching to a tubeless tire setup. Tubeless tires allow you to run lower pressures without the risk of pinch flats, providing improved comfort and grip.
Adjust for Different Weather Conditions
In wet conditions, slightly lower tire pressure can improve grip and handling. Experiment to find the optimal pressure for different weather conditions.
Tire Pressure Chart Example
| Rider Weight (lbs) | Tire Width (mm) | Recommended PSI (Road Bike) | Recommended PSI (Mountain Bike) |
|---|---|---|---|
| 120-140 | 23 | 90-100 | N/A |
| 140-160 | 23 | 100-110 | N/A |
| 160-180 | 25 | 80-90 | 30-35 |
| 180-200 | 25 | 90-100 | 35-40 |
| 200+ | 28 | 70-80 | 40-45 |
Note: This chart is a general guideline. Always refer to the recommended PSI range on your tire’s sidewall and adjust based on your riding conditions and preferences.
Common Mistakes to Avoid
Even experienced cyclists can make mistakes when checking tire pressure. Here are some common pitfalls to avoid:
- Ignoring the PSI Range: Always stay within the recommended PSI range printed on your tire’s sidewall.
- Overinflating: Overinflating can lead to a harsh ride and increase the risk of tire blowouts.
- Underinflating: Underinflating can cause pinch flats and make it harder to pedal.
- Using an Inaccurate Gauge: Make sure your gauge is accurate and reliable.
- Forgetting to Check Regularly: Check your tire pressure before every ride to ensure optimal performance and safety.
FAQ: Checking Tire Pressure with a Hand Pump
What PSI should my bike tires be?
Check the sidewall of your tires for the recommended PSI range. This range varies based on tire type and size. Adjust within that range according to your weight, riding style, and terrain.
How often should I check my bike tire pressure?
Ideally, check your tire pressure before every ride. At a minimum, check it once a week to ensure optimal performance and safety.
Can I use a car tire pump for my bike?
While it’s possible to use a car tire pump, it’s not ideal. Car pumps often deliver too much air too quickly, making it easy to overinflate your tires. A hand pump or floor pump designed for bikes is a better choice.
What’s the difference between Presta and Schrader valves?
Presta valves are narrow and have a valve core that you need to unlock before inflating. Schrader valves are wider and similar to those found on car tires. Make sure your pump is compatible with the type of valve on your tires.
Why does my tire lose air overnight?
Tires naturally lose air over time due to permeation. Small leaks around the valve stem or where the tire meets the rim can also cause pressure loss. Check your tire pressure regularly and inspect for any signs of damage.
Is it better to overinflate or underinflate my tires?
Neither is ideal. Overinflating can lead to a harsh ride and increase the risk of tire blowouts, while underinflating can cause pinch flats and make it harder to pedal. Always aim for the recommended PSI range.
How do I know if my tire pressure gauge is accurate?
Compare your gauge’s readings with another gauge to check for accuracy. If your pump has a digital gauge, make sure the battery is good. Some pumps allow you to calibrate the gauge. Check your pump’s manual for instructions.
Conclusion
And there you have it! Checking your tire pressure with a hand pump gauge is a simple yet crucial part of bike maintenance. By following these steps and tips, you can ensure your tires are always properly inflated for a smooth, safe, and enjoyable ride. Remember to check your pressure regularly, experiment with different pressures to find what works best for you, and keep your pump in good working condition. Happy cycling!


