
How To Install a Manual Water Hand Pump: Easy Guide
Quick Summary:
Installing a manual water hand pump is straightforward. First, gather your tools: a pipe wrench, Teflon tape, and measuring tape. Next, prepare your well by ensuring the casing is clean and accessible. Attach the pump to the well casing using Teflon tape on the threads for a watertight seal. Finally, prime the pump by pouring water into the cylinder and start pumping. Enjoy fresh, manual water access!
Having reliable access to water is essential, whether you’re in a rural setting, dealing with power outages, or simply prefer a low-tech solution. Installing a manual water hand pump might seem daunting, but it’s a project that’s very achievable with the right guidance. Many people find themselves frustrated by the complexity of instructions or the lack of clear steps. But don’t worry! This guide breaks down each step, making the installation process simple and stress-free.
In this article, I’ll walk you through everything from gathering the necessary tools to priming your new pump. By the end, you’ll have a fully functional manual water hand pump providing you with a dependable source of water. Let’s dive in!
Understanding Manual Water Hand Pumps

Before you start grabbing tools, let’s cover the basics. A manual water hand pump is a mechanical device used to draw water from a well or underground source using human power. These pumps are reliable, simple to maintain, and perfect for situations where electricity is unavailable or unreliable. They are commonly used in rural areas, off-grid homes, and as a backup water source.
Types of Manual Water Hand Pumps
There are several types of manual water hand pumps, each suited for different well depths and water requirements. Here are a few common types:
- Shallow Well Pumps: Ideal for wells up to 25 feet deep. These pumps use suction to draw water to the surface.
- Deep Well Pumps: Designed for wells deeper than 25 feet. These pumps typically use a cylinder and piston system located down in the well.
- Pitcher Pumps: A classic, simple design for shallow wells. They are easy to install and use, making them a popular choice for many homeowners.
- Diaphragm Pumps: These pumps use a flexible diaphragm to move water and are good for handling water with some sediment.
Key Components of a Manual Water Hand Pump
Understanding the parts of your hand pump helps you troubleshoot and maintain it effectively. Here are the main components:
- Pump Body: The main structure that houses the pump’s working parts.
- Handle: The lever you use to operate the pump.
- Piston or Diaphragm: The moving part that creates suction or pressure to draw water.
- Cylinder: The chamber where the piston moves in deep well pumps.
- Spout: The outlet where water is dispensed.
- Check Valve: A one-way valve that prevents water from flowing back down the well.
- Drop Pipe: The pipe that extends down into the well, bringing water up to the pump (primarily in deep well pumps).
Tools and Materials You’ll Need

Before you start, gather all the necessary tools and materials. This will make the installation process smoother and prevent unnecessary interruptions.
- Manual Water Hand Pump Kit: Choose a pump that suits your well depth and water needs.
- Pipe Wrench: For tightening and loosening pipe fittings.
- Measuring Tape: To measure the well casing and pump components.
- Teflon Tape: To create a watertight seal on threaded connections.
- Pipe Cutter: If you need to cut the drop pipe to the correct length.
- Thread Sealant: An alternative to Teflon tape for sealing threaded connections.
- Gloves: To protect your hands during installation.
- Safety Glasses: To protect your eyes from debris.
- Bucket: To prime the pump and catch any spills.
- Adjustable Wrench: For tightening bolts and nuts.
- Screwdrivers: Both flathead and Phillips head, depending on your pump model.
Step-by-Step Guide to Installing a Manual Water Hand Pump

Now, let’s get to the actual installation. Follow these steps carefully to ensure a successful setup.
Step 1: Preparing the Well
The first step is to inspect and prepare your well. A clean and accessible well casing is crucial for a smooth installation.
- Inspect the Well Casing: Check for any damage or corrosion. Make sure the casing is structurally sound.
- Clean the Well Casing: Remove any debris, dirt, or obstructions from the top of the well casing.
- Measure the Well Casing Diameter: Ensure that the pump base will fit securely on the well casing. Most hand pumps are designed to fit standard well casing sizes (e.g., 6-inch diameter).
Step 2: Assembling the Pump
Some hand pumps come partially assembled, while others require full assembly. Refer to your pump’s instruction manual for specific assembly instructions. Here are the general steps:
- Attach the Handle: Connect the handle to the pump body using the provided bolts and nuts. Tighten securely with an adjustable wrench.
- Install the Spout: Attach the spout to the pump body. Use Teflon tape on the threads to ensure a watertight seal.
- Connect the Drop Pipe (for Deep Well Pumps): If you have a deep well pump, connect the drop pipe to the pump cylinder. Ensure the connections are tight and sealed with Teflon tape.
Step 3: Installing the Pump on the Well Casing
Now, it’s time to install the pump on the well casing. This step requires careful alignment and secure connections.
- Apply Teflon Tape: Wrap Teflon tape around the threads of the pump base or adapter that will connect to the well casing. This creates a watertight seal.
- Position the Pump: Carefully position the pump over the well casing. Ensure it is aligned properly.
- Secure the Pump: Tighten the pump base or adapter onto the well casing. Use a pipe wrench to ensure a tight, secure connection. Be careful not to overtighten, as this can damage the threads.
Step 4: Priming the Pump
Priming the pump is essential to get it working initially. This involves filling the pump cylinder with water to create suction.
- Locate the Priming Hole: Most hand pumps have a priming hole or port near the top of the pump body.
- Pour Water into the Pump: Slowly pour water into the priming hole until the pump cylinder is full. You may need to pour several buckets of water, depending on the pump size and well depth.
- Operate the Handle: Start pumping the handle up and down. At first, you may not get any water. Continue pumping until water starts to flow from the spout.
- Repeat if Necessary: If the pump doesn’t prime on the first try, repeat the priming process. Check for any air leaks in the connections and tighten them if necessary.
Step 5: Testing the Pump
Once the pump is primed and working, test it thoroughly to ensure it’s functioning correctly.
- Pump Water for Several Minutes: Operate the pump for several minutes to ensure a steady flow of water.
- Check for Leaks: Inspect all connections for leaks. If you find any leaks, tighten the fittings with a pipe wrench.
- Monitor Water Quality: Check the water for any sediment or discoloration. If the water is cloudy or contains sediment, continue pumping until it runs clear.
Maintaining Your Manual Water Hand Pump

Regular maintenance will keep your hand pump working efficiently and extend its lifespan. Here are some maintenance tips:
- Regular Cleaning: Periodically clean the pump body and spout to remove any dirt or debris.
- Lubrication: Lubricate the moving parts of the pump, such as the handle pivot points, with a water-resistant grease.
- Inspect Check Valves: Check the check valves regularly to ensure they are functioning properly. Replace them if they are worn or damaged.
- Winterization: In cold climates, protect the pump from freezing by insulating it or draining the water from the pump cylinder.
Troubleshooting Common Issues
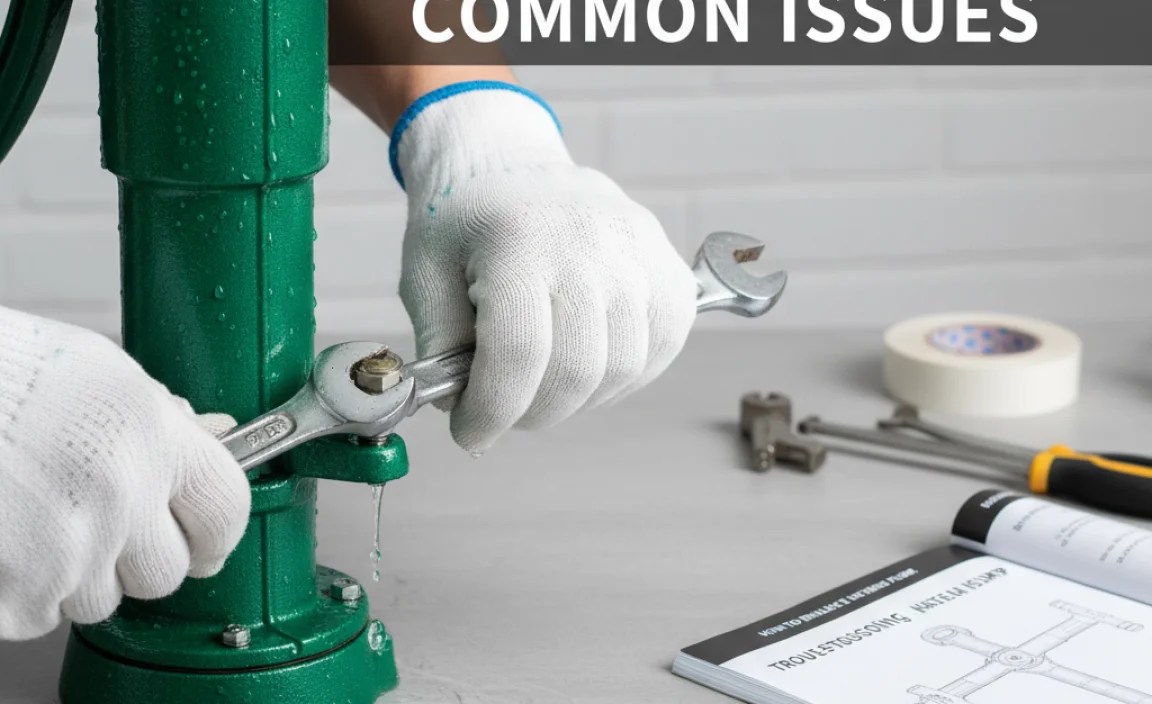
Even with careful installation and maintenance, you may encounter some common issues. Here are some troubleshooting tips:
| Issue | Possible Cause | Solution |
|---|---|---|
| Pump not priming | Air leaks in connections, low water level in well, clogged check valve | Check and tighten connections, check well water level, clean or replace check valve |
| Weak water flow | Partially clogged check valve, worn piston or diaphragm, low water level in well | Clean or replace check valve, replace piston or diaphragm, check well water level |
| Water leaking from connections | Loose fittings, damaged Teflon tape, corroded pipes | Tighten fittings, replace Teflon tape, replace corroded pipes |
| Pump handle hard to operate | Lack of lubrication, worn piston or cylinder, debris in pump cylinder | Lubricate moving parts, replace piston or cylinder, clean pump cylinder |
Advantages and Disadvantages of Manual Water Hand Pumps
Before you decide to install a manual water hand pump, consider the pros and cons.
Advantages
- Reliability: Manual pumps don’t rely on electricity, making them dependable during power outages.
- Low Cost: They are generally less expensive to install and maintain than electric pumps.
- Simplicity: Easy to operate and maintain with minimal technical knowledge.
- Environmentally Friendly: No electricity usage reduces your carbon footprint.
- Versatility: Suitable for various applications, including rural homes, gardens, and emergency water supply.
Disadvantages
- Manual Effort: Requires physical effort to pump water, which may not be suitable for everyone.
- Lower Water Output: Produces less water compared to electric pumps.
- Depth Limitations: Shallow well pumps are limited to wells up to 25 feet deep.
- Maintenance: Requires regular maintenance to ensure proper functioning.
Choosing the Right Manual Water Hand Pump
Selecting the right manual water hand pump is crucial for meeting your specific needs. Here are some factors to consider:
- Well Depth: Determine the depth of your well. Shallow well pumps are suitable for wells up to 25 feet, while deep well pumps are needed for deeper wells.
- Water Usage: Estimate your daily water needs. Choose a pump that can provide an adequate water supply for your household or application.
- Pump Material: Consider the pump material. Cast iron pumps are durable but can rust. Stainless steel pumps are more resistant to corrosion but may be more expensive.
- Ease of Installation: Look for a pump that is easy to install and maintain. Read reviews and consider models with clear instructions and readily available parts.
- Budget: Set a budget for your pump. Prices can vary widely depending on the type, material, and features.
Tips for Extending the Life of Your Hand Pump
To maximize the lifespan of your manual water hand pump, follow these tips:
- Protect from Freezing: In cold climates, insulate the pump or drain it during winter to prevent damage from freezing.
- Regular Use: Use the pump regularly to keep the moving parts lubricated and prevent corrosion.
- Filter the Water: Install a filter to remove sediment and debris from the water, protecting the pump components.
- Proper Storage: If you’re not using the pump for an extended period, store it in a dry, protected location.
Safety Precautions
Safety should always be a top priority when installing and maintaining a manual water hand pump. Here are some safety precautions to keep in mind:
- Wear Safety Glasses: Protect your eyes from debris when working with tools and pump components.
- Wear Gloves: Protect your hands from cuts and abrasions.
- Disconnect Power: If you’re working near any electrical components, disconnect the power to prevent electrical shock.
- Use Proper Tools: Use the right tools for the job to avoid injury and damage to the pump.
- Follow Instructions: Always follow the manufacturer’s instructions for installation and maintenance.
Cost Considerations
Understanding the costs associated with installing and maintaining a manual water hand pump can help you budget effectively. Here’s a breakdown of potential expenses:
| Item | Estimated Cost | Notes |
|---|---|---|
| Manual Water Hand Pump Kit | $100 – $500 | Price varies depending on type, material, and features. |
| Installation Tools (Pipe Wrench, Measuring Tape, etc.) | $50 – $150 | If you don’t already own these tools. |
| Piping and Fittings | $20 – $50 | For connecting the pump to the well casing. |
| Teflon Tape and Thread Sealant | $5 – $10 | To ensure watertight connections. |
| Labor Costs (if hiring a professional) | $100 – $300 | For professional installation. |
| Maintenance and Replacement Parts | $20 – $50 per year | For regular maintenance and occasional repairs. |
FAQ: Installing a Manual Water Hand Pump
1. How deep can a manual water hand pump draw water from?
Shallow well hand pumps can typically draw water from up to 25 feet. For deeper wells, you’ll need a deep well hand pump that uses a cylinder and piston system located down in the well.
2. Do I need any special permits to install a manual water hand pump?
Permit requirements vary by location. Contact your local health department or water resources agency to check if any permits are needed for installing a manual water hand pump on your property.
3. How often should I prime my manual water hand pump?
You only need to prime the pump during the initial installation or after the pump has been out of use for an extended period. If the pump loses its prime frequently, check for air leaks in the connections.
4. What type of maintenance is required for a manual water hand pump?
Regular maintenance includes cleaning the pump body, lubricating moving parts, inspecting check valves, and protecting the pump from freezing in cold climates.
5. Can I install a manual water hand pump myself, or should I hire a professional?
Most homeowners can install a manual water hand pump themselves with the right tools and guidance. However, if you’re uncomfortable with plumbing or mechanical tasks, hiring a professional installer is recommended.
6. What should I do if my manual water hand pump stops working?
First, check for common issues like air leaks, clogged check valves, or a low water level in the well. Refer to the troubleshooting section of your pump’s manual for specific guidance. If you can’t resolve the issue, contact a qualified technician.
7. Are manual water hand pumps safe for drinking water?
Yes, manual water hand pumps can provide safe drinking water, but it’s essential to ensure that your well water is tested regularly for contaminants. Install a water filter to remove sediment and bacteria for added safety.
Conclusion
Installing a manual water hand pump is a rewarding project that provides a reliable, low-tech water source. By following this step-by-step guide, you can confidently set up your own hand pump and enjoy the benefits of manual water access. Remember to choose the right pump for your well depth, maintain it regularly, and prioritize safety throughout the installation process. With a little effort, you’ll have a dependable water source for years to come!


