
How to Fix Hand Pump Handle Squeak: Easy Guide
The fix for a squeaky hand pump handle is usually simple: lubrication. Disassemble the handle, clean away any dirt or old grease, and apply fresh grease to the moving parts. Reassemble, and the squeak should be gone! Regular cleaning and lubrication will keep your pump working smoothly.
Is your trusty bike pump making an annoying squeak every time you inflate your tires? That squeak can be more than just irritating; it can signal wear and tear that, if ignored, could lead to pump failure. Don’t worry! Fixing a squeaky hand pump handle is usually a quick and easy task that anyone can do.
In this guide, I’ll walk you through the process step by step. You’ll learn how to identify the source of the squeak, disassemble the pump handle, clean and lubricate the necessary parts, and reassemble everything for smooth, quiet operation. Let’s get started and bring that pump back to life!
Why is My Hand Pump Squeaking?
Before diving into the fix, it’s good to understand why your hand pump is making that noise. Here are the most common reasons:
- Lack of Lubrication: The most frequent cause. Moving parts need grease to glide smoothly.
- Dirt and Grime Buildup: Dirt can get into the pump and cause friction.
- Wear and Tear: Over time, parts can wear down, leading to squeaks.
- Loose Parts: Sometimes, a loose screw or connection can cause noise.
Tools You’ll Need
Here’s what you’ll need to fix that squeaky pump:
- Screwdrivers: Usually Phillips head or flathead, depending on your pump.
- Allen Wrenches: A set of these is handy for various pump models.
- Grease: Lithium grease or bike-specific grease works best.
- Clean Rags: For wiping away dirt and old grease.
- Degreaser (Optional): For stubborn grime.
- Work Gloves (Optional): To keep your hands clean.
Step-by-Step Guide: Fixing a Squeaky Hand Pump Handle

Follow these steps to silence that squeak and get your pump working like new:
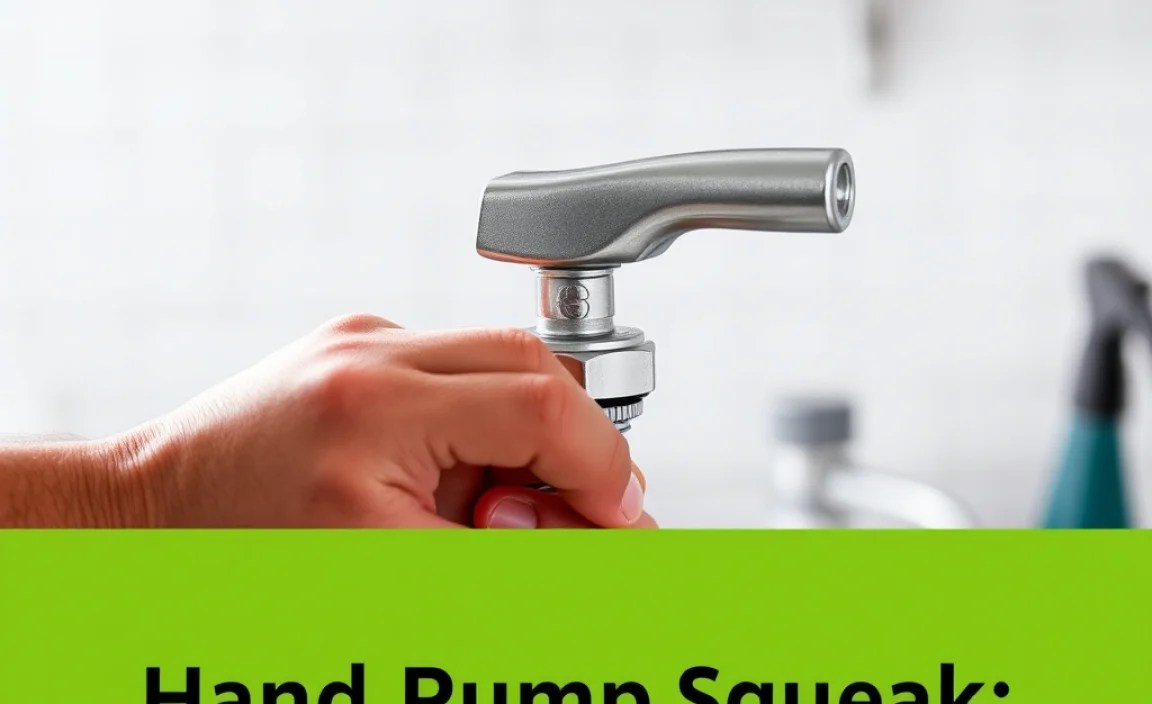
Step 1: Disassemble the Pump Handle
Carefully take apart the pump handle. Most pumps have screws or bolts holding the handle together. Keep track of all the parts as you disassemble them.
- Locate Fasteners: Look for screws or bolts on the handle.
- Remove Screws: Use the appropriate screwdriver to remove them.
- Separate Handle Pieces: Gently pull the handle apart, noting how the parts fit together.
Step 2: Clean All Parts
Clean each part with a rag to remove dirt and old grease. Use a degreaser for stubborn grime.
- Wipe Down Parts: Use a clean rag to wipe off each component.
- Use Degreaser: If needed, apply a degreaser to remove stubborn grease.
- Dry Thoroughly: Make sure all parts are dry before moving on.
Step 3: Lubricate Moving Parts
Apply a small amount of grease to all moving parts. Focus on areas where parts rub against each other.
- Apply Grease: Use your finger or a small brush to apply grease to the moving parts.
- Focus on Contact Points: Pay attention to areas where parts rub together.
- Use Sparingly: A little grease goes a long way. Avoid over-greasing.
Step 4: Reassemble the Pump Handle
Put the pump handle back together, making sure all parts are aligned correctly. Tighten the screws or bolts.
- Align Parts: Make sure all components are in the correct position.
- Insert Screws: Put the screws or bolts back in place.
- Tighten Securely: Tighten the fasteners, but don’t overtighten.
Step 5: Test the Pump
Test the pump to see if the squeak is gone. If it’s still squeaking, recheck the lubrication and assembly.
- Pump Air: Use the pump to inflate a tire or other inflatable.
- Listen for Squeaks: Check if the squeak is gone.
- Recheck if Needed: If the squeak persists, disassemble and re-lubricate.
Choosing the Right Grease
The type of grease you use can make a difference. Here’s a quick guide:
- Lithium Grease: A good all-around choice for most pumps.
- Bike-Specific Grease: Designed for bicycle components and often more water-resistant.
- Silicone Grease: Works well for rubber or plastic parts, as it won’t degrade them.
Troubleshooting Tips
Sometimes, the squeak can be tricky to eliminate. Here are some additional tips:
- Check for Wear: If parts are worn, consider replacing them or the entire pump.
- Tighten Everything: Make sure all screws and bolts are snug.
- Listen Carefully: Try to pinpoint the exact location of the squeak.
Preventative Maintenance
Regular maintenance can prevent squeaks and prolong the life of your pump:
- Clean Regularly: Wipe down the pump after each use.
- Lubricate Periodically: Grease the moving parts every few months.
- Store Properly: Keep the pump in a dry place to prevent corrosion.
When to Replace Your Pump
Sometimes, no amount of maintenance can save a pump. Here are signs it’s time for a new one:
- Worn Seals: If the pump loses pressure quickly.
- Cracked Housing: If the pump body is damaged.
- Excessive Wear: If the internal parts are heavily worn.
Recommended Hand Pumps
If you do need a new pump, here are some top-rated options:
| Pump | Features | Price Range |
|---|---|---|
| Lezyne Micro Floor Drive HP | Compact, high-pressure, foot peg | $60-$70 |
| Topeak Road Morph G Mini Pump | Integrated gauge, fold-out foot pad | $45-$55 |
| Park Tool PMP-5 Micro Pump | Durable, lightweight, easy to use | $30-$40 |
Advanced Tips for Pump Maintenance
For those who want to dive deeper, here are some advanced maintenance tips:
- Seal Replacement: Learn how to replace worn seals for better performance.
- Valve Adjustment: Adjust the valve mechanism for optimal airflow.
- Custom Modifications: Explore modifications to improve pump efficiency.
Professional Insights on Pump Care
For professional insights on pump care, refer to reputable sources like BikeRadar. They offer expert advice on maintaining various types of bike pumps, ensuring longevity and optimal performance.
Hand Pump Handle Materials and Their Maintenance Needs
The material of your hand pump handle can affect its maintenance needs. Here’s a breakdown of common materials and how to care for them:
Plastic Handles
Plastic handles are common due to their lightweight and cost-effectiveness. However, they can become brittle over time and may crack if exposed to extreme temperatures or stress.
Maintenance Tips for Plastic Handles:
- Avoid Harsh Chemicals: Clean with mild soap and water. Harsh chemicals can degrade the plastic.
- Store Properly: Keep the pump out of direct sunlight to prevent the plastic from becoming brittle.
- Inspect Regularly: Check for cracks or signs of wear. Replace the handle if necessary.
Metal Handles
Metal handles, such as those made from aluminum or steel, are more durable than plastic. They can withstand more pressure and are less likely to crack. However, they can be heavier and may corrode if not properly maintained.
Maintenance Tips for Metal Handles:
- Prevent Corrosion: Apply a thin layer of grease or anti-corrosion spray to protect the metal.
- Clean Regularly: Wipe down the handle to remove dirt and moisture.
- Check for Rust: If you notice rust, remove it with a wire brush and apply a rust inhibitor.
Wood Handles
Wood handles offer a comfortable grip and a classic look. However, they require special care to prevent them from drying out or cracking.
Maintenance Tips for Wood Handles:
- Oil Regularly: Apply linseed oil or another wood-protecting oil to keep the wood moisturized.
- Avoid Moisture: Store the pump in a dry place to prevent the wood from warping or cracking.
- Inspect for Cracks: Check for cracks and apply wood filler if necessary.
Understanding Pump Mechanisms
To better maintain your hand pump, it helps to understand the basic mechanisms involved. Here’s a look at the key components and how they work together:
Piston and Cylinder
The piston and cylinder are the heart of the pump. The piston moves inside the cylinder to create pressure and force air into the tire.
Maintenance Tips for Piston and Cylinder:
- Lubricate Regularly: Keep the piston lubricated with grease to ensure smooth movement.
- Check for Wear: Inspect the piston and cylinder for scratches or wear. Replace if necessary.
- Clean Regularly: Remove dirt and debris to prevent damage and maintain efficiency.
Seals and O-Rings
Seals and O-rings create an airtight connection between the moving parts. They prevent air from leaking out and ensure that all the pressure is directed into the tire.
Maintenance Tips for Seals and O-Rings:
- Inspect Regularly: Check the seals and O-rings for cracks or wear.
- Replace When Necessary: Replace worn seals and O-rings to maintain optimal performance.
- Lubricate: Apply silicone grease to keep the seals pliable and prevent them from drying out.
Valves
Valves control the flow of air into and out of the pump. They ensure that air only moves in one direction, preventing backflow and maintaining pressure.
Maintenance Tips for Valves:
- Clean Regularly: Remove dirt and debris to ensure proper sealing.
- Inspect for Damage: Check the valves for cracks or wear.
- Replace When Necessary: Replace damaged valves to maintain pump efficiency.
DIY vs. Professional Repair
While many pump issues can be resolved with DIY maintenance, there are times when professional repair is the better option. Here’s a comparison to help you decide:
| Issue | DIY Repair | Professional Repair |
|---|---|---|
| Squeaky Handle | Clean and lubricate the handle components. | If cleaning and lubrication don’t work, seek professional help. |
| Worn Seals | Replace seals with a DIY kit. | If you’re not comfortable with disassembly, consult a professional. |
| Valve Problems | Clean or replace the valve. | For complex valve issues, professional repair may be necessary. |
| Cracked Housing | Not recommended; replace the pump. | Not recommended; replace the pump. |
Common Mistakes to Avoid
To ensure successful pump maintenance, avoid these common mistakes:
- Over-Lubricating: Too much grease can attract dirt and cause more problems.
- Using the Wrong Lubricant: Use the appropriate grease for the materials in your pump.
- Overtightening Screws: Overtightening can damage the pump components.
- Ignoring Wear Signs: Address wear and tear promptly to prevent further damage.
Essential Bike Tools for Home Maintenance
Having the right tools makes bike maintenance easier and more effective. REI offers a guide to essential bike tools for home maintenance, helping you build a toolkit for various repairs and upkeep tasks.
FAQ: Hand Pump Handle Squeaks
Why is my bike pump squeaking all of a sudden?
A sudden squeak usually means the moving parts need lubrication. Dirt and grime can also cause squeaking.
Can I use WD-40 to lubricate my bike pump?
WD-40 isn’t the best choice. It’s a solvent and can wash away existing grease. Use lithium or bike-specific grease instead.
How often should I lubricate my bike pump?
Lubricate your pump every few months, or whenever you notice a squeak or stiffness.
What type of grease is best for bike pumps?
Lithium grease or bike-specific grease works well. Silicone grease is good for rubber or plastic parts.
Is it okay to use car grease on my bike pump?
Car grease can be too thick. Stick with lithium or bike-specific grease for best results.
What if lubricating doesn’t stop the squeak?
Check for worn parts or loose connections. You may need to replace a component or tighten screws.
How do I prevent my bike pump from squeaking in the first place?
Regular cleaning and lubrication are key. Also, store your pump in a dry place to prevent corrosion.
Conclusion
Fixing a squeaky hand pump handle is a straightforward process that can save you money and keep your bike in top condition. By following these steps, you can easily disassemble, clean, lubricate, and reassemble your pump for smooth, quiet operation. Regular maintenance will not only eliminate annoying squeaks but also prolong the life of your pump, ensuring it’s always ready when you need it. So grab your tools, get your hands a little greasy, and enjoy the satisfaction of a well-maintained bike pump!


