
How to Fill a Basketball with a Cycle Pump: A Simple Guide
Quick Summary: Yes, you absolutely can use a cycle pump to inflate a basketball! You’ll need a needle adapter, which usually comes with most bike pumps. Simply attach the needle, moisten it, insert it into the ball’s valve, and start pumping. Keep an eye on the pressure to avoid over-inflation. You’ll be back on the court in no time!
Ever found yourself ready for a game, only to discover your basketball is flat? It’s a common frustration! While basketball pumps are ideal, many of us don’t have one handy. The good news is your trusty cycle pump can come to the rescue. Using a cycle pump to inflate a basketball is a simple, effective solution. This guide will walk you through each step, so you can quickly get your ball game-ready.
In this article, I’ll cover everything you need to know, from the tools required to step-by-step instructions and even some troubleshooting tips. Let’s get started!
What You’ll Need

Before you start, gather these essential items. Having everything ready will make the process smooth and quick. Here’s what you’ll need:
- Cycle Pump: Any standard bike pump will work. Floor pumps are generally easier to use than hand pumps.
- Needle Adapter: This is crucial. It’s a small, hollow needle that attaches to the pump and fits into the basketball’s valve. Most bike pumps come with one, or you can buy one separately.
- Water or Saliva: A little moisture helps the needle slide into the valve without damaging it.
- Pressure Gauge (Optional): While not essential, a pressure gauge ensures you don’t over-inflate the ball. Many floor pumps have one built-in.
Step-by-Step Instructions
Follow these simple steps to inflate your basketball with a cycle pump:
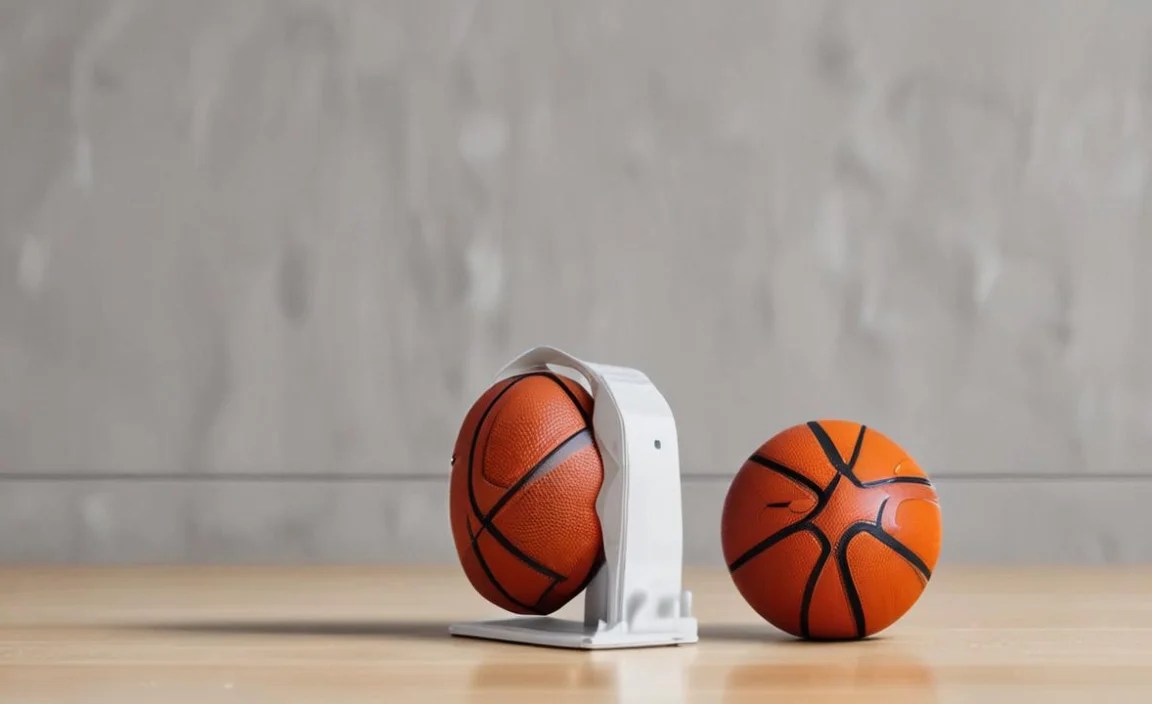
- Attach the Needle Adapter:Locate the needle adapter. It usually screws or clips onto the pump head. Make sure it’s securely attached to prevent air leaks.
- Prepare the Needle:Moisten the needle with a drop of water or saliva. This helps it slide into the valve smoothly and prevents damage. Don’t use too much liquid – just a little is enough.
- Insert the Needle:Carefully insert the needle into the basketball’s valve. Push it in gently but firmly until it’s fully inserted. Be careful not to bend the needle.
- Start Pumping:If you’re using a floor pump, place it on the ground and stabilize it with your foot. Begin pumping in a steady, consistent motion. If you’re using a hand pump, hold the pump firmly and pump with both hands.
- Monitor the Pressure:If your pump has a pressure gauge, keep an eye on the pressure. The recommended pressure for a basketball is usually between 7 to 9 PSI (pounds per square inch). If you don’t have a gauge, inflate the ball gradually and check its firmness by hand.
- Check the Firmness:If you don’t have a gauge, stop pumping periodically to check the firmness of the basketball. It should feel firm but have a little give when you press on it. Avoid over-inflating, as this can damage the ball.
- Remove the Needle:Once the ball is properly inflated, carefully remove the needle. Do it slowly and steadily to avoid damaging the valve. Some air might escape, but that’s normal.
- Test the Ball:Bounce the basketball a few times to test its inflation. It should bounce properly and feel good in your hands. If it’s not firm enough, add a little more air. If it’s too firm, let a little air out by carefully inserting the needle again and gently pressing on the ball.
Choosing the Right Cycle Pump
Not all cycle pumps are created equal. Here’s a quick guide to help you choose the best one for your needs:
- Floor Pumps: These are the most efficient for inflating basketballs and bike tires. They provide more leverage and often come with a built-in pressure gauge.
- Hand Pumps: These are portable and great for on-the-go inflation. However, they require more effort and may not be as accurate as floor pumps.
- Mini Pumps: Compact and lightweight, mini pumps are ideal for carrying during bike rides. While they can inflate a basketball, it will take more time and effort.
- Dual-Action Pumps: These pumps inflate on both the push and pull strokes, making them more efficient than single-action pumps. They’re a good option if you want to inflate the ball quickly.
Troubleshooting Tips
Sometimes, things don’t go as planned. Here are some common issues and how to fix them:
- Air Leaking Around the Needle:Make sure the needle is fully inserted into the valve. If it’s still leaking, the needle might be bent or damaged. Try using a new needle.
- Needle Won’t Go In:Ensure the needle is straight and not blocked. Moisten it well and try again. If it still won’t go in, the valve might be damaged or blocked. You may need to replace the valve or use a different ball.
- Pump Not Inflating:Check that the needle is securely attached to the pump. Also, make sure the pump is functioning correctly by testing it on a bike tire. If it works on the tire but not the ball, the problem is likely with the needle or the ball’s valve.
- Over-Inflation:If you’ve over-inflated the ball, carefully insert the needle again and gently press on the ball to release some air. Check the firmness regularly until it feels right. Using a pressure gauge can help prevent over-inflation.
Maintaining Your Basketball
Proper maintenance will keep your basketball in good condition for longer. Here are some tips:
- Check Pressure Regularly:Check the pressure before each game. Consistent pressure ensures optimal performance and prevents damage to the ball. Use a pressure gauge for accuracy.
- Store Properly:Store the basketball in a cool, dry place away from direct sunlight and extreme temperatures. Avoid storing it in a deflated state for long periods, as this can damage the bladder.
- Clean Regularly:Wipe the ball with a damp cloth after each use to remove dirt and debris. This helps maintain its grip and prevents wear and tear. Avoid using harsh chemicals or abrasive cleaners.
- Inspect the Valve:Periodically inspect the valve for damage or leaks. If the valve is damaged, it may need to be replaced. A damaged valve can cause the ball to lose air quickly.
Understanding Basketball Pressure
Maintaining the correct pressure is crucial for optimal performance. Here’s what you need to know:
- Recommended Pressure:The recommended pressure for most basketballs is between 7 to 9 PSI. Check the manufacturer’s instructions for the specific pressure range for your ball. Some balls have the recommended pressure printed near the valve.
- Effects of Over-Inflation:Over-inflating a basketball can make it too hard, reducing its grip and increasing the risk of injury. It can also damage the ball’s bladder, shortening its lifespan.
- Effects of Under-Inflation:Under-inflating a basketball can make it feel sluggish and difficult to bounce. It can also affect your shooting accuracy and overall performance. An under-inflated ball is also more susceptible to damage.
- Using a Pressure Gauge:A pressure gauge is the best way to ensure your basketball is properly inflated. Insert the gauge needle into the valve and read the pressure. Adjust as needed to stay within the recommended range.
Alternative Inflation Methods
While a cycle pump is a great option, here are some alternative methods for inflating a basketball if you don’t have one available:
- Basketball Pump:The most obvious choice, a basketball pump is specifically designed for inflating basketballs. They’re inexpensive and easy to use. Many come with built-in pressure gauges.
- Air Compressor:If you have an air compressor, you can use it to inflate a basketball. You’ll need a needle adapter and a low-pressure regulator to avoid over-inflation. Be very careful and use short bursts of air.
- Inflation Needles with Handheld Bellows:These simple devices consist of a needle attached to a small bellows. They’re inexpensive and portable, but require more manual effort than a pump.
- Car Tire Inflator:Similar to an air compressor, a car tire inflator can be used with a needle adapter. Use caution and monitor the pressure closely to prevent over-inflation.
Choosing the Right Needle Adapter
The needle adapter is a small but crucial component. Here’s what to consider when choosing one:
- Material:Needle adapters are typically made of metal or plastic. Metal needles are more durable and less likely to bend or break. Plastic needles are lighter but can be more fragile.
- Size:Ensure the needle adapter is the correct size for your basketball’s valve. Most needle adapters are standard size, but it’s always a good idea to check. If you’re unsure, bring your basketball to a sporting goods store and ask for assistance.
- Compatibility:Make sure the needle adapter is compatible with your cycle pump. Most adapters are universal and will fit most pumps, but it’s always best to check. Some pumps may require a specific type of adapter.
- Quality:Invest in a high-quality needle adapter. A well-made adapter will last longer and provide a better seal, preventing air leaks. Avoid cheap, flimsy adapters that are likely to break or bend easily.
Common Mistakes to Avoid
To ensure a successful inflation, avoid these common mistakes:
- Forcing the Needle:Never force the needle into the valve. If it doesn’t go in easily, check for obstructions or damage. Forcing the needle can damage the valve or bend the needle.
- Using a Dry Needle:Always moisten the needle before inserting it into the valve. A dry needle can cause friction and damage the valve. A little water or saliva is all you need.
- Over-Inflating:Avoid over-inflating the basketball. Over-inflation can damage the ball and affect its performance. Check the pressure regularly and stop when it reaches the recommended level.
- Ignoring Air Leaks:If you notice air leaking around the needle, stop pumping and check the connection. An air leak can prevent the ball from inflating properly and waste your effort. Make sure the needle is securely attached to the pump and fully inserted into the valve.
Pressure Gauge Accuracy: Digital vs. Analog
When it comes to measuring basketball pressure, both digital and analog gauges have their pros and cons. Here’s a comparison:
| Feature | Digital Gauge | Analog Gauge |
|---|---|---|
| Accuracy | Generally more accurate, providing precise readings. | Can be accurate, but relies on visual interpretation, which can vary. |
| Readability | Easy-to-read digital display. | Can be harder to read, especially in low light or with smaller gauges. |
| Durability | More susceptible to damage from drops or moisture. | Generally more durable and resistant to damage. |
| Cost | Typically more expensive. | More affordable. |
| Maintenance | Requires battery replacement. | No batteries needed. |
FAQ: Common Questions About Inflating Basketballs
Here are some frequently asked questions about inflating basketballs:
Can I use any needle adapter for my cycle pump?
Most standard needle adapters will work with any cycle pump, but it’s always a good idea to check for compatibility. Make sure the adapter fits securely onto the pump head to prevent air leaks.
How do I know if my basketball is properly inflated without a pressure gauge?
If you don’t have a pressure gauge, check the firmness of the ball by hand. It should feel firm but have a little give when you press on it. Bounce the ball a few times to see if it bounces properly. If it feels too hard or doesn’t bounce well, adjust the pressure accordingly.
What is the ideal pressure for a basketball?
The ideal pressure for a basketball is typically between 7 to 9 PSI (pounds per square inch). Check the manufacturer’s instructions for the specific pressure range for your ball. Some balls have the recommended pressure printed near the valve.
How often should I inflate my basketball?
Check the pressure before each game or practice. Basketballs can lose air over time, so it’s important to maintain the correct pressure for optimal performance. Inflate as needed to keep the pressure within the recommended range.
Can over-inflating a basketball damage it?
Yes, over-inflating a basketball can damage it. It can stretch the bladder, making the ball too hard and reducing its grip. It can also increase the risk of injury. Always stay within the recommended pressure range.
What should I do if the needle gets stuck in the valve?
If the needle gets stuck, don’t force it. Gently wiggle the needle back and forth while pulling it out slowly. If it’s still stuck, try lubricating the needle with a little water or saliva. If all else fails, you may need to replace the valve.
Where can I buy a needle adapter for my cycle pump?
You can buy needle adapters at most sporting goods stores, bike shops, and online retailers like Amazon. They are usually inexpensive and come in packs of multiple needles.
External Resources for Further Reading
- USA Basketball Official Website
- NBA Official Website
- FIBA Official Website
Conclusion
Inflating a basketball with a cycle pump is a simple and effective solution when you don’t have a dedicated basketball pump. By following these step-by-step instructions, you can quickly get your ball game-ready. Remember to use the right tools, monitor the pressure, and maintain your basketball properly to ensure optimal performance and longevity. With a little practice, you’ll be able to inflate your basketball like a pro, and you can get back to enjoying your game!


