
How to Inflate Kids Bike Tyres with Hand Pump: Easy!
Quick Summary: Inflating your kid’s bike tires with a hand pump is simple! First, find the valve type (Schrader or Presta). Connect the pump head securely to the valve. Then, pump until the tire reaches the recommended PSI (printed on the tire sidewall). Disconnect the pump, and you’re ready to ride! Check the pressure before each ride to ensure a safe and smooth experience.
Is your child’s bike tire looking a little flat? Don’t worry, you don’t need to be a bike mechanic to fix it! Many parents find tire inflation a bit confusing, but it’s actually a very simple process. A properly inflated tire makes for a safer, easier, and more enjoyable ride for your little one. This guide will walk you through each step, so you can confidently inflate those tires and get your kid back on the road in no time!
What You’ll Need

Before we get started, let’s gather the necessary tools:
- Hand Pump: A reliable hand pump designed for bicycle tires. Look for one with a pressure gauge.
- Tire Pressure Gauge (Optional): While some pumps have built-in gauges, a separate gauge can provide a more accurate reading.
- Rag or Cloth: To wipe off any dirt or grime from the valve.
Understanding Bike Tire Valves

There are two main types of valves you’ll encounter on kids’ bikes:
- Schrader Valve: This is the same type of valve you find on car tires. It’s wider and has a spring-loaded pin in the center.
- Presta Valve: This valve is narrower and has a locking nut at the top. You need to unscrew the nut before inflating and screw it back on afterward.
Identifying the valve type is the first step to successful inflation. Look closely at the valve on your child’s bike to determine which type you have. If you are still unsure, check the image below:
Step-by-Step Guide: Inflating with a Hand Pump
Now, let’s get those tires inflated! Follow these steps carefully:
Step 1: Prepare the Valve
Remove the valve cap by unscrewing it. Store it in a safe place so you don’t lose it. Use a rag to wipe off any dirt or debris from the valve stem.
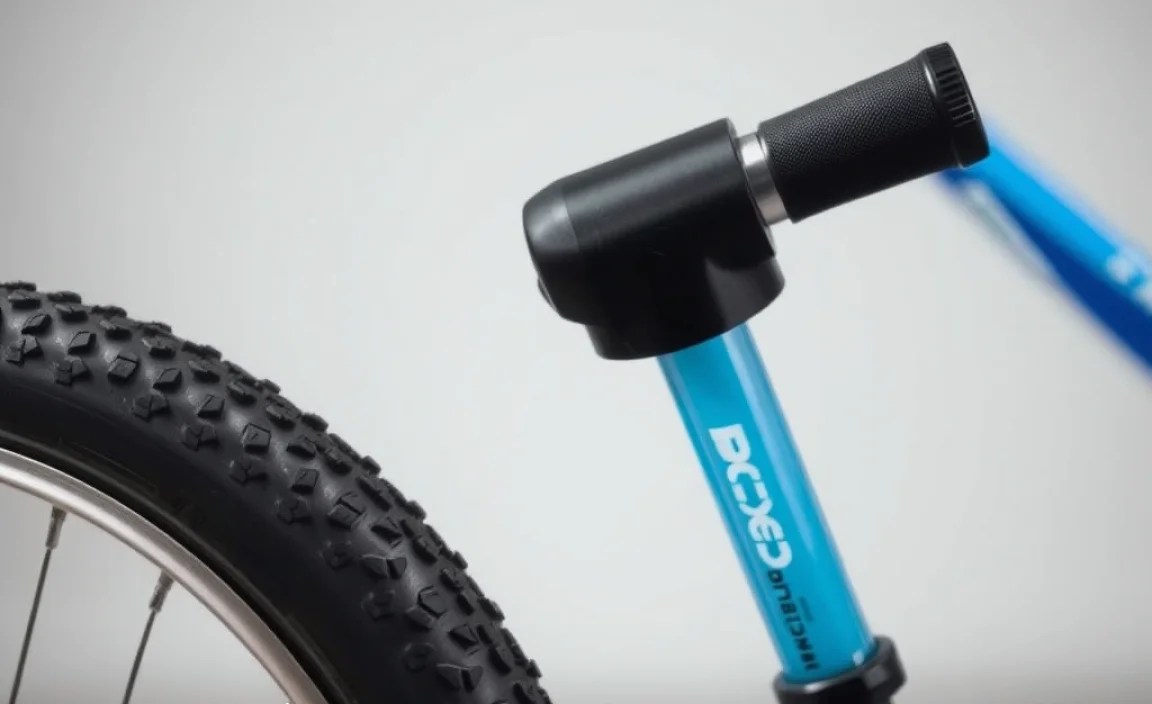
Step 2: Connect the Pump Head
This is where the process differs slightly depending on the valve type:
For Schrader Valves:
- Open the lever on the pump head (if it has one).
- Push the pump head firmly onto the valve stem. Make sure it’s a tight fit to prevent air leakage.
- Close the lever on the pump head to lock it in place.
For Presta Valves:
- Unscrew the locking nut at the top of the valve stem.
- Tap the valve stem briefly to release a small amount of air. This prevents the valve from sticking.
- Open the lever on the pump head (if it has one).
- Push the pump head firmly onto the valve stem.
- Close the lever on the pump head to lock it in place.
Step 3: Inflate the Tire
Hold the pump firmly with both hands. Begin pumping in a smooth, steady motion. You should feel resistance as you pump air into the tire. Keep an eye on the pressure gauge (if your pump has one).
Step 4: Check the Tire Pressure
The recommended tire pressure is usually printed on the sidewall of the tire. It’s typically expressed in PSI (pounds per square inch). Make sure you don’t exceed the maximum PSI listed on the tire.
If your pump doesn’t have a gauge, you can use a separate tire pressure gauge to check the pressure. Simply press the gauge onto the valve stem to get a reading.
Step 5: Disconnect the Pump
Once the tire is inflated to the correct pressure, disconnect the pump:
For Schrader Valves:
- Open the lever on the pump head.
- Pull the pump head straight off the valve stem.
For Presta Valves:
- Open the lever on the pump head.
- Pull the pump head straight off the valve stem.
- Screw the locking nut back on to the valve stem.
Step 6: Replace the Valve Cap
Screw the valve cap back onto the valve stem. This helps to keep dirt and debris out of the valve.
Step 7: Repeat for the Other Tire
Follow the same steps to inflate the other tire.
Troubleshooting
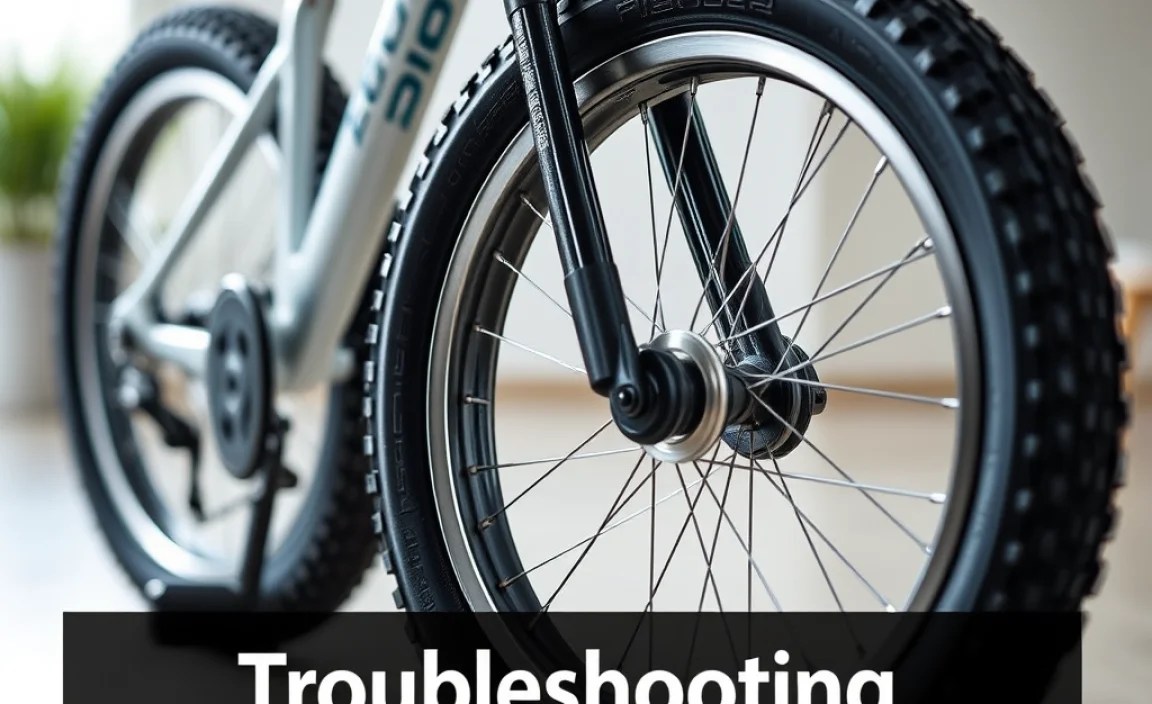
Sometimes, things don’t go exactly as planned. Here are a few common problems and how to fix them:
- Air Leaking: If you hear air leaking while pumping, make sure the pump head is securely attached to the valve. Try repositioning the pump head or tightening the lever. If the leaking continues, the pump head might be worn out and need replacing.
- Pump Not Pumping: If the pump isn’t pumping any air, make sure the pump head is properly connected to the valve. Also, check the pump itself for any blockages or damage.
- Incorrect Pressure Reading: If you suspect the pressure gauge is inaccurate, try using a separate tire pressure gauge to verify the reading.
Choosing the Right Hand Pump

With so many hand pumps available, choosing the right one can feel overwhelming. Here’s what to consider:
- Valve Compatibility: Make sure the pump is compatible with both Schrader and Presta valves. Some pumps have a dual head that can be switched between valve types.
- Pressure Gauge: A built-in pressure gauge is highly recommended for accurate inflation.
- Size and Portability: Consider the size and weight of the pump. A smaller, lighter pump is easier to carry with you on rides.
- Durability: Look for a pump made from high-quality materials that can withstand regular use.
Here’s a comparison of a few popular hand pumps:
| Pump Model | Valve Compatibility | Pressure Gauge | Pros | Cons |
|---|---|---|---|---|
| Topeak Mini Morph | Schrader and Presta | Yes | Compact, lightweight, easy to use | Can be slow for larger tires |
| Lezyne Micro Floor Drive HP | Schrader and Presta | Yes | High pressure, foot peg for stability | More expensive |
| Blackburn Piston 1 | Schrader and Presta | No | Affordable, durable | Requires separate pressure gauge |
Maintaining Proper Tire Pressure
Maintaining proper tire pressure is crucial for safety, performance, and tire longevity. Here are some tips:
- Check Pressure Regularly: Check the tire pressure before each ride, or at least once a week.
- Adjust for Conditions: Consider lowering the tire pressure slightly for off-road riding to improve traction.
- Avoid Overinflation: Never exceed the maximum PSI listed on the tire sidewall. Overinflation can lead to blowouts.
Safety First
While inflating tires is generally safe, here are a few precautions to keep in mind:
- Wear Eye Protection: Consider wearing safety glasses to protect your eyes from debris.
- Be Aware of Surroundings: Inflate tires in a safe area away from traffic and obstacles.
- Supervise Children: Keep children away from the pump and tires while inflating.
Why Tire Pressure Matters
Proper tire pressure is vital for several reasons:
- Safety: Underinflated tires can lead to poor handling and increased risk of flats. Overinflated tires can blow out.
- Performance: Correct tire pressure optimizes rolling resistance, making it easier to pedal.
- Comfort: Proper inflation absorbs bumps and vibrations, providing a smoother ride.
- Tire Longevity: Maintaining correct pressure prevents premature wear and tear on the tires.
FAQ: Inflating Kids Bike Tires
Here are some frequently asked questions about inflating kids’ bike tires:
What PSI should my kid’s bike tires be?
The correct PSI (pounds per square inch) is usually printed on the sidewall of the tire. Look for a range, such as “30-50 PSI.” Start in the middle and adjust based on rider weight and terrain. If the tire says 30-50 PSI, start at 40 PSI.
How often should I inflate my kid’s bike tires?
Check the tire pressure before each ride, or at least once a week. Tires lose air over time, so regular inflation is important.
Can I use a car tire pump on a bike tire?
Yes, if the car tire pump has a Schrader valve attachment. However, car tire pumps often deliver air too quickly, making it easy to overinflate a bike tire. Use short bursts and check the pressure frequently.
What if my pump doesn’t fit the valve?
Make sure you have the correct pump head for the valve type (Schrader or Presta). Some pumps have a dual head that can be switched. If your pump only fits one type of valve, you may need to purchase an adapter or a new pump.
Why does my tire keep going flat?
A tire that repeatedly goes flat may have a puncture. Check the tire for nails, glass, or other sharp objects. You may need to repair or replace the inner tube.
Is it okay to slightly overinflate the tires?
It’s generally not recommended to overinflate tires. Exceeding the maximum PSI listed on the tire sidewall can lead to blowouts, especially in hot weather.
Where can I find the recommended tire pressure?
The recommended tire pressure is printed on the sidewall of the tire. Look for a range, such as “30-50 PSI.”
Alternative Inflation Methods
While hand pumps are a great option, there are other ways to inflate bike tires:
- Floor Pump: A floor pump is a larger pump with a foot plate for stability. It’s easier to use than a hand pump and can inflate tires more quickly.
- CO2 Inflator: A CO2 inflator uses a cartridge of compressed carbon dioxide to quickly inflate a tire. It’s a good option for emergencies on the road.
- Air Compressor: An air compressor can be used to inflate bike tires if you have the correct adapter. However, be careful not to overinflate the tires.
Here’s a table comparing the different methods:
| Method | Pros | Cons | Best For |
|---|---|---|---|
| Hand Pump | Portable, inexpensive, good for everyday use | Can be tiring for larger tires | Home use, short rides |
| Floor Pump | Easy to use, inflates tires quickly, more accurate gauge | Less portable | Home use, frequent inflation |
| CO2 Inflator | Fast inflation, compact for emergencies | Requires CO2 cartridges, can be wasteful | Emergency repairs on the road |
| Air Compressor | Fast inflation, convenient if you already own one | Easy to overinflate, requires adapter | Home use, multiple bikes |
Advanced Tips and Tricks
Here are a few more tips to help you become a tire inflation pro:
- Use a Tire Lever: If you need to remove the tire from the rim to repair a flat, use tire levers to avoid pinching the inner tube. Park Tool offers excellent guides on this.
- Carry a Patch Kit: A patch kit allows you to repair small punctures in the inner tube without replacing it.
- Consider Tubeless Tires: Tubeless tires offer improved puncture resistance and lower rolling resistance. However, they require special rims and sealant.
Conclusion
Inflating your kid’s bike tires with a hand pump is a simple yet essential skill for any parent. By following these steps and tips, you can ensure your child’s bike is always ready for a safe and enjoyable ride. Remember to check the tire pressure regularly, use the correct pump head, and inflate to the recommended PSI. With a little practice, you’ll be a tire inflation expert in no time! Now get out there and enjoy the ride!


