
Why Does My RV Water Pump Keep Cycling? A Simple Guide
Quick Summary: An RV water pump that cycles on and off frequently usually signals a problem in the water system. Common culprits include low water levels, leaks in the plumbing, a faulty pump check valve, or air trapped in the lines. Diagnosing and fixing these issues promptly will prevent pump damage and ensure a steady water supply in your RV.
Is your RV water pump driving you crazy by constantly turning on and off? You’re not alone! This cycling issue is a common headache for RV owners. It’s not just annoying; it can also damage your pump over time. But don’t worry, pinpointing the cause is often straightforward, and many fixes are simple DIY projects. We’ll walk you through the most likely reasons your pump is cycling and provide easy-to-follow steps to get your water system working smoothly again. Get ready to say goodbye to that frustrating on-off rhythm!
Understanding RV Water Pump Cycling

Before diving into the fixes, let’s understand what “cycling” means. Your RV water pump is designed to pressurize the water lines. When you open a faucet, the pressure drops, and the pump kicks on to restore it. Once the pressure reaches a certain level, the pump should turn off. Cycling happens when the pump turns on and off rapidly, even when no water is being used. This indicates a loss of pressure somewhere in the system.
Common Causes of RV Water Pump Cycling

Several factors can cause your RV water pump to cycle. Here’s a breakdown of the most common culprits:
- Low Water Level: The simplest cause – if your fresh water tank is running low, the pump may struggle to build pressure and cycle.
- Leaks in the Plumbing: Leaks, even small ones, are a primary cause. These can be in pipes, faucets, toilets, or even the pump itself.
- Faulty Check Valve: The pump has a check valve to prevent water from flowing back into the fresh water tank. If this valve fails, the pump will cycle to compensate for the backflow.
- Air in the Water Lines: Air trapped in the lines can compress and decompress, causing pressure fluctuations and pump cycling.
- Loose Fittings: Over time, fittings can loosen, leading to small leaks and pressure loss.
- Cracked or Damaged Pipes: Especially in colder climates, pipes can crack from freezing, causing leaks and cycling.
- Incorrect Pump Pressure Setting: Some pumps have adjustable pressure settings. If the setting is too low, the pump may cycle more frequently.
Step-by-Step Troubleshooting Guide
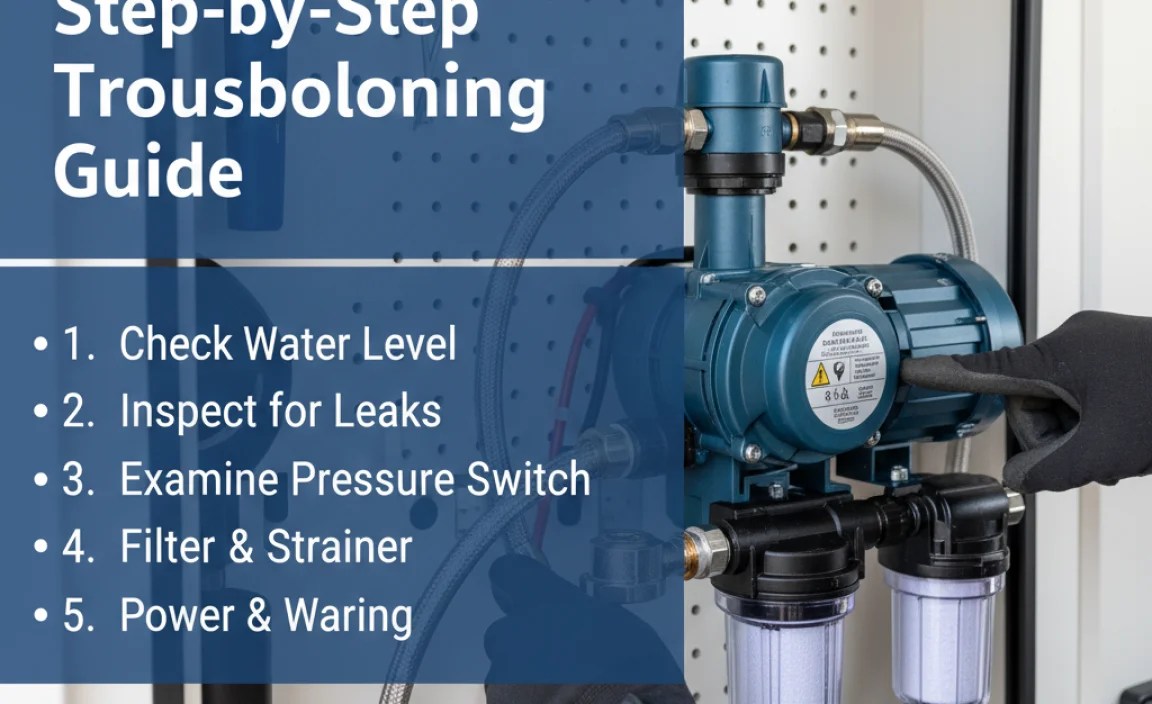
Now, let’s get hands-on and troubleshoot your cycling water pump. Follow these steps to identify and fix the problem:
Step 1: Check the Fresh Water Tank Level
This is the easiest check. Ensure you have sufficient water in your fresh water tank. A low water level can cause the pump to suck air and cycle.
Step 2: Inspect for Leaks
Carefully inspect all visible plumbing for leaks. Pay close attention to:
- Faucets: Check around the base and spout for drips.
- Toilets: Look for leaks around the base and connections.
- Under Sinks: Examine all pipes and fittings under sinks.
- Water Heater Connections: Inspect the inlet and outlet connections on your water heater.
- Pump Connections: Check the connections at the inlet and outlet of the water pump.
If you find a leak, tighten the fitting or replace the damaged part. Use Teflon tape on threaded connections to ensure a good seal.
Step 3: Bleed the Air from the Water Lines
Air in the lines is a common cause of cycling. Here’s how to bleed the air:
- Turn off the water pump.
- Open all faucets (hot and cold) in the RV.
- Turn the water pump back on.
- Let the water run until all air sputters out and a steady stream of water flows from each faucet.
- Close the faucets one by one.
Step 4: Check the Pump Check Valve
The check valve prevents water from flowing back into the fresh water tank. To check it:
- Turn off the water pump.
- Disconnect the outlet side of the pump.
- If water flows back out of the pump towards the tank, the check valve is likely faulty and needs replacement.
Step 5: Inspect and Tighten Fittings
Loose fittings can cause small leaks that lead to cycling. Systematically check and tighten all fittings in the water system. Use two wrenches – one to hold the fitting and the other to tighten the connection – to avoid twisting the pipes.
Step 6: Examine Pipes for Damage
Carefully inspect all visible pipes for cracks, kinks, or other damage. Pay particular attention to areas that may have been exposed to freezing temperatures. Replace any damaged pipes.
Step 7: Adjust Pump Pressure Setting (If Applicable)
Some RV water pumps have an adjustable pressure setting. Consult your pump’s manual to determine the correct pressure range. If the setting is too low, the pump may cycle more frequently. Adjust the pressure according to the manufacturer’s recommendations.
Advanced Troubleshooting
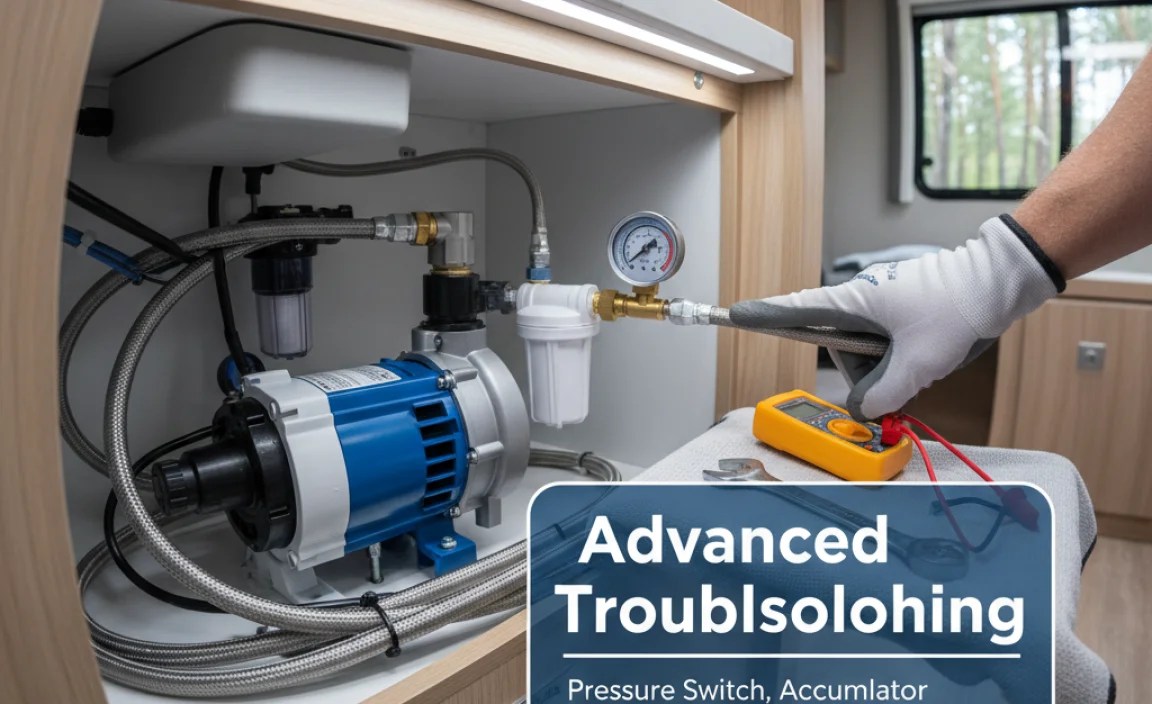
If you’ve tried the above steps and your pump is still cycling, the problem may be more complex. Here are some advanced troubleshooting steps:
Check the Accumulator Tank (If Equipped)
Some RVs have an accumulator tank, which helps maintain water pressure and reduce pump cycling. A faulty accumulator tank can cause cycling. To check it:
- Turn off the water pump.
- Depressurize the water system by opening a faucet.
- Locate the Schrader valve (like a tire valve) on the accumulator tank.
- Press the valve core. If water comes out, the bladder inside the tank is likely ruptured, and the tank needs replacement.
Inspect the Pump Head and Diaphragm
The pump head and diaphragm are critical components of the water pump. Over time, the diaphragm can wear out or become damaged, leading to cycling. To inspect these components:
- Turn off the water pump and disconnect it from the water lines.
- Disassemble the pump head according to the manufacturer’s instructions.
- Inspect the diaphragm for cracks, tears, or other damage.
- Replace the diaphragm if necessary.
Test the Water Pump Pressure Switch
The pressure switch controls when the pump turns on and off. A faulty pressure switch can cause the pump to cycle erratically. To test the pressure switch, you’ll need a multimeter:
- Disconnect the wires from the pressure switch.
- Set the multimeter to the continuity setting.
- Connect the multimeter probes to the switch terminals.
- With the pump off, the switch should show continuity (a closed circuit).
- Manually activate the switch (usually by pressing a button or lever). The switch should now show no continuity (an open circuit).
- If the switch doesn’t behave as described, it needs replacement.
Tools You Might Need

Having the right tools on hand will make the troubleshooting process much easier. Here’s a list of tools you might need:
- Screwdrivers (Phillips and flathead)
- Wrenches (various sizes)
- Pliers
- Teflon tape
- Multimeter
- Plumbing knife or PVC cutter (if replacing pipes)
- Basin or bucket (to catch water)
- Shop towels
Table of Common Problems and Solutions
Here’s a quick reference table summarizing common problems and their solutions:
| Problem | Possible Solution |
|---|---|
| Low Water Level | Fill the fresh water tank. |
| Leaks in Plumbing | Inspect and repair or replace leaking pipes, faucets, or fittings. |
| Faulty Check Valve | Replace the check valve. |
| Air in Water Lines | Bleed the air from the lines by opening all faucets. |
| Loose Fittings | Tighten all fittings in the water system. |
| Cracked or Damaged Pipes | Replace damaged pipes. |
| Incorrect Pump Pressure Setting | Adjust the pump pressure according to the manufacturer’s instructions. |
| Faulty Accumulator Tank | Replace the accumulator tank. |
| Damaged Pump Diaphragm | Replace the pump diaphragm. |
| Faulty Pressure Switch | Replace the pressure switch. |
Preventive Maintenance Tips
Preventing problems is always better than fixing them. Here are some preventive maintenance tips to keep your RV water pump working smoothly:
- Winterize Your RV Properly: Completely drain the water system before freezing temperatures to prevent pipes from cracking. Use RV antifreeze to protect the pump and plumbing. Refer to trusted resources like the National Park Service’s guide to winterizing your RV.
- Sanitize Your Water System Regularly: Sanitize the fresh water tank and plumbing at least twice a year to prevent bacteria growth. Use a solution of bleach and water, following the manufacturer’s instructions.
- Inspect Regularly: Periodically inspect the water system for leaks, loose fittings, and other signs of damage. Catching problems early can prevent more serious issues.
- Use a Water Filter: Install a water filter to remove sediment and other contaminants from the water. This will help protect the pump and plumbing from damage.
- Run the Pump Regularly: If your RV sits for extended periods, run the water pump for a few minutes each month to keep the seals lubricated and prevent them from drying out.
When to Call a Professional
While many RV water pump problems can be resolved with DIY troubleshooting, there are times when it’s best to call a professional. Consider seeking professional help if:
- You’re not comfortable working with plumbing or electrical systems.
- You’ve tried all the troubleshooting steps and the pump is still cycling.
- You suspect a major problem with the pump or plumbing.
- You’re dealing with a complex issue that requires specialized knowledge or tools.
A qualified RV technician can diagnose and repair the problem quickly and efficiently, saving you time and frustration.
FAQ: RV Water Pump Cycling
Here are some frequently asked questions about RV water pump cycling:
Q1: Why is my RV water pump turning on and off by itself?
A1: This cycling usually indicates a loss of pressure in the water system. Common causes include leaks, low water levels, a faulty check valve, or air in the lines.
Q2: How do I find a leak in my RV plumbing?
A2: Start by visually inspecting all visible plumbing, including faucets, toilets, under sinks, and water heater connections. Look for drips or signs of water damage. You can also use a paper towel to check for moisture around fittings.
Q3: What is a check valve, and why is it important?
A3: A check valve prevents water from flowing backward into the fresh water tank. If it fails, water can flow back into the tank, causing the pump to cycle to maintain pressure.
Q4: How do I bleed the air from my RV water lines?
A4: Turn off the water pump, open all faucets, turn the pump back on, and let the water run until all air sputters out. Then, close the faucets one by one.
Q5: Can cold weather cause my RV water pump to cycle?
A5: Yes, freezing temperatures can cause pipes to crack, leading to leaks and pump cycling. Always winterize your RV properly before freezing weather.
Q6: How often should I sanitize my RV water system?
A6: It’s recommended to sanitize your RV water system at least twice a year, or more often if you notice any signs of contamination.
Q7: What if I can’t find the source of the cycling?
A7: If you’ve tried all the troubleshooting steps and can’t find the source of the cycling, it’s best to consult a qualified RV technician. They have the expertise and tools to diagnose and repair more complex problems.
Conclusion
A cycling RV water pump can be a frustrating issue, but with a systematic approach, you can often diagnose and fix the problem yourself. Start with the simple checks, like water level and leaks, and then move on to more advanced troubleshooting if necessary. Remember to take your time, be thorough, and don’t hesitate to call a professional if you’re not comfortable tackling the repair yourself. By following these steps and practicing preventive maintenance, you can keep your RV water system working smoothly and enjoy your travels without the constant on-off annoyance of a cycling pump!
“`


