
DIY Guide to Replacing a Bicycle Chain Link: Easy!
Replacing a bicycle chain link is a simple repair you can easily do at home! You’ll need a chain tool, new chain link, and a few minutes. This quick fix will get you back on the road fast, saving you time and money on bike shop visits. Let’s get started!
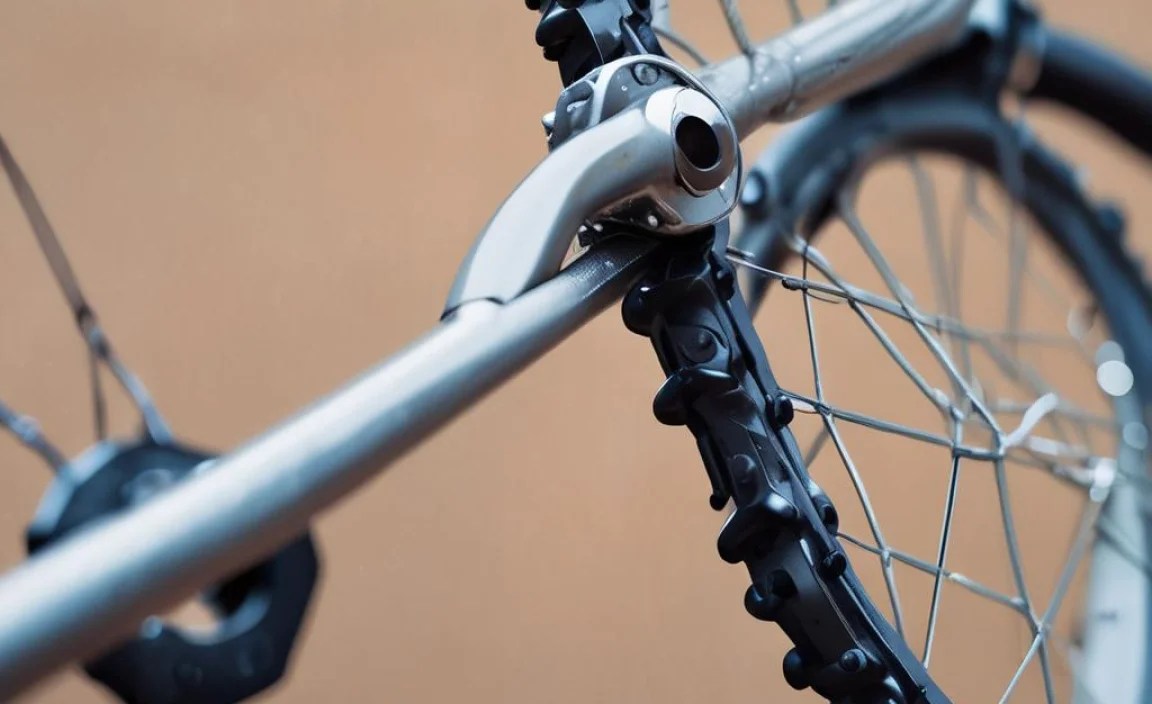
Is your bike chain skipping or feeling stiff? A damaged or worn chain link could be the culprit. Don’t worry, you don’t need to be a professional mechanic to fix it. Replacing a single chain link is a straightforward job that any cyclist can handle. It’s much easier than replacing the entire chain. In this guide, I’ll walk you through each step, from identifying the problem link to installing a new one. By the end, you’ll have the confidence to tackle this common bike repair and keep your ride smooth. Let’s get rolling!
Why Replace a Bicycle Chain Link?
A bike chain is made up of many links, all working together. Sometimes, one of these links can get damaged or worn out faster than the others. Here’s why you might need to replace a single chain link:
- Damage: A link could bend or break if it gets caught or hit by something.
- Rust or Corrosion: If one link is heavily rusted, it can weaken the chain.
- Stiffness: A link might become stiff and not move smoothly, causing skipping.
- Wear: Over time, links stretch and wear down. Replacing a single worn link can extend chain life.
Identifying and replacing a faulty link early can prevent bigger problems down the road, like a broken chain or damaged gears.
Tools You’ll Need
Before you start, gather these essential tools:
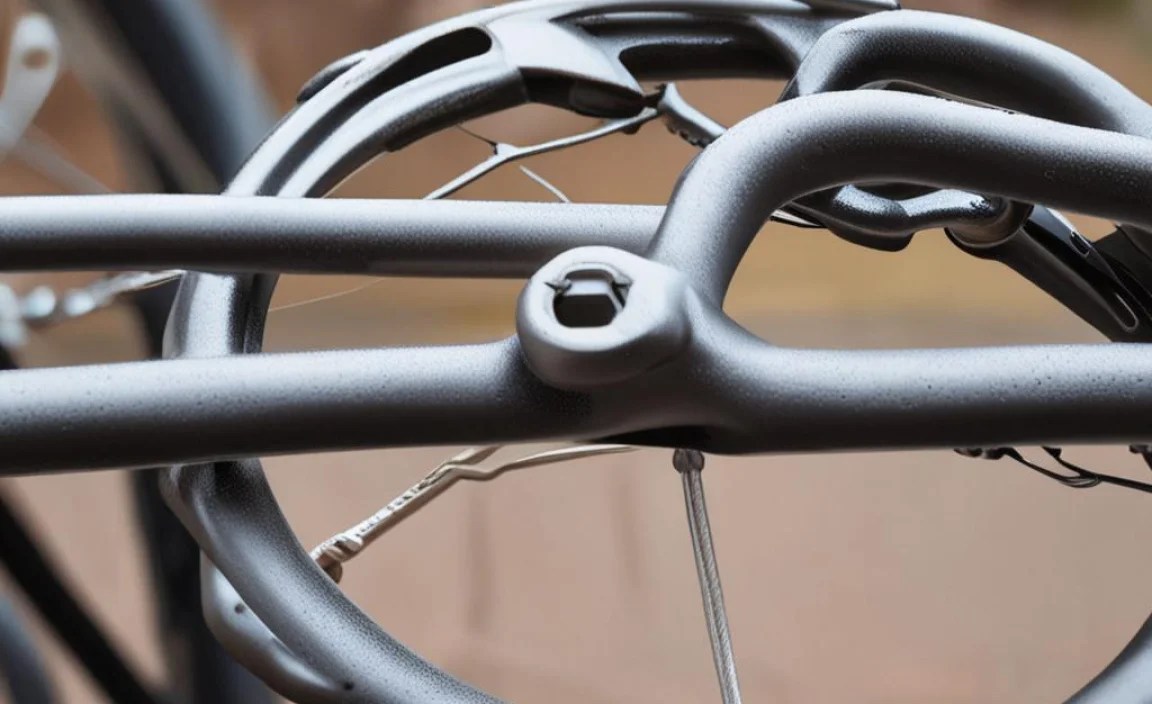
- Chain Tool (Chain Breaker): This tool pushes the chain pin out and back in. A must-have for any cyclist.
- New Chain Link: Make sure it’s the correct type and size for your chain (more on this below).
- Pliers (Optional): Can be helpful for manipulating the chain.
- Gloves (Optional): To keep your hands clean.
- Rag or Paper Towel: For wiping off dirt and grease.
Having the right tools makes the job much easier and prevents damage to your bike.
Choosing the Right Replacement Chain Link
Not all chain links are created equal. It’s crucial to choose the right one for your bike’s chain. Here’s what to consider:
- Speed of Your Bike: Chains are designed for different numbers of gears (speeds). A 7-speed bike needs a different chain than a 12-speed.
- Chain Type: Common types include single-speed, multi-speed, and e-bike chains.
- Master Link or Standard Link: Master links (also called quick links) are easy to install without tools. Standard links require a chain tool.
Chain Speed Compatibility
| Bike Speed | Compatible Chain | Notes |
|---|---|---|
| Single-Speed | Single-Speed Chain | Wider and stronger than multi-speed chains. |
| 6-8 Speed | 6-8 Speed Chain | Often interchangeable, but check manufacturer specs. |
| 9 Speed | 9 Speed Chain | Narrower than 8-speed chains. |
| 10 Speed | 10 Speed Chain | Requires a specific 10-speed chain. |
| 11 Speed | 11 Speed Chain | Even narrower; precise shifting depends on correct chain. |
| 12 Speed | 12 Speed Chain | Very narrow; requires a 12-speed compatible drivetrain. |
Check your bike’s specifications or ask your local bike shop to ensure you get the right replacement link.
Step-by-Step Guide to Replacing a Chain Link
Here’s how to replace a bicycle chain link, step by step.
Step 1: Identify the Bad Link
First, find the damaged or worn link. Look for:
- Bent or broken plates
- Rust or corrosion
- Stiff movement (doesn’t bend easily)
If the link is hard to spot, slowly rotate the pedals backwards and watch the chain as it passes through the rear derailleur. This can make it easier to see the problem area.
Step 2: Position the Chain
Move the bad link to a section of the chain that’s easy to work on. The top run of the chain (between the front chainring and rear cassette) is often a good spot.
Step 3: Use the Chain Tool to Remove the Old Link
- Place the chain tool so the pin of the bad link lines up with the tool’s pin.
- Turn the handle of the chain tool to push the tool’s pin into the chain pin.
- Push the chain pin most of the way out, but don’t remove it completely. Leaving it slightly in place makes it easier to reassemble later (if you’re using a standard link).
- Repeat on the other side of the link to fully detach it.
Be careful not to push the chain pin all the way out unless you intend to replace it completely. If you do push it out, it can be tricky to get it back in.
Step 4: Install the New Chain Link
There are two main types of chain links: standard links and master links (quick links). The installation process differs slightly for each.
Installing a Standard Chain Link
- Position the new link in place of the old one.
- Align the chain so the holes line up with the new link.
- Use the chain tool to push the chain pin back through the link. Make sure the pin is flush with the outer plate of the chain.
- Check the link’s movement. It should move freely. If it’s stiff, gently flex the chain back and forth to loosen it up.
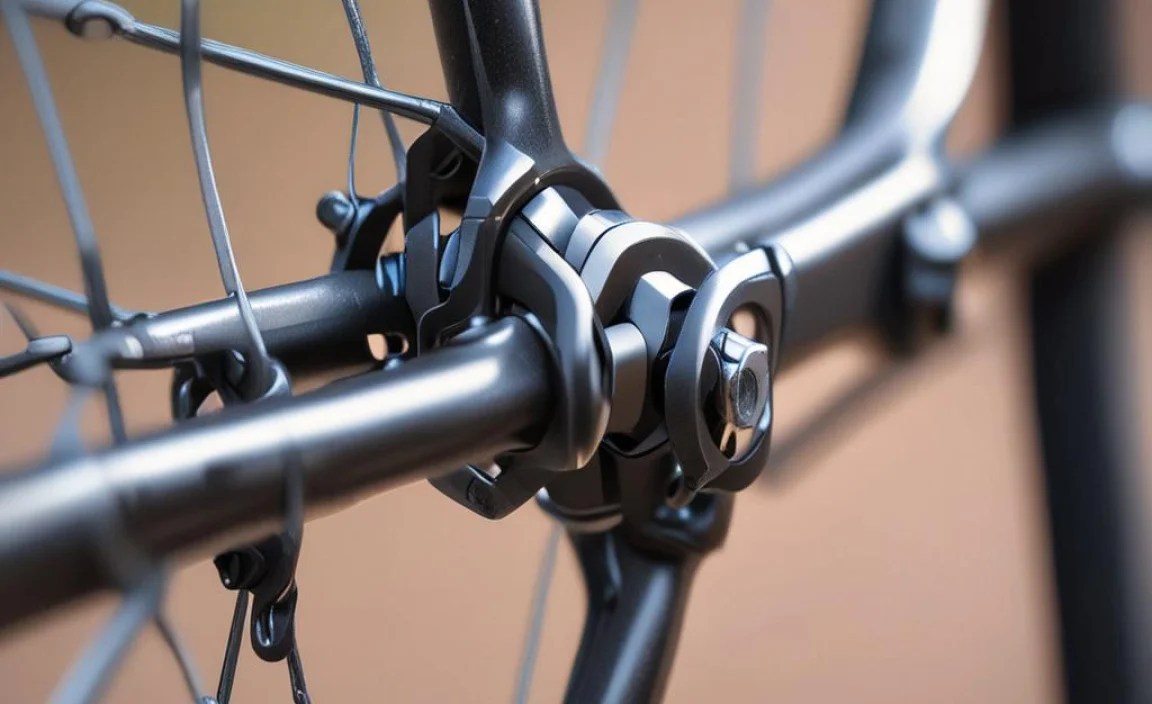
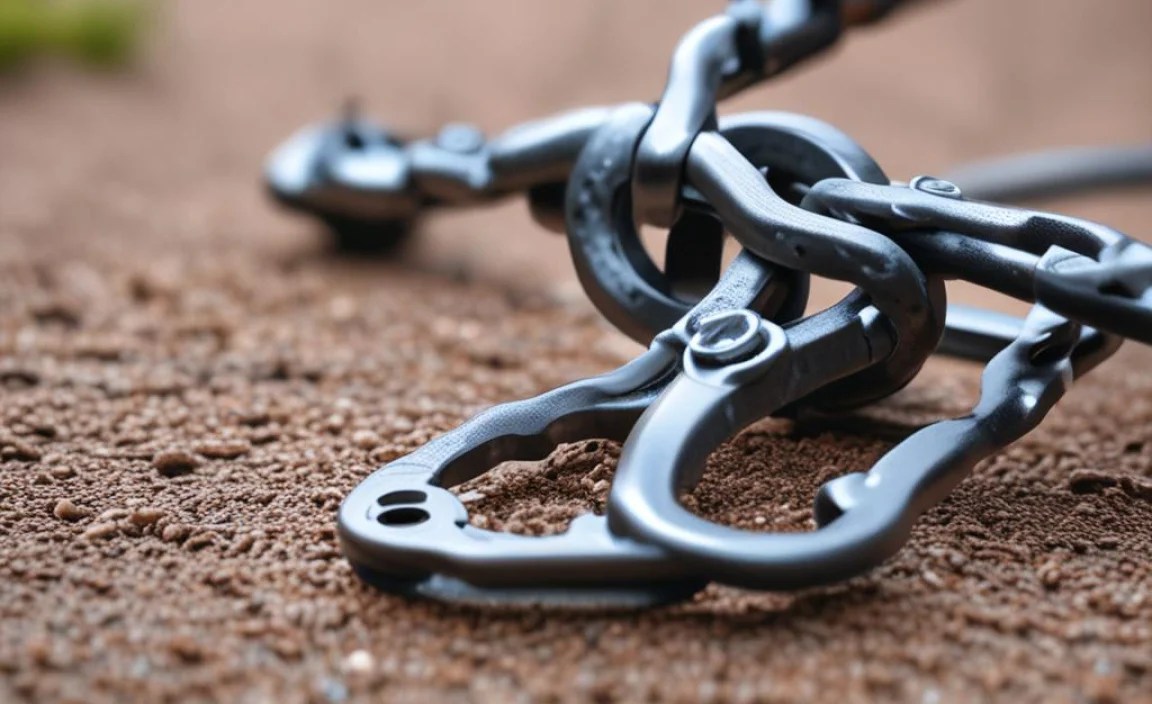
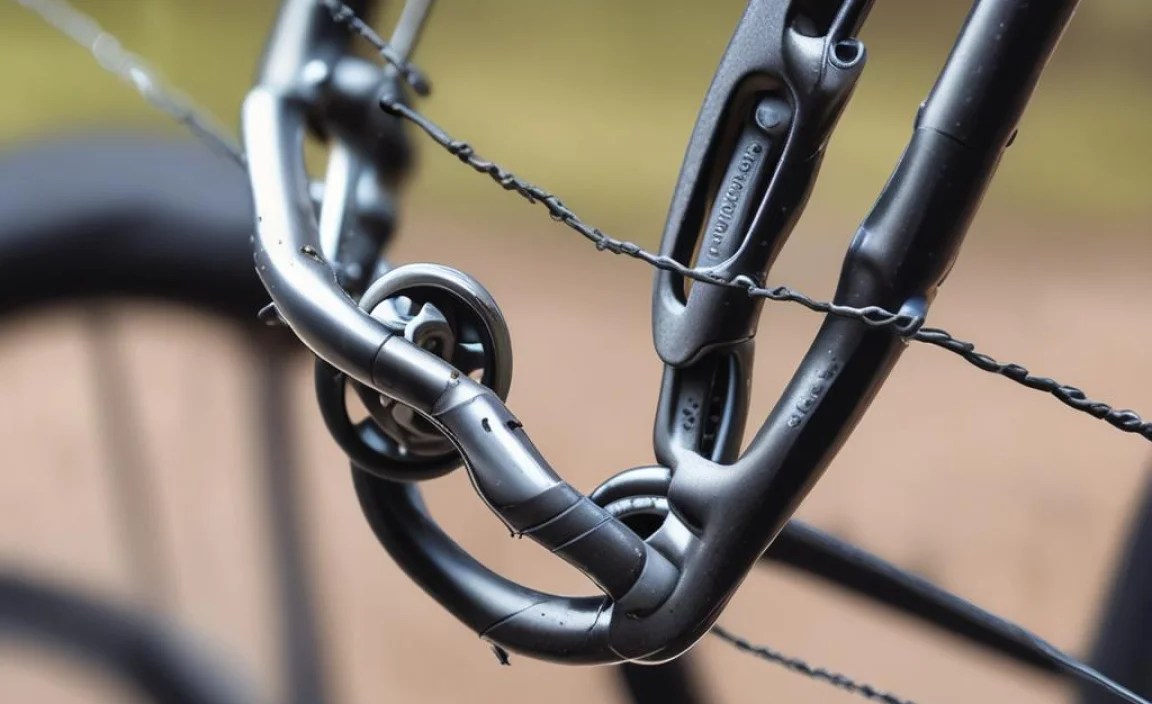
Installing a Master Link (Quick Link)
- Position the two halves of the master link into the open ends of the chain.
- Press the two halves together. Some master links snap together easily by hand.
- Engage the Link: Rotate the master link to the top of the chain (near the chainring). Then, apply pressure to the pedals to fully seat the link. You should hear a click.
- Check the Link: Ensure the master link is securely fastened.
Master links are great because they don’t require any tools for installation or removal. However, it’s a good idea to carry a spare master link with you on rides, just in case.
Step 5: Check Your Work
After installing the new link, give the chain a thorough check:
- Smoothness: Pedal the bike backwards and forwards to make sure the chain runs smoothly through the gears.
- Security: Ensure the new link is securely fastened and doesn’t have any play.
- Alignment: Check that the chain is properly aligned and doesn’t rub against the derailleur or frame.
If you notice any issues, double-check your work and make sure everything is properly installed.
Tips for a Smooth Chain Replacement
Here are some extra tips to help you replace a chain link like a pro:
- Clean the Chain: Before you start, wipe down the chain with a rag to remove dirt and grease. This will make it easier to work on and prevent grime from getting on your hands.
- Lubricate the New Link: Apply a drop of chain lubricant to the new link after installation. This will help it move smoothly and prevent rust.
- Proper Chain Tool Use: Always make sure the chain tool is properly aligned with the chain pin. Using it incorrectly can damage the chain or the tool.
- Don’t Reuse Old Pins: If you completely remove a chain pin, it’s best to use a new one. Old pins can be weakened and may break.
- Check Chain Wear Regularly: Use a chain wear indicator tool to check for chain stretch. Replacing your chain before it gets too worn can prevent damage to your cassette and chainrings.
When to Replace the Entire Chain
Sometimes, replacing a single link isn’t enough. Here are signs that you might need a new chain:
- Excessive Wear: If your chain is stretched beyond the recommended limit (usually measured with a chain wear indicator), it’s time for a replacement.
- Multiple Damaged Links: If you find several damaged or worn links, replacing the entire chain is more efficient and reliable.
- Skipping Under Load: If the chain skips on the cassette or chainrings when you pedal hard, it could be a sign of a worn chain.
Pros and Cons of Replacing a Single Link vs. the Entire Chain
| Option | Pros | Cons |
|---|---|---|
| Replace Single Link |
|
|
| Replace Entire Chain |
|
|
If you’re unsure whether to replace a single link or the entire chain, consult your local bike shop.
Maintaining Your Bike Chain
Regular maintenance is key to keeping your chain in good condition and preventing problems. Here are some tips:
- Clean Your Chain Regularly: Use a chain cleaner or degreaser to remove dirt and grime.
- Lubricate Your Chain: Apply chain lubricant after cleaning, or whenever the chain starts to sound dry.
- Check for Wear: Use a chain wear indicator to check for chain stretch.
- Store Your Bike Properly: Keep your bike in a dry place to prevent rust and corrosion.
A well-maintained chain will last longer and provide smoother, more efficient performance.
Chain Lubrication Explained
Lubricating your chain properly is essential for smooth and efficient riding. There are many types of chain lubes available, each with its own pros and cons.
Types of Chain Lube
- Wet Lube: Ideal for wet and muddy conditions. It stays on the chain longer but can attract more dirt.
- Dry Lube: Best for dry and dusty conditions. It doesn’t attract as much dirt but needs to be applied more frequently.
- Ceramic Lube: Offers excellent performance and durability. It’s more expensive but can last a long time.
How to Lubricate Your Chain
- Clean the Chain: Use a rag to wipe off any dirt or grime.
- Apply Lube: Apply a small amount of lube to each link, while rotating the pedals backwards.
- Wipe Off Excess: Use a clean rag to wipe off any excess lube. This will prevent dirt from sticking to the chain.
Proper lubrication will keep your chain running smoothly and extend its lifespan.
Common Mistakes to Avoid
Replacing a chain link is generally straightforward, but here are some common mistakes to watch out for:
- Using the Wrong Chain Link: Always make sure you’re using the correct type and size of chain link for your bike.
- Over-Tightening the Chain Tool: Be careful not to over-tighten the chain tool, as this can damage the chain.
- Forgetting to Check for Smoothness: After installing the new link, always check that the chain moves freely.
- Ignoring Chain Wear: Don’t wait until your chain is completely worn out before replacing it. Regular checks can prevent damage to other components.
FAQ: Replacing Bicycle Chain Links
1. Can I reuse a chain pin?
It’s generally not recommended to reuse a chain pin. Once a pin has been pushed out, it can be weakened. It’s best to use a new pin for a secure connection.
2. How often should I lubricate my chain?
Lubricate your chain every 100-200 miles, or more often if you ride in wet or dusty conditions. A dry, squeaky chain needs lubrication.
3. What is a master link?
A master link (or quick link) is a special type of chain link that can be easily installed and removed without tools. It’s a convenient option for chain maintenance and repairs.
4. How do I know what size chain I need?
Check your bike’s specifications or consult your local bike shop. The chain size depends on the number of gears (speeds) your bike has.
5. Can I use any chain tool?
Most chain tools are universal, but some are designed for specific types of chains. Make sure the tool is compatible with your chain before using it.
6. What happens if my chain is too tight?
A chain that’s too tight can cause increased wear on the chain, cassette, and chainrings. It can also make it harder to shift gears. Ensure the chain has the correct tension.
7. Is it hard to replace a bike chain?
Replacing a bike chain is a relatively simple task that most cyclists can do with the right tools and a little practice. This guide will help you master the process.
Conclusion
Replacing a bicycle chain link is a valuable skill that can save you time and money. By following these steps and tips, you can confidently tackle this common bike repair and keep your ride smooth and enjoyable. Remember to choose the right replacement link, use the correct tools, and maintain your chain regularly. Happy cycling!


