
How to Mount Rear Light & Reflector on Rack Mount? Easy!
Have you ever ridden your bike at night? Did you worry about cars seeing you? It is important to be safe when biking. One way to be safe is to use lights and reflectors. These help cars see you. Do you know how to mount rear light and reflector on rack mount? It’s easier than you think!
These lights and reflectors attach to your bike rack. This guide will show you how. Let’s make your bike safer for night rides.
Key Takeaways
- Always check your lights and reflectors before you ride your bike.
- Make sure your rear light is bright and visible from far away.
- Reflectors help others see you, even if your light runs out of power.
- Knowing how to mount rear light and reflector on rack mount is crucial for safety.
- Regularly inspect and clean your lights and reflectors for best performance.
How to Mount Rear Light on Rack Mount
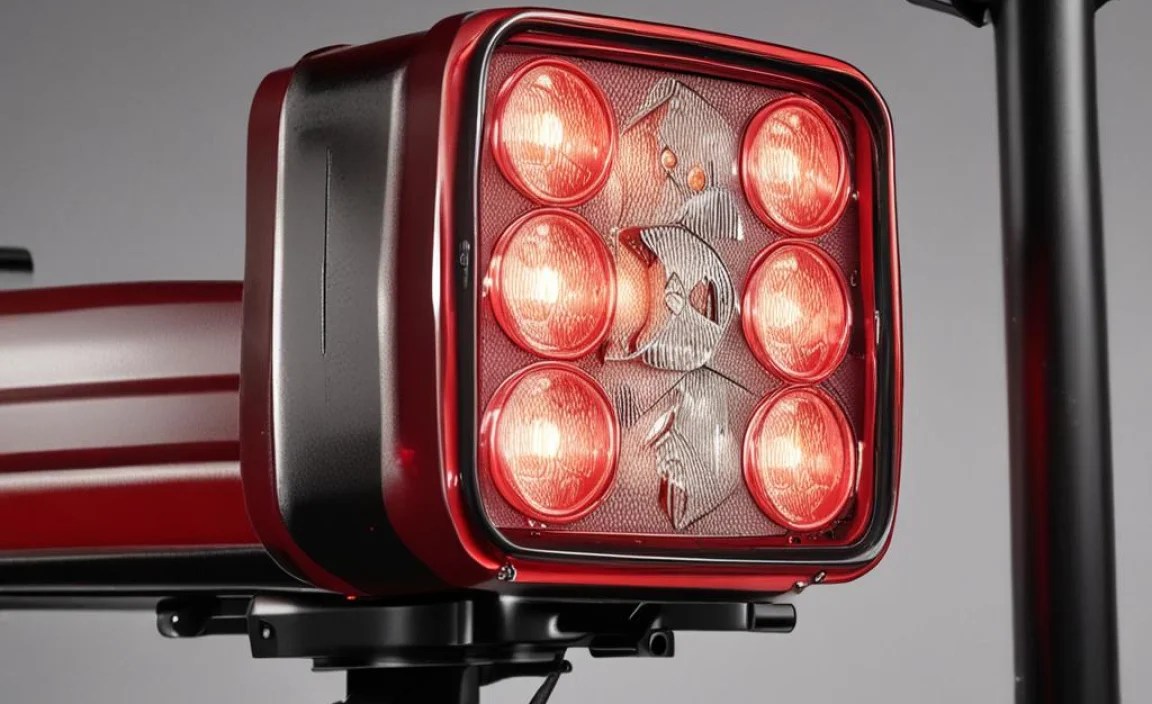

Mounting a rear light on your bike rack is very important. It makes you visible to cars and other bikes. A rear light helps prevent accidents, especially at night. The rack mount is a great place to put your light. It’s high up and easy to see. You need to choose the right light for your rack. Some lights come with special mounts. Others need adapters. Make sure the light is bright enough. A good rear light should be seen from far away. Check the batteries often. Dim lights are not safe. Also, adjust the angle of the light. It should point straight back. This makes it easier for drivers to see you. Mounting a rear light is a simple step. It can make a big difference in your safety. Always prioritize safety when you ride your bike.
- Choose a bright rear light.
- Find the right mount for your rack.
- Check the batteries often.
- Adjust the light angle.
- Make sure the light is secure.
- Test the light before each ride.
Think of a time you almost didn’t see a biker at night. It was probably scary! A good rear light prevents this. When you mount your light, think about that moment. Make sure your light is bright and easy to see. Use a light that flashes. Flashing lights grab more attention. Check the weather. Rain and fog make it harder to see. Use an even brighter light in bad weather. Tell your friends how to mount rear light on rack mount. Help them stay safe too. Bike safety is everyone’s job. When we all use lights and reflectors, biking becomes safer for everyone. Always remember to stay visible and be aware of your surroundings.
Why is a Rear Light Important?
Have you ever played hide-and-seek in the dark? It’s hard to see people! Riding a bike at night can be like that. Cars need to see you. A rear light is like a flashlight on your bike. It tells cars where you are. Without a light, you are almost invisible. This is very dangerous. Cars might not see you in time. They could hit you. A rear light makes you much safer. It gives drivers more time to react. They can slow down or move over. Always use a rear light at night. It could save your life. Also, use a light during the day. Some days are cloudy or foggy. A light helps cars see you then too. Staying visible is the key to bike safety.
Choosing the Right Rear Light
Picking the right rear light can be tricky. There are many choices. Some lights are small and cheap. Others are big and expensive. Which one is best for you? Think about how often you bike at night. If you ride a lot, get a good light. Look for a light with a long battery life. LED lights are a good choice. They are bright and last a long time. Some lights have different modes. They can flash or stay on steady. Flashing lights are good for busy streets. Steady lights are good for quiet roads. Also, check how easy the light is to mount. Some mounts are hard to use. Choose a light that is easy to attach to your rack. Read reviews before you buy. See what other people think of the light.
Maintaining Your Rear Light
Imagine your favorite toy breaking. You would be sad! A rear light is like a toy. You need to take care of it. Check the batteries often. Replace them when they get weak. Clean the light regularly. Dirt and mud can make it dim. Use a damp cloth to wipe it off. Check the mount. Make sure it is tight. A loose light can fall off. Store your light in a safe place. Don’t leave it in the sun. The sun can damage the plastic. If your light breaks, get a new one. Don’t ride with a broken light. It’s not safe. Taking care of your rear light is easy. It will keep you safe for a long time. Always remember to check your light before you ride.
Fun Fact or Stat: Studies show that using a rear light can reduce bike accidents by up to 60%!
How to Mount Reflector on Rack Mount
A reflector is a simple but effective safety device. It bounces light back to cars. This helps drivers see you at night. Reflectors don’t need batteries. They work all the time. The rack mount is a good place for a reflector. It’s high up and easy to see. Make sure the reflector faces backwards. This is where the cars are coming from. Clean your reflector often. Dirt can make it less effective. Check the mount regularly. A loose reflector won’t work well. Reflectors are cheap and easy to install. There’s no reason not to use one. Even if you have a rear light, use a reflector too. It’s an extra layer of safety. How to mount rear light and reflector on rack mount is easy. It can save your life.
- Choose a bright reflector.
- Mount it facing backwards.
- Clean it regularly.
- Check the mount often.
- Use it even if you have a light.
- Make sure it is securely attached.
Have you ever seen a cat’s eyes glow in the dark? That’s like a reflector! Reflectors use tiny mirrors to bounce light. They don’t need any power. They just need light from a car. When the car’s headlights shine on the reflector, it lights up. This tells the driver you are there. Reflectors are simple and reliable. They work in all kinds of weather. They don’t break easily. Keep your reflector clean. A dirty reflector is not as bright. Wipe it off with a cloth. Make sure it is facing the right way. A reflector facing the wrong way won’t work. Tell your friends about reflectors. Help them stay safe on their bikes. Bike safety is a team effort.
Why Use a Reflector?
Imagine your rear light runs out of batteries. It happens sometimes! What will you do? A reflector can save the day. It doesn’t need batteries. It works even if your light is off. A reflector is like a backup plan. It’s always there to help you. Use a reflector with your rear light. This gives you extra protection. Cars will see you even if your light fails. Reflectors are cheap and easy to install. There’s no reason not to use one. They are a simple way to stay safe. Think of a reflector as a superhero. It protects you from danger. Always use a reflector when you ride your bike. It’s a smart and easy way to stay visible.
Types of Reflectors
Did you know there are different kinds of reflectors? Some are small and round. Others are long and thin. Some are red, and some are white. Which one should you use? Red reflectors are for the back of your bike. White reflectors are for the front. Choose a reflector that is bright and easy to see. Some reflectors are better than others. Look for reflectors that are certified. This means they have been tested. They meet certain safety standards. You can also get reflective tape. This tape sticks to your bike. It makes it more visible. Put reflective tape on your helmet and clothes too. The more reflectors you have, the safer you will be.
Installing Your Reflector
Installing a reflector is easy. You can do it yourself! First, find the right spot on your rack. Make sure the reflector faces backwards. Use a screwdriver to tighten the screws. Don’t tighten them too much. You don’t want to break the reflector. Check the reflector regularly. Make sure it is still tight. If it is loose, tighten the screws again. Some reflectors use clips instead of screws. These are easy to install. Just clip the reflector onto your rack. Make sure the clip is secure. If you are not sure how to install a reflector, ask for help. A bike shop can install it for you. It’s better to be safe than sorry. A properly installed reflector can save your life.
Fun Fact or Stat: Reflectors can be seen from up to 500 feet away, giving drivers plenty of time to react!
Choosing the Right Rack Mount
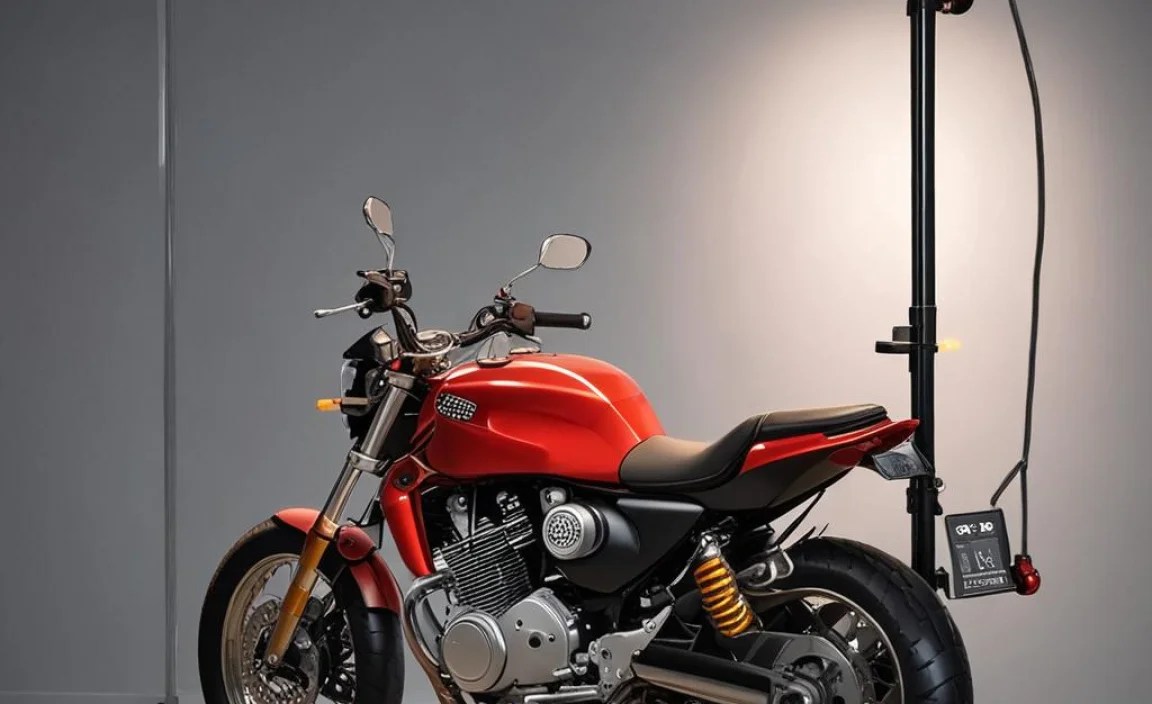
The bike rack is where your light and reflector attach. Not all racks are the same. Some are better for mounting lights and reflectors. Look for a rack with mounting points. These are special places to attach your lights. Some racks have built-in reflector mounts. These make it easy to install a reflector. Choose a rack that is strong and sturdy. It should be able to hold your light and reflector securely. Check the weight limit of the rack. Don’t put too much weight on it. This could damage the rack. A good rack will make it easier to mount your lights. It will also keep them safe and secure. How to mount rear light and reflector on rack mount starts with the right rack.
- Look for mounting points.
- Choose a strong rack.
- Check the weight limit.
- Consider a rack with built-in reflector mounts.
- Make sure the rack fits your bike.
- Read reviews before you buy a rack.
Imagine trying to build a house on a weak foundation. It wouldn’t work! The bike rack is like the foundation for your lights and reflectors. If the rack is weak or flimsy, your lights won’t be secure. They could fall off while you’re riding. This is dangerous! Choose a rack that is made of strong materials. Metal racks are usually the best. Plastic racks can break easily. Make sure the rack is the right size for your bike. A rack that is too small or too big won’t work. Ask a bike shop for help. They can help you choose the right rack for your bike. A good rack is an investment in your safety.
Rack Material Matters
Have you ever seen a rusty old bike rack? Rust weakens the metal. It can make the rack break. Choose a rack that is rust-resistant. Aluminum racks are a good choice. They don’t rust easily. Steel racks are strong, but they can rust. If you choose a steel rack, protect it from the weather. Keep it clean and dry. You can also paint it. Paint helps prevent rust. Check your rack often for signs of rust. If you see rust, clean it off. You can use a wire brush to remove rust. Then, repaint the rack. Taking care of your rack will make it last longer. It will also keep your lights and reflectors safe.
Rack Size and Compatibility
Picking the right size rack is important. A rack that is too small won’t fit your bike. A rack that is too big will be wobbly. Measure your bike before you buy a rack. Check the rack’s specifications. Make sure it is compatible with your bike. Some racks are designed for specific types of bikes. For example, some racks are for mountain bikes. Others are for road bikes. Make sure you choose the right rack for your bike type. If you are not sure, ask a bike shop for help. They can help you find a rack that fits your bike perfectly. A properly sized rack will be more stable and secure.
Rack Mounting Options
There are different ways to mount a rack to your bike. Some racks attach to the seat post. Others attach to the frame. Some racks use special mounts. Choose a rack that is easy to install. Read the instructions carefully. Follow the instructions step by step. If you are not sure how to install the rack, ask for help. A bike shop can install it for you. Make sure the rack is securely attached to your bike. A loose rack can be dangerous. It could fall off while you are riding. Check the rack regularly. Make sure the mounts are tight. If they are loose, tighten them again. A properly mounted rack will keep your lights and reflectors safe.
Fun Fact or Stat: A high-quality bike rack can last for over 10 years with proper care!
Tools You’ll Need
To mount your light and reflector, you’ll need some tools. A screwdriver is the most important tool. You’ll need a Phillips head screwdriver. You might also need a flathead screwdriver. The size of the screwdriver depends on the screws. You might need an Allen wrench. Some lights and reflectors use Allen screws. You’ll also need a wrench. Use the wrench to tighten the bolts. A pair of pliers can be helpful. Use pliers to hold small parts. A rag is also useful. Use the rag to wipe off dirt. A flashlight can help you see. Good lighting is important. Having the right tools makes the job easier. It also makes it safer. How to mount rear light and reflector on rack mount is easier with the right tools.
- Phillips head screwdriver
- Flathead screwdriver
- Allen wrench set
- Adjustable wrench
- Pliers
- Rag or cloth
Imagine trying to build a Lego set without the instructions. It would be hard! Having the right tools is like having the instructions. It makes the job easier and faster. A screwdriver is like the main building block. You need it to attach the light and reflector. An Allen wrench is like a special tool for certain blocks. It fits into the Allen screws. A wrench is like a helper. It helps you tighten the bolts. Pliers are like extra hands. They hold small parts in place. A rag is like a cleaning crew. It keeps everything tidy. A flashlight is like a spotlight. It helps you see in the dark. With the right tools, you can mount your light and reflector like a pro!
Screwdrivers: Phillips vs. Flathead
Do you know the difference between a Phillips and a flathead screwdriver? They look different! A Phillips screwdriver has a cross-shaped head. A flathead screwdriver has a flat, straight head. Use the right screwdriver for the right screw. Using the wrong screwdriver can damage the screw. It can also make it hard to tighten. Check the screw head before you start. See if it is a Phillips or a flathead. Use the matching screwdriver. If you are not sure, ask for help. Someone can show you the difference. Using the right screwdriver will make the job easier. It will also prevent damage to your light and reflector.
Allen Wrenches: Metric vs. Standard
Allen wrenches are used for Allen screws. These screws have a hexagonal hole. Allen wrenches come in different sizes. Metric Allen wrenches are used for metric screws. Standard Allen wrenches are used for standard screws. Make sure you use the right size Allen wrench. A wrench that is too small will slip. A wrench that is too big won’t fit. Use a set of Allen wrenches. This will give you a range of sizes. You can find the right size for your screw. If you are not sure, try different sizes. Start with the smallest size. Then, try the next size up. Keep going until you find the right fit.
Other Useful Tools
Besides screwdrivers and Allen wrenches, other tools can help. Pliers can be used to hold small parts. They can also be used to bend wires. A wrench can be used to tighten bolts. An adjustable wrench is a good choice. It can be used for different size bolts. A rag is useful for cleaning. Use it to wipe off dirt and grease. A flashlight is essential for working in the dark. It helps you see what you are doing. A measuring tape can be helpful. Use it to measure distances. This can help you position your light and reflector correctly. Having these tools on hand will make the job easier.
Fun Fact or Stat: A good set of tools can last a lifetime if you take care of them!
Step-by-Step Mounting Guide
Now, let’s get to the mounting process. First, gather your tools. You’ll need a screwdriver, wrench, and possibly an Allen wrench. Find the mounting points on your rack. These are usually holes or clips. Position the light or reflector. Make sure it faces the correct direction. The light should face backwards. The reflector should also face backwards. Use the screws or bolts to attach the light or reflector. Tighten them securely. Don’t overtighten. Check the light or reflector. Make sure it is stable. If it wiggles, tighten the screws more. Test the light. Make sure it works. You are now ready to ride! Knowing how to mount rear light and reflector on rack mount makes you safer.
- Gather your tools.
- Find the mounting points.
- Position the light or reflector.
- Attach the light or reflector.
- Tighten the screws or bolts.
- Test the light.
Imagine you are building a model airplane. You need to follow the instructions carefully. Mounting a light or reflector is similar. Follow the steps one by one. Don’t skip any steps. Start by gathering your tools. This will make the process easier. Find the mounting points on your rack. These are where you will attach the light or reflector. Position the light or reflector carefully. Make sure it faces the right way. Use the screws or bolts to attach the light or reflector. Tighten them securely. Don’t overtighten them. This could damage the light or reflector. Test the light to make sure it works. If it doesn’t work, check the batteries. You are now ready to ride safely!
Preparing Your Bike Rack
Before you start mounting, prepare your bike rack. Clean the rack with a rag. Remove any dirt or debris. Check the mounting points. Make sure they are clean and free of rust. If there is rust, remove it with a wire brush. Inspect the rack for damage. Look for cracks or bends. If you find any damage, don’t use the rack. Replace it with a new one. Make sure the rack is securely attached to your bike. Tighten the bolts. If the rack is loose, it could be dangerous. Preparing your bike rack is an important step. It will ensure that your light and reflector are mounted safely.
Attaching the Light and Reflector
Attaching the light and reflector is the main part of the process. Position the light or reflector on the mounting points. Use the screws or bolts to attach it. Tighten the screws or bolts with a screwdriver or wrench. Don’t overtighten them. This could damage the light or reflector. Make sure the light or reflector is facing the right way. The light should face backwards. The reflector should also face backwards. Check the alignment. Make sure the light or reflector is straight. Adjust it if necessary. Attaching the light and reflector properly is essential for safety.
Testing and Adjusting
After you attach the light and reflector, test them. Turn on the light. Make sure it is bright. Check the reflector. Shine a flashlight on it. Make sure it reflects light. If the light or reflector doesn’t work, check the batteries. Replace the batteries if necessary. Adjust the angle of the light. Point it slightly downwards. This will make it more visible to drivers. Adjust the position of the reflector. Make sure it is facing directly backwards. Testing and adjusting are important steps. They will ensure that your light and reflector are working properly.
Fun Fact or Stat: Properly mounted lights and reflectors can increase your visibility by up to 80% at night!
Safety Tips and Best Practices
Always wear a helmet when riding your bike. A helmet protects your head. Use lights and reflectors at night. They help cars see you. Wear bright clothing. Bright colors make you more visible. Follow traffic laws. Obey traffic signals and signs. Ride with traffic. Don’t ride against traffic. Be aware of your surroundings. Watch out for cars and pedestrians. Use hand signals. Let drivers know where you are going. Check your brakes regularly. Make sure they work properly. Keep your bike in good condition. A well-maintained bike is safer. How to mount rear light and reflector on rack mount is just one part of bike safety.
| Safety Tip | Why It’s Important |
|---|---|
| Wear a helmet | Protects your head in case of a fall. |
| Use lights and reflectors | Makes you visible to drivers at night. |
| Wear bright clothing | Increases your visibility during the day. |
| Follow traffic laws | Helps prevent accidents. |
| Check your brakes | Ensures you can stop safely. |
Imagine you are a superhero. You need to protect yourself! Bike safety is like your superpower. Wearing a helmet is like your shield. It protects your head from injury. Using lights and reflectors is like your invisibility cloak. It makes you visible to cars. Wearing bright clothing is like your super suit. It makes you stand out. Following traffic laws is like your code of conduct. It keeps you safe and responsible. Checking your brakes is like your emergency escape. It allows you to stop quickly. By following these safety tips, you can be a bike safety superhero!
Regular Maintenance Checks
Check your bike regularly. Look for signs of wear and tear. Check the tires. Make sure they are properly inflated. Check the brakes. Make sure they work smoothly. Check the chain. Make sure it is clean and lubricated. Check the lights and reflectors. Make sure they are working properly. Tighten any loose bolts or screws. A well-maintained bike is safer. Regular maintenance checks can prevent accidents. They can also extend the life of your bike. Make it a habit to check your bike before each ride. It’s a simple way to stay safe.
Visibility in Different Conditions
Visibility is important in all conditions. But it is especially important at night. Use bright lights and reflectors. Wear bright clothing. In rainy or foggy conditions, visibility is reduced. Use extra lights and reflectors. Wear reflective clothing. During the day, visibility can also be a problem. Wear bright clothing. Use a daytime running light. Be aware of your surroundings. Watch out for cars and pedestrians. Adjust your speed to the conditions. Slow down in bad weather. Visibility is key to bike safety. Always make sure you are visible to others.
Safe Riding Habits
Develop safe riding habits. Ride with traffic. Obey traffic laws. Use hand signals. Be predictable. Don’t make sudden moves. Stay alert. Pay attention to your surroundings. Avoid distractions. Don’t use your phone while riding. Be courteous to other road users. Share the road. Don’t ride too close to cars. Give pedestrians the right of way. Safe riding habits can prevent accidents. They can also make your ride more enjoyable. Practice safe riding habits every time you ride your bike. It’s a smart way to stay safe.
Fun Fact or Stat: 80% of cycling accidents occur during daylight hours, emphasizing the importance of visibility at all times!
Summary
Mounting a rear light and reflector on your bike rack is crucial for safety. It increases your visibility to drivers, especially at night. Choose a bright rear light and a good reflector. Make sure they are properly mounted and maintained. Use the right tools and follow the steps carefully. Don’t forget to check your bike rack and other safety features. Always wear a helmet and follow traffic laws. By taking these precautions, you can enjoy safe and fun bike rides. Knowing how to mount rear light and reflector on rack mount is a key part of being a responsible cyclist. Stay safe and happy biking!
Conclusion
Bike safety is very important. Using lights and reflectors can save your life. This guide showed you how to mount rear light and reflector on rack mount. Remember to choose the right equipment. Follow the steps carefully. Check your lights and reflectors often. Stay safe on the road. Enjoy your bike rides!
Frequently Asked Questions
Question No 1: Why is it important to mount a rear light and reflector on my bike?
Answer: It is very important for your safety! Mounting a rear light and reflector makes you more visible to cars and other vehicles. This is especially important at night or in low-light conditions. A rear light provides a bright, flashing signal that drivers can easily see. A reflector bounces light from headlights back to the driver, even if your light fails. Together, they greatly reduce your risk of being hit by a car. So, take the time to learn how to mount rear light and reflector on rack mount for a safer ride.
Question No 2: What tools do I need to mount a rear light and reflector?
Answer: You don’t need many tools! Usually, a screwdriver (Phillips or flathead) is the main thing. Some lights and reflectors might use Allen screws, so an Allen wrench set could be useful. An adjustable wrench can also help tighten bolts. Having pliers can be handy for holding small parts. Don’t forget a rag to wipe away dirt. A flashlight will also help you see better, especially in dark garages or sheds. With these simple tools, you will be able to easily learn how to mount rear light and reflector on rack mount.
Question No 3: How do I choose the right rear light for my bike?
Answer: Choosing the right rear light depends on how often you ride and where you ride. Look for a light that is bright and visible from a distance. LED lights are a good choice because they are energy-efficient and long-lasting. Consider a light with different modes, such as flashing and steady. Flashing lights are great for getting attention in busy areas. Check the battery life of the light. Make sure it is long enough for your typical rides. Also, ensure that the light is easy to mount and remove. Knowing how to mount rear light and reflector on rack mount also means choosing quality components.
Question No 4: Where is the best place to mount a rear light and reflector on my bike?
Answer: The best place is usually on the bike rack, if you have one. The rack mount is high up and easily visible to drivers. If you don’t have a rack, you can mount the light and reflector to the seat post or frame. Make sure the light and reflector are facing directly backwards. This is the direction cars will be coming from. Ensure the light and reflector are securely mounted and won’t move around while you are riding. Check them before each ride! Knowing how to mount rear light and reflector on rack mount properly ensures the best visibility.
Question No 5: How often should I check my rear light and reflector?
Answer: You should check your rear light and reflector before every ride. Make sure the light is working and the reflector is clean. Check the batteries in the light. Replace them if they are weak. Make sure the light and reflector are securely mounted. Tighten any loose screws or bolts. Regular checks will help you stay safe on the road. Also, cleaning them ensures that they work at their best. Make it a habit before every ride. This will ensure how to mount rear light and reflector on rack mount stays safe.
Question No 6: What should I do if my rear light stops working while I’m riding?
Answer: If your rear light stops working while you are riding, find a safe place to stop. Check the batteries. If they are dead, replace them if you have spares. If you don’t have spare batteries, try to ride on well-lit streets. Get home as quickly and safely as possible. Remember, your reflector will still provide some visibility. Avoid riding on dark or busy roads without a working rear light. Consider carrying a spare rear light or batteries for emergencies. Knowing how to mount rear light and reflector on rack mount and maintaining them is key to safety.


