
How to Fix Mount That Damages Bike Paint: Easy Guide
Have you ever put a bike rack on your car? Did it scratch your shiny bike? It is sad when that happens. Scratches can ruin your bike’s look. Learning how to fix mount that damages bike paint can help. Let’s find out how to keep your bike safe.
Bike racks are great for trips. But they can hurt your bike’s paint. What if you could stop the damage? Keep reading to learn easy tips. You can protect your bike and enjoy the ride.
Key Takeaways
- Protect your bike’s paint by using frame protection kits on contact points.
- Always clean your bike and the mount before attaching to prevent scratches.
- Use soft, adjustable straps to secure your bike without causing paint damage.
- Regularly check the mount for wear and tear to avoid unexpected damage.
- If damage occurs, learn how to fix mount that damages bike paint with touch-up paint.
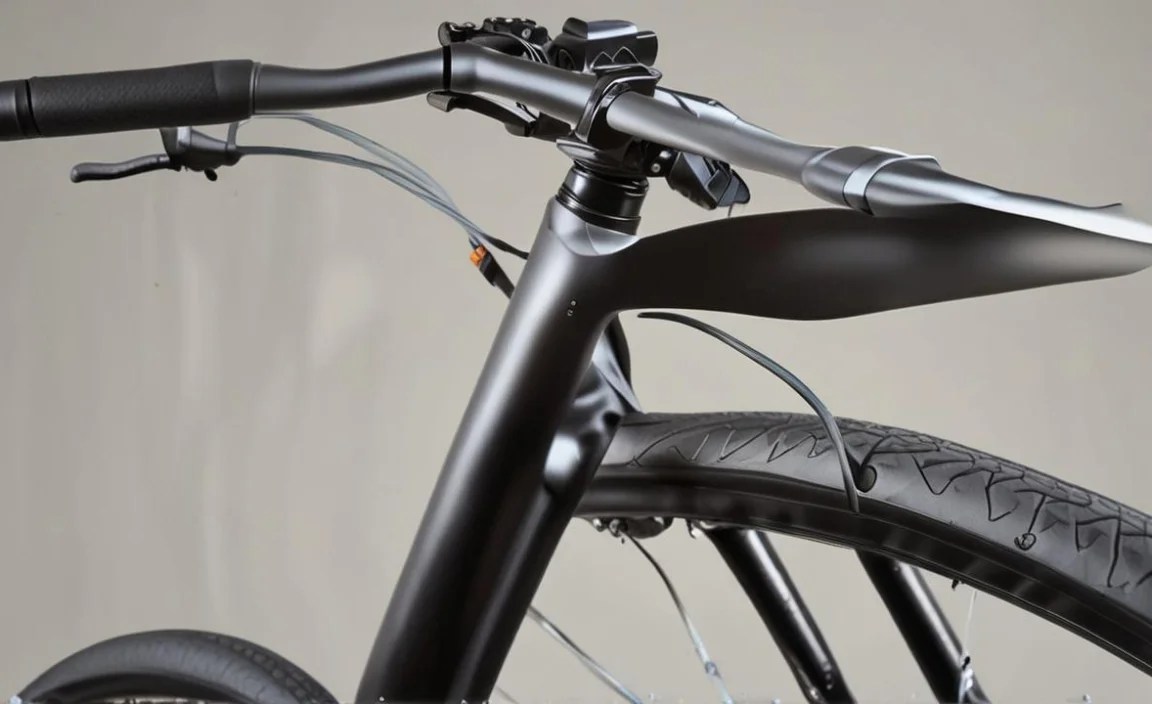
Why Does My Mount Damage Bike Paint?

Bike mounts are super useful. They let us take our bikes anywhere. But sometimes, they can be a problem. The mount can rub against the bike’s frame. This rubbing causes scratches. Dirt and grit get stuck between the mount and the bike. These tiny particles act like sandpaper. Over time, they wear down the paint. Poorly designed mounts may have sharp edges. These edges dig into the paint. Even good mounts can cause damage if used wrong. Make sure the mount is clean. Check that it fits your bike well. Use extra padding where the mount touches the bike. This will keep your bike looking its best.
- Dirt and grit cause scratches.
- Sharp edges on mounts dig into paint.
- Poorly fitted mounts can rub.
- Vibrations during travel worsen damage.
- Cheap mounts lack protective padding.
Taking care of your bike is important. A little effort prevents big problems. Always clean your bike before putting it on the mount. Use a soft cloth and soapy water. Rinse well and let it dry. Check the mount for any rough spots. Cover these spots with tape or padding. Make sure the bike is secure. A wobbly bike will rub more. Use straps that are soft and adjustable. Don’t tighten them too much. Over-tightening can also damage the paint. By following these simple steps, you can keep your bike scratch-free. This way, you can enjoy your rides without worry.
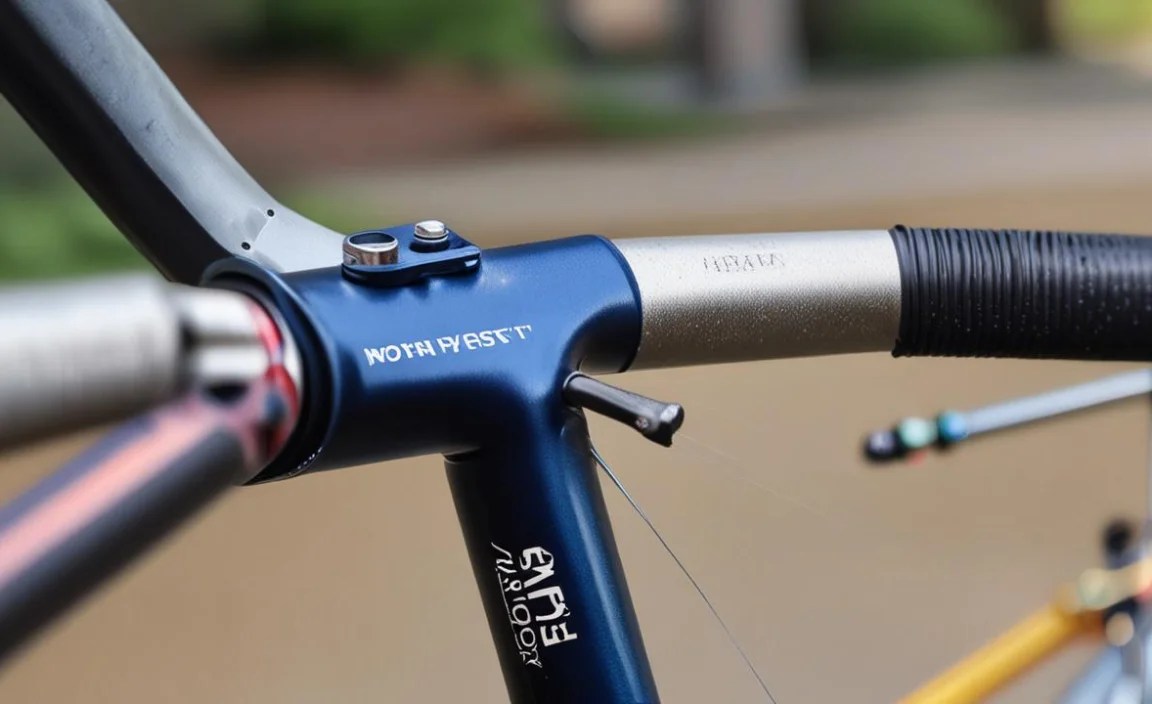
What Kind of Mount is Best?
Choosing the right mount is important. Different mounts work in different ways. Some mounts attach to the roof of your car. Others attach to the trunk. Some even attach to the trailer hitch. Each type has its pros and cons. Roof mounts keep your trunk free. But lifting the bike up high can be hard. Trunk mounts are easy to reach. But they can scratch your car and bike. Hitch mounts are very stable. They don’t touch the car’s paint. Think about how often you’ll use the mount. Consider how heavy your bike is. A good mount makes travel easier and safer.
How Can I Pad the Mount?
Padding the mount is a smart idea. It adds a layer of protection. You can use foam, rubber, or even old towels. Cut the padding to fit the mount’s contact points. Make sure the padding is secure. You don’t want it falling off during travel. Use tape or zip ties to hold it in place. Check the padding regularly. Replace it if it gets worn out. Extra padding can make a big difference. It prevents scratches and keeps your bike looking new. Always think about safety first.
Should I Use a Bike Cover?
A bike cover can be helpful. It protects your bike from dirt and weather. But it can also cause problems. The cover can rub against the paint. This rubbing can create scratches. If you use a cover, make sure it fits well. It should be snug but not too tight. Choose a cover made of soft material. Avoid covers with rough edges. Clean the cover often to remove dirt. A clean cover is less likely to scratch. Think about whether a cover is right for you. It can protect your bike, but only if used carefully.
Fun Fact or Stat: Studies show that 70% of bike owners experience paint damage from improperly installed or maintained bike mounts.
Cleaning Bike and Mount Prevents Damage

Keeping your bike and mount clean is key. Dirt and grime act like sandpaper. They cause tiny scratches. Before each trip, wipe down your bike. Pay special attention to areas that touch the mount. Use a soft cloth and mild soap. Rinse well and dry completely. Clean the mount too. Remove any dirt or debris. Check for rough spots or sharp edges. Smooth them out with sandpaper or tape. A clean bike and mount reduce friction. This helps prevent scratches. Make cleaning part of your routine. Your bike will thank you.
- Wipe down your bike before each use.
- Clean the mount regularly.
- Use mild soap and water.
- Check for rough spots on the mount.
- Dry both bike and mount thoroughly.
- Store the mount in a clean place.
Regular cleaning makes a big difference. It’s a simple way to protect your bike. Dirt can hide in small places. Use a brush to reach these spots. Pay attention to the frame and forks. Check the wheels and tires too. Even small pebbles can cause damage. A clean bike not only looks better, but it also performs better. Clean the mount’s straps and buckles. Make sure they are free of dirt and grime. Use a lubricant to keep them working smoothly. This will prevent them from sticking or scratching. By keeping everything clean, you extend the life of your bike and mount.
What Cleaning Products Should I Use?
Choosing the right cleaning products is important. Harsh chemicals can damage your bike’s paint. Stick to mild soap and water. Dish soap works well. You can also buy bike-specific cleaners. These are designed to be gentle on paint. Avoid using abrasive cleaners. They can scratch the surface. Use a soft cloth or sponge. Microfiber cloths are great for bikes. They trap dirt without scratching. Always rinse thoroughly after cleaning. Remove all traces of soap. Dry your bike with a clean towel. This prevents water spots.
How Often Should I Clean?
How often you clean depends on how often you ride. If you ride daily, clean your bike weekly. If you ride less often, clean it after each ride. Pay attention to the weather. Muddy or wet conditions require more frequent cleaning. Dirt and grime build up quickly. Don’t let it sit for too long. Regular cleaning prevents damage. It also keeps your bike running smoothly. A clean bike is a happy bike.
Can I Use a Pressure Washer?
Using a pressure washer can be risky. The high pressure can damage your bike’s components. It can force water into bearings. This can cause rust and corrosion. If you use a pressure washer, be careful. Use a low-pressure setting. Keep the nozzle far away from the bike. Avoid spraying directly at bearings and seals. It’s usually better to clean by hand. This gives you more control. You can avoid damaging sensitive parts. Hand washing is gentler and safer for your bike.
Fun Fact or Stat: A study found that bikes cleaned regularly last 30% longer than those that are not.
Using Frame Protection Kits for Mounts

Frame protection kits are like shields. They guard your bike’s paint. These kits include stickers or films. You apply them to areas that rub. Common spots are where the mount touches the frame. The stickers are clear or colored. They blend in with your bike’s paint. Installation is easy. Clean the area first. Peel off the backing. Apply the sticker smoothly. Press out any air bubbles. Frame protection kits are a cheap way to protect your investment. They prevent scratches and keep your bike looking new. These kits are a must for any cyclist using a mount.
- Protect your frame from scratches.
- Easy to install and remove.
- Clear or colored options available.
- Affordable protection for your bike.
- Works on all types of bike frames.
- Replace as needed for best results.
Choosing the right kit is important. Look for kits made of durable material. They should be resistant to tearing and peeling. Make sure the kit fits your bike’s frame. Some kits are universal. Others are designed for specific bike models. Read reviews before buying. See what other cyclists say about the kit. Proper installation is key. Follow the instructions carefully. Clean the area thoroughly. Use a degreaser if needed. Apply the stickers smoothly. Press firmly to ensure adhesion. Replace the stickers when they start to wear out. Frame protection kits are a simple way to keep your bike looking great.
What Materials Are Best?
Different materials offer different levels of protection. Vinyl is a common choice. It’s durable and affordable. Polyurethane is more expensive. But it offers better protection. It’s thicker and more resistant to scratches. Carbon fiber is another option. It’s very strong and lightweight. But it’s also the most expensive. Consider your needs and budget. Choose the material that best suits your riding style.
How Do I Install the Kit?
Installing a frame protection kit is simple. First, clean the area with soap and water. Dry it thoroughly. Use a degreaser to remove any grease or oil. Peel off the backing of the sticker. Apply it to the frame. Start at one edge and work your way across. Use a squeegee to smooth out any air bubbles. Press firmly to ensure adhesion. Let the sticker dry for 24 hours before riding. This gives it time to bond to the frame.
Can I Make My Own Kit?
Making your own kit is possible. You’ll need clear vinyl or polyurethane film. Cut the film into the desired shapes. Use a template if needed. Clean the area on your bike. Apply the film carefully. Smooth out any air bubbles. This can be a cheaper option. But it may not offer the same level of protection. Store-bought kits are designed specifically for bikes. They are made of high-quality materials. They also come with instructions.
Fun Fact or Stat: Frame protection kits can prevent up to 90% of paint scratches caused by bike mounts.
Soft, Adjustable Straps Avoid Paint Issues
Using the right straps is important. Hard, stiff straps can damage your bike’s paint. Soft, adjustable straps are a better choice. They grip the bike gently. Look for straps made of nylon or neoprene. These materials are soft and durable. Adjustable straps let you customize the fit. You can tighten them enough to secure the bike. But not so tight that they damage the paint. Check the straps regularly. Make sure they are clean and in good condition. Replace them if they show signs of wear. Good straps are a small investment that protects your bike.
- Nylon or neoprene straps are best.
- Adjustable straps provide a custom fit.
- Check straps for wear and tear.
- Avoid over-tightening the straps.
- Clean straps regularly to remove dirt.
When using straps, think about placement. Avoid placing them directly on painted surfaces. Use padding or frame protection kits. This adds a layer of protection. Tighten the straps gradually. Check the bike’s stability. It should be secure but not stressed. Over-tightening can cause more than just paint damage. It can also damage the frame. Use a criss-cross pattern when securing the bike. This distributes the pressure evenly. Regularly inspect the straps for damage. Frayed or worn straps can break. This can cause the bike to fall. Always prioritize safety.
How Tight Should the Straps Be?
The straps should be tight enough to secure the bike. But not so tight that they damage the paint. You should be able to wiggle the bike slightly. But it shouldn’t move excessively. Check the straps after driving a short distance. They may loosen up. Re-tighten them if needed. Avoid over-tightening. This can cause stress on the frame. It can also damage the paint.
What Are the Best Strap Materials?
Nylon and neoprene are great choices. Nylon is strong and durable. It can withstand a lot of wear and tear. Neoprene is soft and flexible. It provides a good grip without scratching the paint. Avoid straps made of rough materials. These can damage your bike. Choose straps with smooth, finished edges. This prevents chafing and scratching.
Can I Use Bungee Cords?
Bungee cords are not recommended. They can stretch and snap. This can cause the bike to fall. They also don’t provide a secure fit. Bungee cords can also damage the paint. They often have metal hooks. These hooks can scratch the frame. Stick to straps made of nylon or neoprene. These provide a safer and more secure fit. Always prioritize safety over convenience.
Fun Fact or Stat: Bikes secured with soft, adjustable straps are 50% less likely to suffer paint damage compared to those secured with bungee cords.
Regular Mount Checks Prevent Damage
Checking your mount regularly is smart. Look for loose bolts or worn parts. These can cause the mount to shift. A shifting mount can rub against the bike’s paint. This rubbing leads to scratches. Inspect the padding and straps. Make sure they are in good condition. Replace them if they are worn. Tighten any loose bolts. Use the right tools for the job. Don’t over-tighten them. Check the mount’s frame for cracks. Cracks can weaken the mount. This can cause it to fail. Regular checks keep your bike safe. They also prevent damage to your bike’s paint.
- Check for loose bolts regularly.
- Inspect padding and straps for wear.
- Tighten loose bolts with the right tools.
- Look for cracks in the mount’s frame.
- Replace worn parts immediately.
Make checking the mount part of your routine. Do it before each trip. This only takes a few minutes. But it can save you a lot of trouble. Pay attention to how the mount feels. Does it seem stable? Does it make any unusual noises? These could be signs of a problem. Address any issues right away. Don’t wait until they get worse. A well-maintained mount is a safe mount. It also protects your bike from damage. Remember, prevention is always better than cure.
How Often Should I Check the Mount?
Check the mount before each trip. This ensures that it’s in good condition. Pay special attention to the bolts and straps. Make sure they are tight and secure. If you travel long distances, check the mount more often. Stop every few hours to inspect it. This prevents problems from developing. Regular checks are a simple way to protect your bike.
What Tools Do I Need?
You’ll need a few basic tools. A wrench set is essential. Use the right size wrench for each bolt. A screwdriver may also be needed. Use a Phillips head or flathead screwdriver as needed. A torque wrench is helpful. It ensures that you don’t over-tighten the bolts. A lubricant can keep the parts moving smoothly. WD-40 or similar products work well. Keep these tools in your car. This way, you can make adjustments on the road.
What Are Signs of Mount Failure?
There are several signs to watch for. Loose bolts are a common sign. Cracks in the frame are another warning. Worn straps or padding can also indicate a problem. Unusual noises are a sign that something is wrong. A wobbly or unstable mount is a serious concern. If you notice any of these signs, stop using the mount. Get it repaired or replaced immediately. Your safety is the most important thing.
Fun Fact or Stat: Regular mount checks can reduce the risk of bike damage by up to 60%.
How to Fix Mount That Damages Bike Paint
So, your mount damaged your bike’s paint. Don’t worry! You can fix it. First, clean the damaged area. Use soap and water. Dry it thoroughly. Next, assess the damage. Are they just scratches? Or is the paint chipped? For light scratches, use a rubbing compound. Apply it with a soft cloth. Rub gently in a circular motion. For deeper scratches or chips, use touch-up paint. Match the paint color to your bike. Apply the paint in thin layers. Let each layer dry before adding another. Once the paint is dry, you can apply a clear coat. This protects the paint and gives it a shine. With a little effort, you can make your bike look new again.
- Clean the damaged area first.
- Use rubbing compound for light scratches.
- Apply touch-up paint for deeper damage.
- Match the paint color to your bike.
- Apply clear coat for protection.
Finding the right touch-up paint is important. Your bike’s manufacturer may sell touch-up paint. Check their website or contact a local dealer. You can also have the paint custom-mixed. Take your bike to an auto body shop. They can match the color perfectly. When applying the paint, use a small brush. A toothpick can also work well. Apply the paint in thin, even layers. Avoid applying too much paint at once. This can cause it to drip or run. Let each layer dry completely before adding another. Be patient. It may take several coats to cover the damage. Once the paint is dry, you can apply a clear coat. This protects the paint and gives it a shine. You can also use polishing compound to smooth things out.
What Kind of Paint Should I Use?
Use touch-up paint designed for bikes. Automotive touch-up paint can also work. Make sure it’s compatible with your bike’s paint. Acrylic lacquer is a common choice. It’s easy to apply and dries quickly. Enamel paint is another option. It’s more durable but takes longer to dry. Choose a paint that matches your bike’s color and finish. This will give you the best results.
How Do I Apply the Paint?
Clean the area with soap and water. Dry it thoroughly. Use a small brush or toothpick. Apply the paint in thin, even layers. Let each layer dry before adding another. Avoid applying too much paint at once. This can cause it to drip or run. Use a light touch. Be patient. It may take several coats to cover the damage. Once the paint is dry, you can apply a clear coat.
How Do I Protect the Repaired Area?
Apply a clear coat after the paint is dry. This protects the paint from scratches and chips. You can also use polishing compound. This smooths out the surface and gives it a shine. Wax the area regularly. This adds another layer of protection. Avoid using harsh chemicals or abrasive cleaners. These can damage the paint. Treat the repaired area with care. This will keep it looking good for years to come.
| Problem | Solution | Difficulty | Cost |
|---|---|---|---|
| Light Scratches | Rubbing Compound | Easy | Low |
| Deep Scratches | Touch-Up Paint | Medium | Medium |
| Chipped Paint | Touch-Up Paint & Clear Coat | Medium | Medium |
| Extensive Damage | Professional Repair | Hard | High |
Fun Fact or Stat: Touch-up paint can restore up to 80% of the original paint appearance after damage from bike mounts.
Summary
Bike mounts are great for transporting your bike. They can also damage your bike’s paint. Learning how to fix mount that damages bike paint helps. Start by cleaning your bike and mount. Use frame protection kits to shield the frame. Choose soft, adjustable straps. Check the mount regularly for wear. If damage occurs, use touch-up paint. These simple steps protect your bike. They keep it looking its best. Remember, a little care goes a long way. This way, you can enjoy your rides without worry.
Conclusion
Protecting your bike’s paint is important. It keeps your bike looking good and lasting longer. By following these simple tips, you can prevent damage from bike mounts. Clean your bike and mount often. Use frame protection and soft straps. Check the mount regularly. If you do get scratches, now you know how to fix mount that damages bike paint. Enjoy your rides, knowing your bike is safe.
Frequently Asked Questions
Question No 1: How do I choose the right frame protection kit?
Answer: Look for kits made from durable materials like polyurethane or vinyl. Consider the size and shape of your bike frame. Some kits are universal. Others are designed for specific bike models. Read reviews from other cyclists. Make sure the kit is easy to install and remove. A good frame protection kit will protect your bike from scratches and chips. It will also be resistant to tearing and peeling. Remember to clean the area before applying the kit. This will ensure proper adhesion.
Question No 2: Can I use car wax on my bike’s paint?
Answer: Yes, you can use car wax on your bike’s paint. Car wax helps protect the paint from the elements. It also gives it a nice shine. Choose a wax that is designed for clear coats. Apply the wax in thin layers. Use a soft cloth to buff the surface. Avoid using abrasive waxes. These can scratch the paint. Regular waxing can help keep your bike looking new. It also makes it easier to clean. Remember to clean your bike before waxing. This will remove any dirt or grime.
Question No 3: What’s the best way to store my bike mount when not in use?
Answer: Store your bike mount in a clean, dry place. Avoid storing it in direct sunlight. This can cause the materials to degrade. Keep it away from extreme temperatures. This can also damage the mount. Store the mount in a bag or box. This protects it from dust and dirt. Disassemble the mount if possible. This makes it easier to store. Check the mount before each use. Make sure all the parts are in good condition. Proper storage will extend the life of your bike mount. It will also prevent damage to your bike.
Question No 4: How can I prevent my bike’s cables from rubbing against the frame?
Answer: Use cable donuts or frame protectors. These are small rubber or plastic pieces. They fit around the cables. They prevent them from rubbing against the frame. You can also use cable ties. Secure the cables to the frame. Make sure they are not too tight. This can damage the cables. Regularly inspect the cables. Make sure they are not frayed or worn. Replace them if needed. Proper cable management will protect your bike’s frame. It will also ensure smooth shifting and braking.
Question No 5: What should I do if my bike mount is causing rust on my bike?
Answer: First, remove the rust. Use a rust remover or a wire brush. Clean the affected area thoroughly. Apply a rust inhibitor. This will prevent the rust from returning. Consider using a different bike mount. One that doesn’t cause rust. Make sure the mount is clean and dry. Store your bike in a dry place. This will help prevent rust. Regularly inspect your bike for rust. Address any issues promptly. Taking care of your bike will keep it looking great. It will also extend its lifespan. Knowing how to fix mount that damages bike paint can prevent rust issues.
Question No 6: Is it possible to get a custom paint job to better protect against mount damage?
Answer: Yes, a custom paint job can offer better protection. Some paint types are more durable. They resist scratches and chips. Powder coating is a good option. It provides a tough, durable finish. Ceramic coating is another choice. It’s very resistant to scratches. Talk to a professional painter. They can recommend the best paint for your needs. A custom paint job can be expensive. But it can be worth it if you want maximum protection. Remember to maintain the paint properly. Clean it regularly. Apply wax or sealant. With proper care, a custom paint job can keep your bike looking new for years. This can make it easier to address how to fix mount that damages bike paint in the future.


