
How to Choose Bike Mount Diameter for Handlebars: Easy Guide
Did you ever want to put something on your bike’s handlebars? Maybe a light or a bell? You need to know the right size! This article will teach you {how to choose bike mount diameter for handlebars}. It is easier than you think. Let’s learn how to get the perfect fit for your bike!
Key Takeaways
- Always measure your handlebars before buying any bike mounts.
- Consider the type of device you want to mount on your handlebars.
- Check the bike mount’s specifications for compatible handlebar diameters.
- Use shims or adapters if the mount is slightly too big for your handlebars.
- Knowing how to choose bike mount diameter for handlebars ensures a secure fit.
Understanding Handlebar Diameters

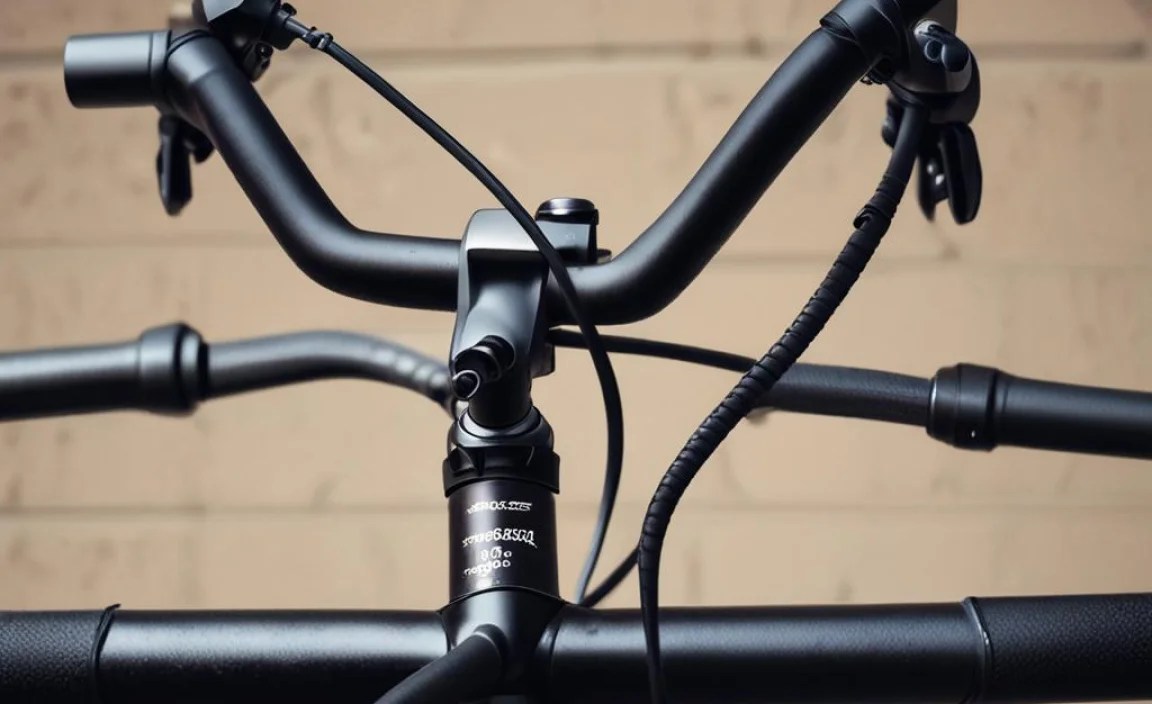
Your bike’s handlebars are not all the same size. Different bikes have different handlebar diameters. This is important to know when you want to add something to your handlebars. Bike mounts need to fit snugly. If they don’t, your accessories could fall off while you ride. That could be dangerous! Common handlebar diameters include 22.2 mm, 25.4 mm, 31.8 mm, and 35 mm. Mountain bikes often have wider handlebars. Road bikes might have narrower ones. Measure your handlebars with a caliper or a measuring tape. Knowing the exact size helps you choose the right bike mount. Always double-check the measurements before you buy anything.
- Measure your handlebars carefully.
- Different bikes have different sizes.
- Use a caliper for accuracy.
- Write down the measurement.
- Double-check before buying.
Choosing the right bike mount diameter keeps your accessories safe. Imagine riding down a bumpy road. Your light suddenly falls off because the mount was too loose. You don’t want that to happen! Taking the time to measure ensures a secure fit. A secure fit keeps your accessories where they should be. It also makes your ride safer and more enjoyable. So, grab a measuring tool and get those handlebar measurements! It’s a small step that makes a big difference.
Fun Fact or Stat: The most common handlebar diameter for mountain bikes is 31.8 mm!
Why Handlebar Size Matters
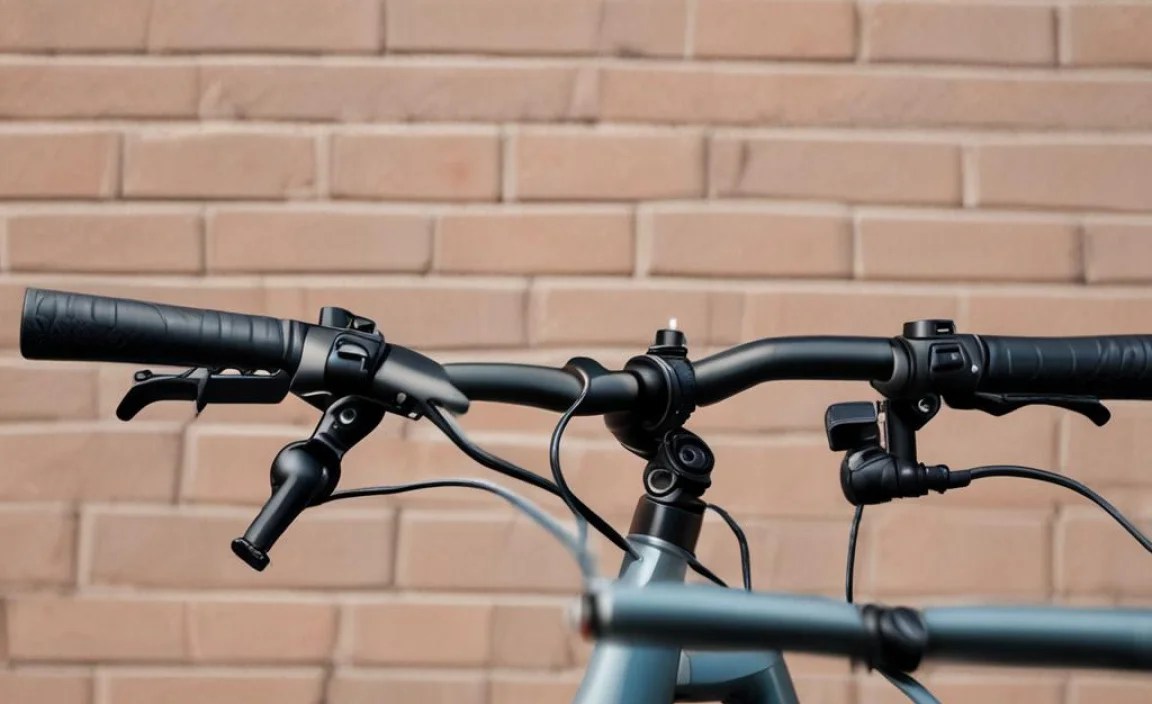
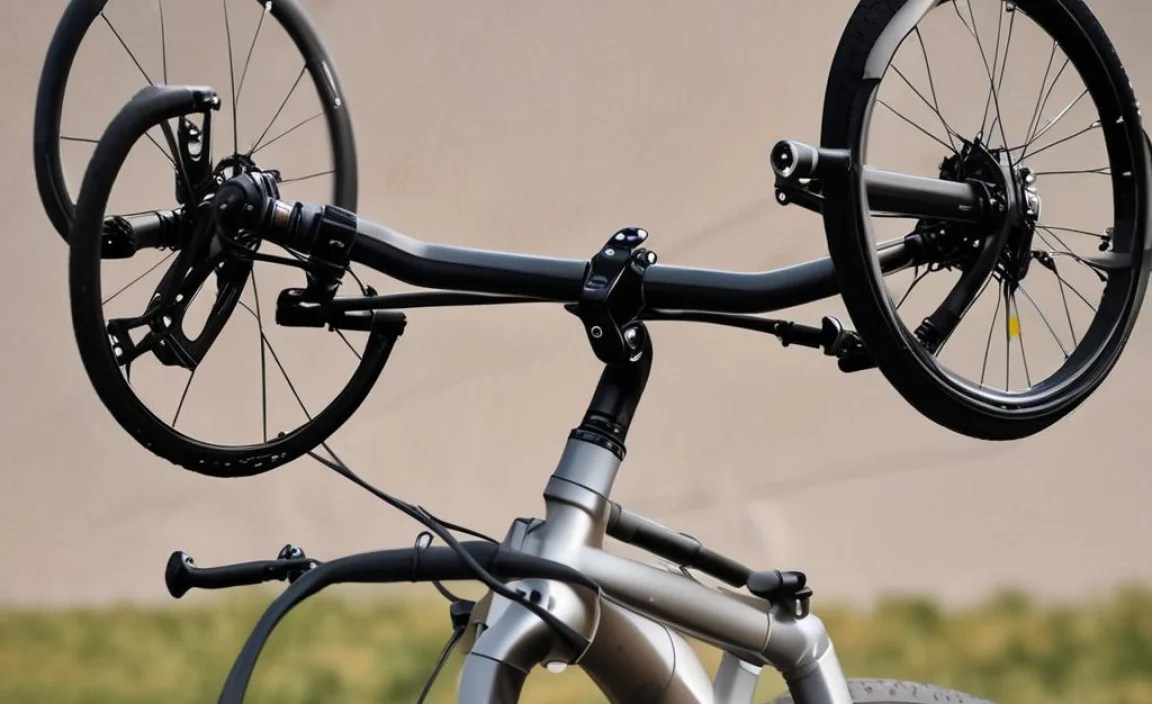
Have you ever tried to wear shoes that are too big? It’s uncomfortable and you might trip. The same is true for bike mounts. If the mount is too big, it will wobble. If it’s too small, you can’t even attach it. Handlebar size matters because it affects the stability and safety of your accessories. A properly fitted mount stays in place. It won’t slip or slide around while you ride. This is especially important for things like bike computers and lights. You need them to stay put so you can see and be seen. Think of it like a puzzle. The bike mount and handlebars need to fit together perfectly.
Common Handlebar Materials
Handlebars come in different materials. The most common are aluminum and carbon fiber. Aluminum handlebars are strong and affordable. They are a good choice for most riders. Carbon fiber handlebars are lighter and can absorb vibrations better. But they are also more expensive. The material of your handlebars can also affect the mount you choose. Some mounts are designed for specific materials. For example, some carbon fiber handlebars require mounts that won’t damage the carbon. Always check the mount’s compatibility with your handlebar material. This helps prevent damage and ensures a secure fit.
Tools for Measuring Diameter
Measuring your handlebar diameter accurately is key. The best tool for this is a caliper. A caliper gives you precise measurements in millimeters. If you don’t have a caliper, you can use a measuring tape. Wrap the tape around your handlebars. Then, divide the circumference by pi (3.14) to get the diameter. This method is less precise but can still give you a good estimate. Make sure to measure in several places. Handlebars can sometimes vary slightly in diameter. Use the smallest measurement you find to choose your mount. This will ensure a snug and secure fit.
Types of Bike Mounts Available
There are many types of bike mounts. Each one is made for a specific purpose. Some mounts are for lights. Others are for bike computers or phones. Some are even for water bottle cages! The type of mount you need depends on what you want to attach to your handlebars. Light mounts often have a simple clamp design. Bike computer mounts might have a more complex arm that extends in front of the handlebars. Phone mounts usually have a cradle to hold your phone securely. Consider what you need to mount. Then, look for a mount that is designed for that specific item.
- Light mounts are simple clamps.
- Computer mounts have arms.
- Phone mounts use cradles.
- Water bottle mounts exist too.
- Choose the right type for your needs.
- Make sure it is strong enough.
Choosing the right type of bike mount is just as important as choosing the right diameter. A mount that is not designed for your item might not hold it securely. This could lead to your item falling off or getting damaged. Think about how often you will use the mount. If you ride every day, you need a durable mount. If you only ride occasionally, a less expensive mount might be fine. Read reviews to see what other riders think of the mount. Their experiences can help you make a good choice.
Fun Fact or Stat: Bike computer mounts are often placed in front of the handlebars for better visibility!
Mounts for Lights
Bike lights are important for safety. You need to see and be seen when riding at night. Light mounts come in different styles. Some wrap around the handlebars with a rubber strap. Others use a more secure clamp. Look for a mount that is easy to adjust. This allows you to aim the light where you need it. Make sure the mount is strong enough to hold your light securely. A wobbly light can be distracting and dangerous. Choose a mount that fits your handlebars and your light.
Mounts for Bike Computers
Bike computers help you track your speed, distance, and other data. These mounts often extend in front of the handlebars. This puts the computer in your line of sight. Some mounts are specific to certain brands of computers. Others are universal and can fit many different models. Consider how easy it is to attach and detach your computer. You might want to take it with you when you park your bike. Choose a mount that is secure and easy to use.
Mounts for Phones
Many riders use their phones for navigation or music. Phone mounts keep your phone secure and visible. Look for a mount that holds your phone tightly. You don’t want it to fall out on a bumpy road. Some mounts have a waterproof case. This protects your phone from rain and sweat. Consider how easy it is to access your phone while riding. You might want to change the music or check directions. Choose a mount that is convenient and safe.
Measuring Your Handlebars Accurately
Accuracy is key when measuring your handlebars. A small mistake can lead to a mount that doesn’t fit. Use a caliper for the most precise measurement. Calipers have two jaws that you close around the handlebars. The reading on the caliper tells you the exact diameter. If you don’t have a caliper, use a measuring tape. Wrap the tape around the handlebars. Get the circumference. Divide the circumference by 3.14 (pi) to find the diameter. Measure in several places along the handlebars. Look for any variations in size. Use the smallest measurement to choose your mount.
- Use a caliper for best results.
- Wrap a measuring tape around.
- Divide by 3.14 (pi).
- Measure in multiple spots.
- Use the smallest reading.
Why is accurate measurement so important? Imagine buying a mount based on a guess. It arrives, and it’s too small! Now you have to return it and wait for a new one. Accurate measurement saves you time and hassle. It also ensures that your accessories are safe and secure. Take your time and double-check your measurements. It’s a small effort that pays off in the long run. You will get the correct bike mount the first time.
Fun Fact or Stat: Calipers are used in many industries to measure things with great precision!
Using a Caliper
A caliper is a tool for precise measurement. It has two jaws that you can open and close. Place the jaws around your handlebars. Make sure they are snug but not too tight. The caliper will display the diameter in millimeters. Digital calipers are easy to read. Analog calipers require you to read a scale. Practice using the caliper before you measure your handlebars. This will help you get accurate readings. Calipers are available at most hardware stores.
Using a Measuring Tape
If you don’t have a caliper, a measuring tape will work. Wrap the tape around your handlebars. Make sure the tape is snug but not too tight. Read the circumference where the tape overlaps. Divide the circumference by 3.14 (pi) to get the diameter. This method is not as precise as using a caliper. But it can still give you a good estimate. Be careful not to stretch the tape too much. This can affect the accuracy of your measurement.
Dealing with Variations
Handlebars are not always perfectly round. They can have slight variations in diameter. Measure in several places along the handlebars. Look for the smallest measurement. This is the most important one to consider. If the diameter varies a lot, choose a mount that is adjustable. Adjustable mounts can accommodate slight differences in size. This will ensure a secure fit. Also, check if your handlebars have any flat spots. These may affect how the mount sits.
Checking Mount Specifications
Once you know your handlebar diameter, check the mount’s specifications. The specifications will tell you what size handlebars the mount is designed for. Look for the diameter range in millimeters. Some mounts fit a specific size. Others fit a range of sizes. Make sure your handlebar diameter falls within the mount’s range. If it doesn’t, the mount won’t fit properly. Check the specifications carefully before you buy anything. This will save you time and frustration.
- Look for the diameter range.
- Check for millimeters (mm).
- Make sure your size fits.
- Read the fine print.
- Don’t guess, always check.
- Look for size charts.
Why is it so important to check the specifications? Imagine ordering a mount online. You think it will fit, but when it arrives, it’s too small. Now you have to go through the hassle of returning it. Checking the specifications avoids this problem. It ensures that you get a mount that fits your handlebars perfectly. This makes your riding experience safer and more enjoyable. Take the extra minute to check the details. You will be glad you did!
Fun Fact or Stat: Many online retailers provide detailed specifications for bike mounts!
Understanding Size Ranges
Some mounts fit a range of handlebar diameters. For example, a mount might fit handlebars from 22.2 mm to 25.4 mm. This means it can accommodate handlebars of different sizes. If your handlebar diameter falls within this range, the mount should fit. However, it’s still important to check the fit. Some mounts might fit better than others. Read reviews to see what other riders think. Their experiences can help you choose the best mount for your handlebars.
Looking for Size Charts
Many manufacturers provide size charts for their mounts. These charts show you which mount is the right size for your handlebars. Look for these charts on the product page. They can save you a lot of time and effort. Size charts usually list the different handlebar diameters. They also show which mounts are compatible. Use the chart to find the right mount for your bike. If you can’t find a size chart, contact the manufacturer. They can help you choose the right mount.
Checking for Compatibility
Not all mounts are compatible with all handlebars. Some mounts are designed for specific types of bikes. For example, a mount might be designed for mountain bikes only. Others are designed for road bikes. Check the product description to see if the mount is compatible with your type of bike. Also, check if the mount is compatible with your handlebar material. Some mounts are not suitable for carbon fiber handlebars. Choosing a compatible mount ensures a secure fit and prevents damage.
Using Shims and Adapters
What if your mount is slightly too big? You can use shims or adapters. Shims are small pieces of material that you place between the mount and the handlebars. They fill the gap and create a snug fit. Adapters are similar to shims. But they are often designed for specific mounts. Shims and adapters come in different materials, such as rubber or plastic. Choose a shim or adapter that is the right thickness for the gap. This will ensure a secure fit.
- Shims fill small gaps.
- Adapters are for specific mounts.
- Use rubber or plastic.
- Choose the right thickness.
- Ensure a snug fit.
- Tighten securely.
Shims and adapters are a great way to make a slightly too big mount fit. They are much cheaper than buying a new mount. They are also easy to install. Simply place the shim or adapter between the mount and the handlebars. Then, tighten the mount as usual. The shim or adapter will fill the gap and create a secure fit. This is a simple solution that can save you time and money. Always make sure the shim or adapter is secure before riding.
Fun Fact or Stat: Shims and adapters are commonly used in many mechanical applications!
Types of Shims
Shims come in different materials and thicknesses. Rubber shims are soft and flexible. They can conform to the shape of your handlebars. Plastic shims are more rigid. They provide a more secure fit. Choose a shim that is the right thickness for the gap between the mount and the handlebars. You can buy shims at most bike shops or online retailers. Make sure the shim is wide enough to cover the entire mounting surface.
Installing Shims
Installing shims is easy. First, loosen the mount. Then, place the shim between the mount and the handlebars. Make sure the shim is centered. Then, tighten the mount as usual. Check the fit. The mount should be snug and secure. If it’s still loose, add another shim. Be careful not to overtighten the mount. This can damage the handlebars or the mount. Always test the mount before riding.
Using Adapters
Adapters are designed for specific mounts. They often have a more precise fit than shims. Check the product description to see if an adapter is available for your mount. Adapters are usually made of plastic or metal. They provide a strong and secure connection between the mount and the handlebars. Install the adapter according to the manufacturer’s instructions. This will ensure a proper fit.
Ensuring a Secure and Safe Fit
A secure fit is essential for safety. A loose mount can cause your accessories to fall off while riding. This can be dangerous, especially at night. Always check the mount before each ride. Make sure it is tight and secure. If it’s loose, tighten it. Use the correct tools for tightening. Don’t overtighten the mount. This can damage the handlebars or the mount. A properly fitted mount should not move or wobble. It should hold your accessories securely in place.
- Check before each ride.
- Tighten if needed.
- Use correct tools.
- Don’t overtighten.
- Mount should be secure.
- Test the setup.
Why is a secure fit so important? Imagine riding down a busy street. Your light suddenly falls off because the mount was loose. Now you are less visible to cars. This increases your risk of an accident. A secure fit prevents this from happening. It keeps your accessories where they should be. This makes your ride safer and more enjoyable. Take the time to ensure a secure fit. It’s a small effort that can save you from a lot of trouble.
Fun Fact or Stat: Regularly checking your bike’s components can prevent accidents!
Checking for Wobbling
After installing the mount, check for wobbling. Grab the mount and try to move it. If it moves easily, it’s not tight enough. Tighten the mount until it’s secure. If it still wobbles, check the shims or adapters. Make sure they are properly positioned. You might need to add another shim. A slight wobble can become a big problem on a bumpy road. Always eliminate any wobbling before riding.
Using the Right Tools
Using the right tools is important for tightening the mount. Most mounts use Allen bolts. Use an Allen wrench to tighten these bolts. Make sure the wrench fits the bolt properly. Don’t use a wrench that is too small or too big. This can damage the bolt. Tighten the bolts gradually. Alternate between the bolts to ensure even pressure. This will prevent the mount from becoming crooked.
Regular Maintenance
Bike mounts can loosen over time due to vibrations. Check the mounts regularly. Tighten them as needed. Clean the mounts with a damp cloth. This will remove any dirt or grime. Lubricate the bolts occasionally. This will prevent them from rusting. Regular maintenance will keep your mounts in good condition. It will also ensure a secure and safe fit. A little maintenance goes a long way.
Handlebar Mount Diameter Table
Here is a table that summarizes common handlebar diameters and their uses. This can help you understand how to choose bike mount diameter for handlebars.
| Handlebar Diameter (mm) | Common Use | Bike Type | Mount Type |
|---|---|---|---|
| 22.2 | Grips, shifters, brake levers | Mountain, Hybrid | Clamp-on |
| 25.4 | Older handlebars | Road, Vintage | Clamp-on, Adapters |
| 31.8 | Modern handlebars | Road, Mountain | Clamp-on |
| 35 | Oversized handlebars | Mountain | Specific 35mm Mounts |
Summary
Choosing the right bike mount diameter is important for safety and convenience. First, measure your handlebars accurately using a caliper or measuring tape. Then, check the mount’s specifications to ensure it fits your handlebar diameter. If the mount is slightly too big, use shims or adapters to create a snug fit. Always ensure a secure and safe fit before riding. This will prevent your accessories from falling off and keep you safe on the road. Understanding how to choose bike mount diameter for handlebars will ensure a great cycling experience.
Conclusion
Choosing the right bike mount diameter might seem tricky. However, it is easy if you follow these steps. Measure your handlebars carefully. Check the mount’s specifications. Use shims or adapters if needed. A secure fit keeps your accessories safe. It also makes your ride more enjoyable. Knowing how to choose bike mount diameter for handlebars helps you ride safely. Enjoy your rides!
Frequently Asked Questions
Question No 1: How do I measure my handlebar diameter?
Answer: You can measure your handlebar diameter using a caliper or a measuring tape. A caliper provides the most accurate measurement. Place the caliper jaws around the handlebars and read the diameter. If using a measuring tape, wrap it around the handlebars to get the circumference. Then, divide the circumference by 3.14 (pi) to find the diameter. Measure in several places to account for variations. Remember, accurate measurement is key to knowing how to choose bike mount diameter for handlebars.
Question No 2: What if my bike mount is too big for my handlebars?
Answer: If your bike mount is slightly too big, you can use shims or adapters. Shims are small pieces of material that fill the gap between the mount and the handlebars. Adapters are designed for specific mounts. Place the shim or adapter between the mount and the handlebars. Then, tighten the mount as usual. This will create a snug and secure fit. Make sure the shim or adapter is the right thickness for the gap. This ensures stability.
Question No 3: Can I use any bike mount on any type of handlebar?
Answer: No, not all bike mounts are compatible with all handlebars. Different handlebars have different diameters. Make sure to check the mount’s specifications before buying it. The specifications will tell you what size handlebars the mount is designed for. Also, check if the mount is compatible with your handlebar material. Some mounts are not suitable for carbon fiber handlebars. Considering these factors is vital for determining how to choose bike mount diameter for handlebars.
Question No 4: What tools do I need to install a bike mount?
Answer: The tools you need depend on the type of mount. Most mounts use Allen bolts. You will need an Allen wrench to tighten these bolts. Make sure the wrench fits the bolt properly. Don’t use a wrench that is too small or too big. This can damage the bolt. You might also need a screwdriver for some mounts. Always use the correct tools for the job. This will prevent damage and ensure a secure fit.
Question No 5: How often should I check my bike mount?
Answer: You should check your bike mount before each ride. Make sure it is tight and secure. If it’s loose, tighten it. Bike mounts can loosen over time due to vibrations. Regular checks will prevent your accessories from falling off. This is especially important for lights and bike computers. A secure mount ensures your safety and a more enjoyable ride. Knowing how to choose bike mount diameter for handlebars is only the first step; regular maintenance is also key.
Question No 6: What are the most common handlebar diameters?
Answer: The most common handlebar diameters are 22.2 mm, 25.4 mm, 31.8 mm, and 35 mm. 22.2 mm is often used for grips and brake levers. 25.4 mm is common on older bikes. 31.8 mm is a standard size for modern road and mountain bikes. 35 mm is used for oversized mountain bike handlebars. Knowing these common sizes can help you understand how to choose bike mount diameter for handlebars more easily.


