
How to Inspect Hose for Damage Before Use: Easy Guide
Quick Summary: Before using any hose, give it a quick check! Look for cracks, bulges, or kinks along the hose’s length. Pay close attention to the areas near the fittings. Test for leaks by briefly running water through the hose. If you spot any damage, replace the hose to avoid bursts or weak performance.
Hoses are workhorses, whether they’re watering your garden, powering your pressure washer, or inflating your bike tires. But like any tool, they can wear down over time. A damaged hose can be a real headache, leading to leaks, reduced pressure, or even a complete blowout. No one wants to get sprayed unexpectedly or have their work interrupted! The good news is, a little inspection can save you from these frustrating situations.
This guide will walk you through a simple, step-by-step process to inspect your hoses before each use. We’ll cover what to look for, how to test for damage, and what to do if you find a problem. Let’s keep your hoses in top shape!
Why Inspect Your Hoses?

Inspecting your hoses regularly might seem like a small thing, but it can make a big difference. Here’s why it’s worth the few minutes it takes:
- Prevents Leaks and Bursts: Catching damage early can prevent annoying leaks that waste water and create a mess. It can also prevent sudden bursts that can be dangerous or cause damage.
- Maintains Performance: A damaged hose can reduce water pressure or airflow, making your tools less effective. Inspection ensures you’re getting the performance you expect.
- Extends Hose Lifespan: By identifying and addressing minor issues, you can prevent them from becoming major problems, extending the life of your hoses.
- Saves Money: Replacing a hose is cheaper than dealing with the damage caused by a burst or leak. Regular inspection can save you money in the long run.
- Ensures Safety: In some cases, a damaged hose can be a safety hazard. For example, a burst pressure washer hose can cause injury.
Tools You’ll Need
The great thing about hose inspection is that it doesn’t require any special tools. Here’s what you’ll need:
- Your Hose: The hose you want to inspect, of course!
- Your Eyes: Good eyesight (or glasses if you need them) to spot any damage.
- Your Hands: To feel for bulges or soft spots.
- A Water Source (Optional): A faucet or spigot to test for leaks.
Step-by-Step Guide: How to Inspect a Hose for Damage

Follow these steps to thoroughly inspect your hose before each use:
Step 1: Visual Inspection
Start with a close visual inspection of the entire hose. Look for the following:
- Cracks: Check for any cracks or splits in the hose material. Pay close attention to areas near the fittings.
- Bulges: Look for any bulges or swellings in the hose. These can indicate weakened areas.
- Kinks: Check for any permanent kinks or bends in the hose. These can restrict flow and weaken the hose.
- Abrasions: Look for any areas where the hose has been worn down or scraped.
- Discoloration: Check for any unusual discoloration, which could indicate chemical damage or degradation.
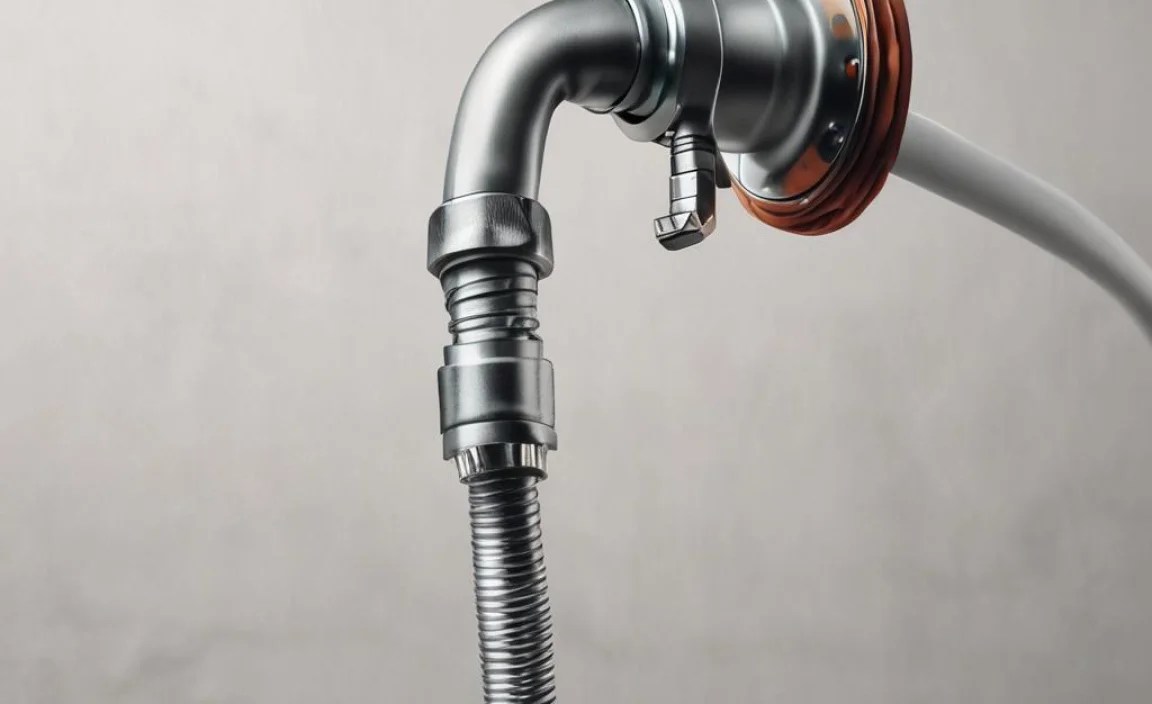
Step 2: Check the Fittings
The fittings are the points where the hose connects to other equipment. They are often the first place to show wear and tear. Here’s what to look for:
- Corrosion: Check for any signs of rust or corrosion on the fittings.
- Leaks: Look for any signs of water or air leaks around the fittings.
- Loose Connections: Make sure the fittings are securely attached to the hose.
- Damage: Check for any cracks or breaks in the fittings themselves.
Step 3: Feel the Hose
Run your hands along the entire length of the hose, feeling for any irregularities. Pay attention to:
- Soft Spots: Feel for any soft or weak spots in the hose.
- Hard Spots: Check for any hard or brittle areas.
- Uneven Texture: Look for any areas where the texture of the hose feels different than the rest.
Step 4: The Bend Test
Gently bend the hose at various points along its length. This can help reveal hidden cracks or weaknesses. As you bend, look and listen for:
- Cracking Sounds: Listen for any cracking or popping sounds, which could indicate damage.
- Visible Cracks: Look for any cracks that become more visible when the hose is bent.
- Stiffness: Notice if any sections are significantly stiffer or less flexible than others.
Step 5: Pressure Test (Optional)
If you have a water source available, you can perform a pressure test to check for leaks. Here’s how:
- Connect the Hose: Connect the hose to a water source, such as a faucet or spigot.
- Turn on the Water: Slowly turn on the water, gradually increasing the pressure.
- Observe: Watch carefully for any leaks along the length of the hose and around the fittings.
- Increase Pressure (Carefully): If no leaks are visible at low pressure, gradually increase the pressure. Be careful not to exceed the hose’s maximum pressure rating.
- Check Again: Check again for any leaks or bulges.
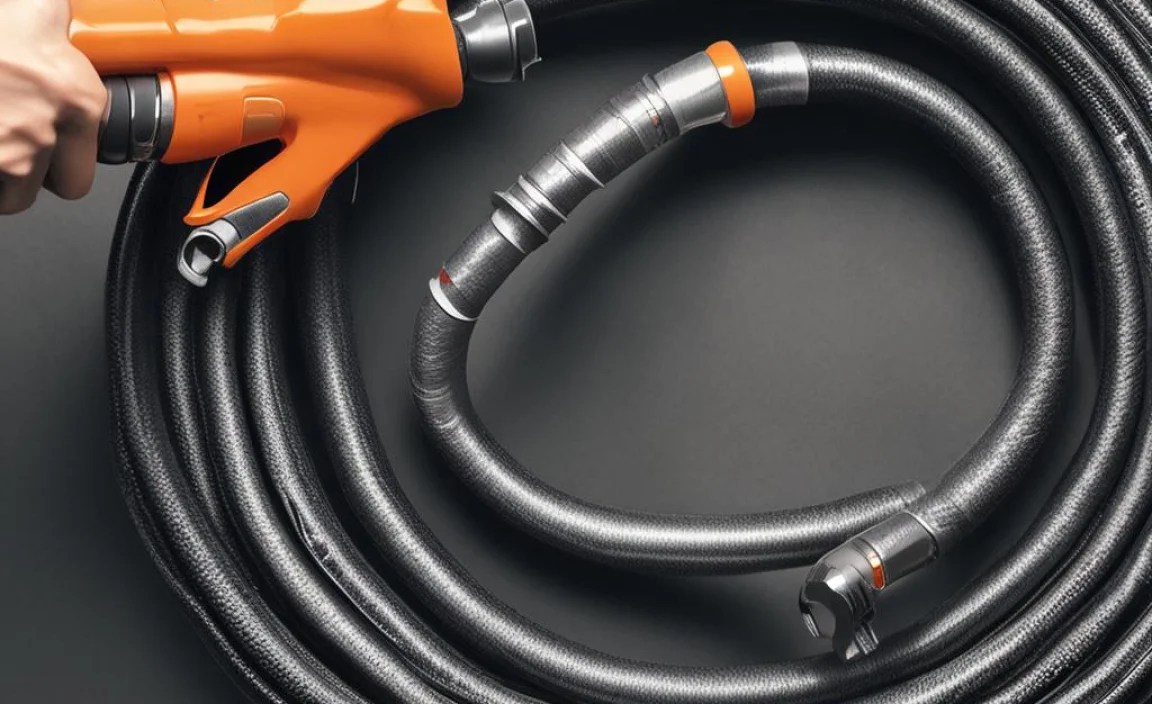
Step 6: Air Pressure Test (For Air Hoses)
If you’re inspecting an air hose, you can perform a similar test using an air compressor:
- Connect the Hose: Connect the hose to an air compressor.
- Inflate to Recommended Pressure: Inflate the hose to its recommended operating pressure.
- Listen for Leaks: Listen carefully for any hissing sounds, which could indicate leaks.
- Apply Soapy Water: Apply a solution of soapy water to the hose and fittings. Bubbles will form at any leak points.
What to Do If You Find Damage

If you find any damage during your inspection, it’s important to take action. Here’s what to do:
- Replace the Hose: If the damage is significant, such as a large crack or bulge, the best option is to replace the hose entirely.
- Repair Minor Damage: For minor damage, such as a small abrasion, you may be able to repair the hose using a repair kit. Follow the instructions on the repair kit carefully.
- Replace Fittings: If the fittings are damaged, you can often replace them without replacing the entire hose.
- Shorten the Hose: If the damage is localized to one area, you may be able to cut off the damaged section and reattach the fitting. This will shorten the hose, but it can extend its lifespan.
Hose Maintenance Tips
Proper maintenance can help extend the life of your hoses and prevent damage. Here are a few tips:
- Store Hoses Properly: When not in use, store hoses in a cool, dry place, away from direct sunlight.
- Avoid Kinking: Avoid kinking or bending hoses sharply, as this can weaken them.
- Drain Hoses After Use: After using a hose, drain it completely to prevent water from freezing and causing damage.
- Protect from Chemicals: Avoid exposing hoses to harsh chemicals, as this can degrade the material.
- Use a Hose Reel: A hose reel can help prevent kinking and tangling, making it easier to store and use your hoses.
Types of Hose Damage
Understanding the different types of hose damage can help you identify problems early on. Here’s a breakdown:
| Type of Damage | Description | Causes | Prevention |
|---|---|---|---|
| Cracks | Small splits or fissures in the hose material. | Exposure to sunlight, age, stress from bending. | Store hoses out of direct sunlight, avoid sharp bends. |
| Bulges | Swollen or expanded areas in the hose. | Weakened hose walls, excessive pressure. | Use hoses within their pressure rating, avoid kinks. |
| Kinks | Sharp bends that restrict flow. | Improper storage, excessive bending. | Use hose reels, avoid bending hoses sharply. |
| Abrasions | Worn or scraped areas on the hose surface. | Dragging hoses on rough surfaces, friction. | Avoid dragging hoses, use hose guides. |
| Corrosion | Rust or oxidation on fittings. | Exposure to moisture, certain chemicals. | Store hoses in dry areas, use corrosion-resistant fittings. |
| Leaks | Escape of water or air from the hose or fittings. | Cracks, loose connections, damaged fittings. | Inspect hoses regularly, tighten fittings as needed. |
Choosing the Right Hose
Selecting the right hose for the job is crucial for performance and longevity. Consider these factors:
- Material: Hoses are made from various materials, including rubber, vinyl, and polyurethane. Choose a material that is appropriate for the intended use.
- Diameter: The diameter of the hose affects the flow rate. Choose a diameter that is appropriate for the task.
- Length: Choose a hose length that is long enough to reach the desired area without being too long and cumbersome.
- Pressure Rating: Make sure the hose has a pressure rating that is high enough for the intended use.
- Fittings: Choose hoses with durable, high-quality fittings that are compatible with your equipment.
Common Hose Types and Their Specific Needs
Different types of hoses have unique characteristics and require specific attention. Here’s a quick guide:
| Hose Type | Common Uses | Specific Inspection Needs |
|---|---|---|
| Garden Hose | Watering plants, washing cars. | Check for cracks due to sun exposure, kinks from improper storage. |
| Air Hose | Powering pneumatic tools, inflating tires. | Inspect for leaks and abrasions, ensure fittings are secure. |
| Pressure Washer Hose | Cleaning surfaces with high-pressure water. | Look for bulges and cracks, check for leaks at high-pressure points. |
| Fuel Hose | Transferring fuel (gasoline, diesel). | Inspect for cracks and degradation due to fuel exposure, ensure proper sealing. |
| Hydraulic Hose | Used in hydraulic systems (heavy machinery). | Check for leaks and abrasions, ensure fittings are in good condition. (Requires professional inspection) |
| Bike Pump Hose | Inflating tires on bicycles. | Inspect for kinks, cracks, and leaks, especially near the pump head. |
FAQ: Inspecting Hoses for Damage
Here are some frequently asked questions about hose inspection:
Q: How often should I inspect my hoses?
A: It’s best to inspect your hoses before each use. This only takes a few minutes and can prevent problems down the road.
Q: What’s the most common cause of hose damage?
A: Exposure to sunlight is a common culprit, as UV rays can degrade the hose material. Improper storage, kinking, and dragging hoses on rough surfaces are also common causes.
Q: Can I repair a damaged hose?
A: Minor damage, such as a small abrasion, can often be repaired with a repair kit. However, if the damage is significant, it’s best to replace the hose.
Q: How do I store my hoses properly?
A: Store hoses in a cool, dry place, away from direct sunlight. Use a hose reel to prevent kinking and tangling.
Q: What’s the best way to test for leaks?
A: Connect the hose to a water source and gradually increase the pressure. Watch carefully for any leaks along the length of the hose and around the fittings. For air hoses, apply soapy water to detect leaks.
Q: What should I do with an old or damaged hose?
A: Check with your local waste management authority for proper disposal instructions. Some hoses can be recycled.
Q: Can temperature affect hoses?
A: Yes, extreme temperatures can damage hoses. Cold temperatures can make them brittle and prone to cracking, while high temperatures can cause them to soften and degrade. Store hoses in a temperature-controlled environment if possible.
Conclusion
Inspecting your hoses before each use is a simple yet crucial step in maintaining your equipment and preventing frustrating problems. By following the steps outlined in this guide, you can catch damage early, extend the life of your hoses, and ensure optimal performance. Remember to pay close attention to the fittings, feel for any irregularities, and test for leaks when possible. With a little care and attention, you can keep your hoses in top shape for years to come. So, take a few minutes before your next project to give your hoses a quick check – it’s a small investment that can pay off big time!


