
Easy: How to Install Presta Adapter on Floor Pump
Quick Summary: Installing a Presta adapter on your floor pump is super easy! You’ll simply screw the adapter onto your Presta valve, making it compatible with the pump’s Schrader chuck. This lets you inflate tires with Presta valves using a standard floor pump. It’s a quick fix that saves you from needing a special pump head!
Ever struggled to pump up your bike tires because your floor pump doesn’t fit the valve? Many bikes use Presta valves, which are narrower than the standard Schrader valves found on cars and some older bikes. It’s a common problem, but don’t worry! Adding a Presta adapter is a simple solution that lets you use your regular floor pump on Presta valves. This guide will walk you through the process step-by-step, so you can get back on the road in no time. We’ll cover everything from identifying your valve type to using the adapter like a pro.
What You’ll Need

Before we get started, let’s gather the few things you’ll need for this quick task:
- Presta Adapter: These small adapters screw onto your Presta valve. You can find them at any bike shop or online.
- Your Floor Pump: The one you usually use for inflating tires.
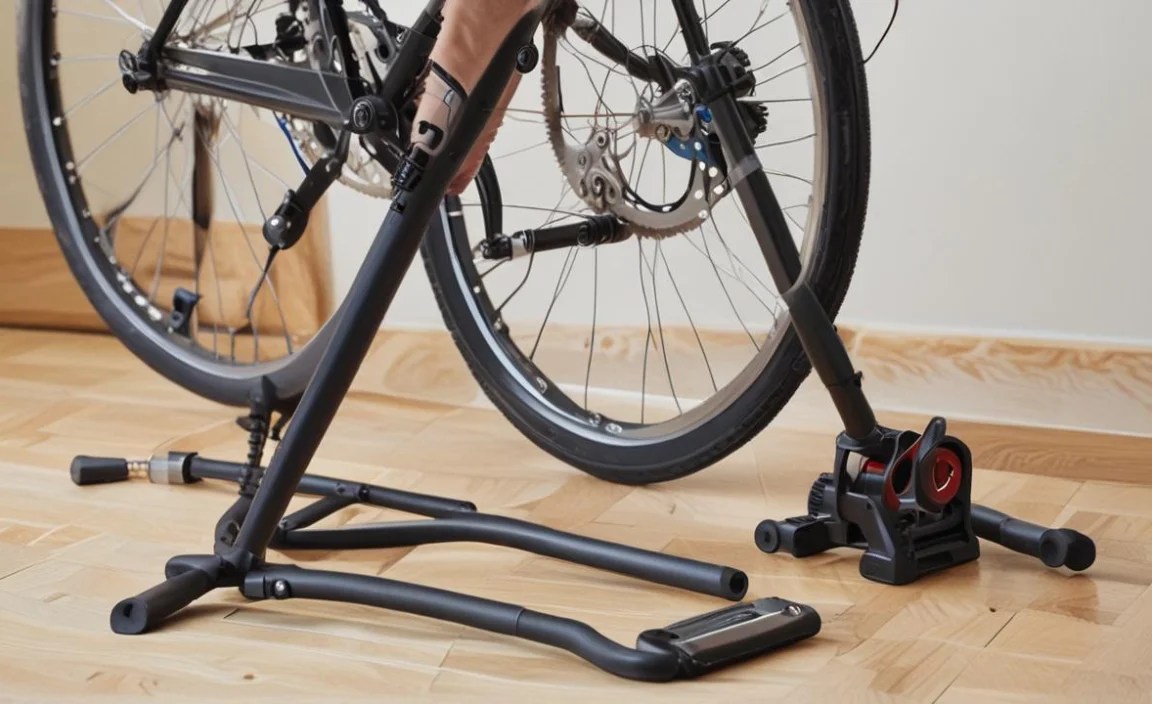
- Your Bike: The bike with the Presta valve tires you want to inflate.
Step-by-Step Guide to Installing a Presta Adapter

Here’s how to install a Presta adapter on your floor pump and inflate your tires:
Step 1: Identify Your Valve Type
First, make sure you actually have Presta valves. Look at the valve on your bike’s inner tube. Presta valves are narrower and have a small screw at the top. Schrader valves are wider and look like the ones on car tires.
If you’re unsure, here’s a quick comparison:
| Feature | Presta Valve | Schrader Valve |
|---|---|---|
| Width | Narrow | Wider |
| Locking Mechanism | Small screw at the tip | Spring-loaded pin inside |
| Common Use | Road bikes, high-performance bikes | Mountain bikes, car tires |
Step 2: Prepare the Presta Valve
Before attaching the adapter, you need to prepare the Presta valve:
- Unscrew the Valve Tip: Turn the small screw at the top of the Presta valve counter-clockwise until it’s loose. Don’t remove it completely; just loosen it enough to allow airflow.
- Press the Valve Core: Gently push down on the valve core (the little pin inside the valve) to ensure it’s not stuck. This helps to allow air to flow freely when you attach the pump. A quick press will do!
Step 3: Attach the Presta Adapter
Now, let’s attach the adapter:
- Screw on the Adapter: Screw the Presta adapter onto the valve stem. Turn it clockwise until it’s snug. Don’t overtighten it, as you could damage the valve.
- Check the Connection: Make sure the adapter is securely attached to the valve. It should be straight and not wobbly.
Step 4: Attach the Floor Pump
With the adapter in place, you can now attach your floor pump:
- Open the Pump Head: Open the lever on your floor pump’s head. This allows you to attach it to the valve.
- Attach to Adapter: Place the pump head over the Presta adapter, just like you would with a Schrader valve. Make sure it’s fully seated on the adapter.
- Close the Pump Head: Close the lever on the pump head to create an airtight seal. You should feel it clamp down securely.
Step 5: Inflate the Tire
Now for the fun part – inflating the tire:
- Start Pumping: Begin pumping the floor pump. Watch the pressure gauge on the pump to monitor the tire pressure.
- Inflate to Recommended Pressure: Inflate the tire to the recommended pressure, which is usually printed on the sidewall of the tire. Pay close attention to the gauge to avoid over-inflating.
- Check for Leaks: After inflating, check for any leaks around the adapter and pump head. If you hear or feel air escaping, readjust the pump head or adapter.
Step 6: Remove the Pump and Adapter
Once the tire is inflated to the correct pressure, it’s time to remove everything:
- Open the Pump Head: Open the lever on the pump head to release the seal.
- Remove the Pump: Carefully remove the pump head from the Presta adapter.
- Unscrew the Adapter: Unscrew the Presta adapter from the valve stem by turning it counter-clockwise.
- Close the Valve: Tighten the small screw on the Presta valve by turning it clockwise until it’s snug. This closes the valve and prevents air from escaping.
Troubleshooting Common Issues
Sometimes, things don’t go exactly as planned. Here are some common issues and how to fix them:
Air Leaking When Pumping
Problem: Air is leaking around the pump head or adapter while you’re pumping.
Solution:
- Check the Pump Head: Make sure the pump head is fully seated on the adapter and the lever is securely closed.
- Check the Adapter: Ensure the adapter is tightly screwed onto the Presta valve.
- Replace the Adapter: If the adapter is damaged, replace it with a new one.
Difficulty Attaching the Pump Head
Problem: You’re having trouble attaching the pump head to the adapter.
Solution:
- Ensure Correct Alignment: Make sure the pump head is aligned straight with the adapter.
- Check for Obstructions: Ensure there’s no dirt or debris blocking the pump head or adapter.
- Try a Different Pump Head: Some pump heads fit better than others. If possible, try a different pump head.
Valve Core Sticking
Problem: Air isn’t flowing into the tire even when the pump is attached.
Solution:
- Press the Valve Core: Before attaching the adapter, gently press the valve core to ensure it’s not stuck.
- Use a Valve Tool: If the valve core is still stuck, use a valve tool to remove and clean it. You might need to replace it if it’s damaged.
Tips for Maintaining Your Presta Valves and Adapters

To keep your Presta valves and adapters in good condition, follow these tips:
- Keep Them Clean: Regularly clean your Presta valves and adapters to remove dirt and debris.
- Store Adapters Safely: Store your adapters in a safe place where they won’t get damaged or lost.
- Replace When Necessary: Replace your Presta valves and adapters when they show signs of wear or damage.
Benefits of Using a Presta Adapter

Using a Presta adapter offers several benefits:
- Versatility: Allows you to use a standard floor pump with Presta valves.
- Cost-Effective: Cheaper than buying a new pump with a Presta-compatible head.
- Convenience: Small and easy to carry, making it great for on-the-go inflation.
Choosing the Right Presta Adapter
Not all Presta adapters are created equal. Here’s what to consider when choosing one:
- Material: Look for adapters made from durable materials like brass or aluminum.
- Size: Ensure the adapter is the correct size for your Presta valves. Most are standard size, but it’s always good to check.
- Price: Presta adapters are generally inexpensive, but it’s worth investing in a slightly higher-quality one for better durability.
Alternatives to Using a Presta Adapter
While Presta adapters are a great solution, here are some alternatives:
- Floor Pump with Dual Head: Some floor pumps come with a dual head that’s compatible with both Presta and Schrader valves.
- Portable Pump with Presta Head: Consider a portable pump specifically designed for Presta valves if you need something for on-the-go inflation.
Recommended Tools and Accessories
Here are some recommended tools and accessories to make your bike maintenance easier:
- Floor Pump with Gauge: A good quality floor pump with an accurate pressure gauge is essential for inflating tires correctly.
- Valve Core Tool: This tool helps you remove and replace valve cores, which can be useful for cleaning or maintenance.
- Tire Levers: Tire levers make it easier to remove and install tires without damaging the rims.
Understanding Tire Pressure and Its Importance
Maintaining the correct tire pressure is crucial for a comfortable and efficient ride. Here’s why:
- Rolling Resistance: Proper tire pressure reduces rolling resistance, making it easier to pedal and go faster.
- Grip: Correct tire pressure ensures optimal grip, especially when cornering or riding on wet surfaces.
- Puncture Resistance: Inflating your tires to the recommended pressure reduces the risk of punctures.
- Comfort: Proper tire pressure improves ride comfort by absorbing bumps and vibrations.
Always check the recommended pressure on your tire’s sidewall and use a pump with a gauge to achieve the correct inflation.
Safety Tips for Inflating Tires
Follow these safety tips when inflating your tires:
- Don’t Over-Inflate: Never inflate your tires beyond the maximum pressure recommended on the sidewall. Over-inflation can cause the tire to explode.
- Inspect Tires Regularly: Check your tires for cuts, bulges, or other damage before inflating them. Replace damaged tires immediately.
- Use Eye Protection: Wear eye protection when inflating tires to protect your eyes from debris or potential explosions.
Common Mistakes to Avoid
Here are some common mistakes to avoid when using a Presta adapter:
- Overtightening the Adapter: Don’t overtighten the adapter on the valve stem, as this can damage the valve.
- Forgetting to Loosen the Valve: Always loosen the valve tip before attaching the adapter.
- Using a Damaged Adapter: Don’t use a damaged adapter, as it may leak or not provide a secure connection.
Presta vs. Schrader Valves: A Detailed Comparison
Understanding the differences between Presta and Schrader valves can help you choose the right adapter and pump. Here’s a detailed comparison:
| Feature | Presta Valve | Schrader Valve |
|---|---|---|
| Design | Narrower, with a locking nut at the tip | Wider, with a spring-loaded pin inside |
| Air Retention | Generally better at retaining air | Can sometimes leak air over time |
| Inflation | Requires loosening the locking nut before inflation | No preparation needed before inflation |
| Common Use | Road bikes, high-performance bikes | Mountain bikes, car tires |
| Pressure Gauge Compatibility | Requires a pump head designed for Presta valves | Compatible with most standard pump heads |
Frequently Asked Questions (FAQs)
1. What is a Presta valve?
A Presta valve is a type of bicycle tire valve that’s narrower and longer than a Schrader valve. It has a small nut at the tip that you need to loosen before inflating.
2. Why do some bikes use Presta valves?
Presta valves are often used on higher-performance bikes because they’re lighter and can handle higher pressures. They also seal well, reducing air leakage.
3. Can I use a regular pump on a Presta valve?
Yes, you can! You’ll just need a Presta adapter, which screws onto the valve and allows a regular pump head to attach.
4. How tight should I screw the Presta adapter onto the valve?
Snug is good – you want it secure enough to not leak air, but not so tight that you damage the valve. Hand-tight is usually sufficient.
5. What do I do if my Presta valve is stuck?
Gently push the valve core (the little pin inside) a few times to loosen it up. If it’s really stuck, a valve core tool can help you remove and clean it.
6. Can I leave the Presta adapter on the valve all the time?
While you *can* leave it on, it’s generally better to remove it after inflating. This helps keep the valve clean and prevents the adapter from getting lost or damaged.
7. Where can I buy a Presta adapter?
You can find Presta adapters at most bike shops or online retailers that sell cycling accessories. They’re usually very inexpensive.
Conclusion
And there you have it! Installing a Presta adapter on your floor pump is a simple and effective way to inflate your tires with Presta valves. By following these steps and tips, you can easily maintain your bike’s tire pressure and enjoy a smooth, safe ride. Don’t let valve types slow you down! With a Presta adapter, you’re equipped to handle any tire inflation situation. So get out there, pump up those tires, and enjoy the ride!


