
Easy Chuck Sealant Refill: The Pro’s How-To
Quick Summary: Using a chuck for sealant refill on your bike tires makes the process cleaner and more efficient. You’ll need a sealant injector, a chuck that fits snugly on your valve, and your chosen sealant. Connect the chuck to the valve, attach the sealant injector, and carefully inject the sealant. This method minimizes mess and ensures the sealant goes directly into the tire.
Dealing with flat tires is part of cycling, and keeping your tires properly sealed is essential for a smooth ride. Adding sealant can be messy and frustrating if you’re not using the right tools. Many cyclists struggle with sealant spills and uneven distribution when refilling their tires. But don’t worry! This guide provides a simple, step-by-step method using a chuck to refill sealant efficiently. Let’s get started and keep those tires rolling smoothly!
Understanding Sealant Refills and Why Use a Chuck?

Refilling your tire sealant is a critical part of bike maintenance, especially if you’re using tubeless tires. Sealant prevents air loss and seals small punctures while you ride. Over time, the sealant dries out and loses its effectiveness, so regular refills are necessary.
Benefits of Using a Chuck
A chuck provides several advantages when refilling sealant:
- Precision: A chuck creates a secure connection between the sealant injector and the tire valve, minimizing spills.
- Cleanliness: Using a chuck reduces mess by directing the sealant straight into the tire.
- Efficiency: It allows for quicker and easier sealant refills, saving you time and effort.
Tools and Materials You’ll Need
Before you begin, gather the following:
- Sealant Injector: A syringe-like tool designed to inject sealant into your tires.
- Chuck: A valve adapter that fits snugly onto your tire valve.
- Tire Sealant: Choose a sealant compatible with your tires (e.g., Stan’s NoTubes, Orange Seal).
- Valve Core Removal Tool: To remove the valve core from your tire valve.
- Rag or Paper Towel: For cleaning up any spills.
- Gloves (Optional): To keep your hands clean.
Step-by-Step Guide: How to Use a Chuck for Sealant Refill

Follow these steps for a clean and efficient sealant refill.
Step 1: Prepare Your Bike and Tire
Start by positioning your bike so that the tire valve is at the bottom. This helps ensure the sealant distributes evenly. Deflate the tire completely.
Step 2: Remove the Valve Core
Use the valve core removal tool to unscrew and remove the valve core from the tire valve. Store the valve core in a safe place to avoid losing it.
Tip: Some valve cores can be tricky to remove. Make sure you have a good grip and apply steady pressure.
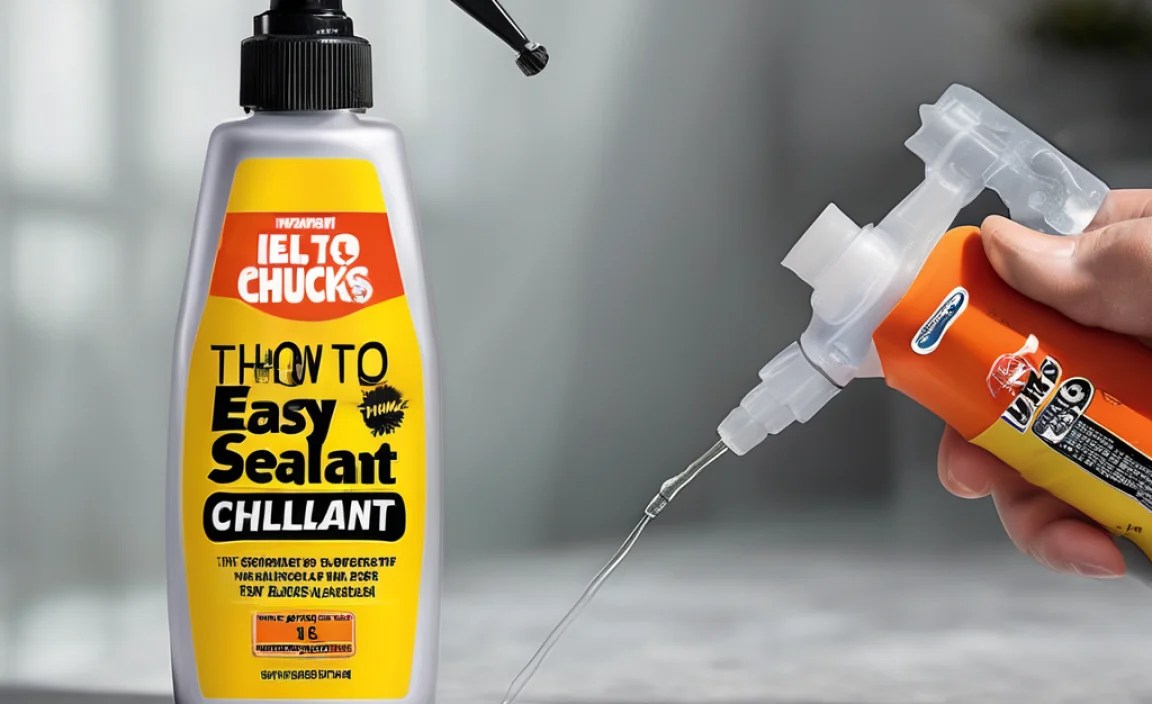
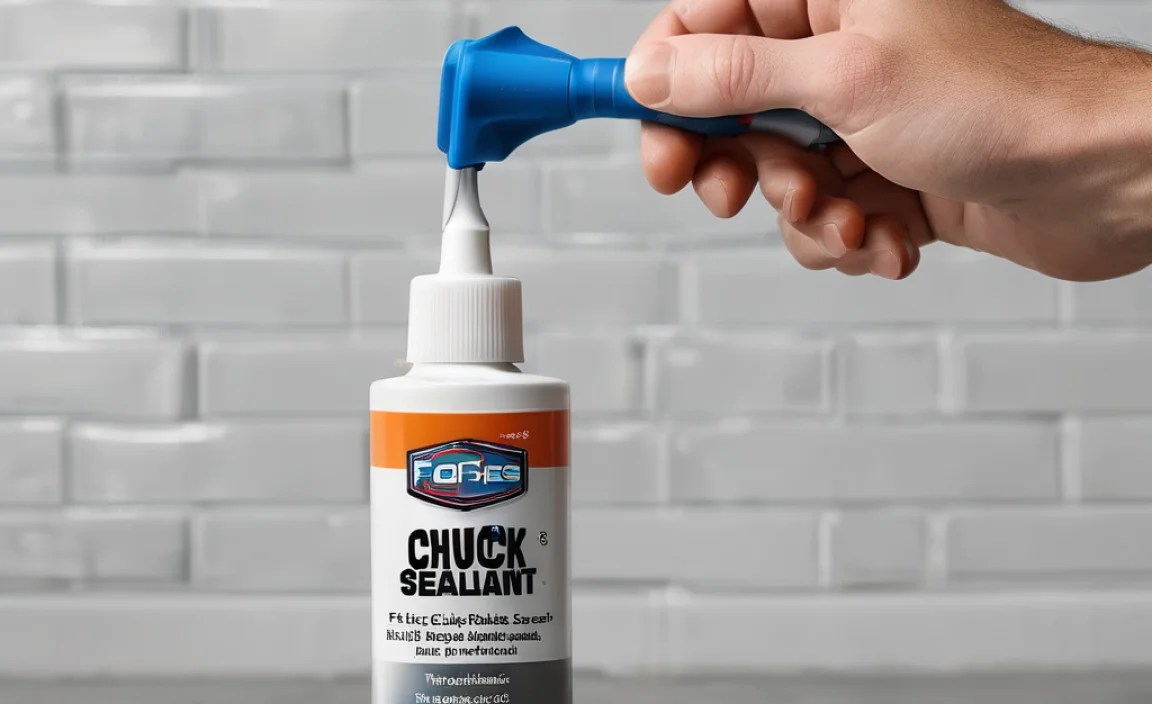
Step 3: Attach the Chuck to the Valve
Connect the chuck to the tire valve. Ensure it fits snugly to prevent leaks. Some chucks have a lever or screw to secure the connection.
Step 4: Prepare the Sealant Injector
Draw the appropriate amount of sealant into the sealant injector. The amount of sealant needed depends on your tire size. Refer to the sealant manufacturer’s instructions for the recommended amount.
Here’s a general guideline:
| Tire Size | Recommended Sealant Amount |
|---|---|
| Road Tires (700c x 23-28mm) | 30-40ml |
| Gravel Tires (700c x 32-45mm) | 40-60ml |
| Mountain Bike Tires (26″, 27.5″, 29″) | 60-120ml |
Step 5: Connect the Sealant Injector to the Chuck
Attach the sealant injector to the chuck. Make sure the connection is secure to prevent any sealant from leaking out during the injection process.
Step 6: Inject the Sealant
Slowly and steadily inject the sealant into the tire. Apply even pressure to the sealant injector to ensure a smooth flow. Avoid injecting too quickly, as this can cause the sealant to bubble or overflow.
Step 7: Remove the Sealant Injector and Chuck
Once all the sealant has been injected, carefully remove the sealant injector from the chuck. Then, remove the chuck from the tire valve.
Step 8: Reinstall the Valve Core
Use the valve core removal tool to reinstall the valve core into the tire valve. Tighten it securely to prevent air leaks.
Step 9: Inflate the Tire
Inflate the tire to the recommended pressure. Refer to the tire manufacturer’s instructions for the correct pressure. Use a reliable bike pump, like a floor pump with a gauge, to achieve the desired pressure.
Step 10: Distribute the Sealant
Spin the wheel and bounce the tire on the ground to distribute the sealant evenly inside the tire. This ensures that the sealant coats the entire inner surface and is ready to seal any punctures.
Step 11: Check for Leaks
Inspect the tire for any leaks, especially around the valve stem and the tire bead. If you find any leaks, spin the wheel and allow the sealant to work its way into the leak. You may need to add a bit more air to maintain pressure.
Choosing the Right Chuck for Your Needs

Selecting the appropriate chuck is essential for a successful sealant refill. Here are some factors to consider:
- Valve Compatibility: Ensure the chuck is compatible with your tire valve type (Presta or Schrader).
- Material: Look for chucks made from durable materials like brass or aluminum for long-lasting performance.
- Sealing: Choose a chuck with a good sealing mechanism to prevent leaks during the injection process.
- Ease of Use: Opt for a chuck that is easy to attach and detach from the valve.
Troubleshooting Common Issues
Even with the best tools, you might encounter some issues during the sealant refill process. Here are some common problems and how to address them.
Issue 1: Sealant Leaks During Injection
Cause: Loose connection between the chuck and the valve, or a faulty chuck.
Solution: Ensure the chuck is securely attached to the valve. If the chuck is damaged, replace it with a new one.
Issue 2: Difficulty Injecting Sealant
Cause: Clogged sealant injector or thick sealant.
Solution: Clean the sealant injector thoroughly. If the sealant is too thick, try warming it slightly or using a thinner sealant.
Issue 3: Air Leaks After Refilling
Cause: Valve core not tightened properly or damage to the tire bead.
Solution: Ensure the valve core is tightened securely. If the tire bead is damaged, you may need to reseat the tire or replace it.
Maintaining Your Tools for Longevity
Proper maintenance of your tools ensures they remain in good working condition and last longer. Here are some tips for maintaining your sealant injector and chuck.
- Clean After Each Use: Rinse the sealant injector and chuck with water after each use to prevent sealant from drying and clogging them.
- Lubricate Moving Parts: Apply a small amount of lubricant to the moving parts of the chuck to keep them functioning smoothly.
- Store Properly: Store your tools in a clean, dry place to prevent rust and corrosion.
Alternative Methods for Sealant Refill
While using a chuck is an efficient method, there are alternative approaches you can consider.
Using a Sealant Bottle with a Nozzle
Some sealant bottles come with a nozzle that fits directly onto the tire valve. This method is simple but can be messier than using a chuck.
Direct Injection Without a Chuck
You can inject sealant directly into the tire valve without using a chuck. However, this method is prone to spills and requires a steady hand.
Comparing Sealant Refill Methods
Here’s a comparison table to help you decide which method is best for you:
| Method | Pros | Cons |
|---|---|---|
| Using a Chuck | Precise, clean, efficient | Requires additional tool (chuck) |
| Sealant Bottle with Nozzle | Simple, no extra tools needed | Can be messy |
| Direct Injection | Minimal tools required | Prone to spills, requires steady hand |
Advanced Tips for Sealant Refills
For experienced cyclists, here are some advanced tips to optimize your sealant refills.
- Use a Sealant Refresh Kit: These kits include everything you need for a sealant refill, including sealant, injector, and valve core removal tool.
- Monitor Sealant Levels: Regularly check your tire sealant levels to ensure they are adequate. You can do this by removing the valve core and using a dipstick or by feeling the weight of the tire.
- Consider Sealant Type: Experiment with different types of sealant to find the one that works best for your riding conditions and tire setup.
FAQ: Common Questions About Sealant Refills
1. How often should I refill my tire sealant?
It depends on the sealant type and your riding conditions, but generally, every 3-6 months is a good practice.
2. Can I mix different brands of tire sealant?
It’s generally not recommended, as different sealants may have incompatible chemical properties.
3. What happens if I use too much sealant?
Excess sealant can add unnecessary weight to your tires and may cause a sticky mess inside the tire.
4. Can I use sealant in tires with tubes?
Yes, but it’s primarily designed for tubeless tires. In tubes, it might not work as effectively.
5. How do I clean up sealant spills?
Use a damp rag to wipe up fresh sealant spills. Dried sealant can be removed with a scrub brush and soapy water.
6. What type of chuck is best for sealant refills?
A chuck with a secure, leak-proof connection that is compatible with your valve type (Presta or Schrader) is ideal.
7. Is it necessary to remove the tire to refill sealant?
No, using a sealant injector and chuck allows you to refill sealant without removing the tire.
Conclusion
Refilling your tire sealant using a chuck is a simple, efficient way to maintain your bike tires and prevent flats. By following the step-by-step guide and considering the tips and troubleshooting advice provided, you can ensure a clean and effective sealant refill every time. Regular maintenance not only extends the life of your tires but also enhances your overall riding experience. So grab your tools, get your hands a little dirty, and enjoy the peace of mind that comes with well-maintained tires. Happy cycling!


