
How Often Should You Replace Your Pump Chuck? Quick Guide
Quick Summary: You should replace your bike pump chuck every 1-2 years, or more often if you notice it’s damaged, leaking air, or not sealing properly on your valve. Regular use and wear and tear will degrade the rubber seals and threads, leading to inaccurate tire pressure readings and frustrating pumping sessions. A new chuck is a cheap and easy way to keep your tires properly inflated!
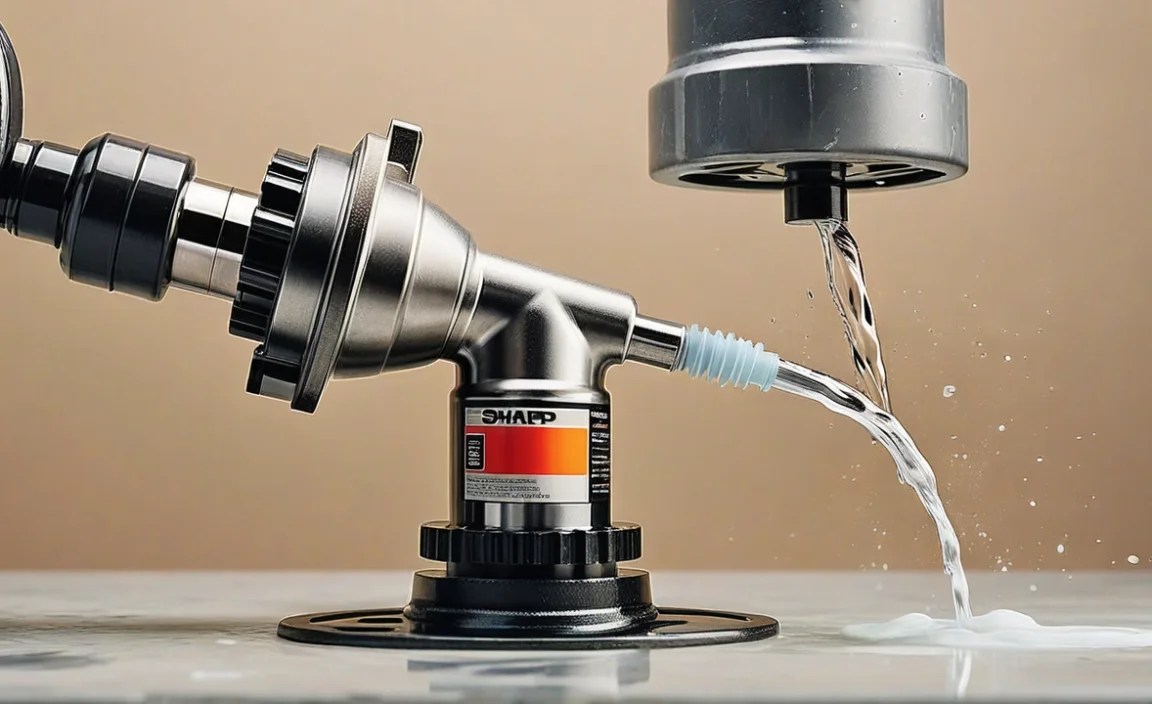
Is your bike pump suddenly fighting you? Does it take forever to get your tires inflated, or are you losing air as fast as you pump? A worn-out pump chuck is often the culprit. It’s a small part, but it plays a big role in keeping your tires properly inflated. Don’t let a faulty chuck ruin your ride. Replacing it is simple, and it will save you time and frustration. Let’s walk through how to know when it’s time for a new one and how to choose the right replacement.
In this guide, I’ll show you:
- Signs that your pump chuck needs replacing
- How to choose the right replacement chuck for your pump and valves
- Step-by-step instructions for replacing your pump chuck
- Tips for maintaining your chuck to extend its lifespan
When to Replace Your Bike Pump Chuck: Recognizing the Signs

Knowing when to replace your pump chuck can save you from frustrating flats and wasted effort. Here are the telltale signs that it’s time for a new one:
1. Air Leaks
One of the most obvious signs is air leaking around the valve stem while you’re pumping. If you hear a hissing sound or feel air escaping, the chuck’s seal is likely worn out. This means you’re not getting an accurate pressure reading, and you’re working harder to inflate your tires.
2. Difficulty Attaching or Detaching
A good pump chuck should attach and detach smoothly from the valve. If you’re struggling to get it on or off, or if it feels loose and wobbly, the internal mechanism may be damaged or worn. Forcing it can damage your valve stem, too.
3. Visible Damage
Inspect your pump chuck regularly for cracks, tears, or other visible damage. Rubber parts can dry out and crack over time, especially if exposed to sunlight or harsh weather. Plastic parts can break if dropped or mishandled. Any visible damage is a sign that the chuck’s integrity is compromised.
4. Inconsistent Pressure Readings
If you’re getting different pressure readings each time you pump, even though you haven’t changed anything, the chuck may be the problem. A worn or damaged chuck can affect the accuracy of the pressure gauge, leading to over- or under-inflated tires.
5. Increased Pumping Effort
If it suddenly takes more effort to pump your tires to the desired pressure, the chuck may not be sealing properly. This means you’re losing air with each stroke, and you’re having to work harder to compensate.
6. Age of the Chuck
Even if you don’t notice any of the above signs, it’s a good idea to replace your pump chuck every 1-2 years as part of routine maintenance. Rubber and plastic parts degrade over time, even with minimal use. A fresh chuck will ensure reliable performance and accurate pressure readings.
Choosing the Right Replacement Pump Chuck

Not all pump chucks are created equal. Here’s how to choose the right one for your pump and your bike’s valves:
1. Valve Compatibility
The most important factor is valve compatibility. There are two main types of bike valves:
- Presta (French) Valves: These are narrow valves with a small locking nut at the tip. They’re commonly found on road bikes and high-performance mountain bikes.
- Schrader (American) Valves: These are wider valves, similar to those found on car tires. They’re common on mountain bikes, hybrid bikes, and kids’ bikes.
Make sure the replacement chuck is compatible with the type of valves you have. Some chucks are designed to work with both Presta and Schrader valves, while others are specific to one type.
2. Pump Compatibility
Consider the type of pump you have. Floor pumps, mini pumps, and frame-mounted pumps may require different types of chucks. Check your pump’s manual or the manufacturer’s website for specific recommendations. If you’re unsure, take your pump with you when you shop for a replacement chuck.
3. Chuck Type
There are two main types of pump chucks:
- Thread-On Chucks: These screw onto the valve stem for a secure connection. They’re less prone to leaks but can be more difficult to attach and detach.
- Press-On Chucks: These simply press onto the valve stem. They’re easier to use but may be more prone to leaks, especially with Presta valves.
Choose the type of chuck that you find most comfortable and convenient to use.
4. Material
Pump chucks are typically made of plastic, metal, or a combination of both. Metal chucks are more durable but can be heavier and more expensive. Plastic chucks are lighter and more affordable but may not be as durable. Consider your budget and how often you use your pump when choosing a material.
5. Features
Some pump chucks come with additional features, such as:
- Bleed Button: Allows you to release small amounts of air to fine-tune the tire pressure.
- Swivel Head: Makes it easier to access valves in tight spaces.
- Integrated Valve Core Tool: Allows you to remove and replace valve cores.
These features can be helpful, but they’re not essential. Choose a chuck with the features that are most important to you.
6. Brand and Reviews
Stick with reputable brands that are known for producing high-quality bike accessories. Read online reviews to get an idea of other users’ experiences with different pump chucks. This can help you avoid products that are prone to failure or difficult to use.
Step-by-Step Guide to Replacing Your Pump Chuck

Replacing your pump chuck is a simple task that anyone can do with a few basic tools. Here’s how:
Tools You’ll Need:
- New pump chuck
- Wrench or pliers (if needed to remove the old chuck)
- Scissors or utility knife (if needed to trim the hose)
- Soapy water (optional, for lubrication)
Step 1: Remove the Old Chuck
Start by disconnecting the old chuck from the pump hose. Depending on the design, it may be threaded, clamped, or simply pushed onto the hose.
- Threaded Chucks: Use a wrench or pliers to loosen the chuck from the hose fitting. Turn it counterclockwise until it comes loose.
- Clamped Chucks: Use a screwdriver to loosen the clamp that secures the chuck to the hose. Then, pull the chuck off the hose.
- Push-On Chucks: Simply pull the chuck off the hose. It may take some effort, especially if the hose is stiff.
Step 2: Prepare the Hose
Inspect the end of the hose for damage or fraying. If necessary, use scissors or a utility knife to trim the hose to create a clean, even edge. This will ensure a good seal with the new chuck.
Step 3: Attach the New Chuck
Attach the new chuck to the pump hose. Follow the same procedure as you used to remove the old chuck, but in reverse.
- Threaded Chucks: Thread the chuck onto the hose fitting. Turn it clockwise until it’s snug but not overtightened.
- Clamped Chucks: Slide the chuck onto the hose and secure it with the clamp. Tighten the clamp screw until it’s snug.
- Push-On Chucks: Push the chuck onto the hose until it’s fully seated. You may need to use some force.
If the hose is difficult to slide onto the chuck, try lubricating it with a small amount of soapy water. This will help it slide on more easily.
Step 4: Test the Connection
Once the new chuck is attached, test the connection to make sure it’s secure and airtight. Inflate a tire and listen for any air leaks around the chuck. If you hear any leaks, tighten the connection or re-seat the chuck on the hose.
Step 5: Fine-Tune (If Necessary)
Some pump chucks may require fine-tuning to work properly. For example, some chucks have adjustable valves that need to be set to the correct position for Presta or Schrader valves. Refer to the chuck’s instructions for specific details.
Tips for Maintaining Your Pump Chuck
Proper maintenance can extend the life of your pump chuck and keep it working smoothly. Here are some tips:
- Keep it Clean: Wipe the chuck with a clean cloth after each use to remove dirt and debris.
- Lubricate Regularly: Apply a small amount of silicone grease or lubricant to the moving parts of the chuck every few months. This will keep them working smoothly and prevent corrosion.
- Store it Properly: Store your pump in a cool, dry place away from direct sunlight. This will prevent the rubber and plastic parts from drying out and cracking.
- Avoid Over-Tightening: When attaching the chuck to the valve, don’t over-tighten it. This can damage the valve stem or the chuck itself.
- Replace Worn Parts: If you notice any signs of wear or damage, replace the affected parts immediately. Don’t wait until the chuck fails completely.
Troubleshooting Common Pump Chuck Problems
Even with proper maintenance, you may encounter some problems with your pump chuck. Here are some common issues and how to resolve them:
| Problem | Possible Cause | Solution |
|---|---|---|
| Air leaks around the valve stem | Worn or damaged seal | Replace the chuck or the seal |
| Difficulty attaching or detaching | Dirty or corroded parts | Clean and lubricate the chuck |
| Chuck won’t stay on the valve | Loose or damaged valve core | Tighten or replace the valve core |
| Inaccurate pressure readings | Faulty gauge or chuck | Replace the gauge or chuck |
| Increased pumping effort | Clogged or restricted airflow | Clean the chuck and hose |
Pump Chuck Recommendations
Choosing a high-quality pump chuck can make a big difference in your cycling experience. Here are a few recommendations based on different needs and budgets:
- For Road Cyclists: Lezyne Dual Valve Head – Known for its precise engagement and minimal air loss.
- For Mountain Bikers: Topeak SmartHead DX3 – Adapts automatically to Presta and Schrader valves, durable construction.
- For Commuters: Blackburn AnyValve Head – Simple, reliable, and works with both valve types.
- Budget Pick: Serfas Dual Head Pump Head – Affordable and effective for everyday use.
Always check compatibility with your specific pump model before purchasing.
FAQ: Your Pump Chuck Questions Answered
Still have questions about pump chucks? Here are some frequently asked questions:
1. How do I know if my pump chuck is compatible with my valves?
Check the chuck for markings indicating Presta or Schrader compatibility. Some chucks have dual heads or adapters for both valve types. If unsure, consult the product manual or manufacturer’s website.
2. Can I repair a damaged pump chuck instead of replacing it?
In some cases, you can replace individual parts, such as seals or O-rings. However, if the chuck body is cracked or damaged, it’s best to replace the entire unit for safety and reliability.
3. How often should I lubricate my pump chuck?
Lubricate your pump chuck every 2-3 months, or more often if you notice it’s becoming stiff or difficult to use. Use a silicone-based lubricant to avoid damaging the rubber or plastic parts.
4. What’s the difference between a thread-on and a press-on chuck?
Thread-on chucks screw onto the valve stem for a secure connection, while press-on chucks simply press onto the valve. Thread-on chucks are generally more reliable but can be more difficult to use, especially with Presta valves.
5. Can I use a car tire inflator on my bike tires?
While technically possible with an adapter, car tire inflators often deliver air too quickly, making it easy to overinflate bike tires. It’s best to use a bike-specific pump for more precise pressure control.
6. Why is my pump chuck leaking air when I try to inflate my tires?
This could be due to a worn seal, a loose connection, or a damaged valve core. Check the chuck for damage, tighten the connection, and inspect the valve core for leaks.
7. Are expensive pump chucks worth the investment?
Expensive pump chucks often offer better durability, precision, and features, such as integrated pressure gauges or bleed valves. However, a mid-range chuck from a reputable brand is usually sufficient for most cyclists.
Conclusion: Keep Your Tires Properly Inflated
Replacing your bike pump chuck is a small investment that can make a big difference in your cycling experience. By recognizing the signs of a worn-out chuck, choosing the right replacement, and following proper maintenance procedures, you can keep your tires properly inflated and enjoy a smooth, safe ride. Don’t let a faulty chuck ruin your next adventure – take control of your bike maintenance and keep rolling!


