
What Materials Increase Chuck Lifespan? Powerful Guide
Quick Summary: The lifespan of your drill chuck depends on the materials it’s made from and how well you maintain it. High-quality steel chucks last longer, especially if they’re hardened. Regular cleaning and lubrication also prevent wear and tear. Using the right drill bits and avoiding excessive force extends its life, too.
Is your drill chuck starting to slip or wobble? It’s a common problem for anyone who uses a drill regularly. A worn-out chuck can make even simple projects frustrating. The good news is, you can make your chuck last longer by understanding what it’s made of and how to take care of it.
In this guide, I’ll walk you through the materials that make a chuck durable. You’ll also learn how to clean, lubricate, and use your drill properly. Follow these tips, and you’ll keep your drill running smoothly for years to come. Let’s get started!
Understanding Drill Chuck Materials
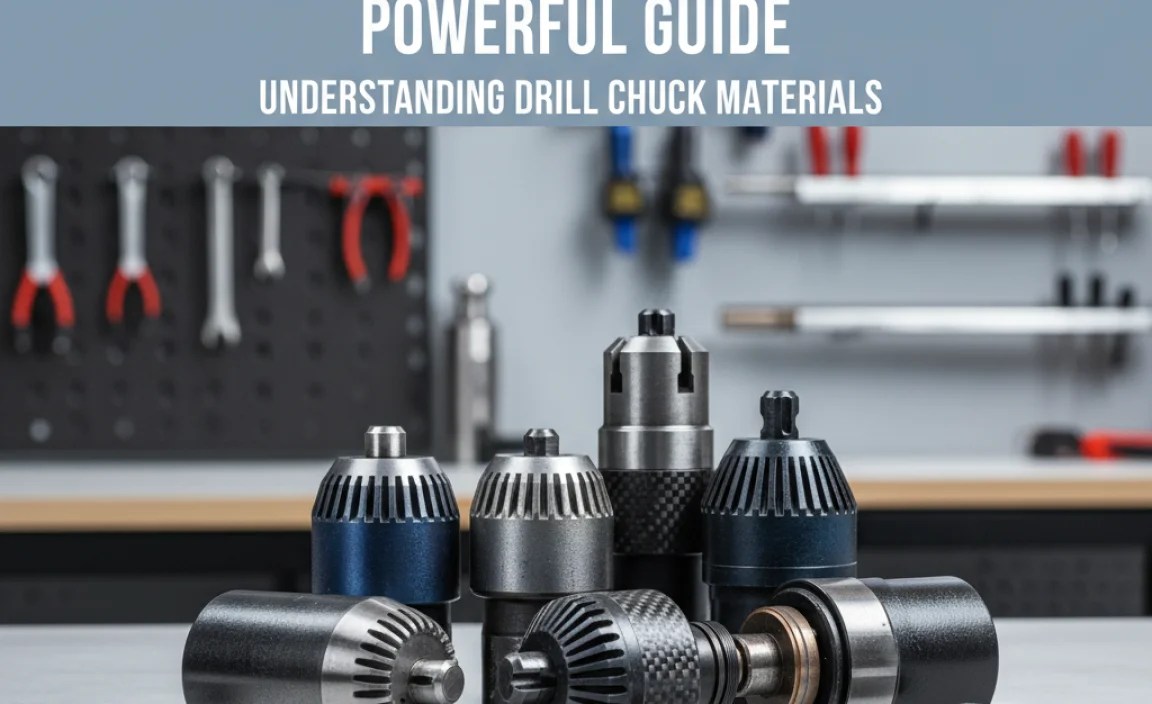
The material your drill chuck is made from plays a huge role in how long it lasts. Let’s break down the most common materials and their impact on chuck lifespan.
Steel Chucks
Steel is the most common material for drill chucks. It’s strong and can handle a lot of wear and tear. But not all steel is created equal. Here’s what you need to know:
- Carbon Steel: This is a basic type of steel. It’s affordable but can wear down faster than other options.
- Alloy Steel: Alloy steel has other metals added to it, like chromium or vanadium. These additions make it stronger and more resistant to rust.
- Hardened Steel: Hardened steel goes through a special heat treatment to make it extra tough. This is the best option for a long-lasting chuck.
Keyed vs. Keyless Chucks
The design of the chuck also affects its lifespan. There are two main types:
- Keyed Chucks: These use a key to tighten the drill bit. They offer a strong grip and are durable, but the key can get lost.
- Keyless Chucks: These are tightened by hand. They’re convenient but may not grip as tightly as keyed chucks, especially with heavy use.
Keyed chucks are often made of tougher materials because they need to withstand the force of the key tightening. Keyless chucks can wear out faster if they’re constantly being tightened and loosened.
Chuck Material Comparison Table
| Material | Durability | Cost | Best Use |
|---|---|---|---|
| Carbon Steel | Moderate | Low | Light-duty drilling |
| Alloy Steel | High | Medium | General-purpose drilling |
| Hardened Steel | Very High | High | Heavy-duty drilling |
How to Increase Chuck Lifespan: Maintenance Tips

No matter what material your chuck is made of, regular maintenance is key to extending its lifespan. Here’s how to keep your chuck in top shape.
Cleaning Your Chuck
Dirt and debris can grind away at the chuck’s internal parts, causing it to wear out faster. Cleaning your chuck regularly prevents this. Here’s how:
- Unplug the Drill: Always disconnect the power before cleaning.
- Remove the Drill Bit: Take out any bit that’s in the chuck.
- Use Compressed Air: Blow out any loose dirt and debris from the chuck’s jaws and body.
- Scrub with a Brush: Use a small brush (like an old toothbrush) to scrub away stubborn dirt.
- Wipe Clean: Wipe down the chuck with a clean cloth.
Lubricating Your Chuck
Lubrication keeps the chuck’s parts moving smoothly and prevents rust. Here’s how to lubricate your chuck:
- Apply Lubricant: Use a chuck-specific lubricant or a light machine oil. Apply a small amount to the chuck’s jaws and the threads.
- Work it In: Open and close the chuck several times to distribute the lubricant.
- Wipe Off Excess: Wipe away any excess lubricant with a clean cloth.
Note: Avoid using WD-40 as a lubricant. While it’s great for cleaning, it can dry out and attract more dirt over time. Use a proper lubricant for best results.
Proper Drill Bit Usage
Using the right drill bits and techniques can also extend your chuck’s life. Here’s what to keep in mind:
- Use Sharp Bits: Dull bits require more force, which can strain the chuck.
- Choose the Right Bit: Use the correct type of bit for the material you’re drilling.
- Apply Even Pressure: Avoid forcing the drill bit. Let the bit do the work.
- Use the Right Speed: Adjust the drill’s speed to match the material and bit size.
Storage Tips
How you store your drill also matters. Here are a few tips:
- Store in a Dry Place: Moisture can cause rust, which damages the chuck.
- Protect from Impact: Avoid dropping the drill or storing it where it can be knocked around.
- Use a Case: If possible, store the drill in its original case or a tool bag.
Choosing the Right Chuck for Your Needs

When it’s time to replace your chuck, consider these factors to choose the best one for your needs.
Chuck Size
Chuck size refers to the largest drill bit shank it can hold. Common sizes include 1/4 inch, 3/8 inch, and 1/2 inch. Choose a size that matches the bits you use most often.
Chuck Type
As mentioned earlier, you have two main options: keyed and keyless. Keyed chucks offer a stronger grip, while keyless chucks are more convenient. Consider which is more important to you.
Material Quality
Opt for a chuck made of high-quality steel, preferably hardened steel. It will cost more upfront, but it will last much longer.
Brand Reputation
Stick with reputable brands known for producing quality tools. Read reviews and ask for recommendations from other users.
Chuck Replacement Guide
Replacing a drill chuck might seem daunting, but it’s a manageable task with the right tools and guidance. Here’s a simplified step-by-step approach:
- Gather Your Tools:
- New drill chuck
- Hammer
- Two steel punches or drifts
- Vise (optional, but helpful)
- Work gloves and safety glasses
- Secure the Drill:
- Unplug the drill or remove the battery.
- Secure the drill in a vise, if available, to keep it steady. Protect the drill body with padding to prevent damage.
- Remove the Chuck Screw:
- Open the chuck jaws completely.
- Locate the screw inside the chuck at the base.
- Use a screwdriver to remove the screw. Note that some screws are reverse-threaded, so turn clockwise to loosen.
- Loosen the Chuck:
- Insert one steel punch into the chuck.
- Partially close the chuck jaws to grip the punch tightly.
- Use a hammer to strike the punch sharply in a counterclockwise direction (when viewed from the chuck end). This should loosen the chuck from the spindle.
- Remove the Chuck Completely:
- Once loosened, you should be able to unscrew the chuck from the spindle by hand. If it’s still tight, repeat the previous step.
- Ensure the spindle threads are clean before installing the new chuck.
- Install the New Chuck:
- Thread the new chuck onto the spindle by hand, turning it clockwise until snug.
- Insert the second steel punch into the chuck.
- Partially close the chuck jaws to grip the punch tightly.
- Use a hammer to strike the punch sharply in a clockwise direction to tighten the chuck onto the spindle.
- Secure the Chuck Screw:
- Insert the chuck screw back into the chuck and tighten it securely. Remember to turn counterclockwise if it’s a reverse-threaded screw.
- Test the New Chuck:
- Insert a drill bit into the new chuck and tighten it.
- Turn on the drill briefly to ensure the bit runs smoothly and the chuck holds the bit securely.
Chuck Brands Comparison Table
| Brand | Material Quality | Keyed/Keyless Options | Price Range | Notes |
|---|---|---|---|---|
| Jacobs | High | Both | High | Known for durability and precision. |
| Rohr | High | Keyless | High | Premium keyless chucks with excellent grip. |
| Albrecht | Very High | Keyless | Very High | High-precision keyless chucks, often used in CNC machining. |
| Milwaukee | Medium to High | Both | Medium | Reliable and widely available. |
| DeWalt | Medium to High | Both | Medium | Good balance of quality and price. |
Advanced Tips for Chuck Longevity
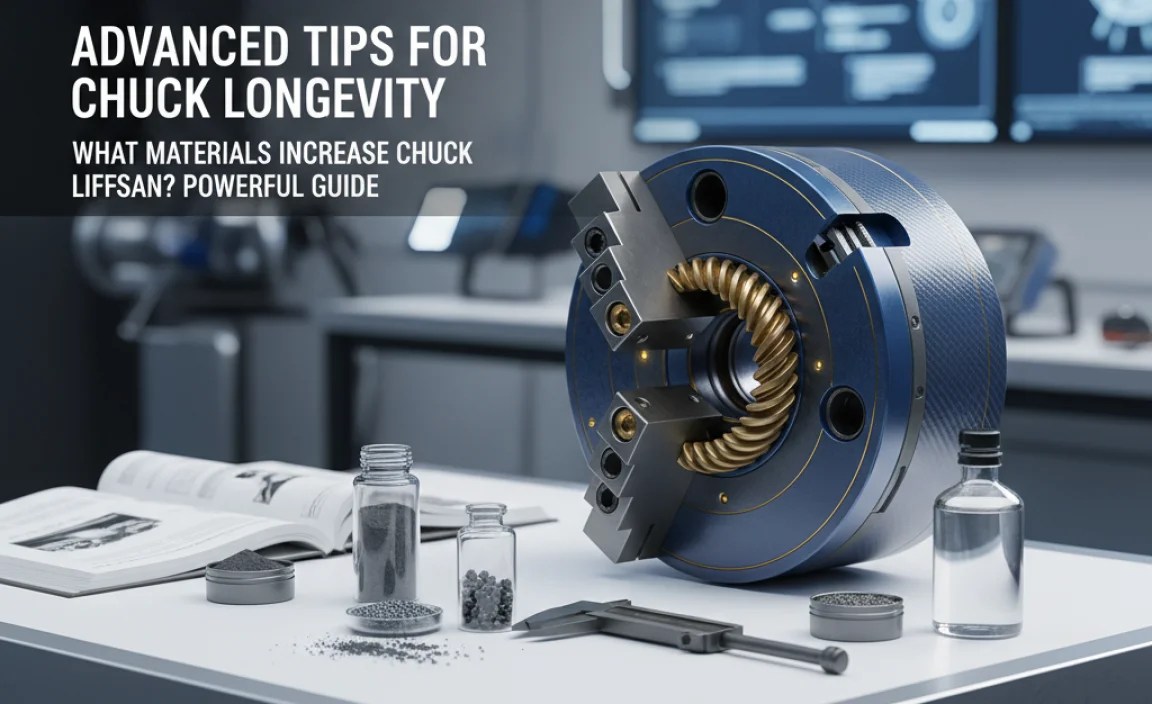
Beyond basic maintenance, here are some advanced tips to further extend your chuck’s lifespan.
Torque Control Settings
Most drills have torque control settings. These settings limit the amount of force the drill applies. Using the correct torque setting prevents over-tightening screws and straining the chuck.
Clutch Settings
Clutch settings are similar to torque control. They disengage the drill when it reaches a certain level of resistance. This prevents damage to the chuck and the material you’re working on.
Using Impact Drivers Wisely
Impact drivers are designed for driving screws and bolts, not drilling. Using an impact driver with a drill chuck can damage it. Use the right tool for the job.
Regular Inspections
Inspect your chuck regularly for signs of wear and tear. Look for cracks, rust, or slipping. Catching problems early can prevent them from becoming major issues.
FAQ: Chuck Lifespan
Here are some frequently asked questions about drill chucks and their lifespan.
What is the average lifespan of a drill chuck?
The average lifespan of a drill chuck can vary widely depending on the quality of materials, frequency of use, and how well it is maintained. A high-quality chuck that is well-maintained can last for many years, while a cheaper chuck that is used heavily and not maintained may only last a year or two.
How often should I lubricate my drill chuck?
You should lubricate your drill chuck every few months, or more often if you use the drill frequently. Regular lubrication helps to keep the internal parts moving smoothly and prevents rust.
Can I use WD-40 to lubricate my drill chuck?
While WD-40 can be used to clean a drill chuck, it is not recommended as a lubricant. WD-40 can dry out and attract dirt, which can actually damage the chuck over time. It’s better to use a proper lubricant designed for drill chucks.
What are the signs that my drill chuck needs to be replaced?
Signs that your drill chuck needs to be replaced include:
- Difficulty tightening or loosening the chuck
- Drill bits slipping in the chuck
- Excessive wobble or vibration
- Visible damage, such as cracks or rust
Is it difficult to replace a drill chuck?
Replacing a drill chuck can be a relatively straightforward task if you have the right tools and follow the correct steps. However, it can be challenging for beginners, and it’s important to proceed carefully to avoid damaging the drill. If you’re not comfortable doing it yourself, it’s best to take it to a professional.
Can I upgrade my drill chuck to a higher quality one?
Yes, you can typically upgrade your drill chuck to a higher quality one. This can be a great way to improve the performance and lifespan of your drill. Just make sure to choose a chuck that is compatible with your drill’s spindle size and type.
Are keyless chucks better than keyed chucks?
Keyless chucks offer the convenience of tool-free bit changes, while keyed chucks generally provide a more secure grip. The “better” choice depends on your specific needs and preferences. If you frequently change bits and don’t require maximum grip strength, a keyless chuck might be preferable. If you need a very strong grip for heavy-duty applications, a keyed chuck might be the better option.
Conclusion
Extending the lifespan of your drill chuck is all about understanding the materials it’s made from and taking good care of it. By choosing a high-quality chuck, cleaning and lubricating it regularly, and using proper drilling techniques, you can keep your drill running smoothly for years to come. Don’t forget to store your drill properly and inspect it regularly for signs of wear and tear. With these tips, you’ll get the most out of your drill and avoid costly repairs or replacements.


