
How to Stop a Well Pump from Cycling: A Step-by-Step Guide
Quick Summary: A well pump that cycles on and off too frequently can damage your system. To stop it, first check for leaks in your plumbing. Then, inspect the pressure tank’s air charge and adjust if needed. Clean the pressure switch, and if problems persist, consider replacing the pressure switch or the pressure tank itself. Addressing these issues promptly will protect your pump and ensure a consistent water supply.
Is your well pump turning on and off too often? This “cycling” isn’t just annoying; it can seriously damage your pump and shorten its lifespan. A well pump constantly starting and stopping puts extra strain on its motor. This wastes energy and can lead to expensive repairs. Don’t worry, you can often fix this problem yourself with a few simple steps. We’ll walk you through diagnosing the issue and getting your well pump running smoothly again. Let’s get started and save you some headaches and money!
Understanding Well Pump Cycling

Before we dive into fixing the problem, it’s important to understand why well pump cycling happens. Cycling refers to the pump turning on and off more frequently than it should. This is usually due to a loss of pressure in the system. Here are the main culprits:
- Leaks: Even small leaks in your plumbing can cause a drop in pressure, triggering the pump.
- Faulty Pressure Tank: The pressure tank stores water under pressure. If it’s not working correctly, the pump will cycle more often.
- Bad Pressure Switch: This switch senses the water pressure and tells the pump when to turn on and off. A faulty switch can cause erratic cycling.
- Clogged or Damaged Well: Problems within the well itself can sometimes lead to pressure fluctuations.
Step-by-Step Guide to Stop Well Pump Cycling

Here’s a detailed, step-by-step guide to diagnosing and fixing the issue. Follow these steps in order for the best results:
Step 1: Safety First – Turn Off the Power
Before you start any work on your well pump or its components, always turn off the power at the breaker box. This is a crucial safety precaution to prevent electrical shock.
Step 2: Inspect for Leaks
Leaks are a common cause of well pump cycling. Carefully check all visible pipes, fittings, and faucets for any signs of water leakage.
- Check Indoor Faucets and Toilets: Look for drips or running water. A constantly running toilet can significantly lower water pressure.
- Inspect Outdoor Spigots: Make sure outdoor faucets are tightly closed and not leaking.
- Examine Pipes and Fittings: Look for any wet spots or corrosion on pipes and fittings in your basement or crawl space.
- Check the Well Tank Area: Inspect the area around the well tank for any signs of leaks or moisture.
If you find any leaks, repair them immediately. Even small leaks can cause significant pressure loss over time.
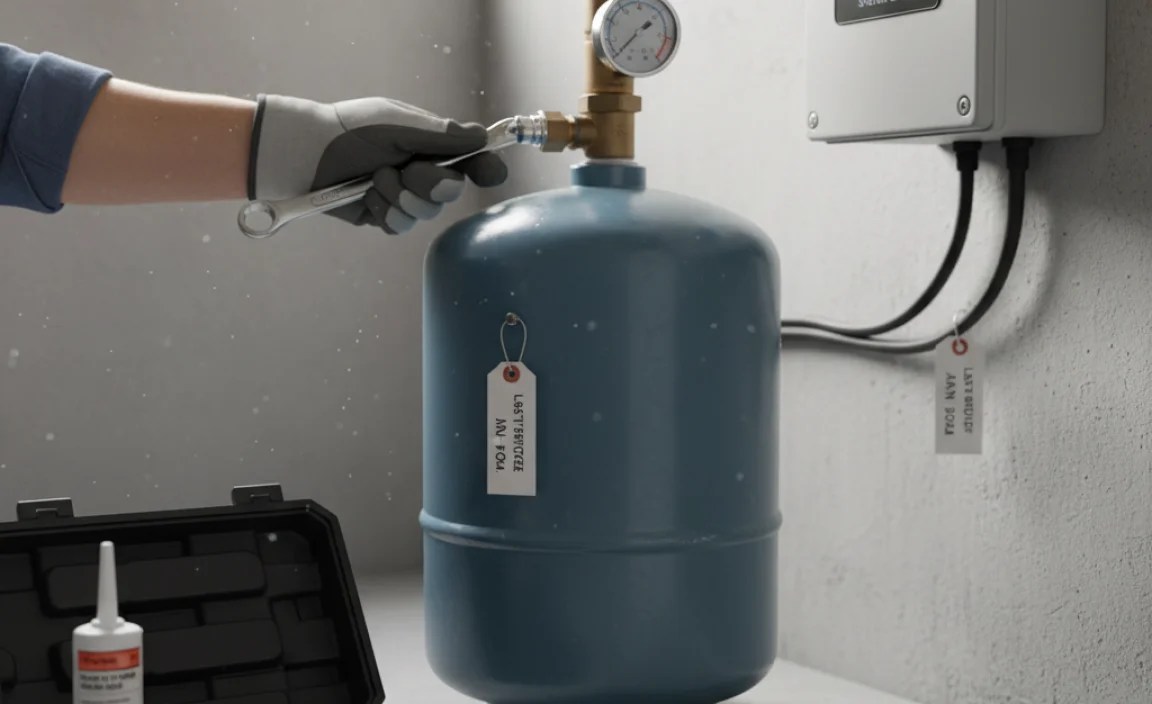
Step 3: Check the Pressure Tank
The pressure tank plays a vital role in maintaining consistent water pressure. It stores water under pressure, reducing the frequency with which the pump needs to turn on.
- Locate the Pressure Tank: This is usually a blue or gray tank near your well pump.
- Check the Air Charge:
- Find the Schrader valve (like a tire valve) at the top of the tank.
- Remove the cap and use a tire pressure gauge to check the air pressure.
- The air pressure should be 2 PSI below the pump’s cut-in pressure (the pressure at which the pump turns on). For example, if your pump turns on at 30 PSI, the tank pressure should be 28 PSI.
- Adjust the Air Pressure:
- If the pressure is too low, use an air compressor to add air to the tank.
- If the pressure is too high, depress the Schrader valve to release air.
- Check for Waterlogging:
- Turn off the pump and open a faucet to relieve water pressure.
- Tap on the side of the tank. If it sounds full of water from top to bottom, the bladder inside may be damaged.
If the pressure tank is waterlogged or the air pressure cannot be adjusted, it may need to be replaced.
Step 4: Inspect the Pressure Switch
The pressure switch is responsible for turning the pump on and off based on the water pressure. A faulty switch can cause the pump to cycle erratically.
- Locate the Pressure Switch: This is usually a small, square device near the pressure tank with wires connected to it.
- Check for Corrosion or Damage: Look for any signs of corrosion, rust, or physical damage to the switch.
- Clean the Switch:
- Carefully remove the cover of the pressure switch.
- Use a small brush or a vacuum to remove any dirt, debris, or insects from inside the switch.
- Test the Switch:
- With the power on (use caution!), observe the switch as the pump cycles.
- The switch should turn the pump on at the cut-in pressure and off at the cut-out pressure.
- If the switch is not functioning correctly, it may need to be replaced.
Step 5: Check the Well Itself (Advanced)
In some cases, problems within the well itself can cause pump cycling. This is more complex to diagnose and may require professional help.
- Check the Water Level: If the water level in the well is too low, the pump may struggle to maintain pressure.
- Inspect the Well Casing: Look for any signs of damage or collapse in the well casing.
- Consider Well Cleaning or Servicing: Over time, wells can become clogged with sediment or minerals, reducing their output. Professional well cleaning or servicing may be necessary.
Important Note: Working inside a well can be dangerous. If you are not comfortable with this type of work, it’s best to hire a qualified well service professional.
Step 6: When to Call a Professional
If you’ve tried the steps above and your well pump is still cycling, it may be time to call a professional. Here are some situations where professional help is recommended:
- You are not comfortable working with electrical components.
- You suspect a problem with the well itself.
- You have replaced the pressure switch and pressure tank, and the problem persists.
- You are unsure about any of the steps outlined in this guide.
Tools You’ll Need
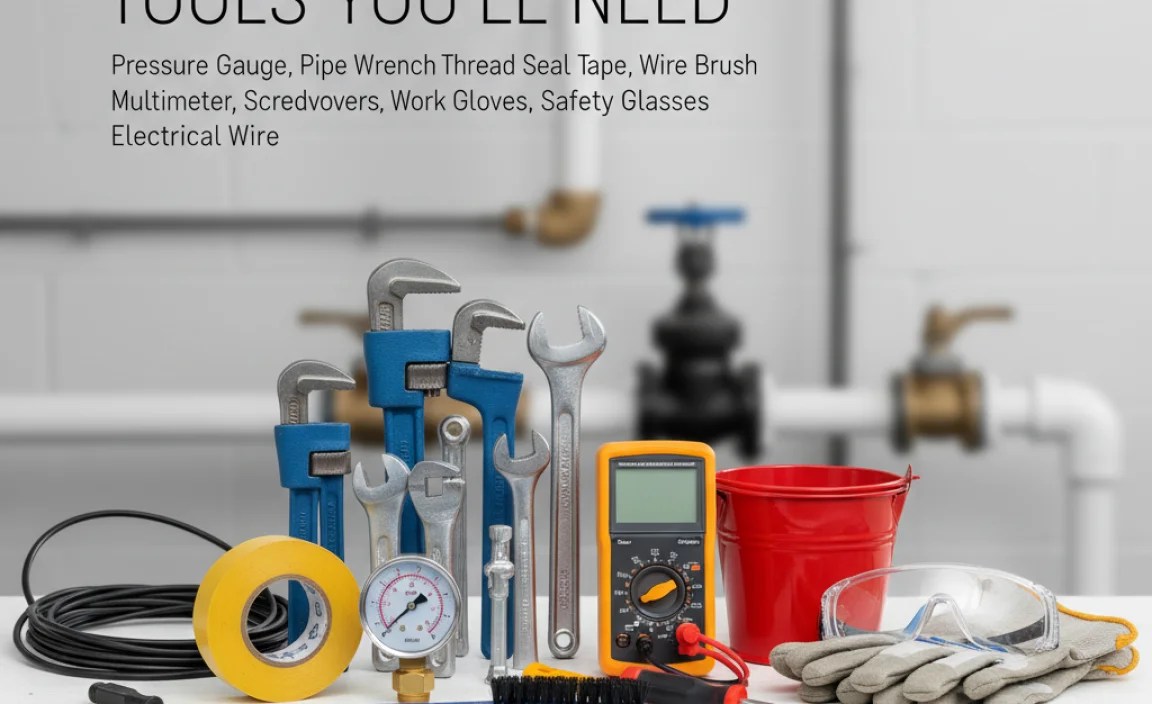
Here’s a list of tools you might need to stop your well pump from cycling:
- Screwdrivers (various sizes)
- Wrenches (adjustable and pipe wrenches)
- Tire pressure gauge
- Air compressor
- Small brush or vacuum
- Multimeter (for testing electrical components – use with caution!)
- Plumber’s tape
- Work gloves
- Safety glasses
Troubleshooting Tips
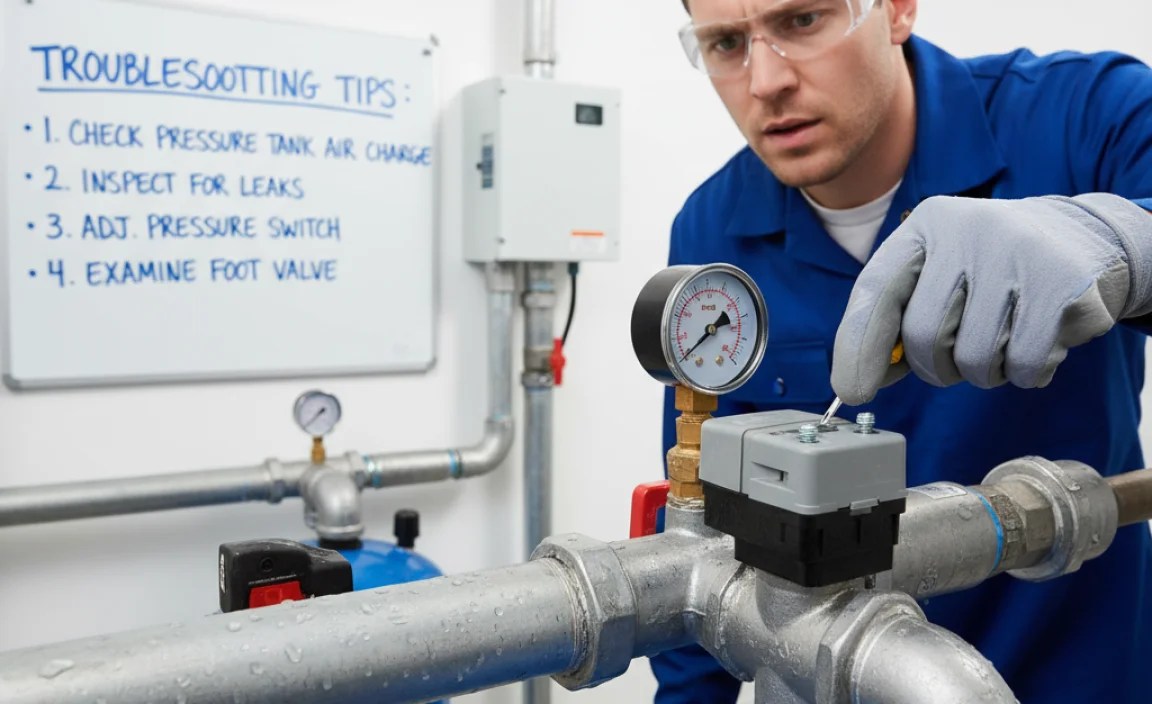
Here’s a quick troubleshooting guide to help you pinpoint the problem:
| Symptom | Possible Cause | Solution |
|---|---|---|
| Pump cycles rapidly | Leaks in plumbing | Inspect and repair all leaks |
| Pump cycles after short water use | Low air pressure in tank | Adjust air pressure in pressure tank |
| Tank sounds full of water | Waterlogged pressure tank | Replace pressure tank |
| Pump doesn’t turn on or off | Faulty pressure switch | Clean or replace pressure switch |
| Low water pressure | Well water level low | Consult a well service professional |
Preventative Maintenance
Regular maintenance can help prevent well pump cycling and extend the life of your system. Here are some tips:
- Inspect for Leaks Regularly: Check your plumbing for leaks at least a few times a year.
- Check Pressure Tank Air Charge: Check the air pressure in your pressure tank every 6 months.
- Flush Your Water Heater: Sediment buildup in your water heater can affect water pressure. Flush it annually.
- Consider a Water Softener: If you have hard water, a water softener can prevent mineral buildup in your pipes and fixtures.
Cost Considerations
Here’s a general idea of the costs associated with fixing well pump cycling. Prices can vary depending on your location and the specific parts and services required.
| Repair | Estimated Cost |
|---|---|
| Repairing a small leak | $10 – $50 (DIY) / $75 – $200 (Professional) |
| Replacing a pressure switch | $20 – $50 (DIY) / $100 – $250 (Professional) |
| Replacing a pressure tank | $150 – $500 (DIY) / $300 – $800 (Professional) |
| Well cleaning or servicing | $300 – $1000+ (Professional) |
FAQ: Well Pump Cycling
Here are some frequently asked questions about well pump cycling:
- Why is my well pump turning on and off so frequently?
- Frequent cycling is often caused by leaks, a faulty pressure tank, or a bad pressure switch. Check for leaks first, then inspect the pressure tank’s air charge. If those aren’t the problem, the pressure switch may need cleaning or replacing.
- How do I check the air pressure in my pressure tank?
- Locate the Schrader valve on top of the tank, remove the cap, and use a tire pressure gauge to check the pressure. It should be 2 PSI below the pump’s cut-in pressure.
- What is a pressure switch, and what does it do?
- The pressure switch senses the water pressure in your system and tells the pump when to turn on and off. It’s a small, square device near the pressure tank with wires connected to it.
- Can I replace a pressure tank myself?
- Yes, if you’re comfortable with plumbing and electrical work. Be sure to turn off the power and water supply before starting, and follow the manufacturer’s instructions carefully.
- How much does it cost to replace a well pressure tank?
- The cost can range from $150 to $500 for the tank itself, plus labor if you hire a professional. Professional installation can add another $150 to $300, or more depending on the complexity.
- What happens if I don’t fix a cycling well pump?
- Ignoring a cycling well pump can lead to premature pump failure, increased energy consumption, and potential damage to other components in your water system. It’s best to address the issue promptly.
- When should I call a well service professional?
- Call a professional if you’re not comfortable working with electrical components, suspect a problem with the well itself, or have tried the basic troubleshooting steps without success. They have the expertise and equipment to diagnose and fix more complex issues.
Conclusion
Stopping a well pump from cycling doesn’t have to be a daunting task. By following these steps, you can often diagnose and fix the problem yourself, saving money and extending the life of your well pump. Remember to prioritize safety by turning off the power before you start any work. Regular maintenance and prompt attention to any issues will keep your well water system running smoothly for years to come. Now you have the knowledge to tackle this common issue and keep your water flowing reliably!
“`


