
How to Repair Your Cycle Pump: A Step-by-Step Guide
Quick Summary: Fixing a cycle pump usually involves cleaning or replacing worn parts like the pump head, seals, or hose. Start by identifying the problem, then disassemble the pump. Clean all parts, replace any that are damaged, and reassemble with fresh grease. With a few simple steps, you can often restore your pump to like-new condition and avoid buying a new one!
Is your trusty bike pump not so trusty anymore? Does it take forever to inflate your tires, or does it leak air everywhere? Don’t toss it out just yet! Most cycle pump problems are easy to fix with a few simple tools and a little know-how. A well-maintained pump saves time, money, and frustration. In this guide, we’ll walk you through diagnosing common pump problems and repairing them step-by-step. Get ready to breathe new life into your old pump!
Common Cycle Pump Problems
Before you start taking things apart, let’s figure out what’s wrong. Here are some typical issues:
- Pump not inflating tires: This could be due to a faulty pump head, worn seals, or a clogged hose.
- Leaking air: Leaks often come from the pump head, hose connections, or the pump’s internal seals.
- Hard to pump: This usually indicates dry or damaged internal seals.
- Broken gauge: The pressure gauge might be inaccurate or completely broken.
Tools You’ll Need

Having the right tools makes the job much easier. Here’s what you’ll need:
- Screwdrivers: Both Phillips head and flathead screwdrivers in various sizes.
- Pliers: For gripping and loosening parts.
- Adjustable wrench: To tighten or loosen nuts and bolts.
- Allen wrenches (hex keys): A set of various sizes.
- Grease: Bike-specific grease or silicone grease.
- Cleaning supplies: Clean rags, degreaser, and a small brush.
- Replacement parts: Seals, O-rings, pump head, hose (as needed).
- Work gloves: To protect your hands.
Step-by-Step Cycle Pump Repair Guide

Now, let’s get to the repair process. Follow these steps to fix your cycle pump:
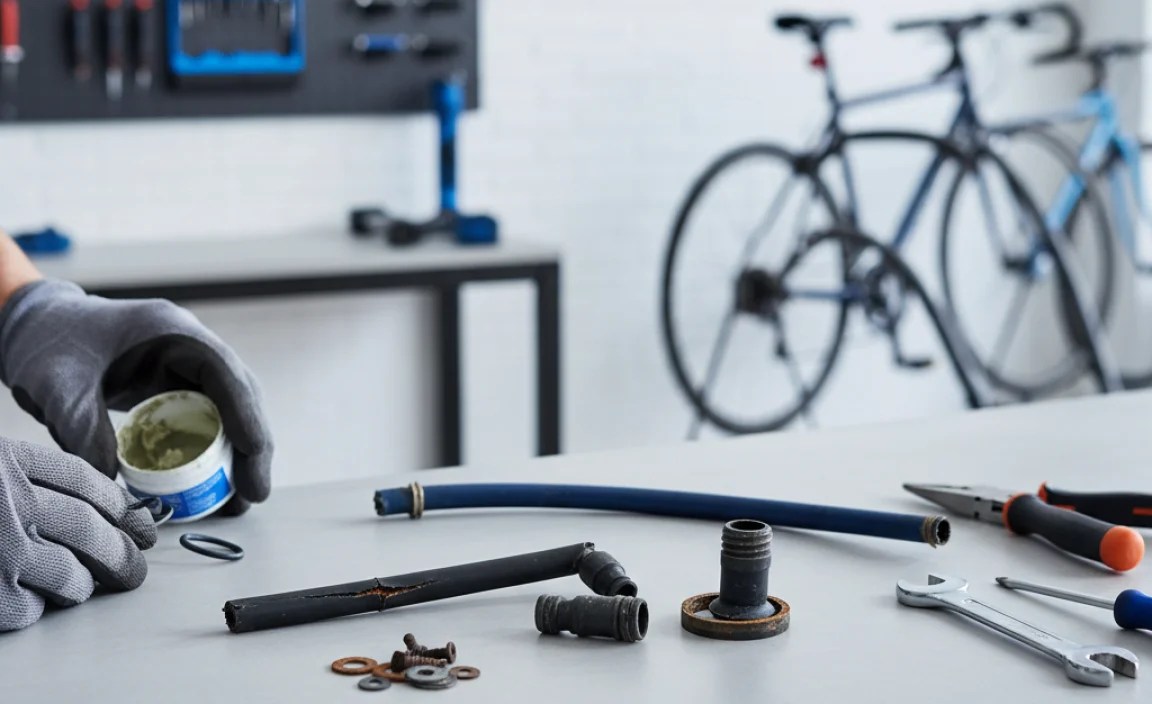
Step 1: Disassemble the Pump
Carefully take the pump apart. Keep track of all the parts and how they fit together. Taking pictures with your phone as you go can be very helpful!
- Remove the base: Most floor pumps have a base attached with screws or bolts. Remove these to separate the base.
- Detach the hose: Unscrew the hose from the pump body and the pump head.
- Open the pump body: Look for screws or clips holding the pump body together. Remove these to access the internal parts.
- Remove the piston: The piston is the part that moves up and down to pump air. Carefully slide it out of the cylinder.
- Disassemble the pump head: The pump head is the most complex part. Disassemble it carefully, noting the order of the parts.
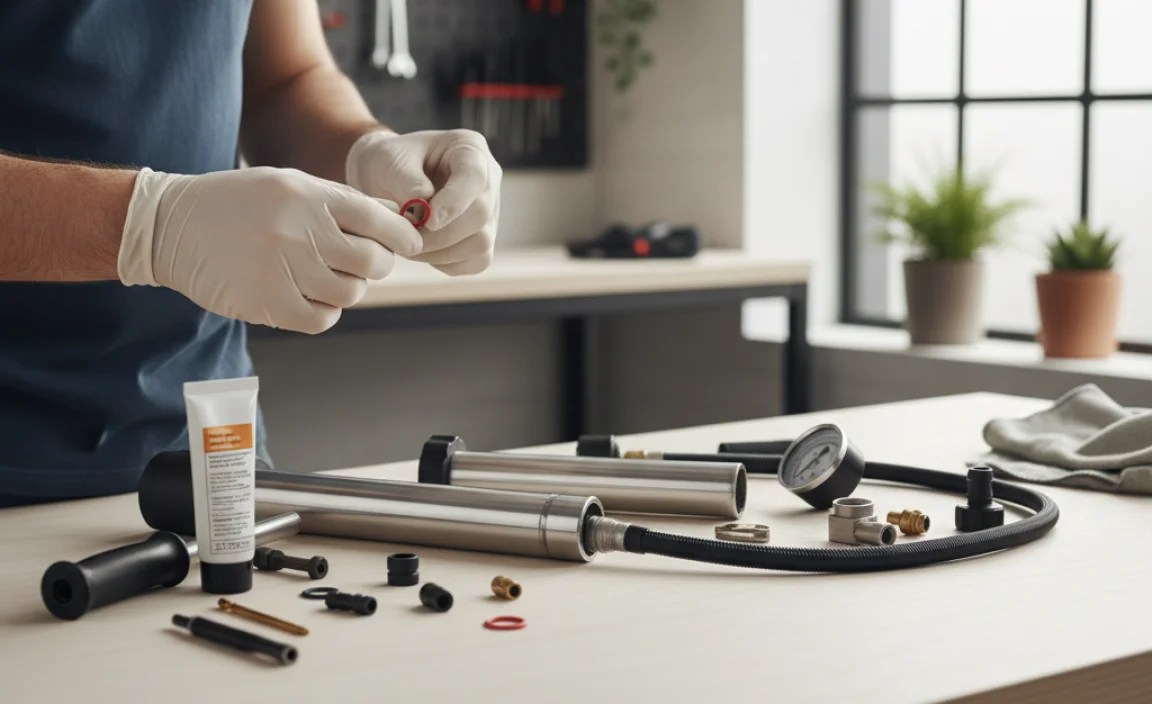
Step 2: Inspect the Parts
Examine each part for wear, damage, or dirt. Pay close attention to the following:
- Seals and O-rings: Look for cracks, tears, or flattening. These are common sources of leaks.
- Piston: Check for scratches or damage to the piston surface.
- Hose: Inspect for cracks, kinks, or leaks.
- Pump head: Look for worn or damaged parts, especially around the valve interface.
- Cylinder: Check for scratches or damage inside the cylinder.
Step 3: Clean the Parts
Clean all the parts thoroughly with a degreaser and a clean rag. Remove any dirt, grime, or old grease. A small brush can help you clean hard-to-reach areas.
Step 4: Replace Worn Parts
Replace any parts that are worn or damaged. You can usually find replacement parts online or at your local bike shop. Common replacement parts include:
- Seals and O-rings: Replace these if they are cracked, torn, or flattened.
- Pump head: If the pump head is damaged or worn, replace it with a new one.
- Hose: Replace the hose if it is cracked, kinked, or leaking.
Here’s a table summarizing common problems and their solutions:
| Problem | Possible Cause | Solution |
|---|---|---|
| Pump not inflating | Faulty pump head, worn seals, clogged hose | Replace pump head, replace seals, clear hose |
| Leaking air | Worn seals, loose connections | Replace seals, tighten connections |
| Hard to pump | Dry or damaged internal seals | Grease seals, replace seals |
| Broken gauge | Damaged gauge | Replace gauge |
Step 5: Lubricate the Parts
Apply a thin layer of bike-specific grease or silicone grease to the following parts:
- Piston: Grease the piston surface before reinserting it into the cylinder.
- Seals and O-rings: Grease the seals and O-rings before installing them.
- Threads: Grease the threads of any screws or bolts before tightening them.
Step 6: Reassemble the Pump
Carefully reassemble the pump in the reverse order of disassembly. Make sure all parts are properly aligned and securely tightened.
- Reinstall the piston: Slide the greased piston back into the cylinder.
- Reassemble the pump body: Attach the two halves of the pump body with screws or clips.
- Reattach the hose: Screw the hose back onto the pump body and the pump head.
- Reassemble the pump head: Put the pump head back together, making sure all parts are in the correct order.
- Reattach the base: Secure the base to the pump body with screws or bolts.
Step 7: Test the Pump
Test the pump to make sure it is working properly. Inflate a tire to the desired pressure and check for leaks. If the pump is still not working correctly, double-check your work and make sure all parts are properly installed and tightened.
Maintaining Your Cycle Pump
Regular maintenance can help prevent problems and extend the life of your cycle pump. Here are some tips:
- Clean the pump regularly: Wipe down the pump with a clean rag after each use.
- Lubricate the pump: Apply a small amount of grease to the piston and seals every few months.
- Store the pump properly: Store the pump in a clean, dry place.
- Replace worn parts: Replace worn parts as soon as you notice them.
Troubleshooting Common Issues
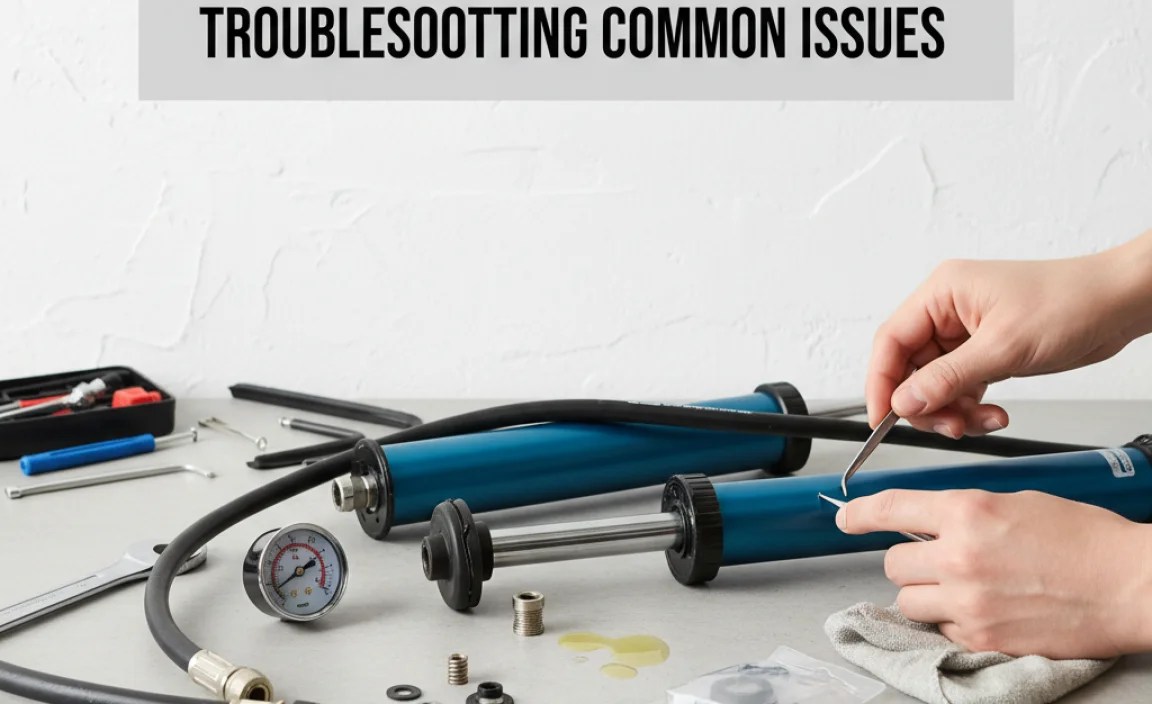
Even after following these steps, you might still encounter some problems. Here’s how to troubleshoot them:
- Pump still leaks air: Check all connections and seals. Make sure they are properly tightened and seated. If necessary, replace the seals.
- Pump is hard to pump: Make sure the piston is properly lubricated. If the problem persists, the cylinder may be damaged.
- Pump doesn’t reach desired pressure: Check the pump head and hose for leaks. Make sure the pump head is properly attached to the valve.
Choosing the Right Replacement Parts
When replacing parts, it’s essential to choose the right ones. Here’s what to consider:
- Compatibility: Make sure the replacement parts are compatible with your pump model. Check the manufacturer’s website or your local bike shop for compatibility information.
- Quality: Choose high-quality replacement parts that are durable and long-lasting.
- Material: Consider the material of the replacement parts. For example, brass or aluminum pump heads are more durable than plastic ones.
Table: Cycle Pump Parts and Their Functions
Here’s a quick overview of the main parts of a cycle pump and what they do:
| Part | Function |
|---|---|
| Pump Head | Connects to the tire valve and allows air to flow in. |
| Hose | Transports air from the pump body to the pump head. |
| Piston | Moves up and down to compress air. |
| Cylinder | The chamber in which the piston moves. |
| Seals/O-rings | Prevent air from leaking out of the pump. |
| Base | Provides stability for the pump. |
| Gauge | Displays the air pressure in the tire. |
Types of Cycle Pumps
Understanding the different types of cycle pumps can help you choose the right one for your needs. Here are some common types:
- Floor Pumps: These are the most common type of pump for home use. They are stable, efficient, and can inflate tires to high pressures.
- Hand Pumps: These are portable pumps that you can carry with you on rides. They are less efficient than floor pumps but are essential for fixing flats on the road.
- CO2 Inflators: These use compressed CO2 cartridges to quickly inflate tires. They are lightweight and easy to use but require you to carry cartridges.
- Mini Pumps: A smaller version of hand pumps, prioritizing portability.
- Electric Pumps: Battery-powered pumps offering automated inflation.
Choosing the Right Cycle Pump for Your Needs
Selecting a suitable cycle pump can significantly enhance your biking experience. Here’s a guide to help you choose the right one:
- Type of Bike: Consider the type of bike you own. Road bikes typically require higher pressures than mountain bikes.
- Frequency of Use: If you ride frequently, invest in a high-quality floor pump.
- Portability: If you need a pump for on-the-go repairs, choose a hand pump or CO2 inflator.
- Valve Compatibility: Ensure the pump is compatible with your bike’s valve type (Presta or Schrader). Learn more about valve types from resources like BikeRadar’s guide to bike pumps.
Cycle Pump Safety Tips
While cycle pumps are generally safe, it’s important to use them correctly to avoid injury. Here are some safety tips:
- Wear eye protection: Wear safety glasses to protect your eyes from flying debris.
- Use caution when disassembling: Some parts may be under pressure, so disassemble the pump carefully.
- Follow manufacturer’s instructions: Always follow the manufacturer’s instructions when using or repairing a cycle pump.
FAQ: Cycle Pump Repair
Here are some frequently asked questions about cycle pump repair:
- Q: Why is my bike pump not working?
- A: It could be due to a faulty pump head, worn seals, a clogged hose, or a damaged piston.
- Q: How do I know if my pump head is bad?
- A: If the pump head is leaking air or not properly attaching to the valve, it may be bad.
- Q: Where can I buy replacement parts for my cycle pump?
- A: You can find replacement parts online or at your local bike shop.
- Q: How often should I lubricate my cycle pump?
- A: Lubricate your cycle pump every few months, or more often if you use it frequently.
- Q: Can I use any type of grease on my cycle pump?
- A: It’s best to use bike-specific grease or silicone grease. Avoid using petroleum-based greases, as they can damage the seals.
- Q: How do I clean my cycle pump?
- A: Wipe down the pump with a clean rag after each use. You can also use a degreaser to clean the internal parts.
- Q: Is it worth repairing a cycle pump, or should I just buy a new one?
- A: It depends on the problem and the cost of replacement parts. If the problem is minor and the parts are inexpensive, it’s usually worth repairing the pump. However, if the pump is severely damaged or the parts are expensive, it may be more cost-effective to buy a new one.
Advanced Cycle Pump Modifications
For those looking to enhance their pump’s performance, consider these advanced modifications:
- Upgrading the Hose: Replacing the stock hose with a high-pressure, flexible hose can improve airflow and durability.
- Installing a Precision Gauge: A high-quality digital gauge offers more accurate pressure readings.
- Custom Handle Grips: Ergonomic handle grips can increase comfort and efficiency during inflation.
The Environmental Impact of Pump Repair
Repairing your cycle pump isn’t just good for your wallet; it’s also beneficial for the environment. By fixing your pump instead of throwing it away, you’re reducing waste and conserving resources. Consider the environmental impact of manufacturing new products and the waste generated by discarded items. Repairing and maintaining your equipment is a small but meaningful step towards sustainability.
Conclusion
Repairing your cycle pump is a straightforward process that can save you money and keep your bike tires properly inflated. By following these steps, you can diagnose and fix common pump problems, extending the life of your pump and ensuring it’s always ready when you need it. Don’t be afraid to get your hands dirty and give it a try. With a little effort, you can keep your cycle pump working like new for years to come. Happy cycling!
“`


