
How to Make a Cycle Pump at Home: A DIY Guide
Quick Summary: Building a basic bicycle pump at home is possible using simple materials like PVC pipes, a tire valve, and a plunger. This DIY project involves creating an airtight cylinder and plunger system to force air into your bike tire. While it won’t match the efficiency of a professional pump, it’s a handy solution for emergencies or learning about basic mechanics.
Ever found yourself with a flat tire and no pump in sight? It’s a cyclist’s worst nightmare! Store-bought pumps can be expensive, and sometimes you just need a quick fix. The good news is, you can actually make a simple cycle pump at home using readily available materials. It might not be as fancy as a professional pump, but it can definitely get you out of a jam. This guide will walk you through each step, making it easy to understand and build your own emergency bike pump. Let’s get started and turn those household items into a functional tool!
Why Build a DIY Bike Pump?

Building your own bike pump offers several benefits:
- Cost-effective: It’s cheaper than buying a new pump.
- Educational: You’ll learn about pump mechanics.
- Emergency solution: It’s great for unexpected flats.
- Customizable: You can adapt the design to your needs.
- Environmentally friendly: Reuse materials you already have.
Materials You’ll Need
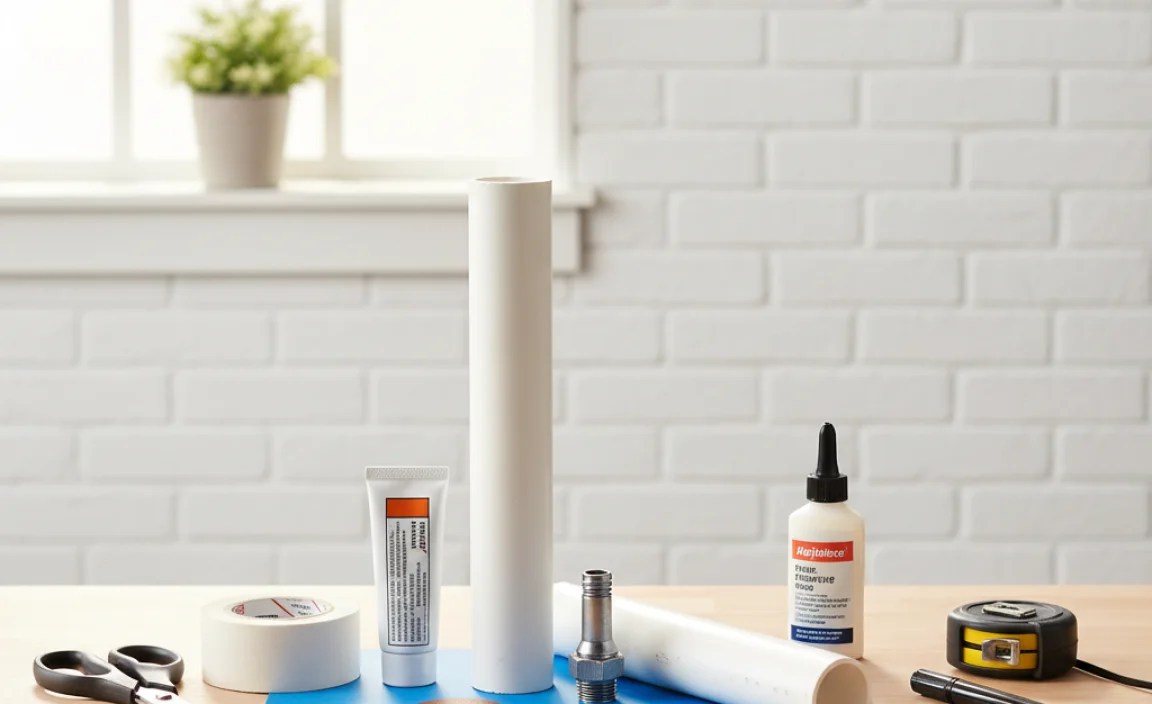
Gathering the right materials is crucial for a successful DIY pump. Here’s a list of what you’ll need:
- PVC Pipe (1-inch diameter, about 12-18 inches long): This will form the cylinder of your pump.
- PVC End Cap: To seal one end of the PVC pipe.
- Rubber Plunger (or a similar airtight piston): This will move inside the pipe to create pressure.
- Tire Valve (Schrader or Presta, depending on your bike): To connect the pump to your tire. You can salvage one from an old tube.
- Drill: For creating holes in the PVC pipe.
- Epoxy or Strong Adhesive: To securely attach the valve and end cap.
- Hose Clamp (optional): For extra security around the valve connection.
- Sandpaper: To smooth rough edges.
- Measuring Tape or Ruler: For accurate measurements.
- Safety Glasses: To protect your eyes during drilling and sanding.
- Gloves: To protect your hands from adhesives.
Step-by-Step Guide: Building Your DIY Bike Pump

Follow these steps carefully to construct your homemade cycle pump:
Step 1: Prepare the PVC Pipe
Cut the PVC pipe to your desired length (12-18 inches is a good starting point). Use sandpaper to smooth any rough edges on the cut ends. This ensures a better seal and prevents injury.
Step 2: Attach the End Cap
Apply epoxy or strong adhesive to the inside of the PVC end cap. Firmly attach the end cap to one end of the PVC pipe. Ensure it’s properly aligned and let it dry completely according to the adhesive’s instructions. This creates a sealed cylinder.
Step 3: Create the Valve Hole
Determine where you want to place the tire valve on the PVC pipe, near the closed end. Use a drill to create a hole slightly smaller than the base of the tire valve. Be careful not to crack the PVC pipe. Start with a small pilot hole and gradually increase the size.
Step 4: Install the Tire Valve
Insert the tire valve into the hole you just drilled. Apply epoxy or strong adhesive around the base of the valve to create an airtight seal. If using a hose clamp, place it around the valve base for added security. Let the adhesive dry completely.
Step 5: Prepare the Plunger
If you’re using a rubber plunger, ensure it fits snugly inside the PVC pipe. You may need to trim or modify it for a proper fit. The goal is to create an airtight seal as the plunger moves up and down the pipe.
If you don’t have a rubber plunger, you can create a piston using a smaller PVC pipe and some rubber or foam padding. Cut a circular piece of rubber or foam slightly larger than the inner diameter of the larger PVC pipe. Attach this to the end of the smaller PVC pipe, ensuring it creates a tight seal when inserted into the larger pipe.
Step 6: Assemble the Pump
Insert the plunger into the open end of the PVC pipe. Make sure it moves smoothly and creates a good seal. You should feel resistance as you push the plunger in, indicating that air is being compressed.
Step 7: Test Your Pump
Connect the tire valve to your bike tire. Hold the pump firmly and push the plunger in and out. You should feel air flowing into the tire. Check the tire pressure regularly to avoid over-inflation. If you notice any air leaks, re-apply adhesive to the affected areas.
Alternative Design: Using a Syringe

Another simple way to create a DIY pump is by using a large syringe. This method is particularly useful for small inflatables or topping off tire pressure.
Materials:
- Large Syringe (60ml or larger)
- Tire Valve Adapter (available online or at bike shops)
- Epoxy or Strong Adhesive
Steps:
- Attach the Adapter: Connect the tire valve adapter to the tip of the syringe using epoxy or strong adhesive. Ensure a secure, airtight connection.
- Let it Dry: Allow the adhesive to dry completely before use.
- Use the Pump: Insert the adapter onto your tire valve and push the syringe plunger to inflate.
Troubleshooting Tips
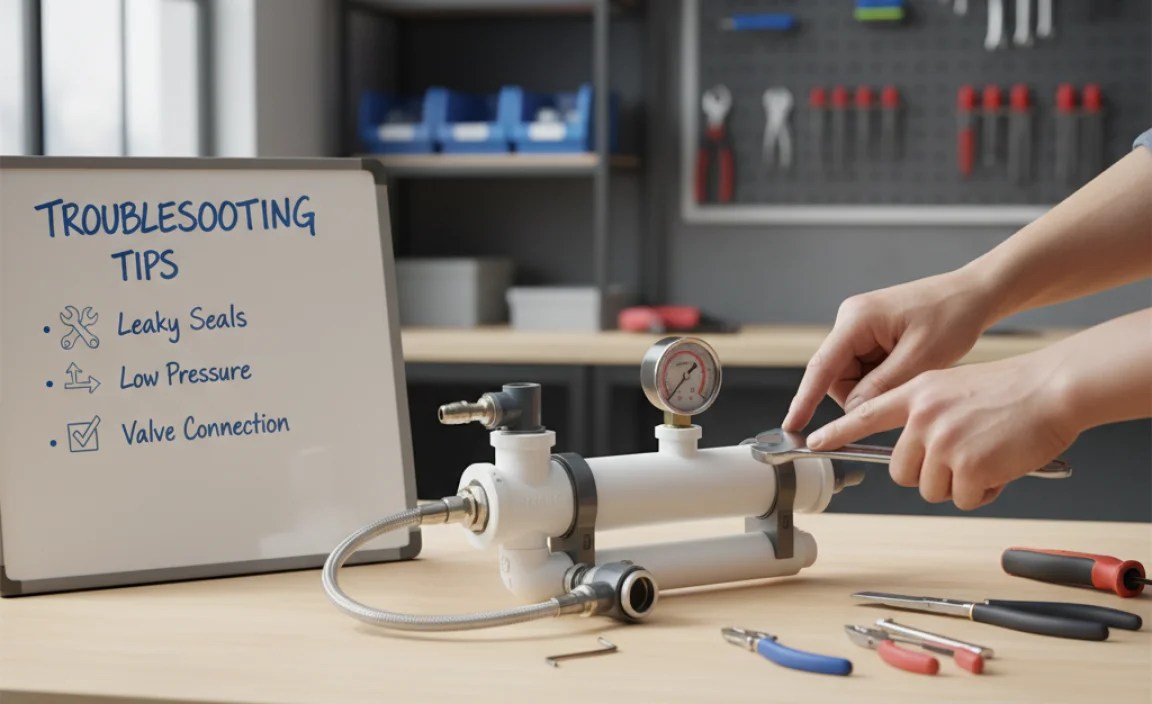
Even with careful construction, you might encounter some issues. Here are some common problems and how to fix them:
- Air Leaks: Check all connections (end cap, valve) for leaks. Apply more adhesive if necessary.
- Plunger Slipping: Ensure the plunger fits snugly. Add more rubber or padding to create a tighter seal.
- Valve Not Connecting Properly: Make sure the tire valve is compatible with your tire. Use an adapter if needed.
- Pump Not Building Pressure: Check for obstructions in the PVC pipe. Ensure the plunger is moving freely.
Safety Precautions
When building and using your DIY bike pump, keep these safety tips in mind:
- Wear Safety Glasses: Protect your eyes from debris when drilling and sanding.
- Use Gloves: Protect your hands from adhesives and sharp edges.
- Work in a Well-Ventilated Area: Avoid inhaling fumes from adhesives.
- Don’t Over-Inflate: Check tire pressure regularly to prevent explosions.
- Supervise Children: Keep materials and tools out of reach of children.
Comparing DIY Pump Options
Here’s a comparison table to help you decide which DIY pump is right for you:
| Feature | PVC Pipe Pump | Syringe Pump |
|---|---|---|
| Materials | PVC pipe, end cap, plunger, tire valve, adhesive | Large syringe, tire valve adapter, adhesive |
| Complexity | Moderate | Easy |
| Cost | Low | Very Low |
| Efficiency | Moderate | Low |
| Durability | High | Low |
| Best Use | Emergency inflation, learning mechanics | Small inflatables, topping off tire pressure |
Advantages and Disadvantages
Let’s break down the pros and cons of building your own bike pump:
Advantages:
- Cost Savings: Significantly cheaper than buying a commercial pump.
- DIY Satisfaction: The rewarding feeling of building something yourself.
- Emergency Preparedness: A reliable solution for unexpected flats.
- Educational Value: Learn about basic mechanics and problem-solving.
- Customization: Adapt the design to your specific needs and preferences.
Disadvantages:
- Efficiency: Not as efficient as a professional pump.
- Durability: May not last as long as a commercial pump.
- Effort: Requires time and effort to build.
- Accuracy: Difficult to gauge precise tire pressure.
- Aesthetics: Not as polished or visually appealing as a store-bought pump.
Where to Find Materials
Most of the materials needed for your DIY bike pump can be found at your local hardware store or online retailers. Here are some specific suggestions:
- PVC Pipe and Fittings: Home Depot, Lowe’s, Amazon
- Rubber Plungers: Hardware stores, plumbing supply stores
- Tire Valves: Bike shops, Amazon, eBay (salvaged from old tubes)
- Adhesive: Hardware stores, craft stores
- Syringes: Medical supply stores, online retailers (ensure they are new and unused)
- Tire Valve Adapters: Bike shops, Amazon
Maintaining Your DIY Pump
To keep your DIY pump in good working condition, follow these maintenance tips:
- Clean Regularly: Wipe down the PVC pipe and plunger to remove dirt and debris.
- Lubricate the Plunger: Apply a small amount of silicone grease to the plunger for smooth movement.
- Check Connections: Regularly inspect the end cap and valve connections for leaks.
- Store Properly: Keep the pump in a dry place to prevent rust and damage.
- Replace Worn Parts: If the plunger or valve becomes worn, replace them promptly.
When to Upgrade to a Professional Pump
While a DIY pump is a great emergency solution, there are times when it’s worth investing in a professional pump. Consider upgrading if:
- You Cycle Frequently: A professional pump will save you time and effort.
- You Need Accurate Pressure Readings: Professional pumps have built-in gauges.
- You Want Durability: Commercial pumps are built to last.
- You Prefer Convenience: Store-bought pumps are ready to use right away.
- You Ride High-Pressure Tires: DIY pumps may not be able to reach the required pressure.
FAQ: Your DIY Bike Pump Questions Answered
Here are some frequently asked questions about making your own cycle pump:
- Q: Can I use any type of PVC pipe?
- A: It’s best to use Schedule 40 PVC pipe, as it’s more durable and can withstand pressure. Avoid thin-walled PVC pipes.
- Q: What if I can’t find a rubber plunger?
- A: You can create a piston using a smaller PVC pipe and some rubber or foam padding to create an airtight seal.
- Q: How do I know if my pump is working correctly?
- A: You should feel resistance as you push the plunger in, and air should flow into the tire. Check the tire pressure regularly with a separate gauge.
- Q: Can I use this pump for tubeless tires?
- A: DIY pumps may not be powerful enough to seat tubeless tires. A high-volume floor pump is recommended for tubeless setups.
- Q: What type of adhesive should I use?
- A: Epoxy or a strong PVC adhesive is recommended for creating airtight seals. Follow the manufacturer’s instructions carefully.
- Q: How long will my DIY pump last?
- A: With proper care and maintenance, a DIY pump can last for several months to a year. However, it may not be as durable as a commercial pump.
- Q: Is it safe to use a homemade pump?
- A: Yes, if built correctly and used with caution. Always check tire pressure to avoid over-inflation, and wear safety glasses during construction.
Conclusion
Building your own cycle pump at home is a rewarding and practical project. While it may not replace a professional pump, it’s a fantastic emergency solution and a great way to learn about basic mechanics. By following these steps and taking the necessary precautions, you can create a functional and cost-effective tool that will get you back on the road in no time. So, gather your materials, roll up your sleeves, and get ready to pump up your cycling experience!
“`


